Review by Troy and Callum Chelin
(SAFOLs Members, jhbLUG Members)

Set number 70418 J.B’s Ghost Lab is the first of 8 sets in the 1st wave of the Hidden Side theme. This new range uses AR (Augmented Reality) via LEGO’s APP to make your playing experience come to life. For those of you who don’t know what (Augmented Reality) or commonly known as AR for Short, it is computer-generated content overlaid on a real world environment, commonly used in video games and Television. We will get to the APP and AR experience later in the review.
Background
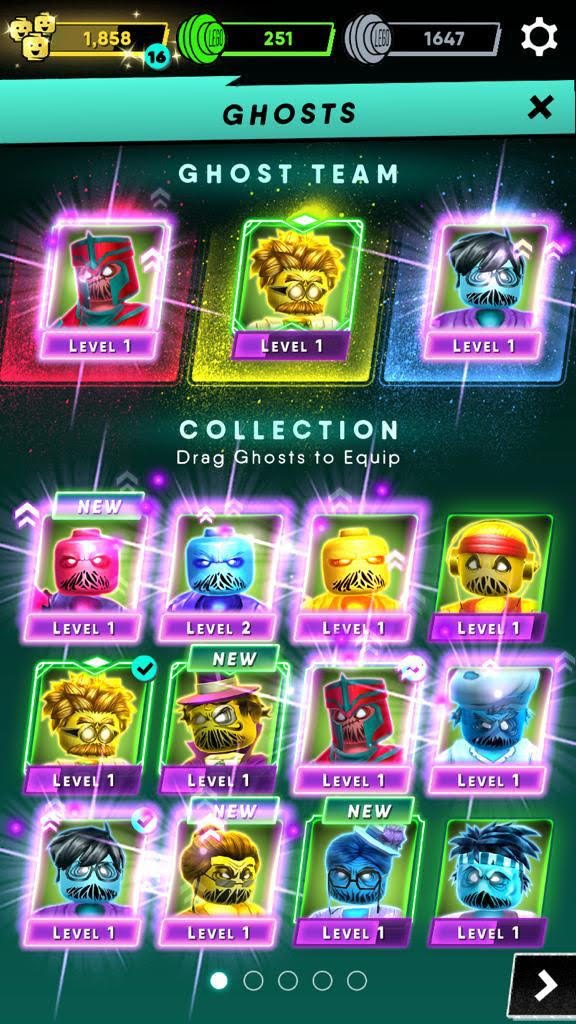
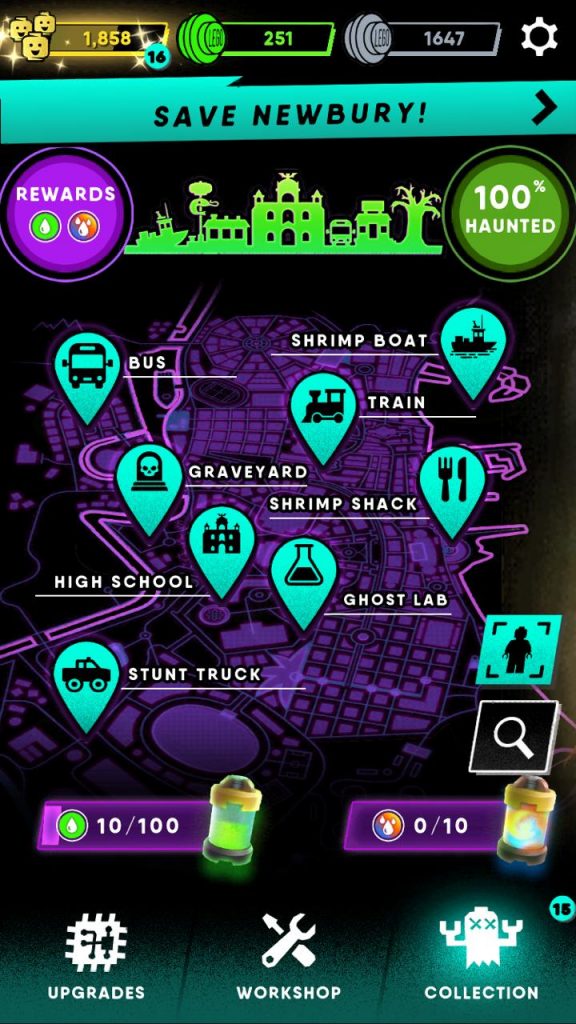
The Hidden side is based around the town of Newbury where you need to solve mysteries and turn a haunted town back to normal. J.B’s Lab is where you build and invent new gadgets to be able to catch the ghosts. You can explore the hidden side with your phone and catch all the ghosts to add to your ghost collection. You can get help from J.B’s Ghost lab and find objects to help you catch the ghosts in the hidden world.
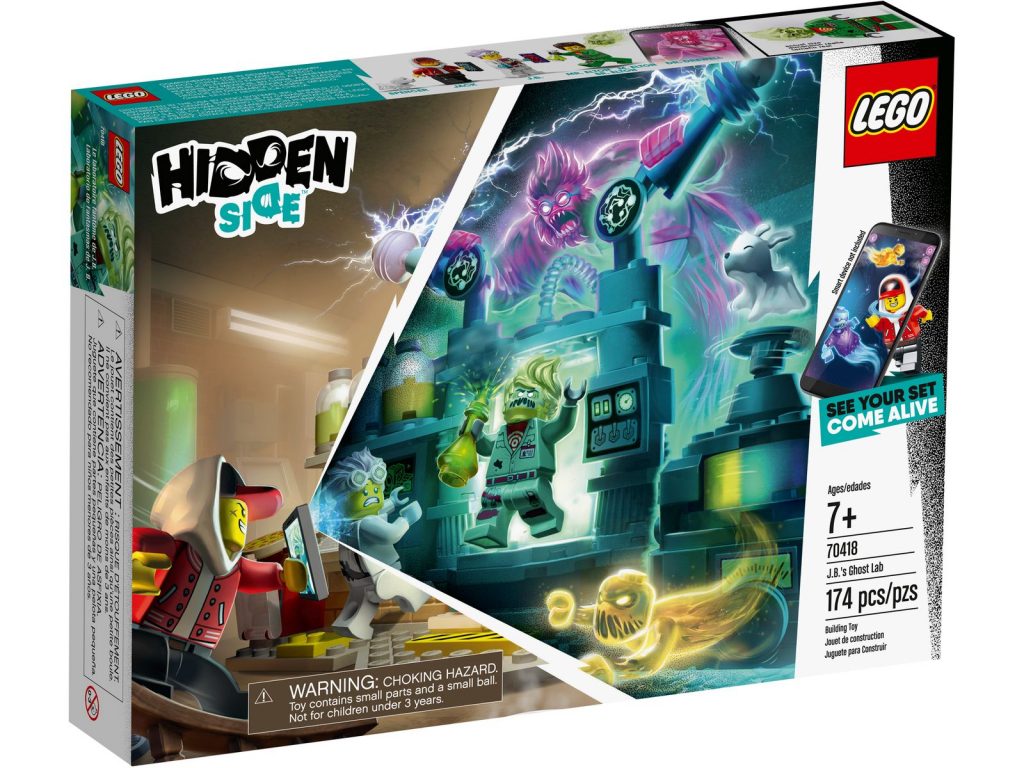
Box Art Work
The artwork is not your typical art work which LEGO usually adopts and it works well with this theme, as you see Jack using his phone to spot the hidden ghosts in the built LEGO set. This set is a 7+ build and if you turn over to the back you get to see what you would normally expect on the front of a LEGO box, showing the built set and some of the close up areas of the set, zooming in on areas of the building for more detail. Some APP details are given at the back and you can follow the links and check if your devices are compatible. Note: my iPhone 6 does not support AR.
On the sides of the box you get to see all the mini figure characters with their names and what ghost you can expect to see in the set. In this set the ghost is DR. Drewell.

What’s in the box?
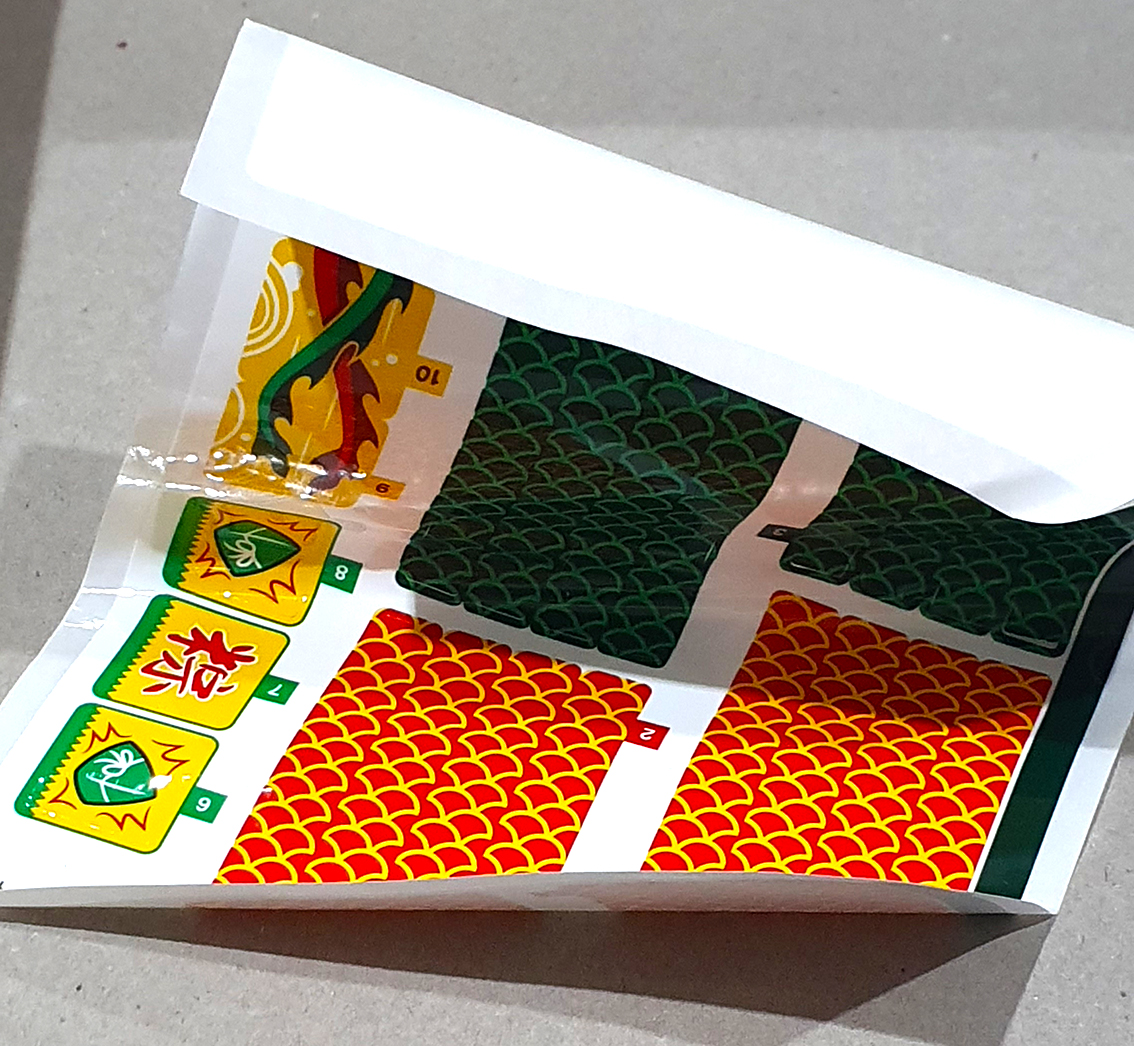
When Callum opened the box he found 2 poly bags marked 1 and 2, the instruction manual and the sticker page with 7 stickers and Callum mentioned that no ghost escaped or flew out at him when he opening the box.
There are 174 pieces in this set which includes 3 mini figures and a dog which is really great to get more than one mini figures in a small LEGO set and to get four I think is always awesome! Having seen all the Hidden Side sets they all come with over 4 figures each so defiantly no shortage of mini figures to add to any collection.
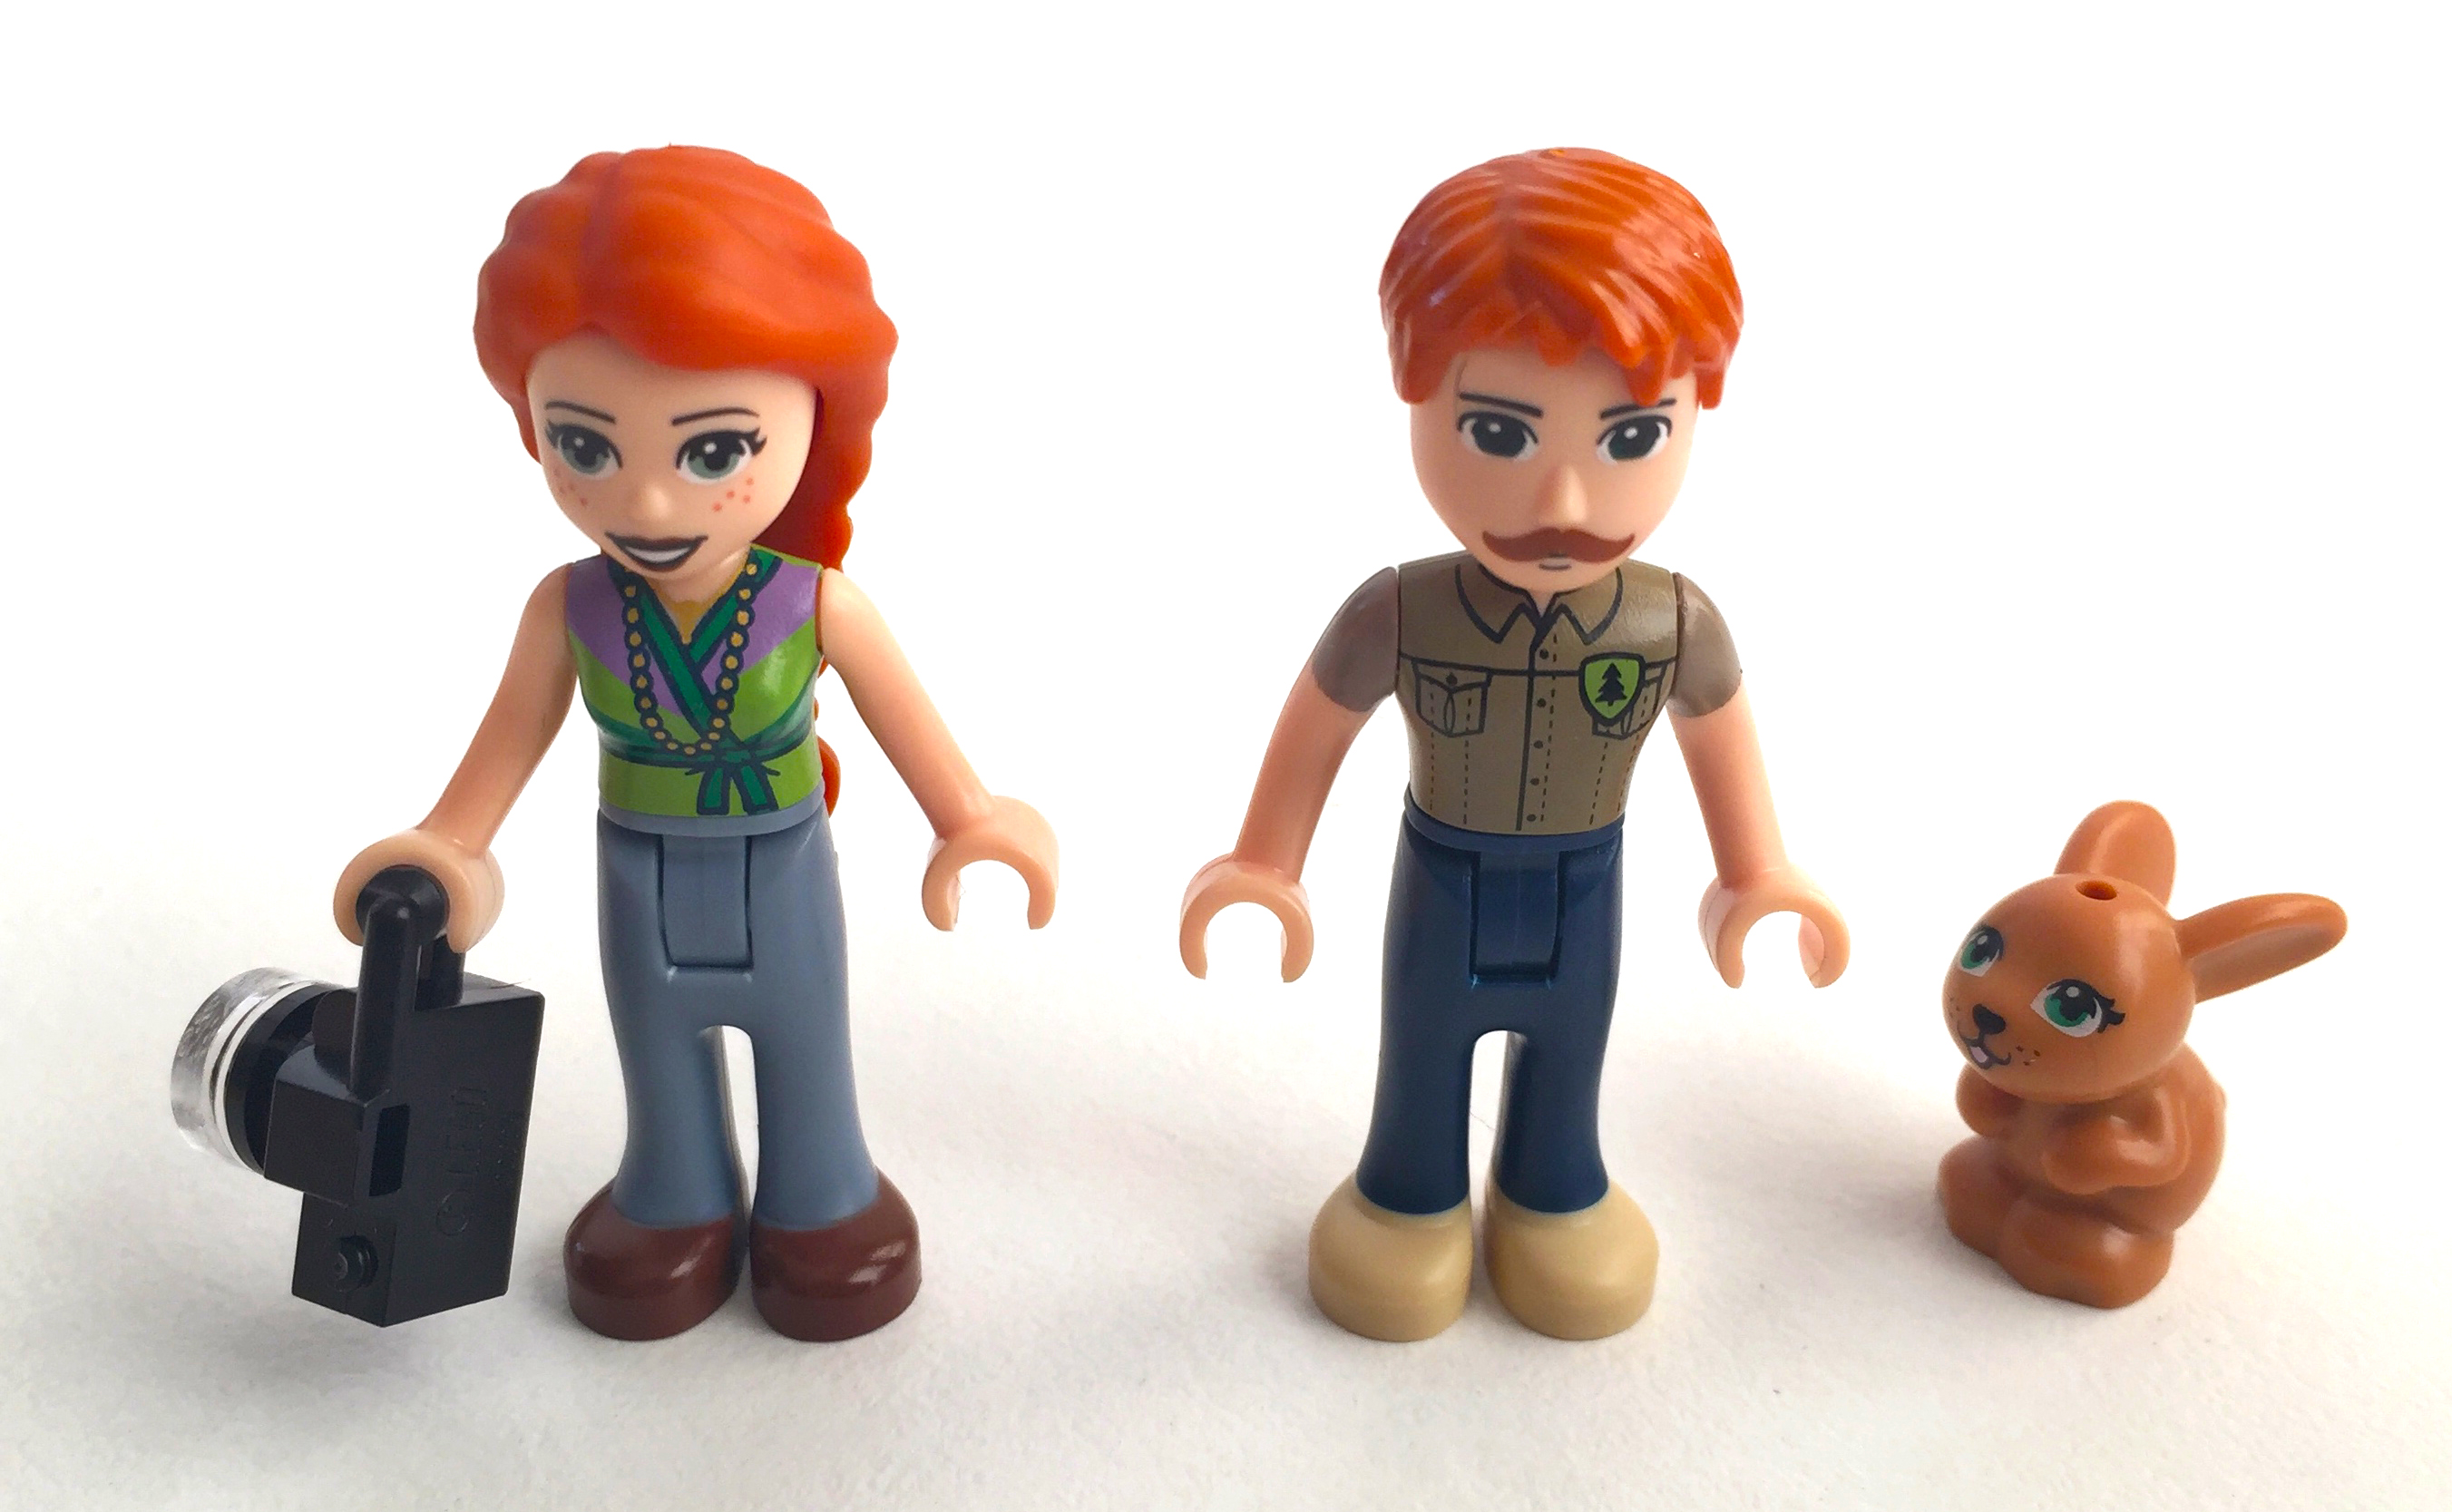
The Minifigures
In bag one you get 2 mini figures Mr. Elton, J.B and the third figure is Spencer the dog. In bag two you get to build Jack. Spencer is our favourite figure in this set.
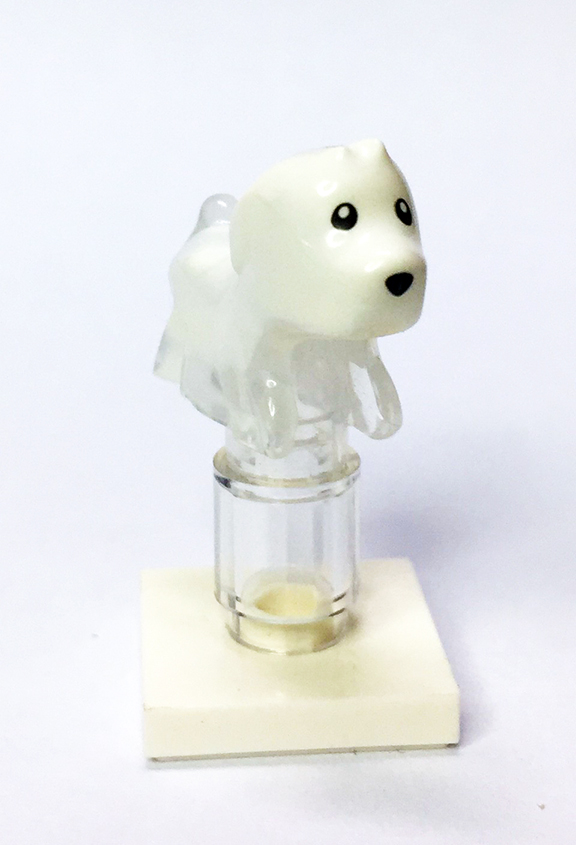
SPENCER
Spencer the dog is white with a translucent tail and legs, Spencer uses one stud to stand on, we both thought that Spencer would glow in the dark however to our disappointment we found he does not. Spencer is Jack’s best friend who unfortunately passed away in a traffic accident and returned as a ghost.
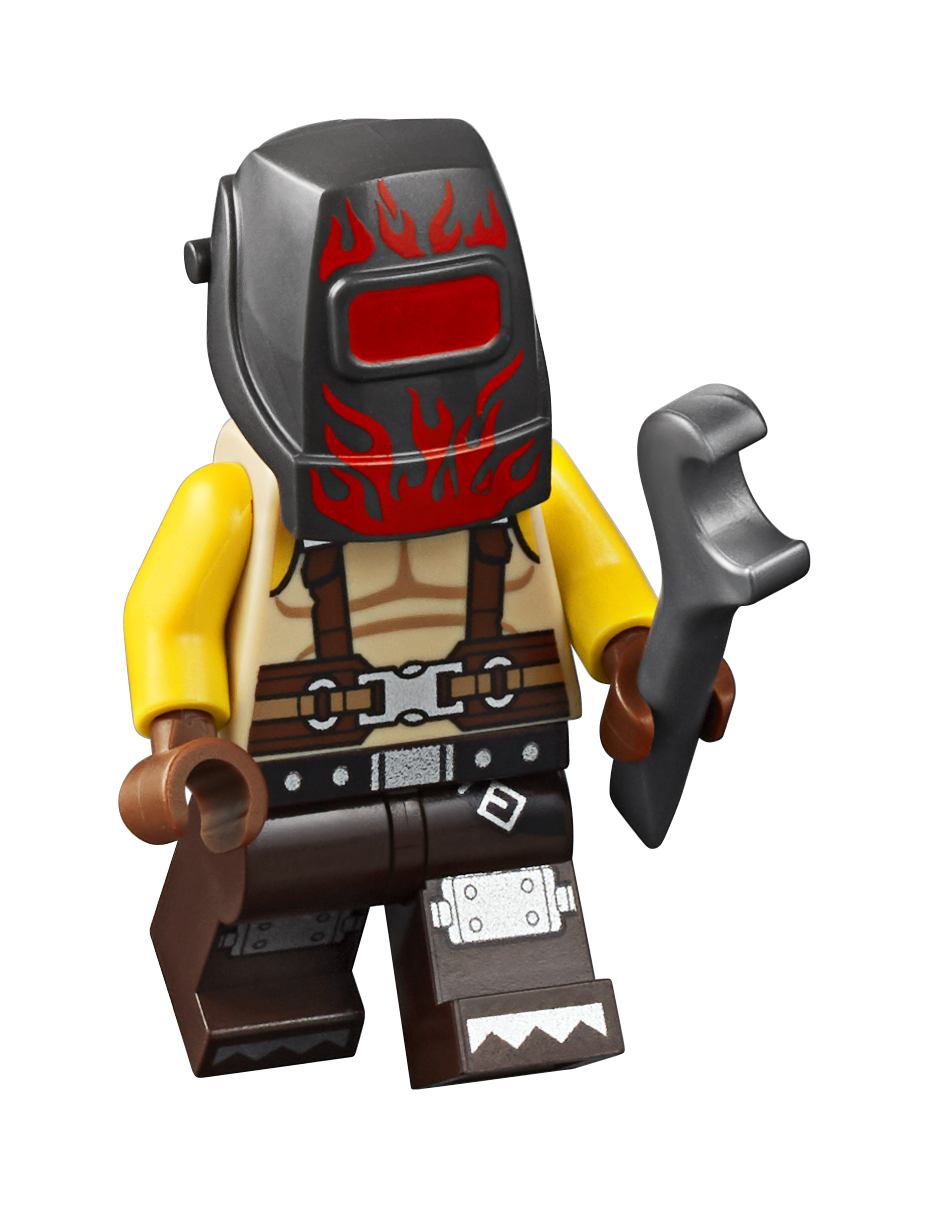
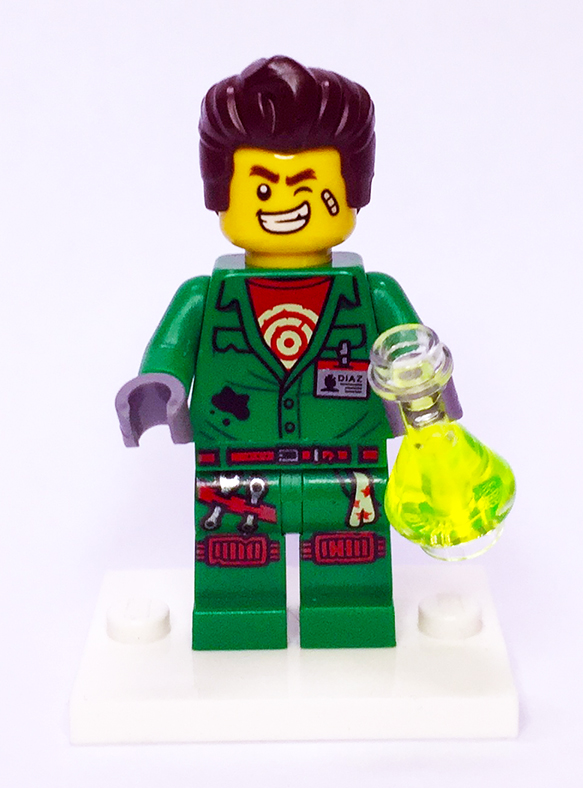
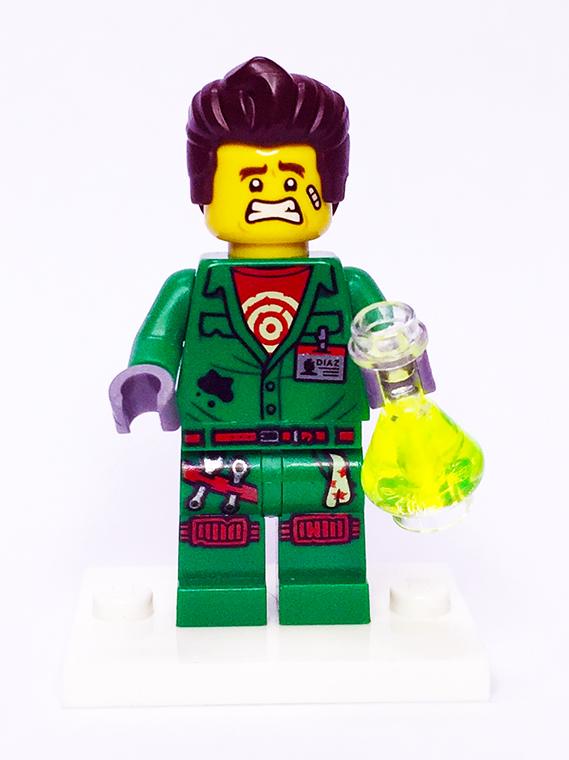
MR ELTON
Aka Douglas aka, El Fuego in his human form has a great hair piece with really cool alternate faces. Callum’s best feature is his gray hand pieces. The detail in the torso is really good and the writing in the name bag says DIAZ with black writing on a silver background really stands out in the light. The knee pads on the legs are really well placed with the tools hanging off his belt and a rag in his pocket. The light lime green hair piece is made well and suits the translucent head piece. The play ability of this minifigure is really awesome as you get three different possibilities in one figure.

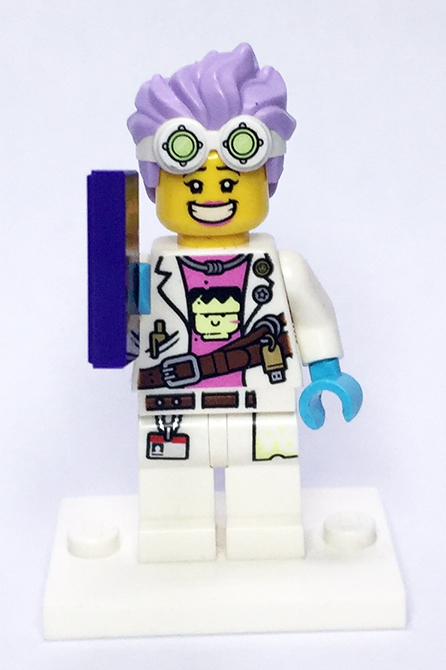
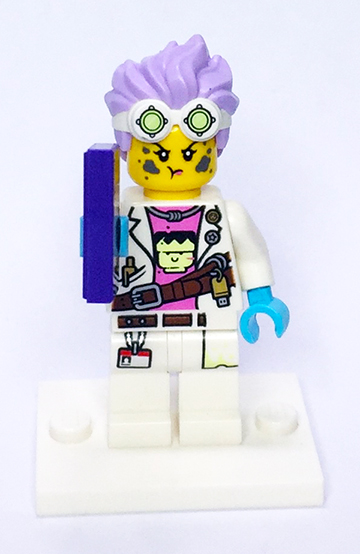
J.B.
J.B. is the Scientist behind the ghost hunting operation who loves her coffee. The best feature is her light purple hair piece with the moulded goggles. Her white torso is designed well with what looks like a Frankenstein mini figure head on her shirt with a USB stick hanging off a keying. J.B. comes with an alternate head which looks as if she made a mistake in the lab and had something blow up in her face. Her legs are white with a name tag hanging off her belt. Callum and I both liked the light blue for her hands
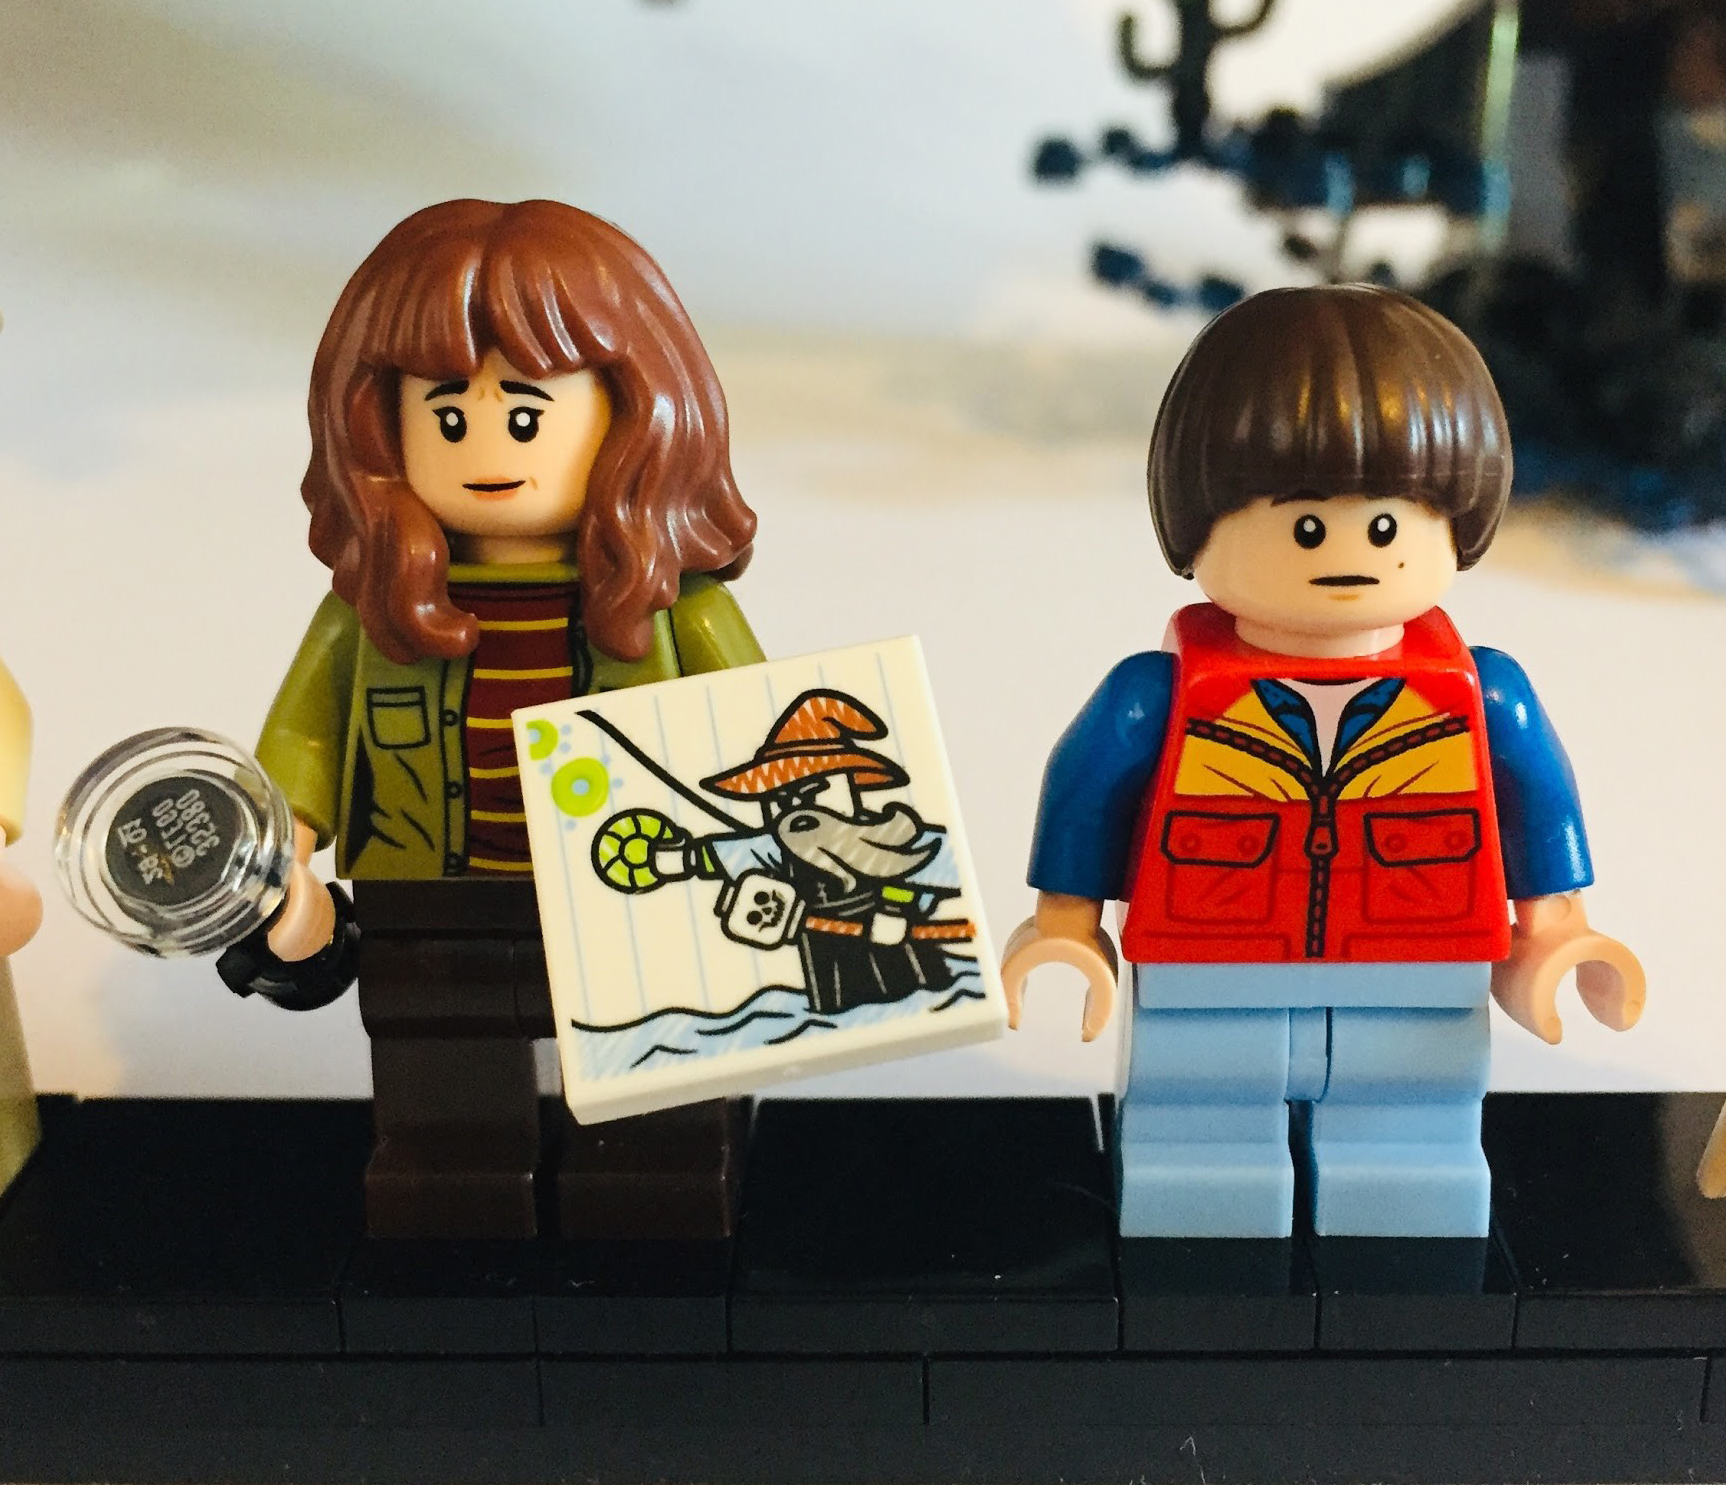
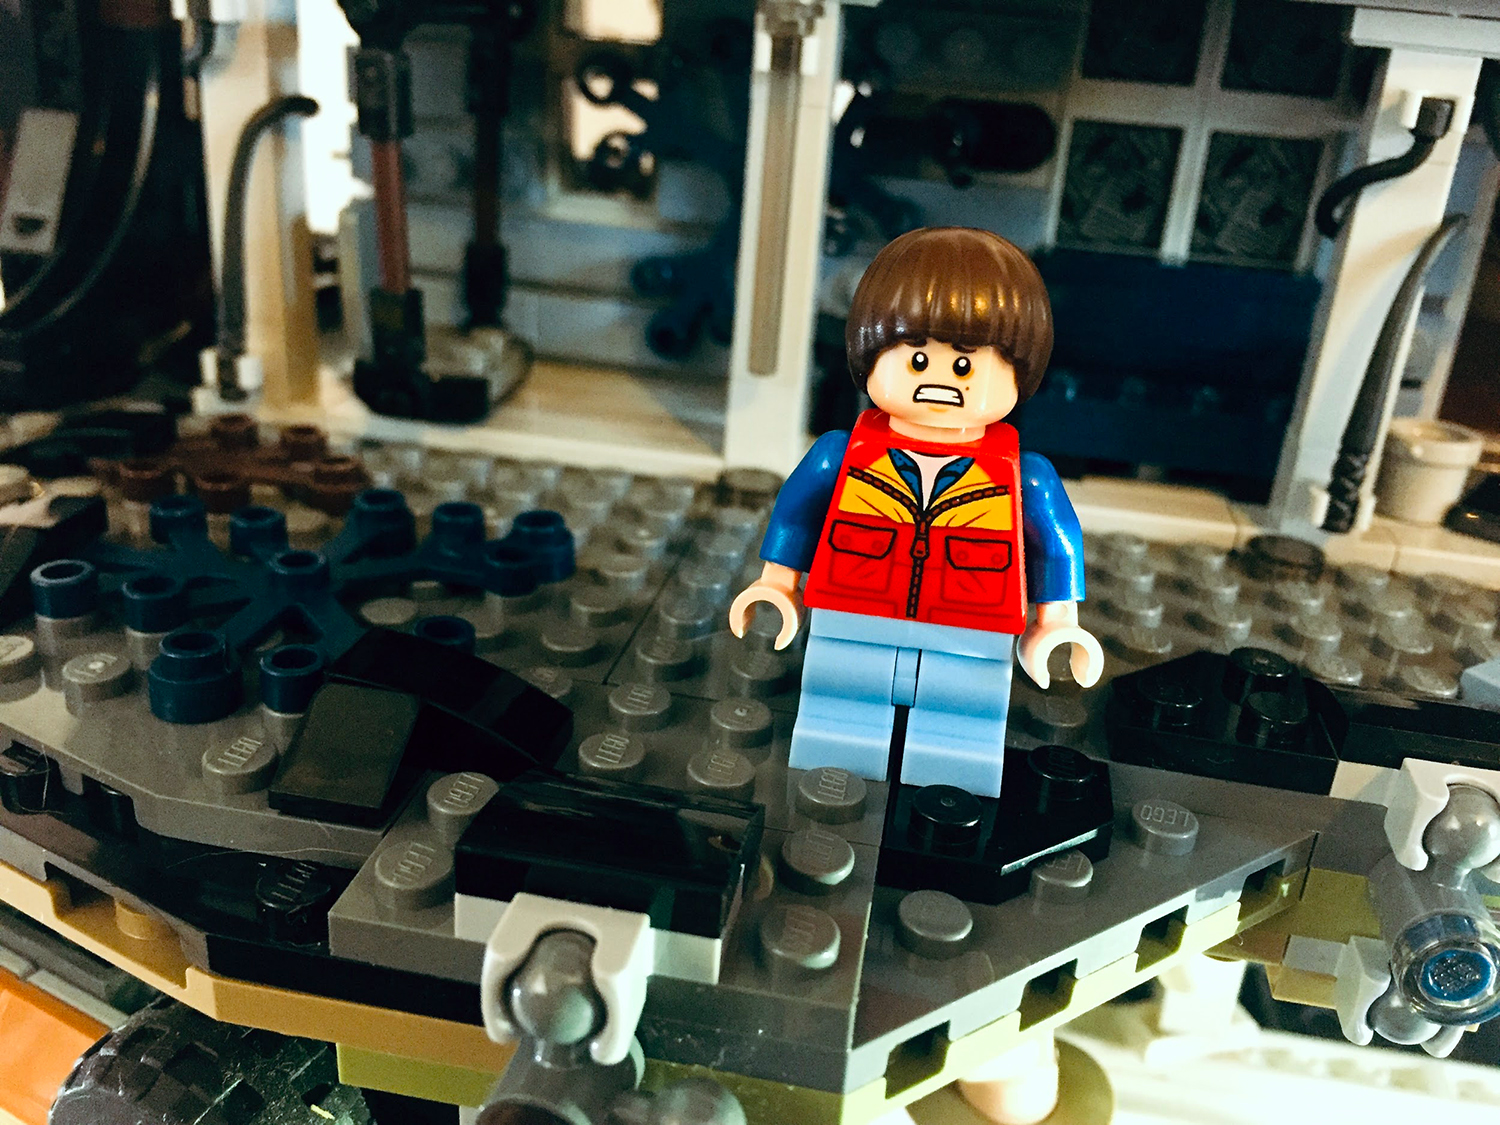
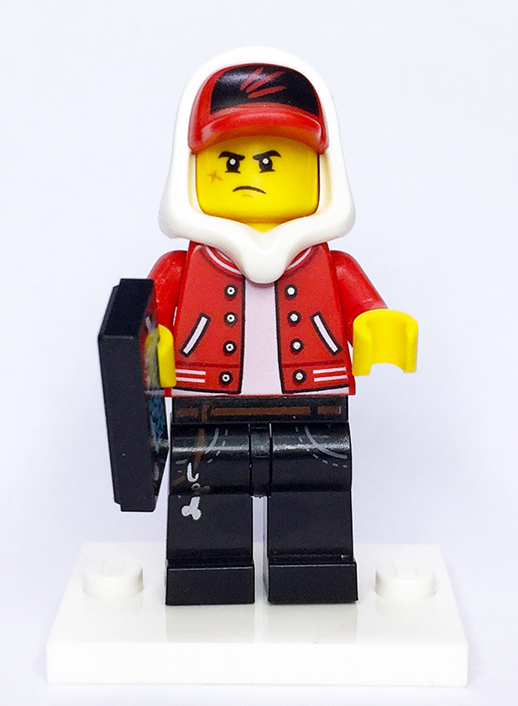
JACK DAVIDS
Jack’s is new in town and his dad is the new high school headmaster. Jack joins Parker and scientist J.B. to hunt ghost and explore the Hidden side, He loves video streaming and often get court up in his video chats and forgets to chase the ghosts. The best part of Jacks minifigure is his white hoodie moulded over his red cap, he comes with an alternate face and has a white torso with red claw marks across it and black pants. He carries his black phone where ever he goes.

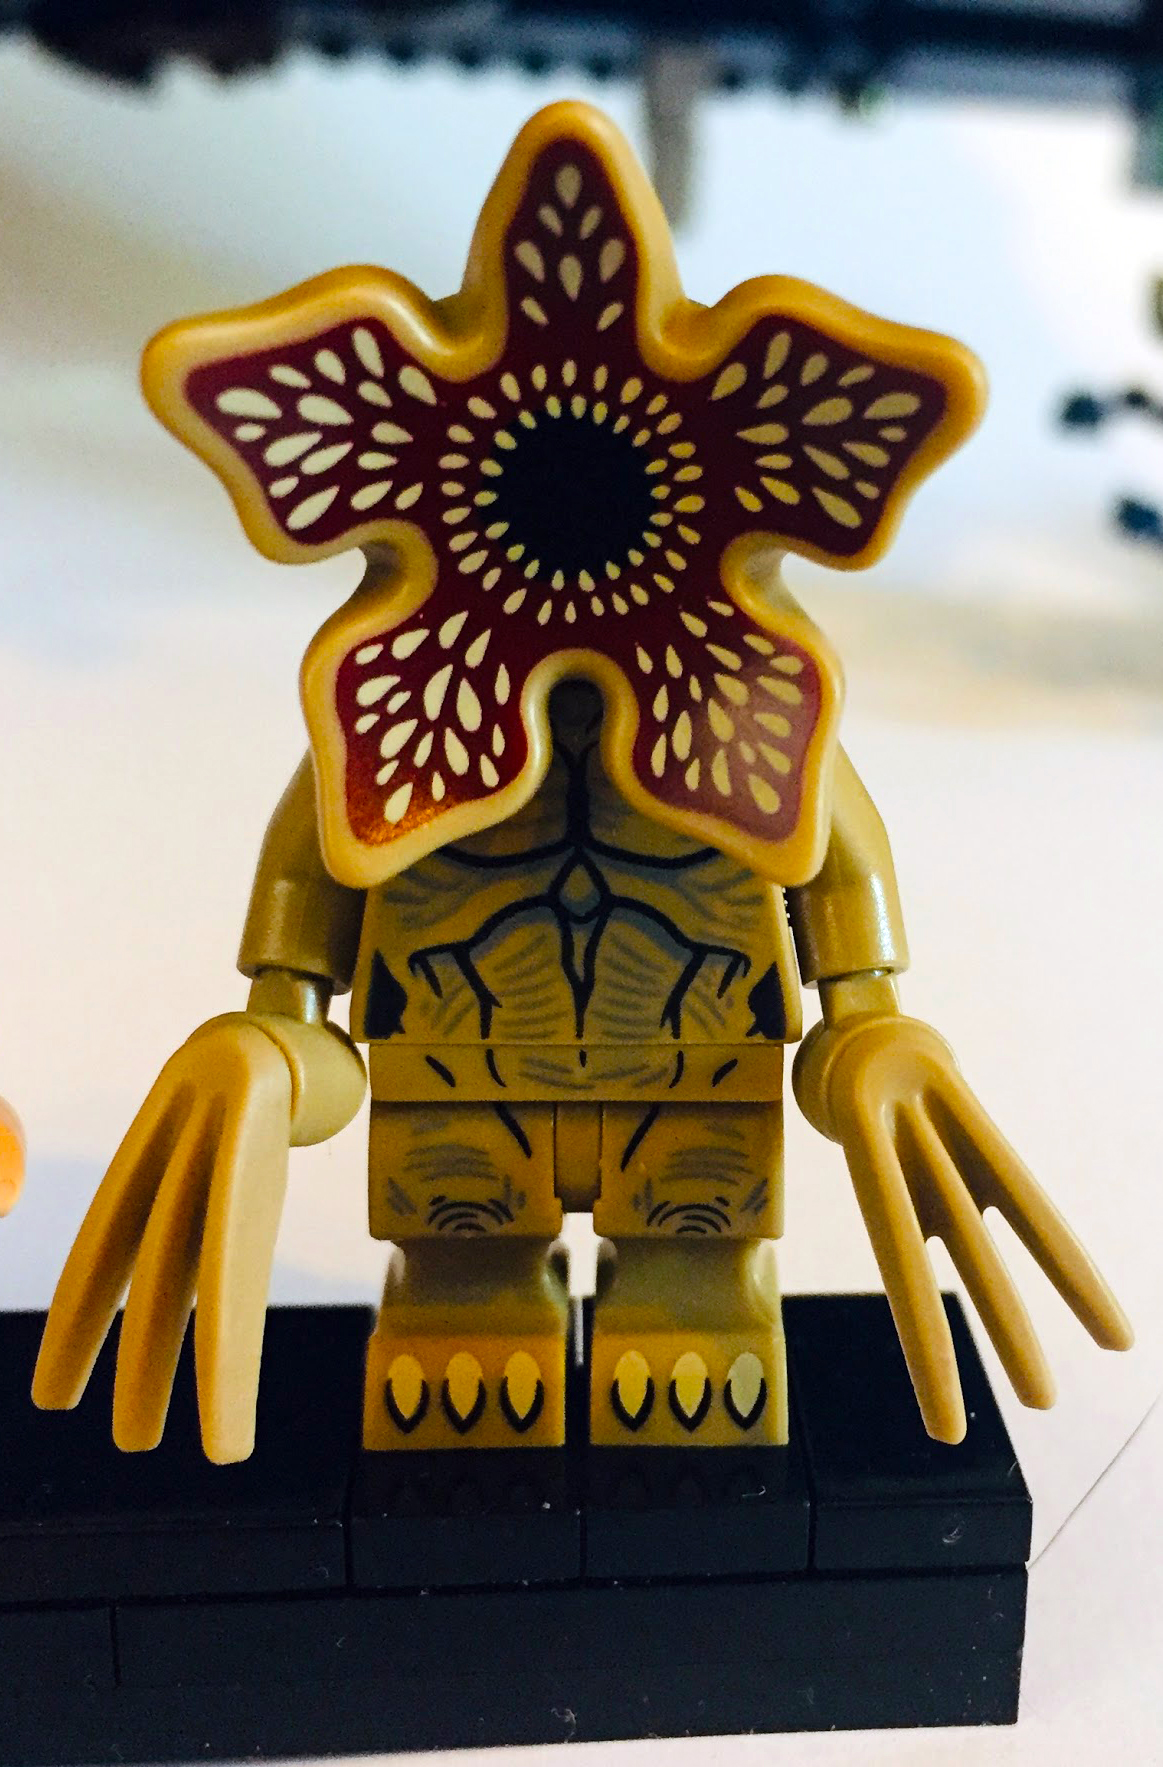
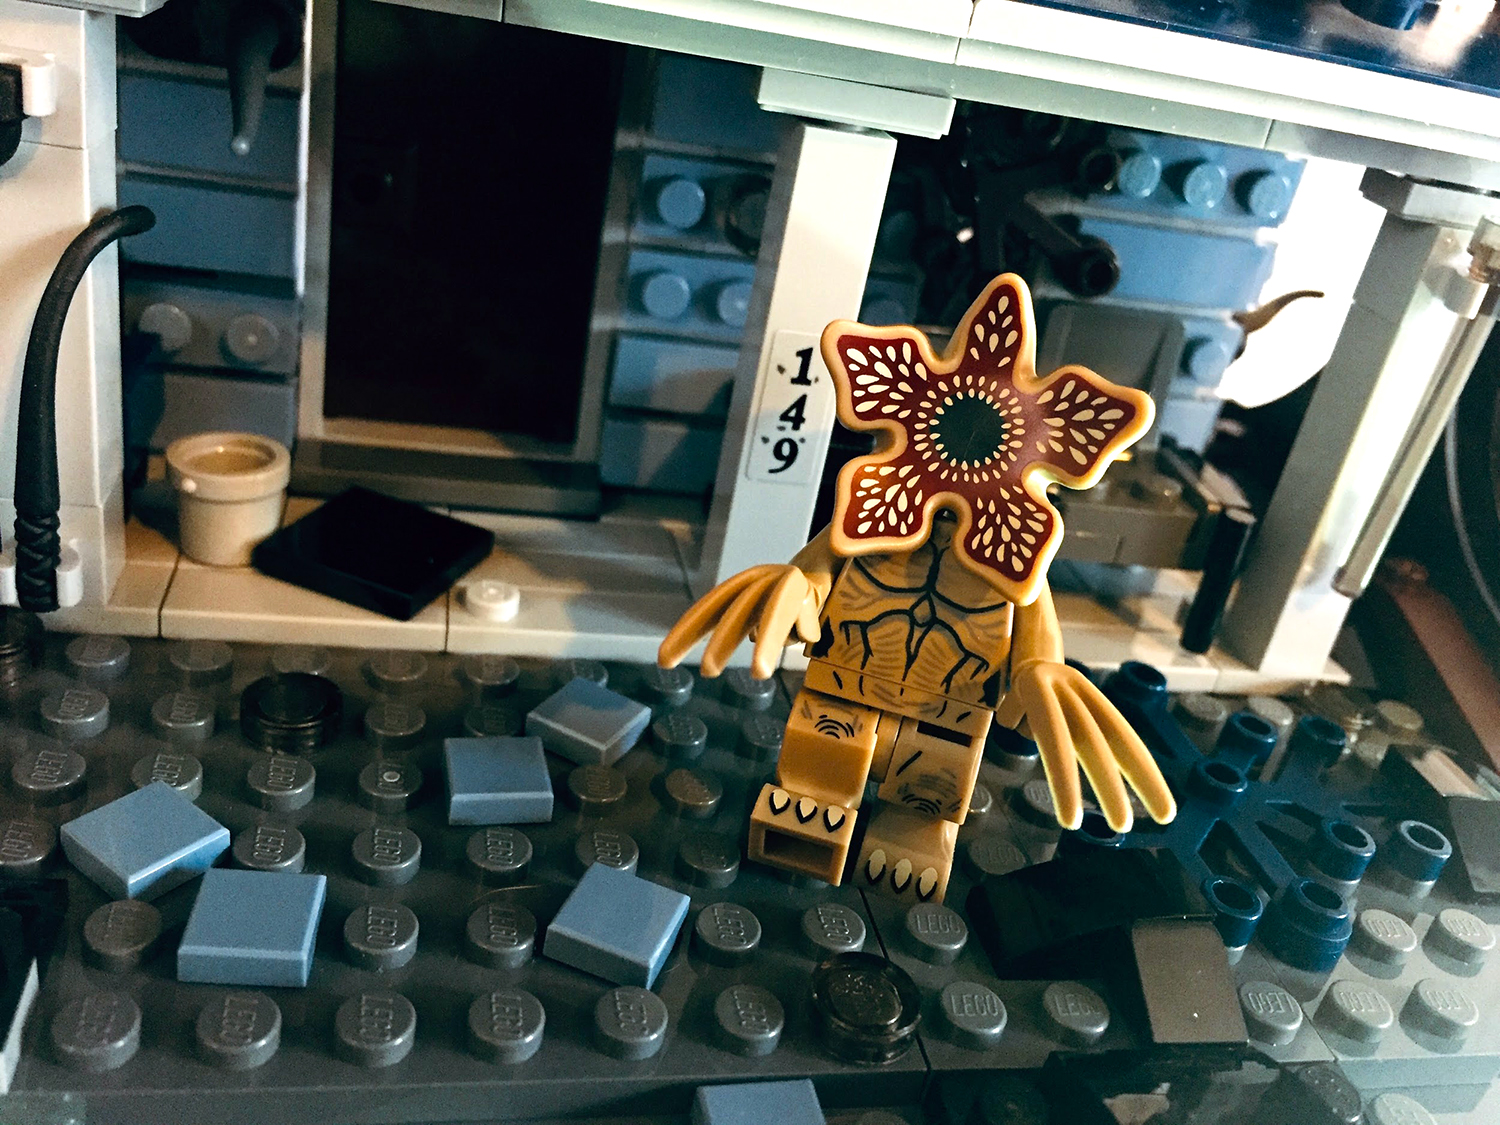
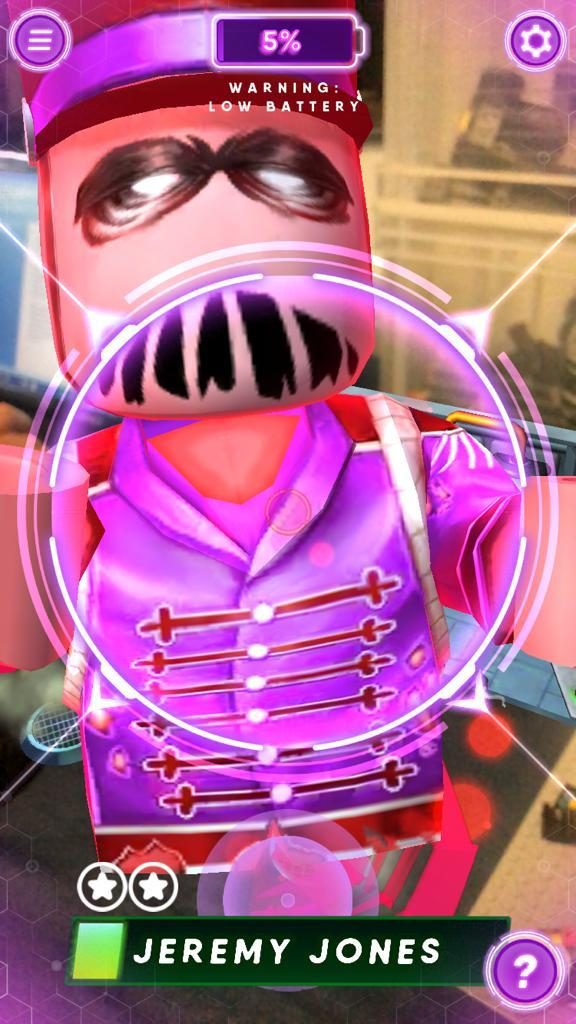
DR. DREWELL (in APP game play)
Known hang-out: J.B.’s Laboratory Soul Artifact: Erlenmeyer flask
Dr Drewell was a brilliant scientist working on experiments for the pursuit of eternal youth, however things don’t always work out in life as planned.
The Build
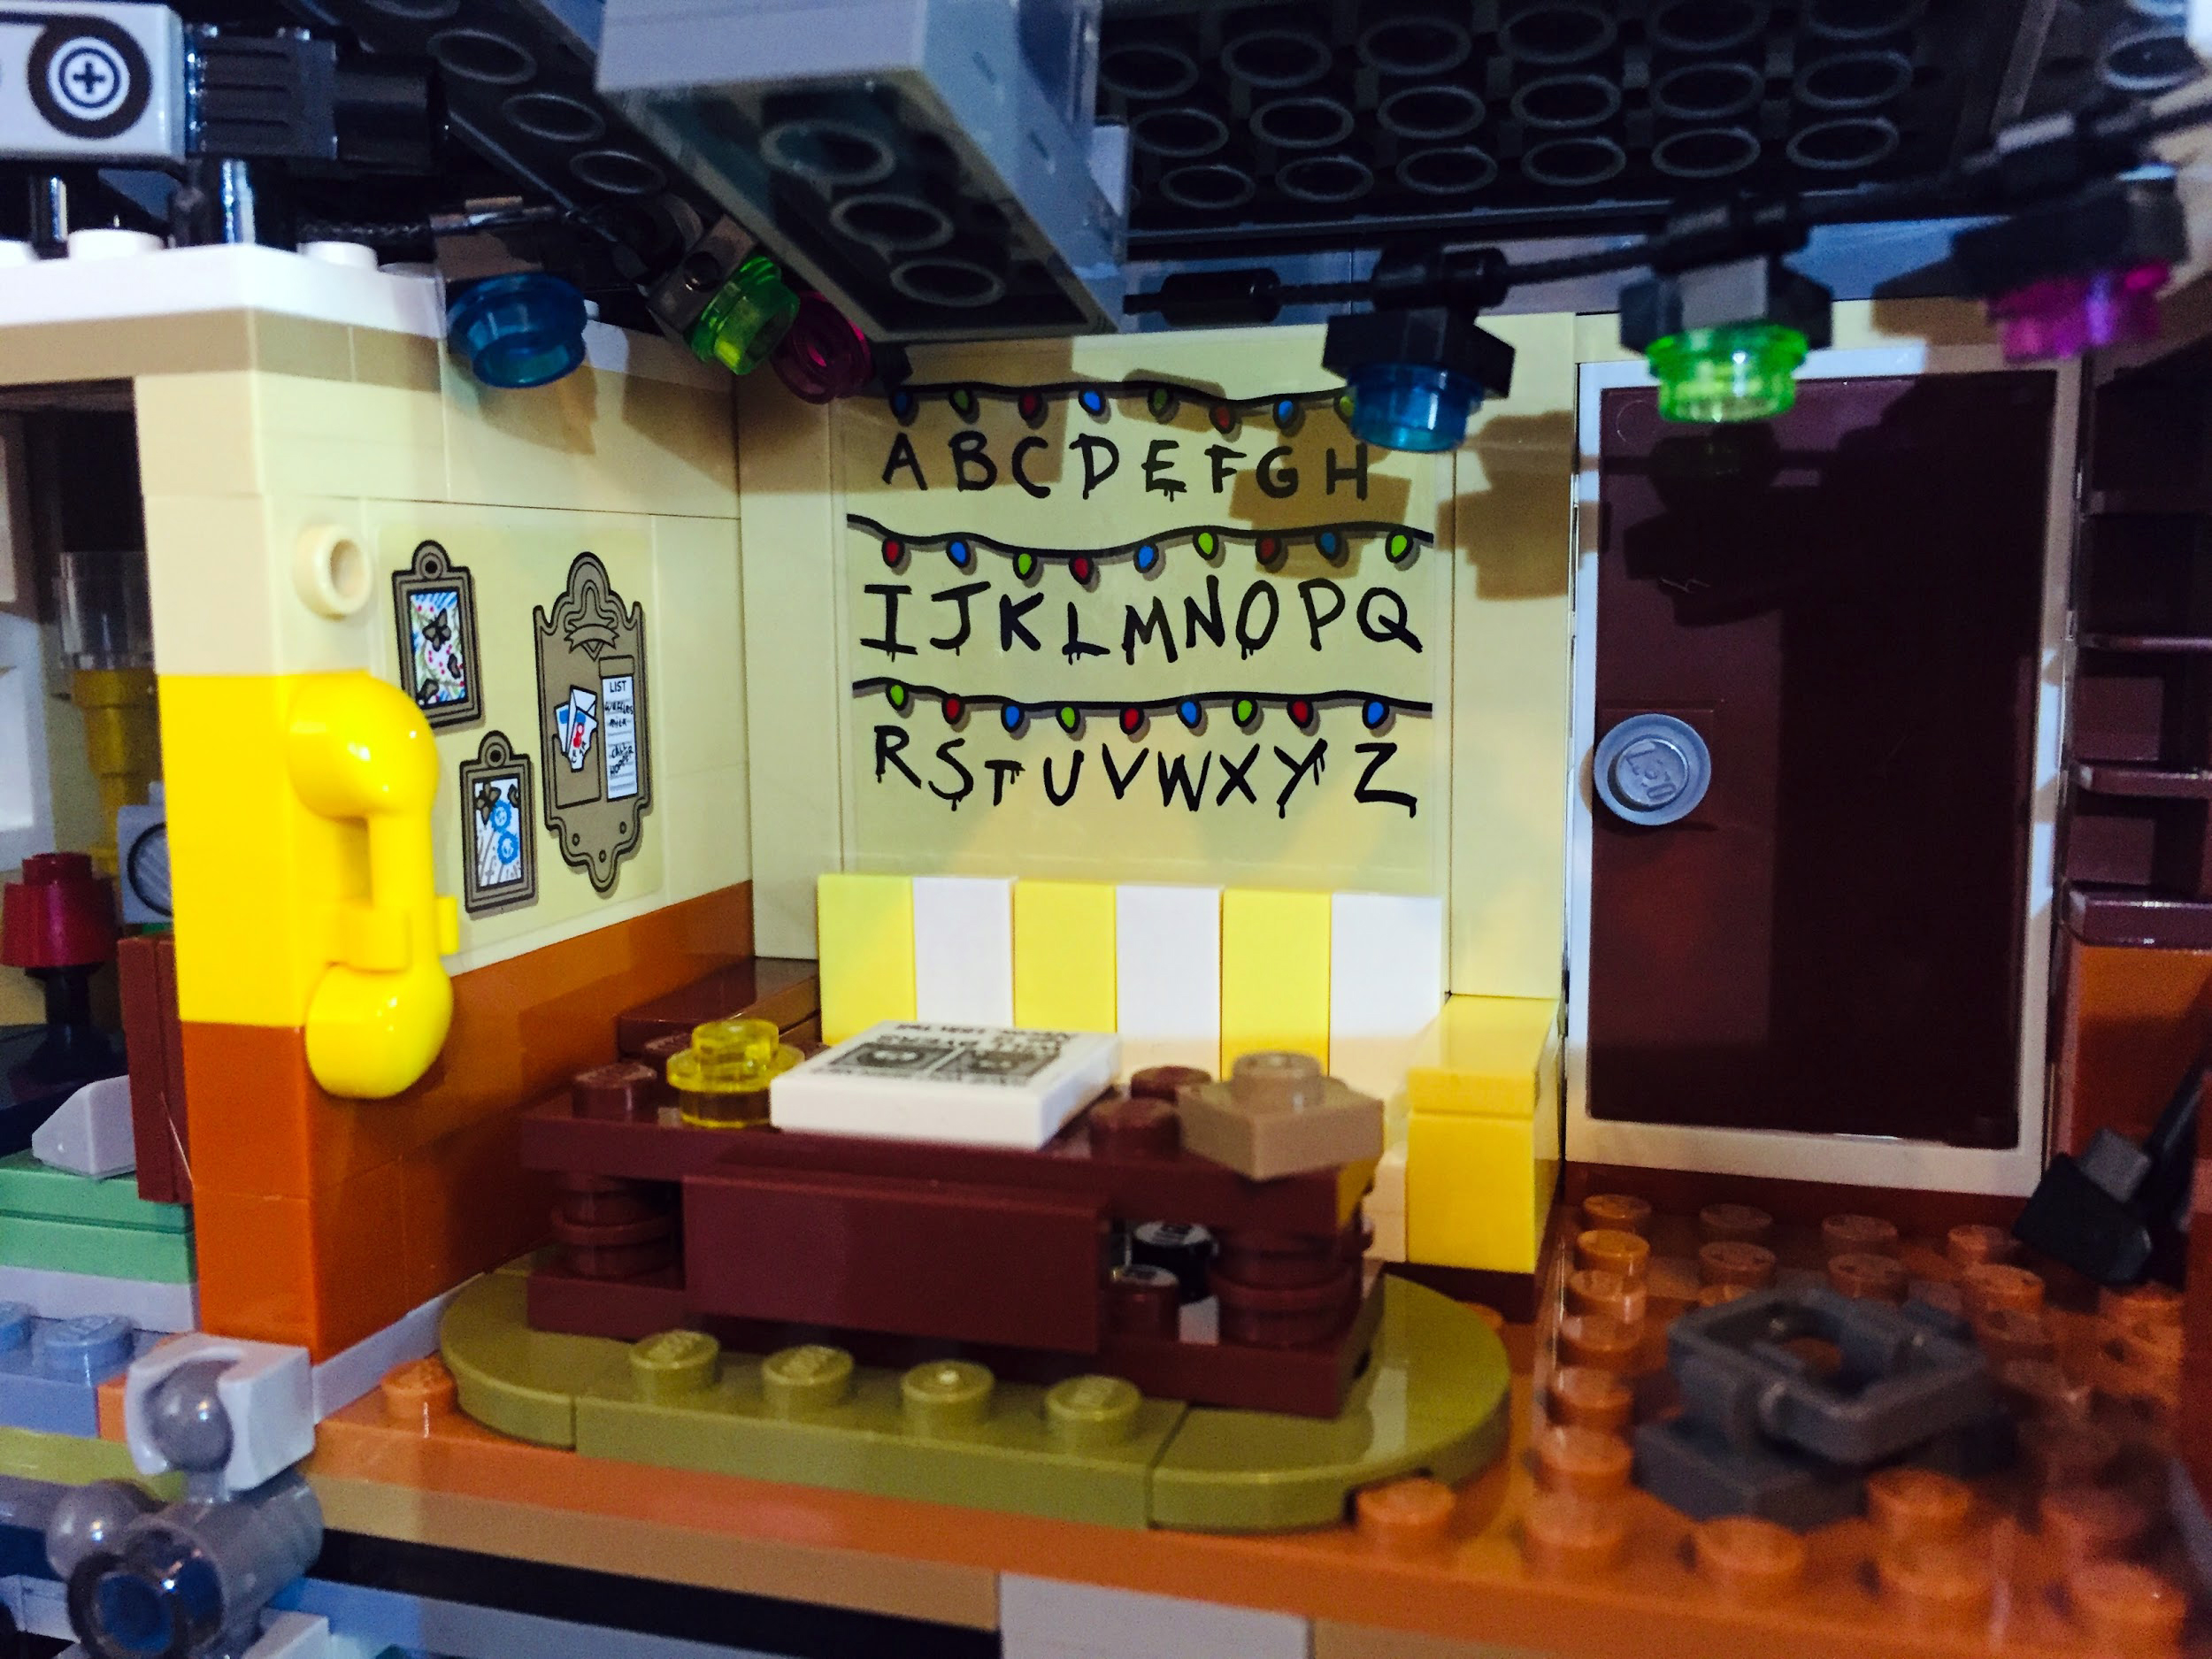
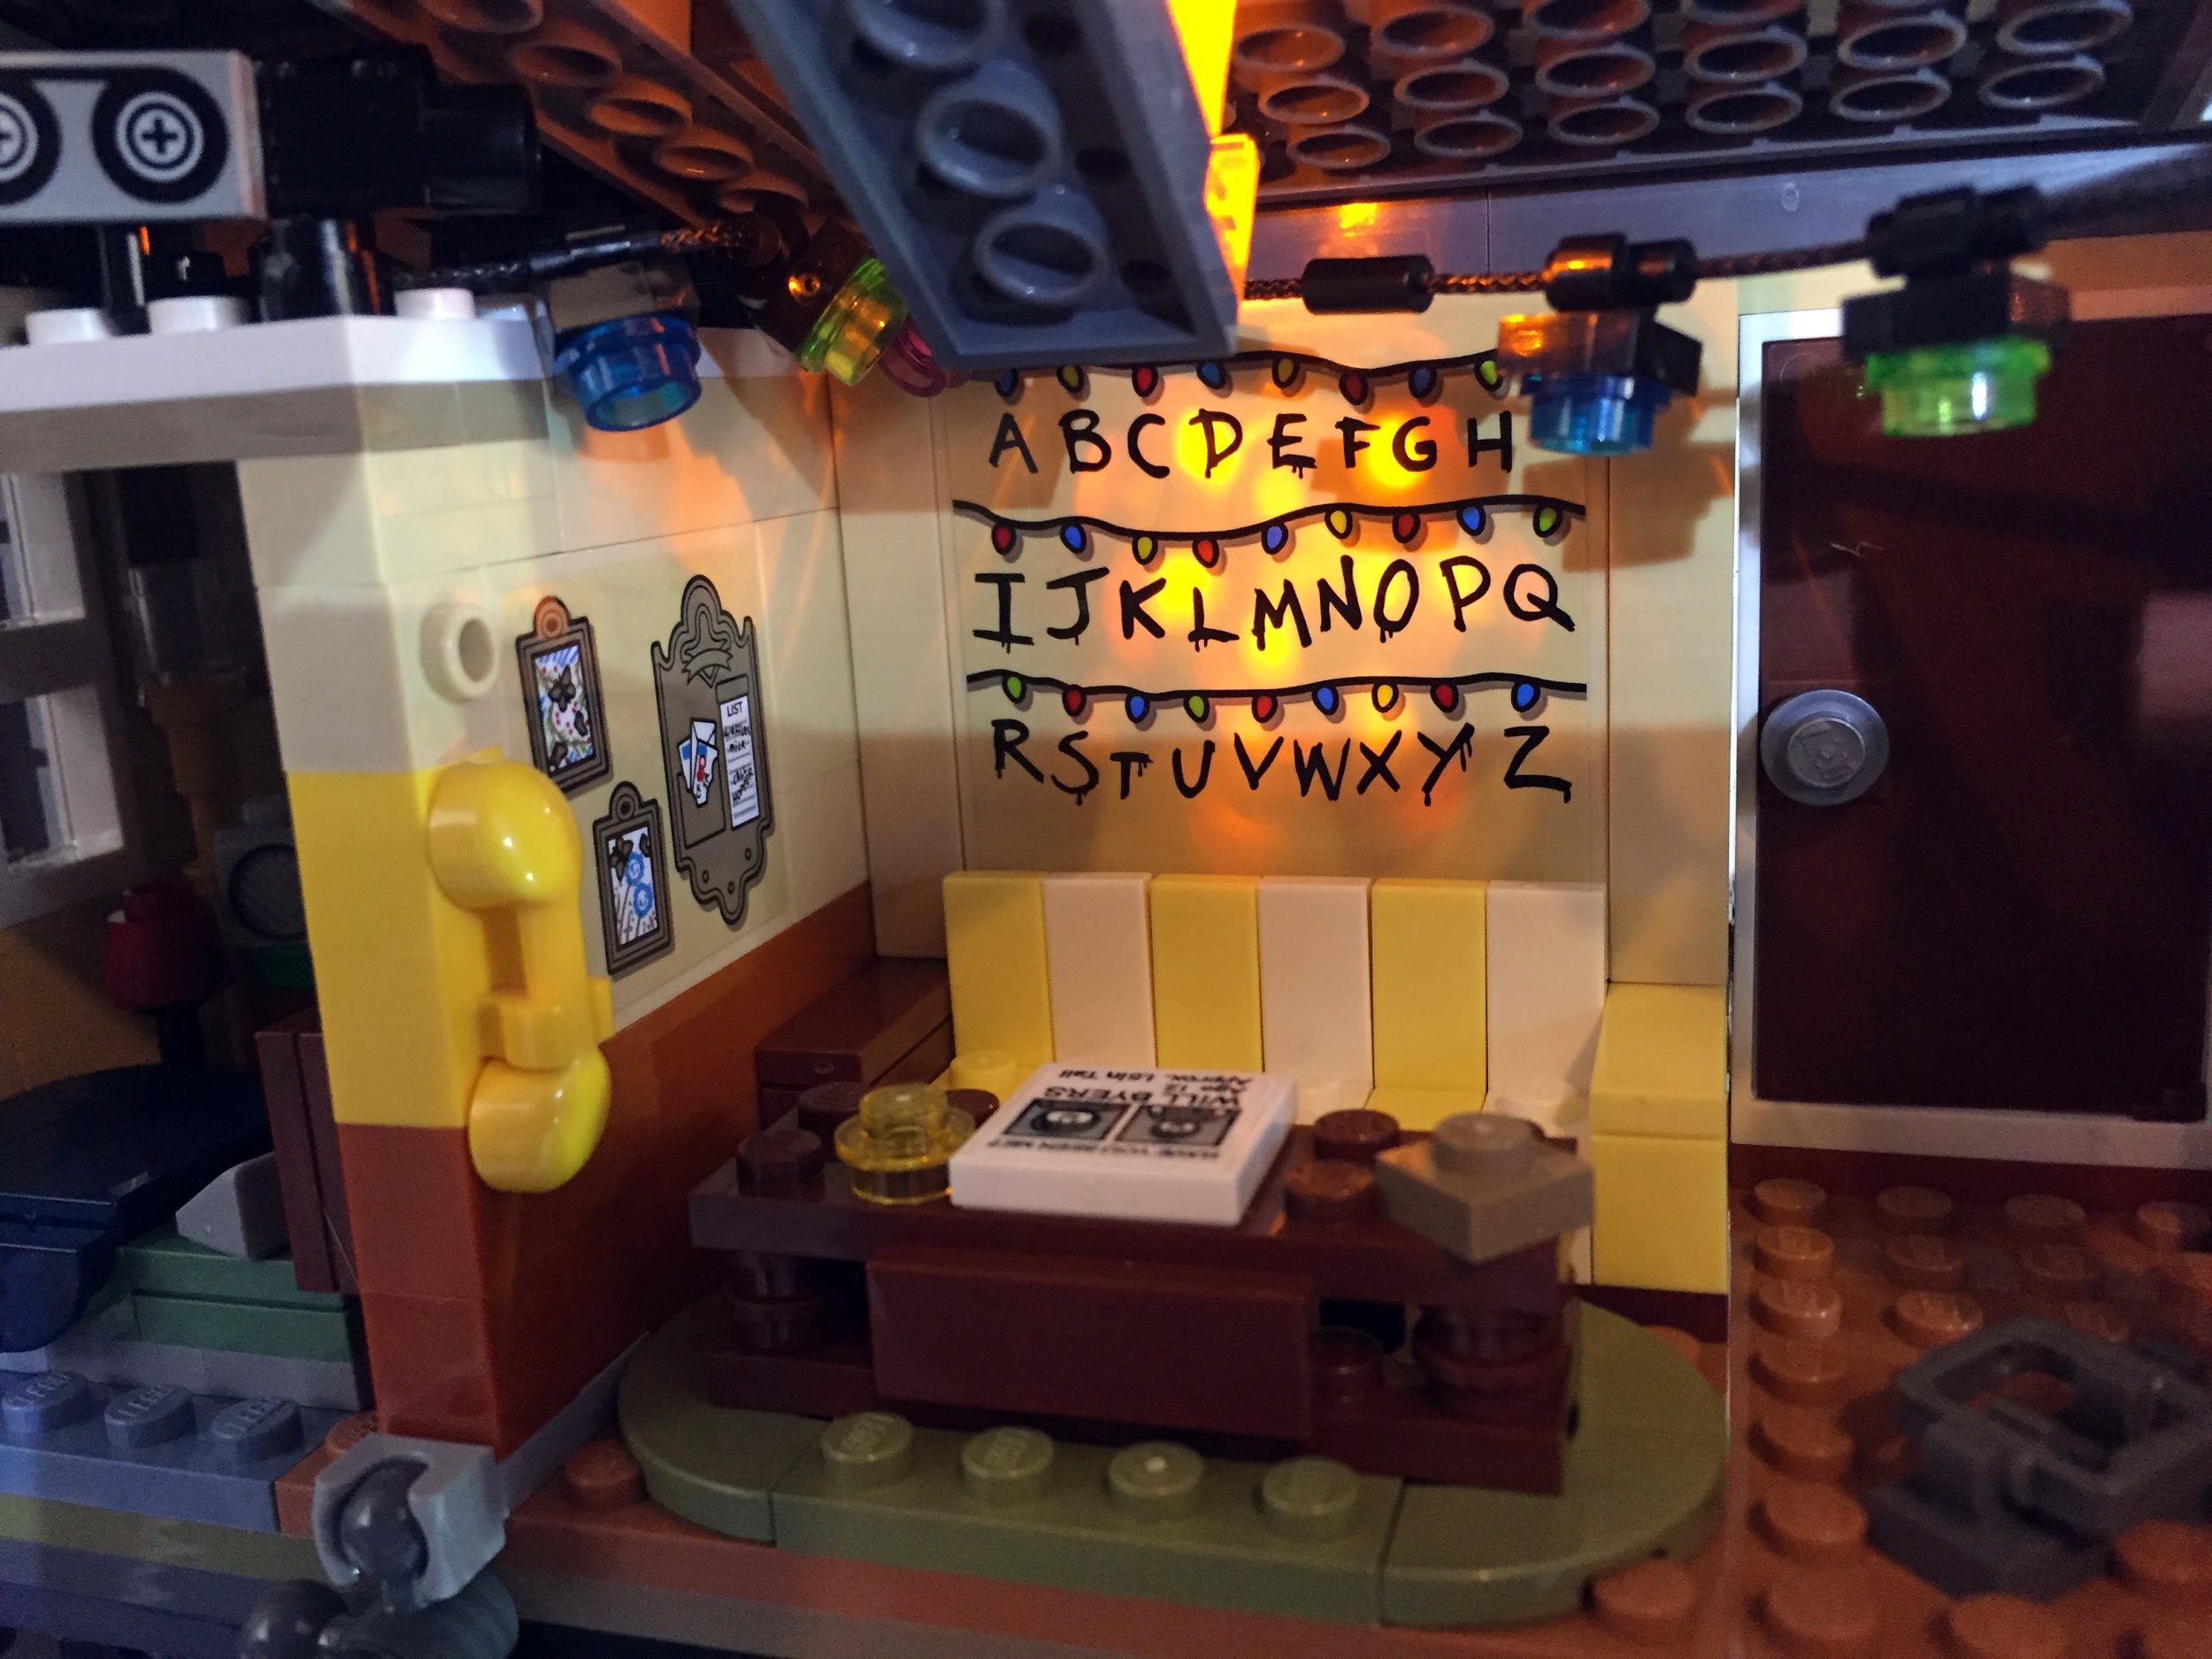
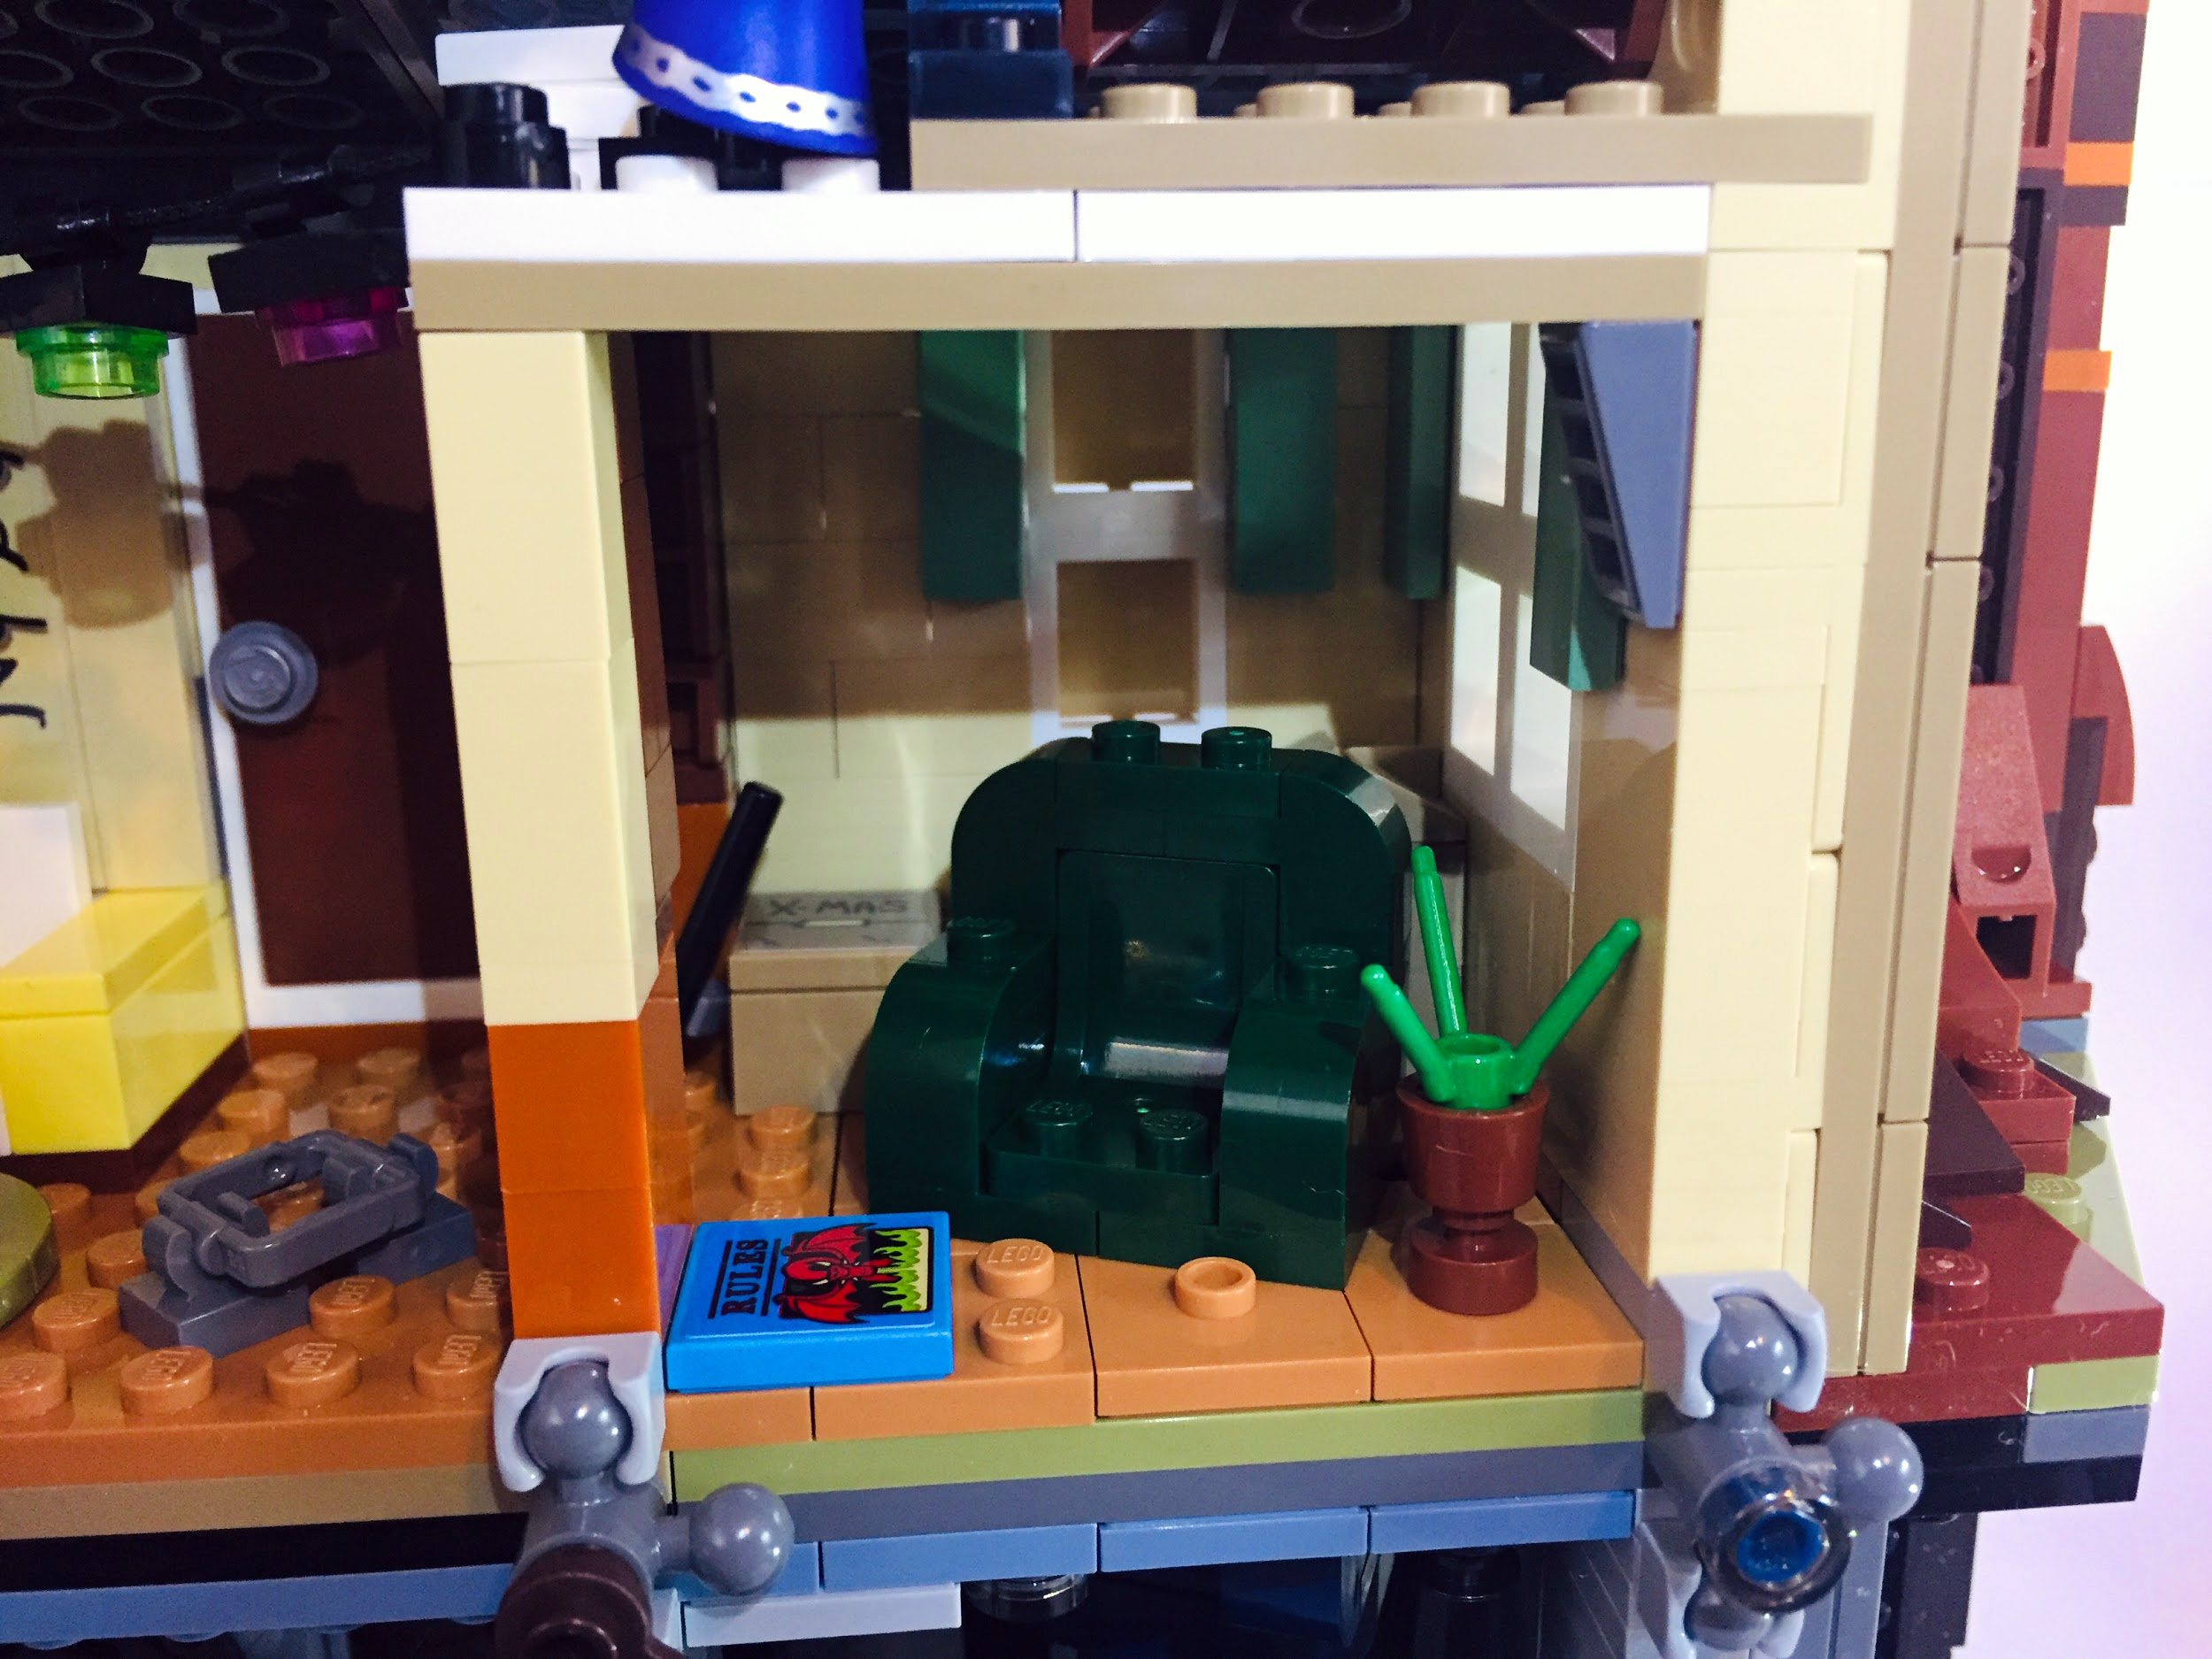
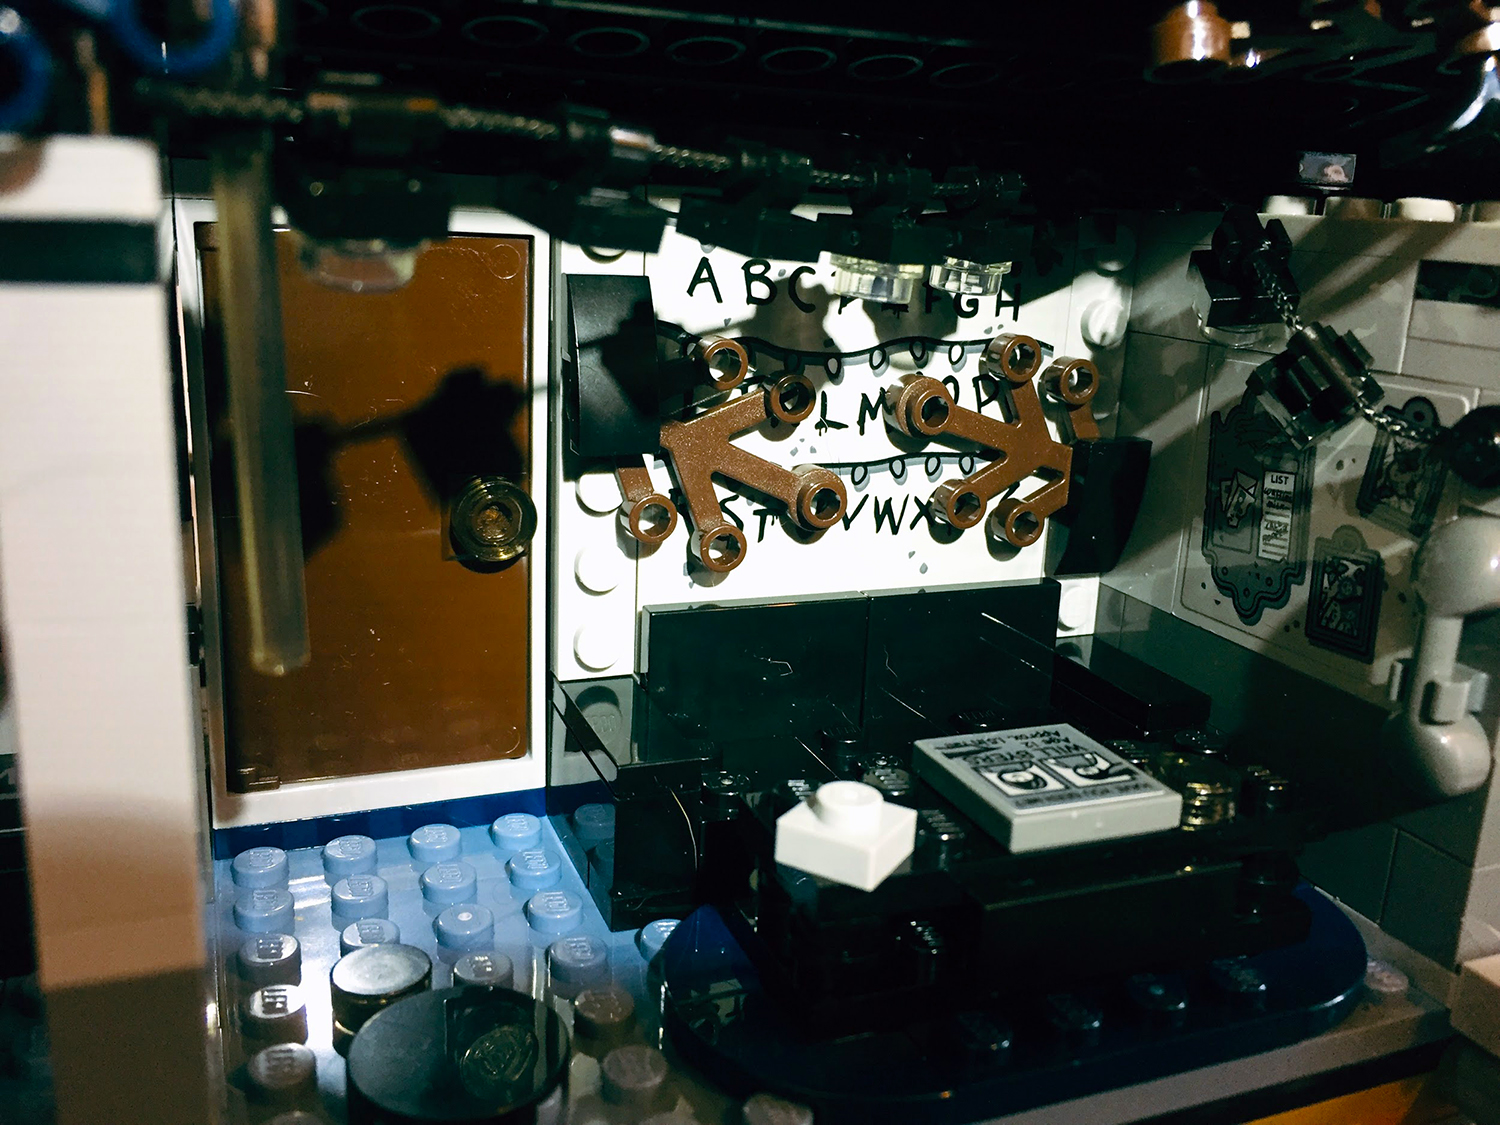
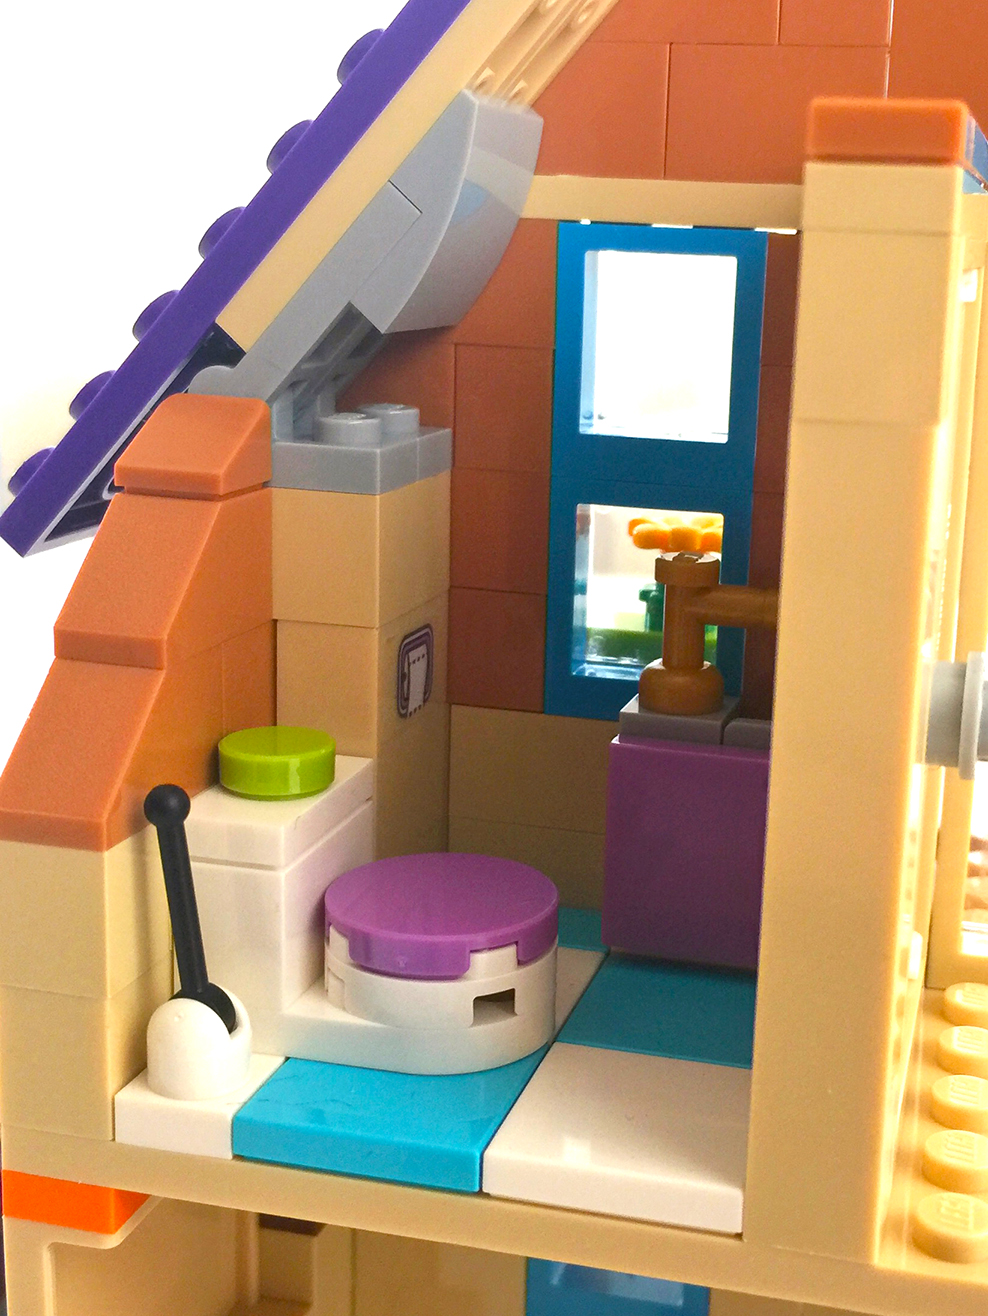
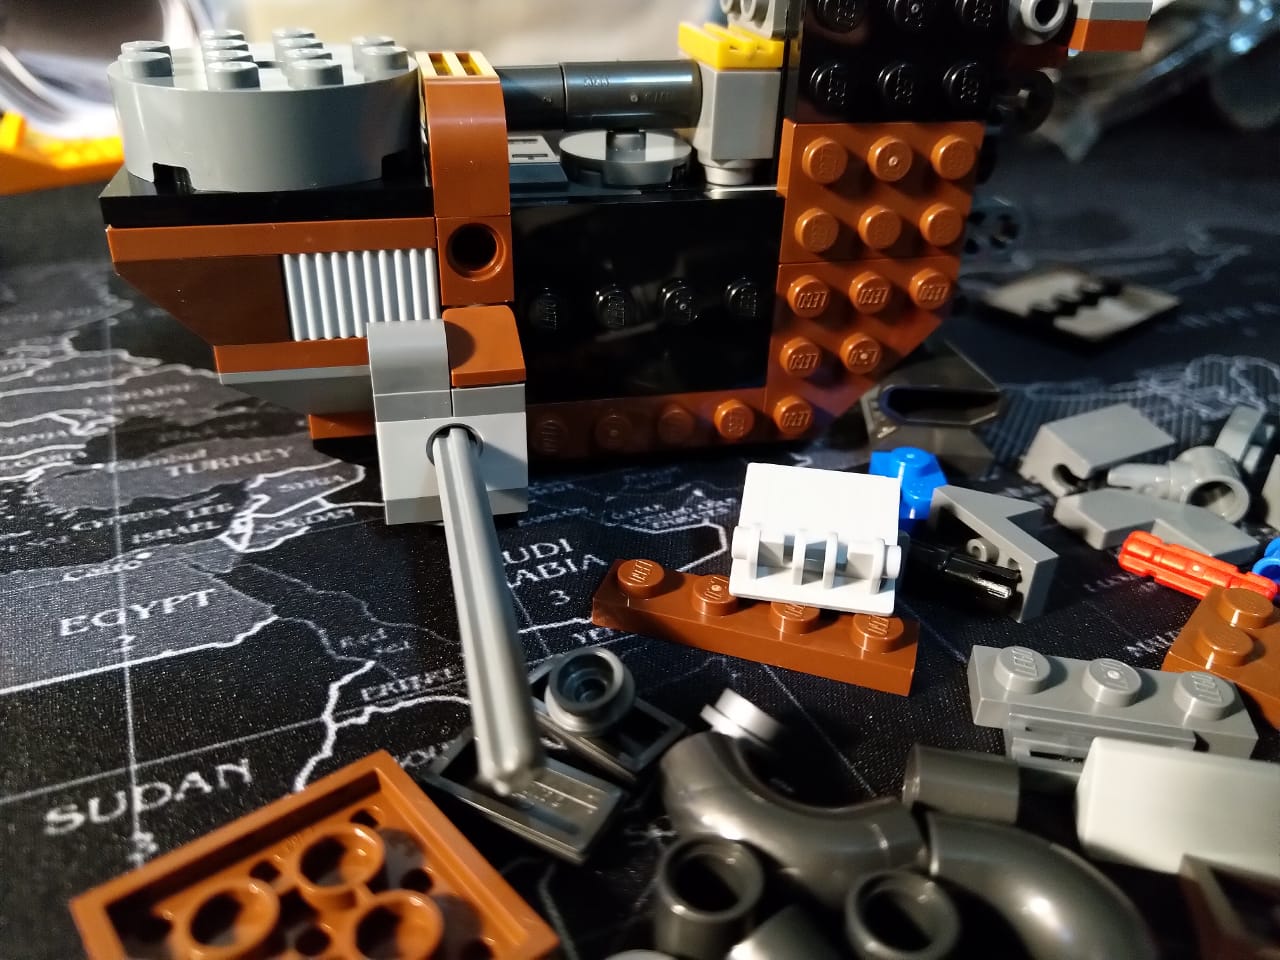
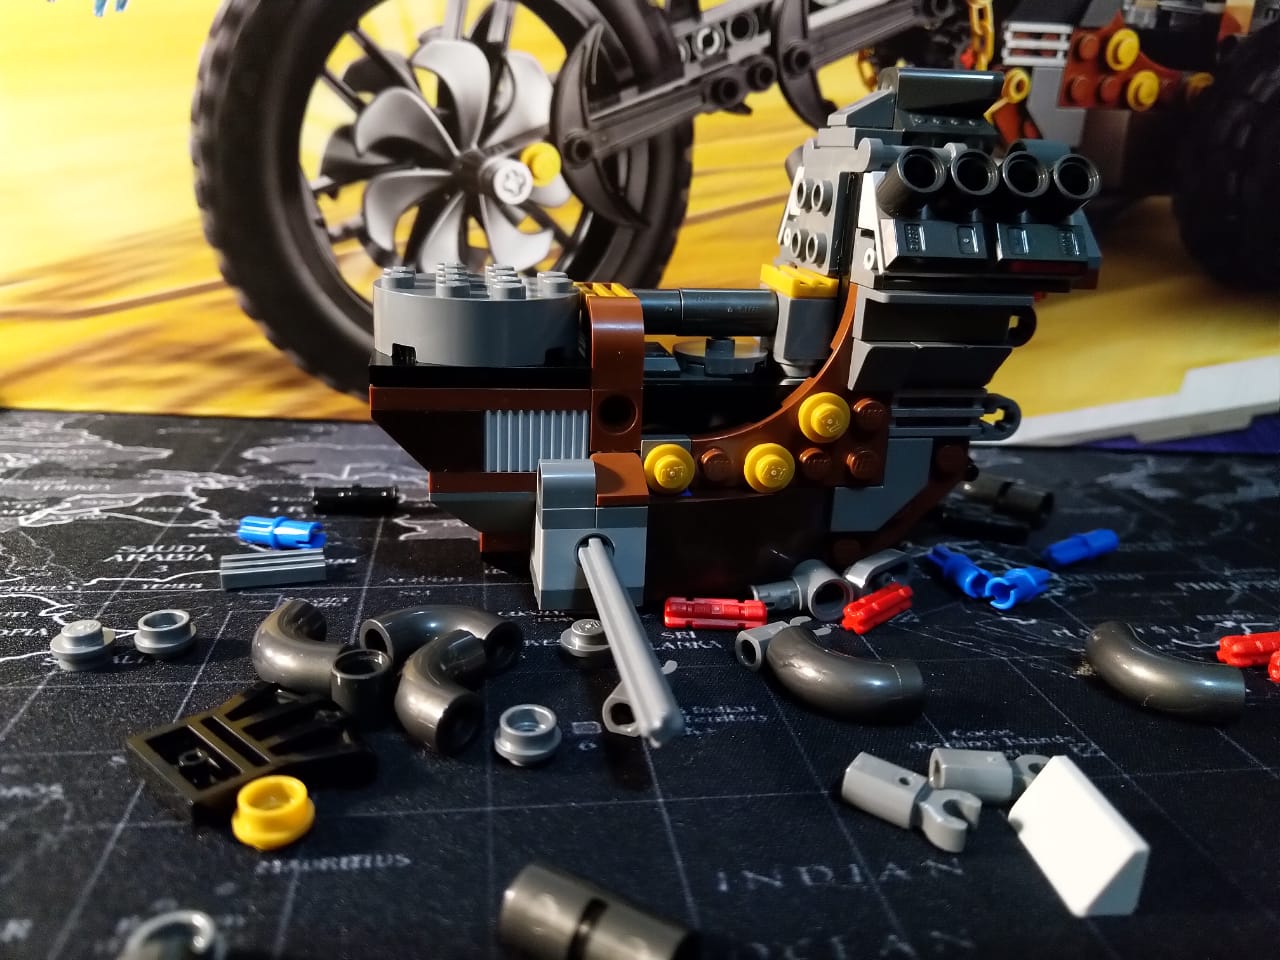
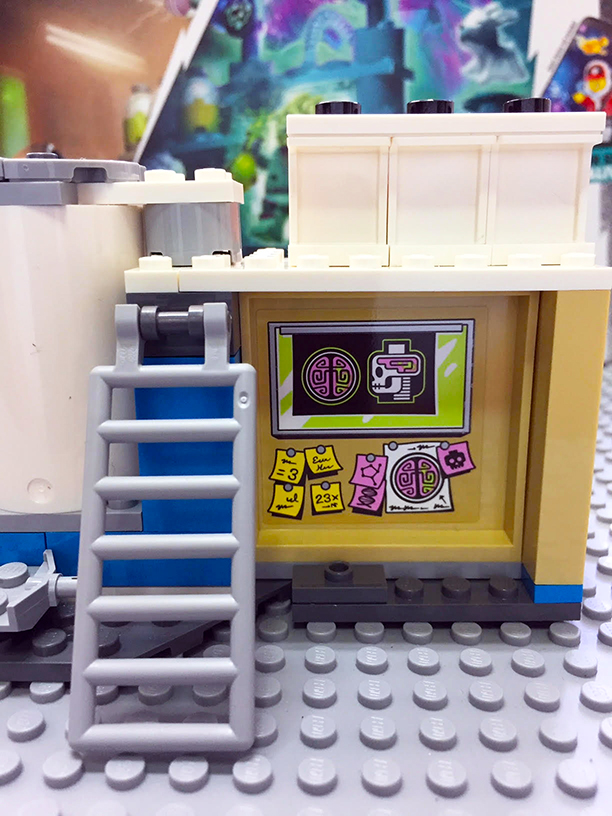
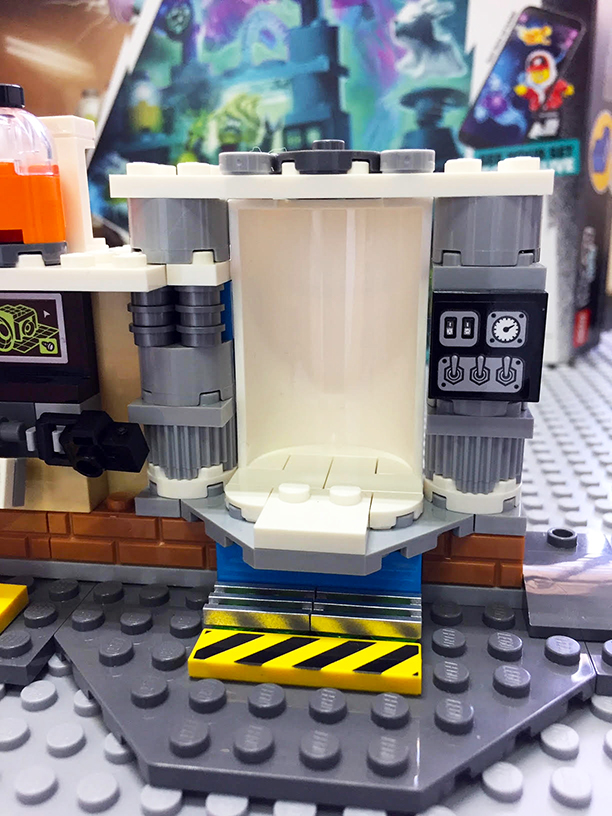
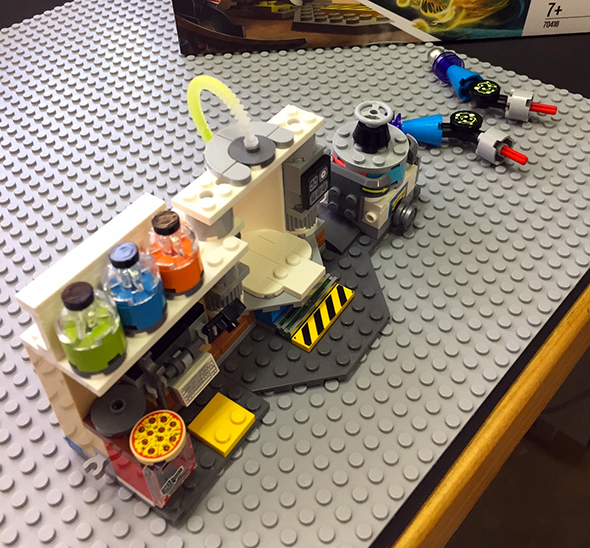
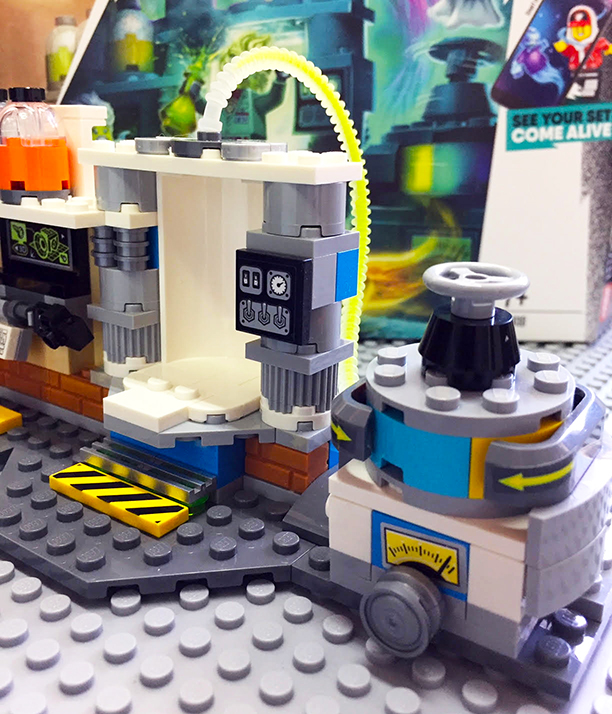
Callum (7) built this set on his own starting by building the colour scanner which you use in the APP, each colour gets scanned to get the ghosts to come out of hiding, three stickers are used on the scanner, two arrows to show the turning direction and a small sticker with a meter on it. You then fit a sturdy octagon plate to form the base of the Lab, a 6×6 plate is used next to the octagon base for the rest of the lab floor and the walls and the basic shell of the Lab is built with a large sticker placed at the back of the lab which has some sticky notes and some x-rays of a skull and the cross section of a Brain. Callum and I really liked the use of the silver grate pieces for the step up to the white chamber and the use of a yellow 1×4 warning tape printed tile.
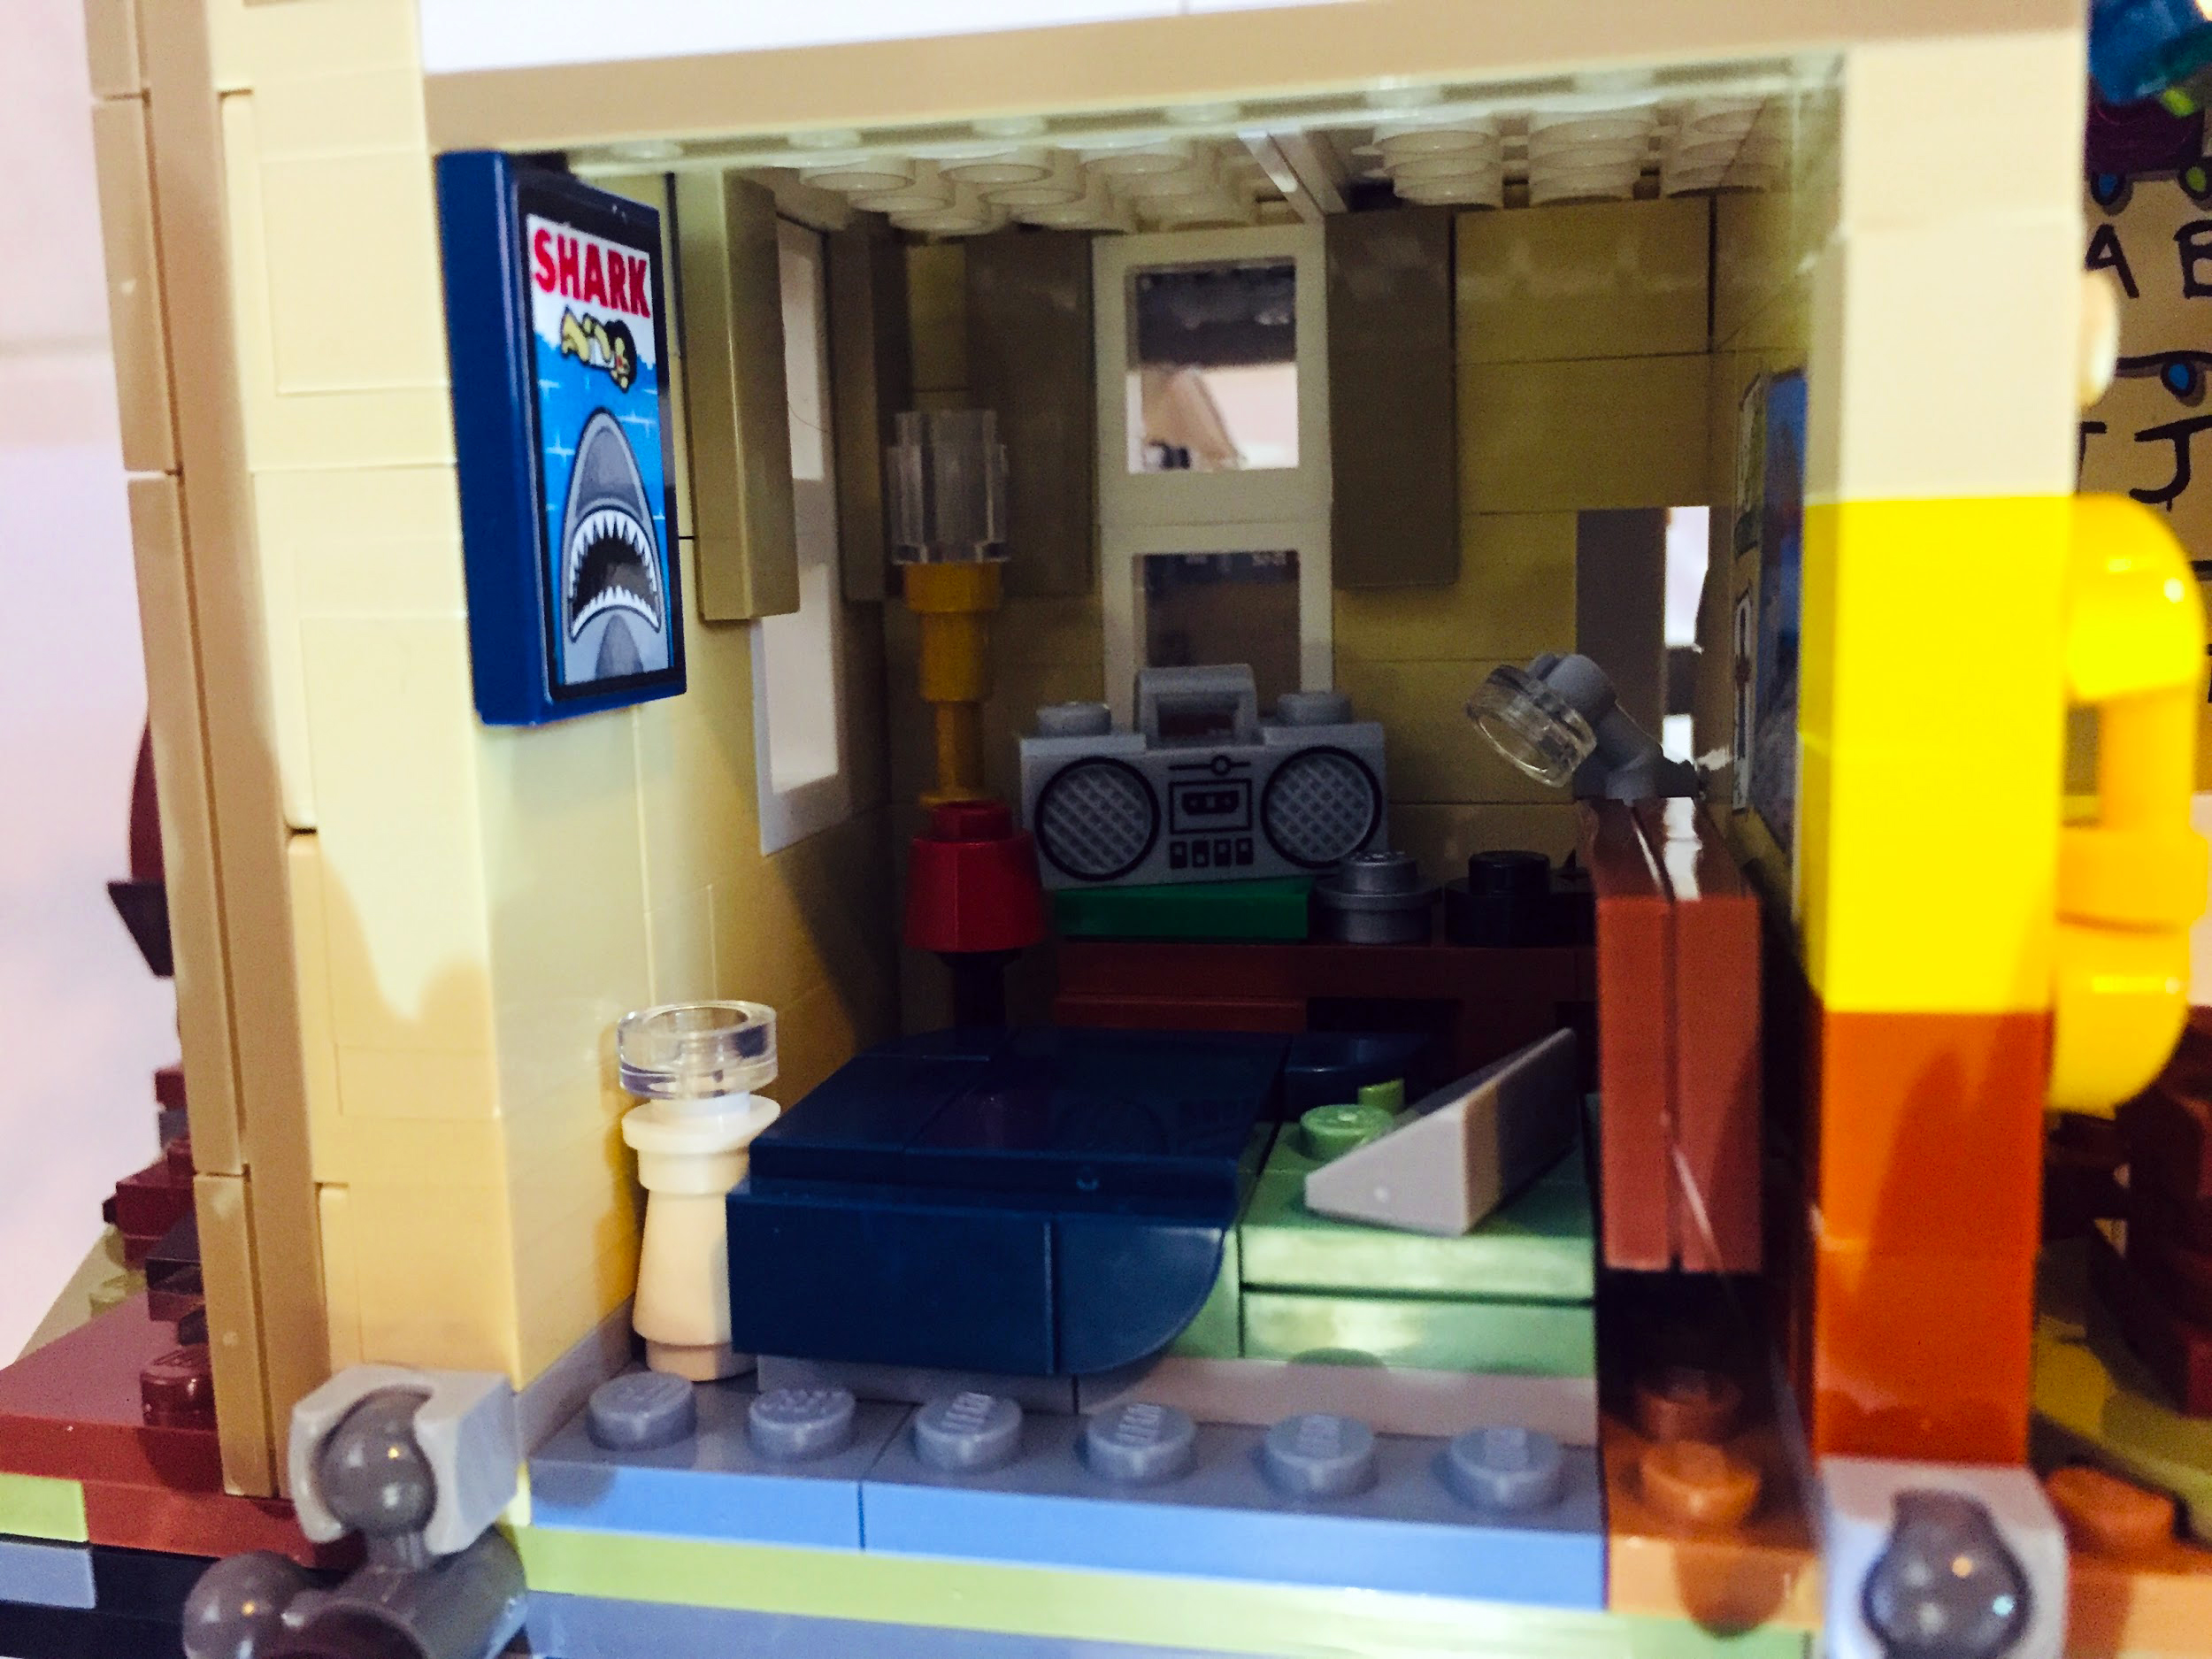
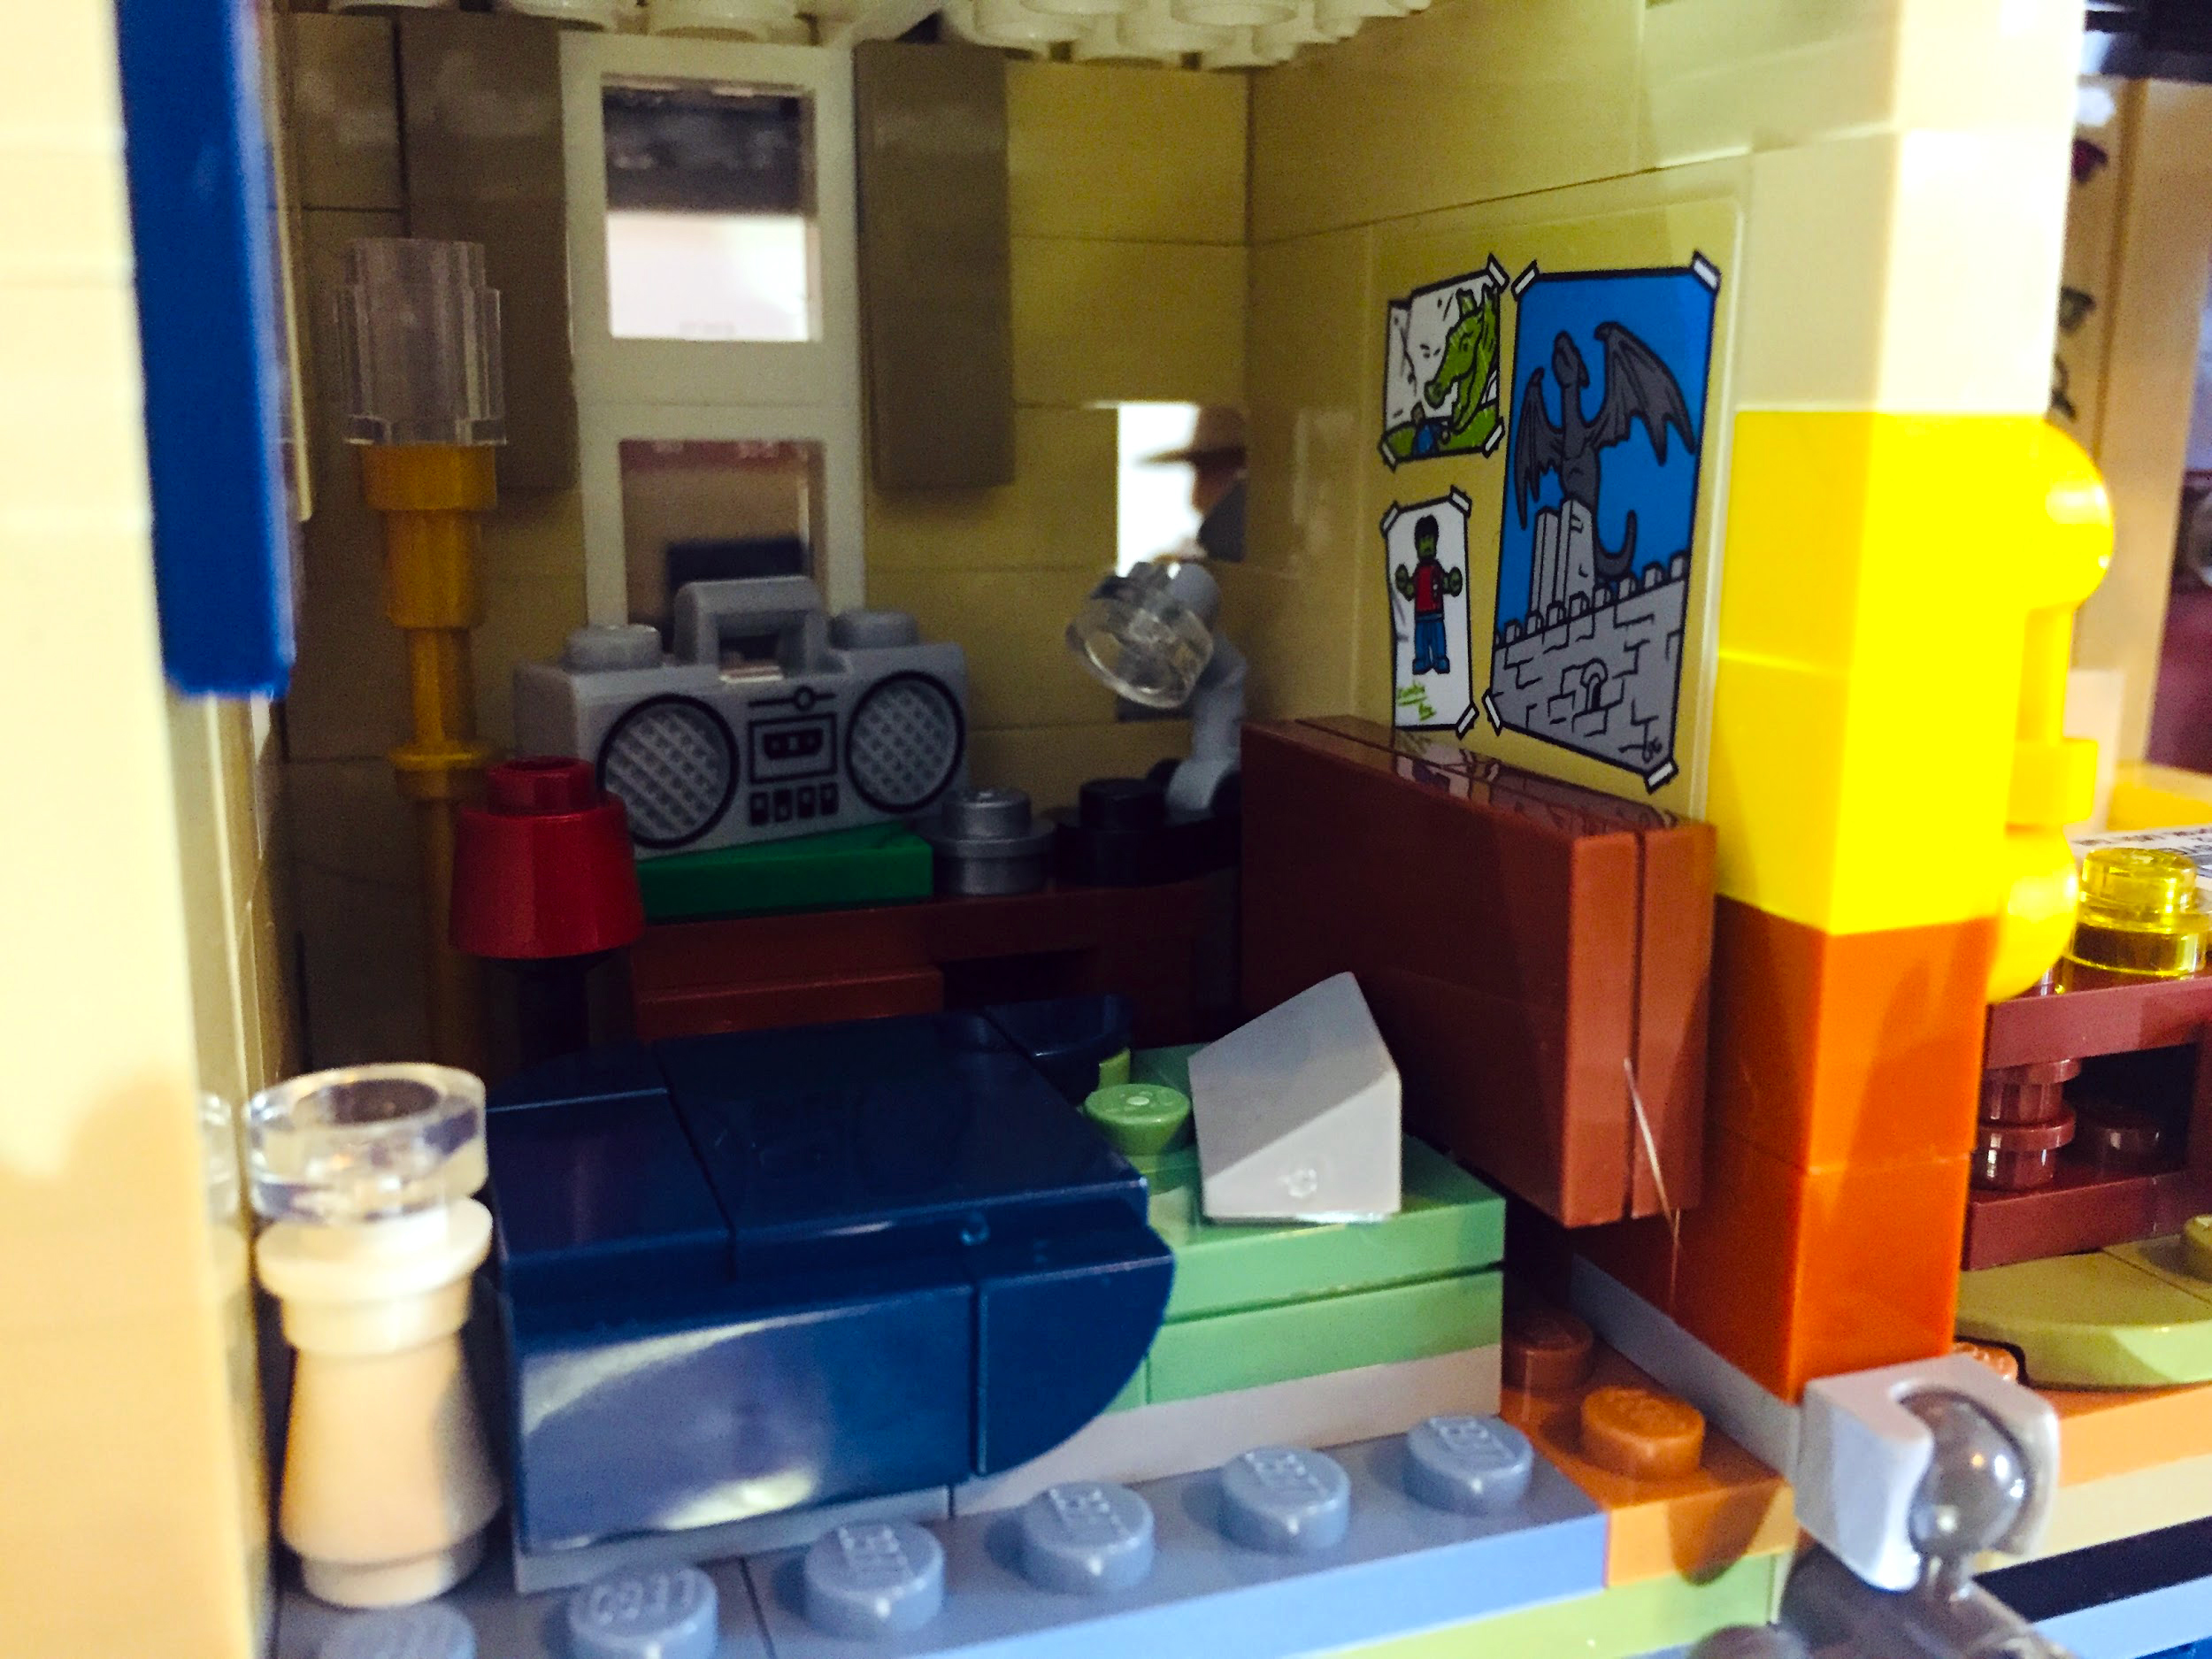
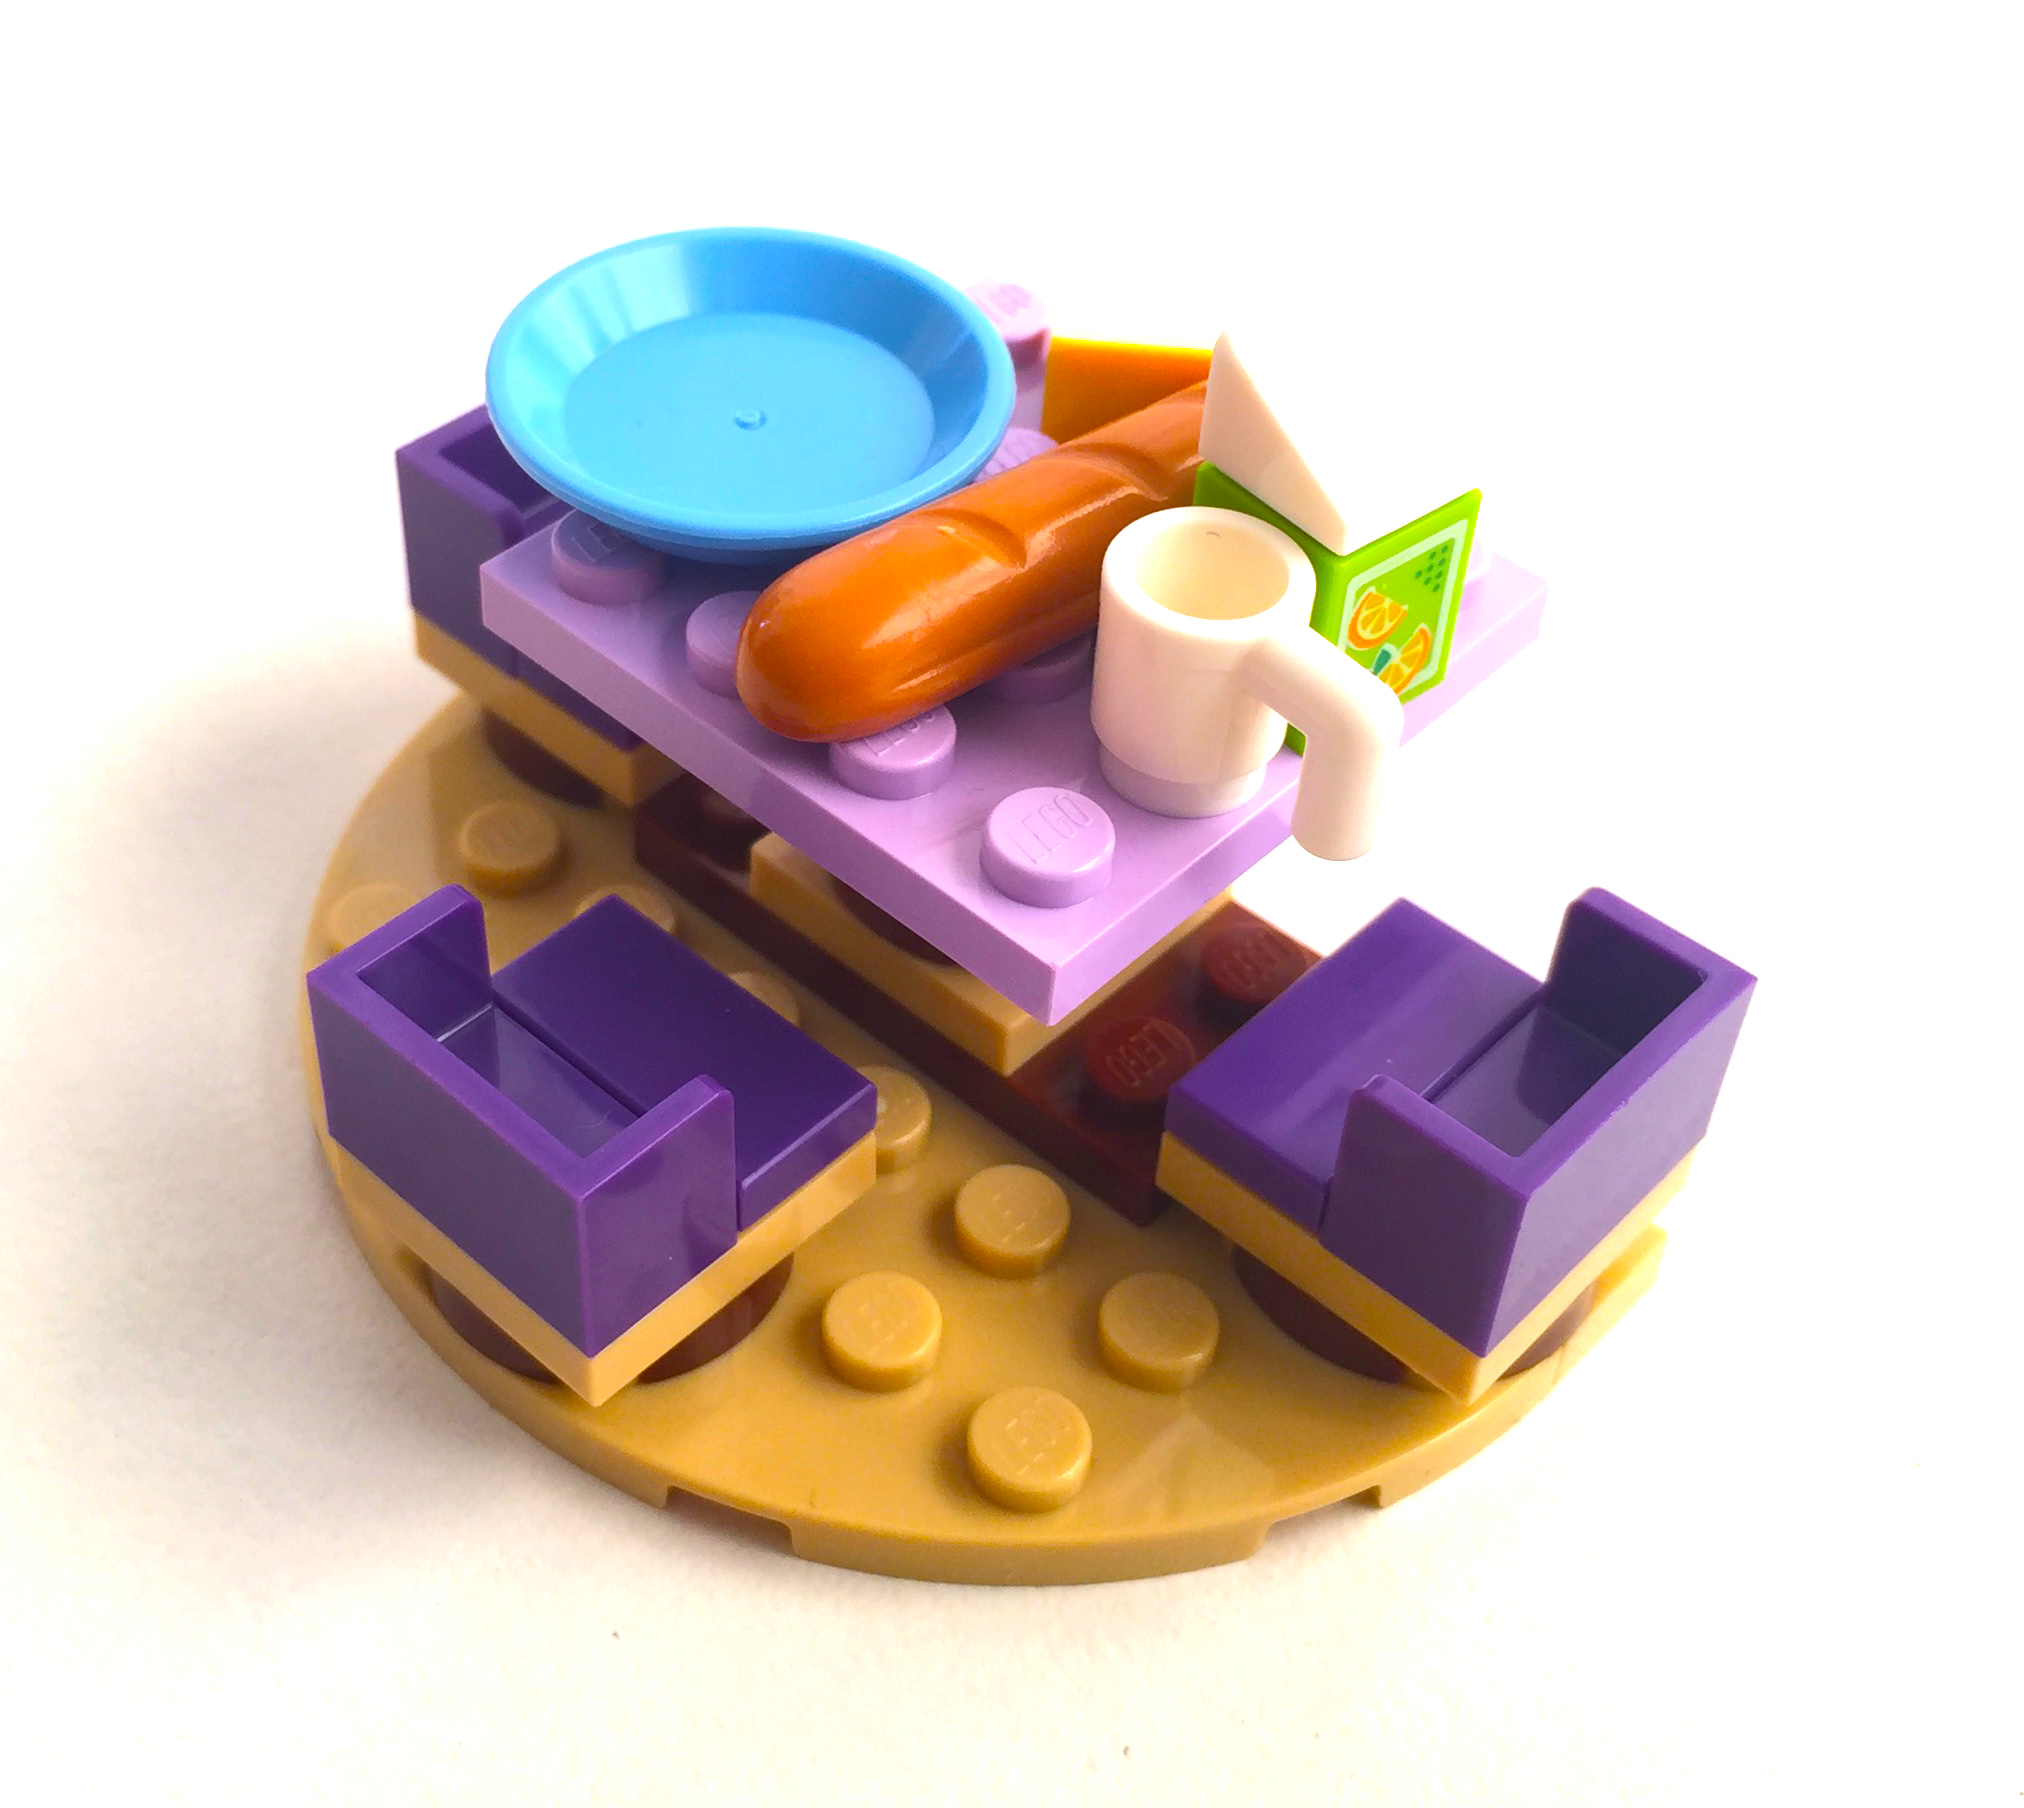
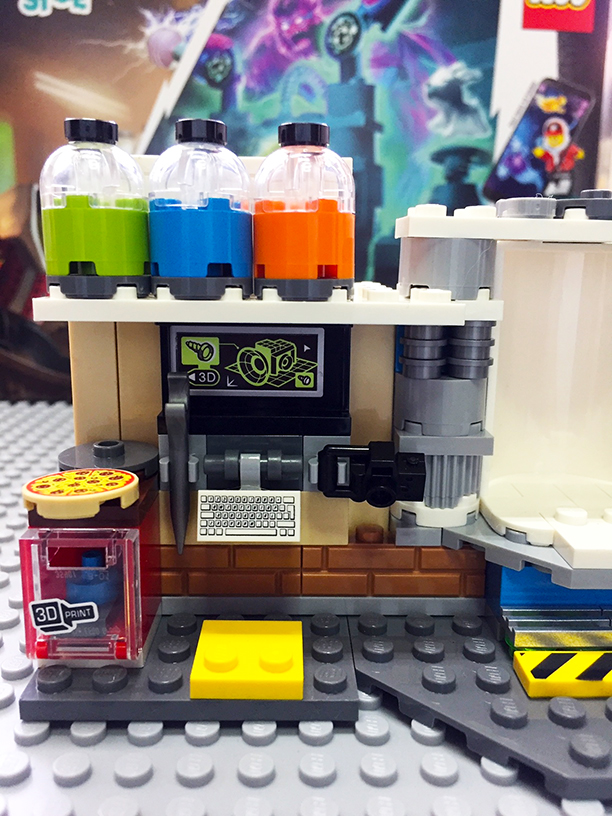
Bag two is where the real fun begins as you get to add all the detail onto the build. In the laboratory area there is a computer screen with a sticker added for the display and the keyboard is a printed piece, another printed piece is the pizza which is a nice addition to the set, however as J.B. is a lover of coffee we were expecting the iconic LEGO mug. Next to the keyboard are a spanner and camera, the 3D printer with the translucent front piece is a fun addition to the side of the computer. Above the computer screen are different colour jars that are used in the APP to find gloom however this changes with ever opening of the APP. A great piece to have in this set is the clear lime green pipe connecting the selector to the chamber. Above the chamber are electric rods which conduct electricity, they have used two round tiles with stickers to represent sparks or burst of electricity. It took Callum one and a half hour to build this set with a break after bag one.

The APP
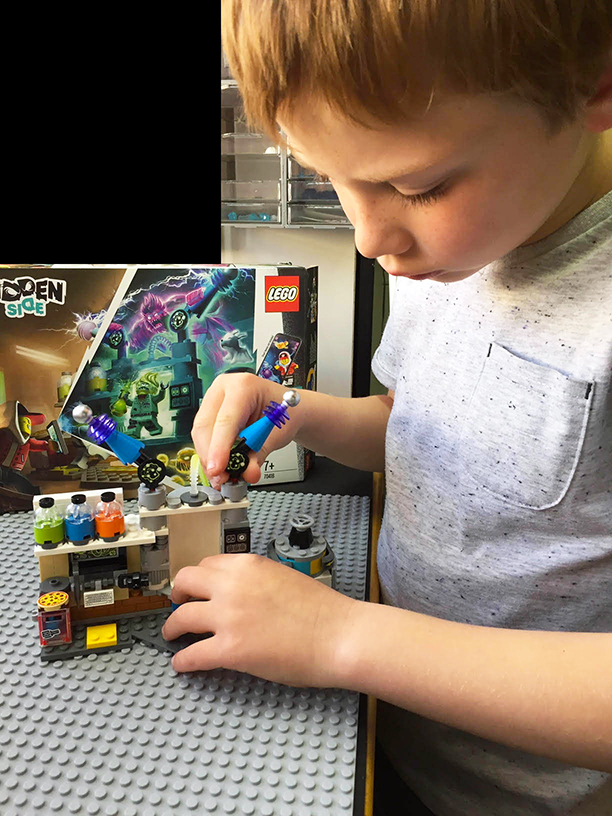
We struggled with the APP at first, there is a bug which LEGO is aware of which they are currently working on for the IOS user in South Africa, and you will need to change your region to United States before you can download the APP and open the program.
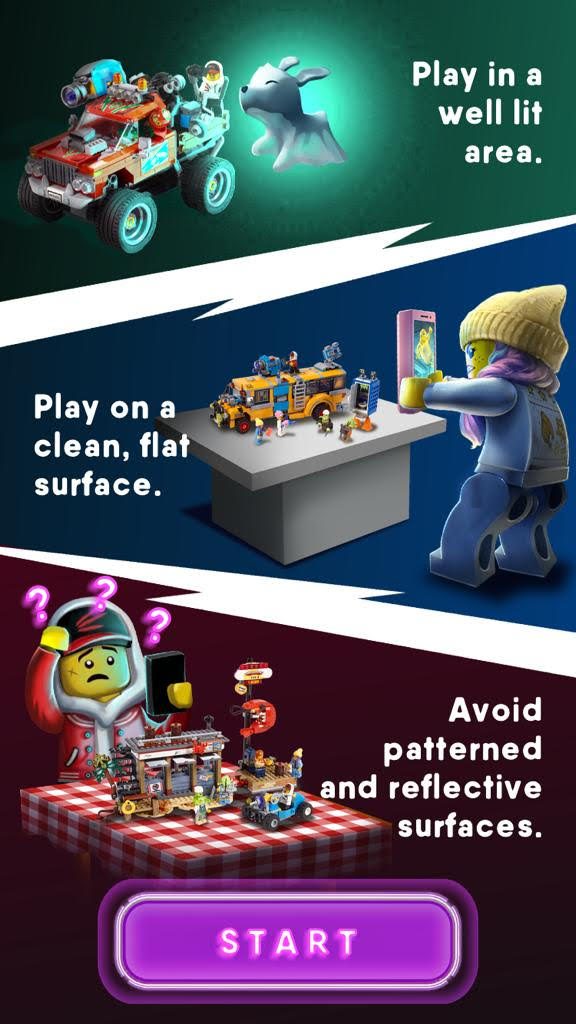
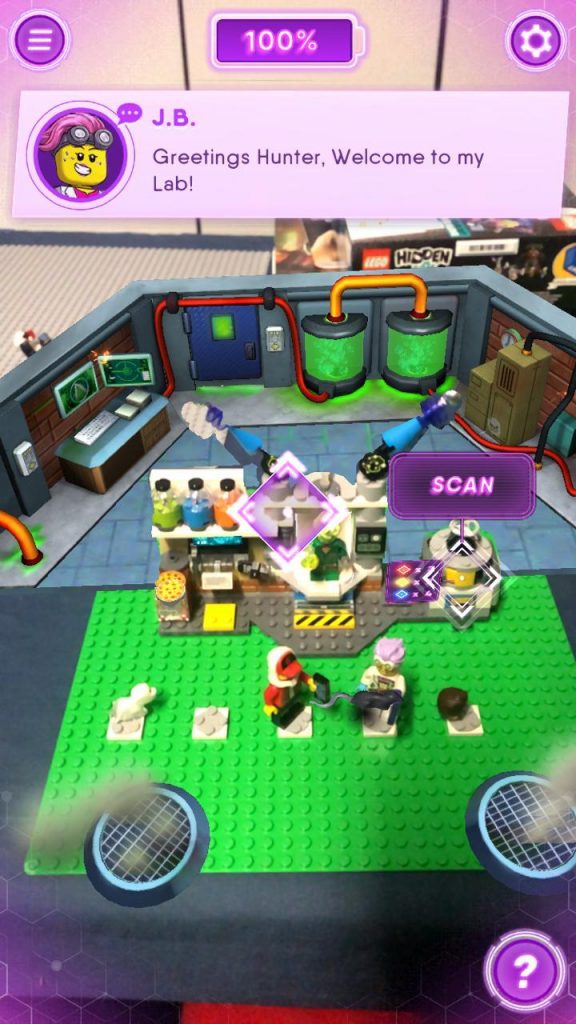
When you open the APP you need to select the Ghost Lab and place your phone screen onto the outlines of the Ghost Lab and before the AR begins it does show you to. Play in a well lit area, play on a clean, flat surface and avoid patterned and reflective surfaces. Once in the game the AR will direct you to where you need to scan to find Ghost, it does help if you can read and small kids might get frustrated as the AR does prompted you with messages on the top of the screen. Some guidance will be needed for young children. Once in the APP you need to collect as many ghosts as you can. Happy ghost hunting!