Voted for by LEGO brick lovers
all over the world, a wonderfully nostalgic new LEGO® Ideas set has been
brought to life after being envisioned by an avid builder. The brand-new LEGO®
Ideas 123 Sesame Street set is the latest product from the LEGO® Ideas
collection, which conceptualises and produces the creative wonders imagined and
voted for by LEGO® brick fans themselves.
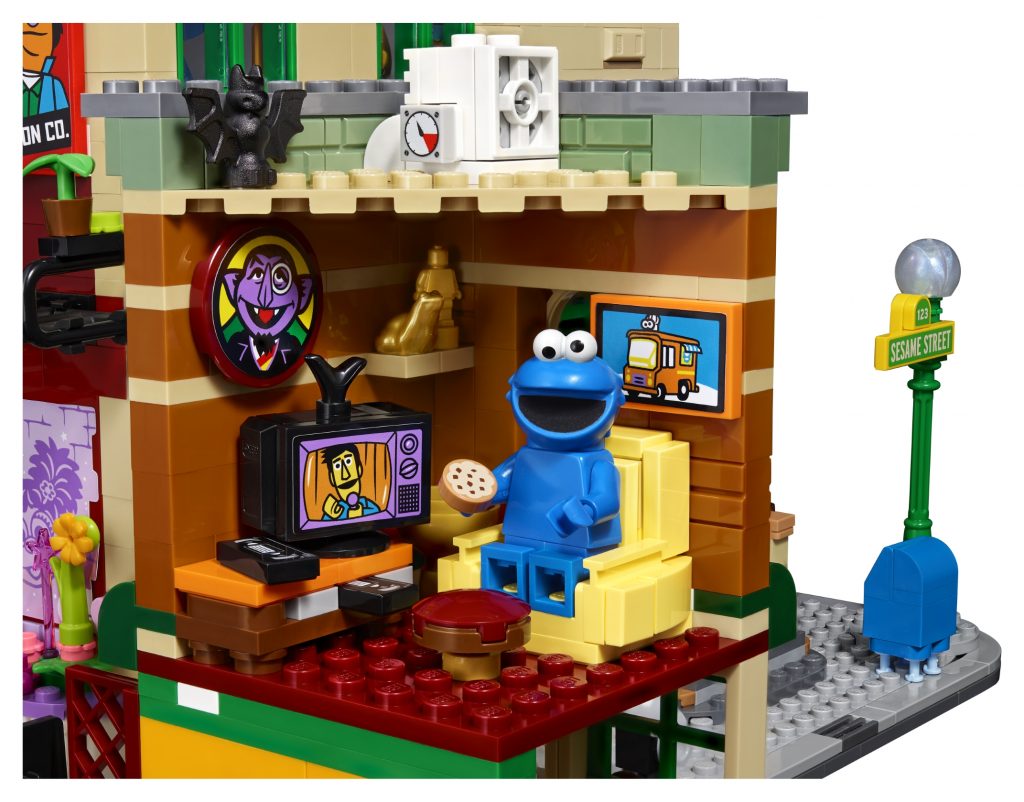
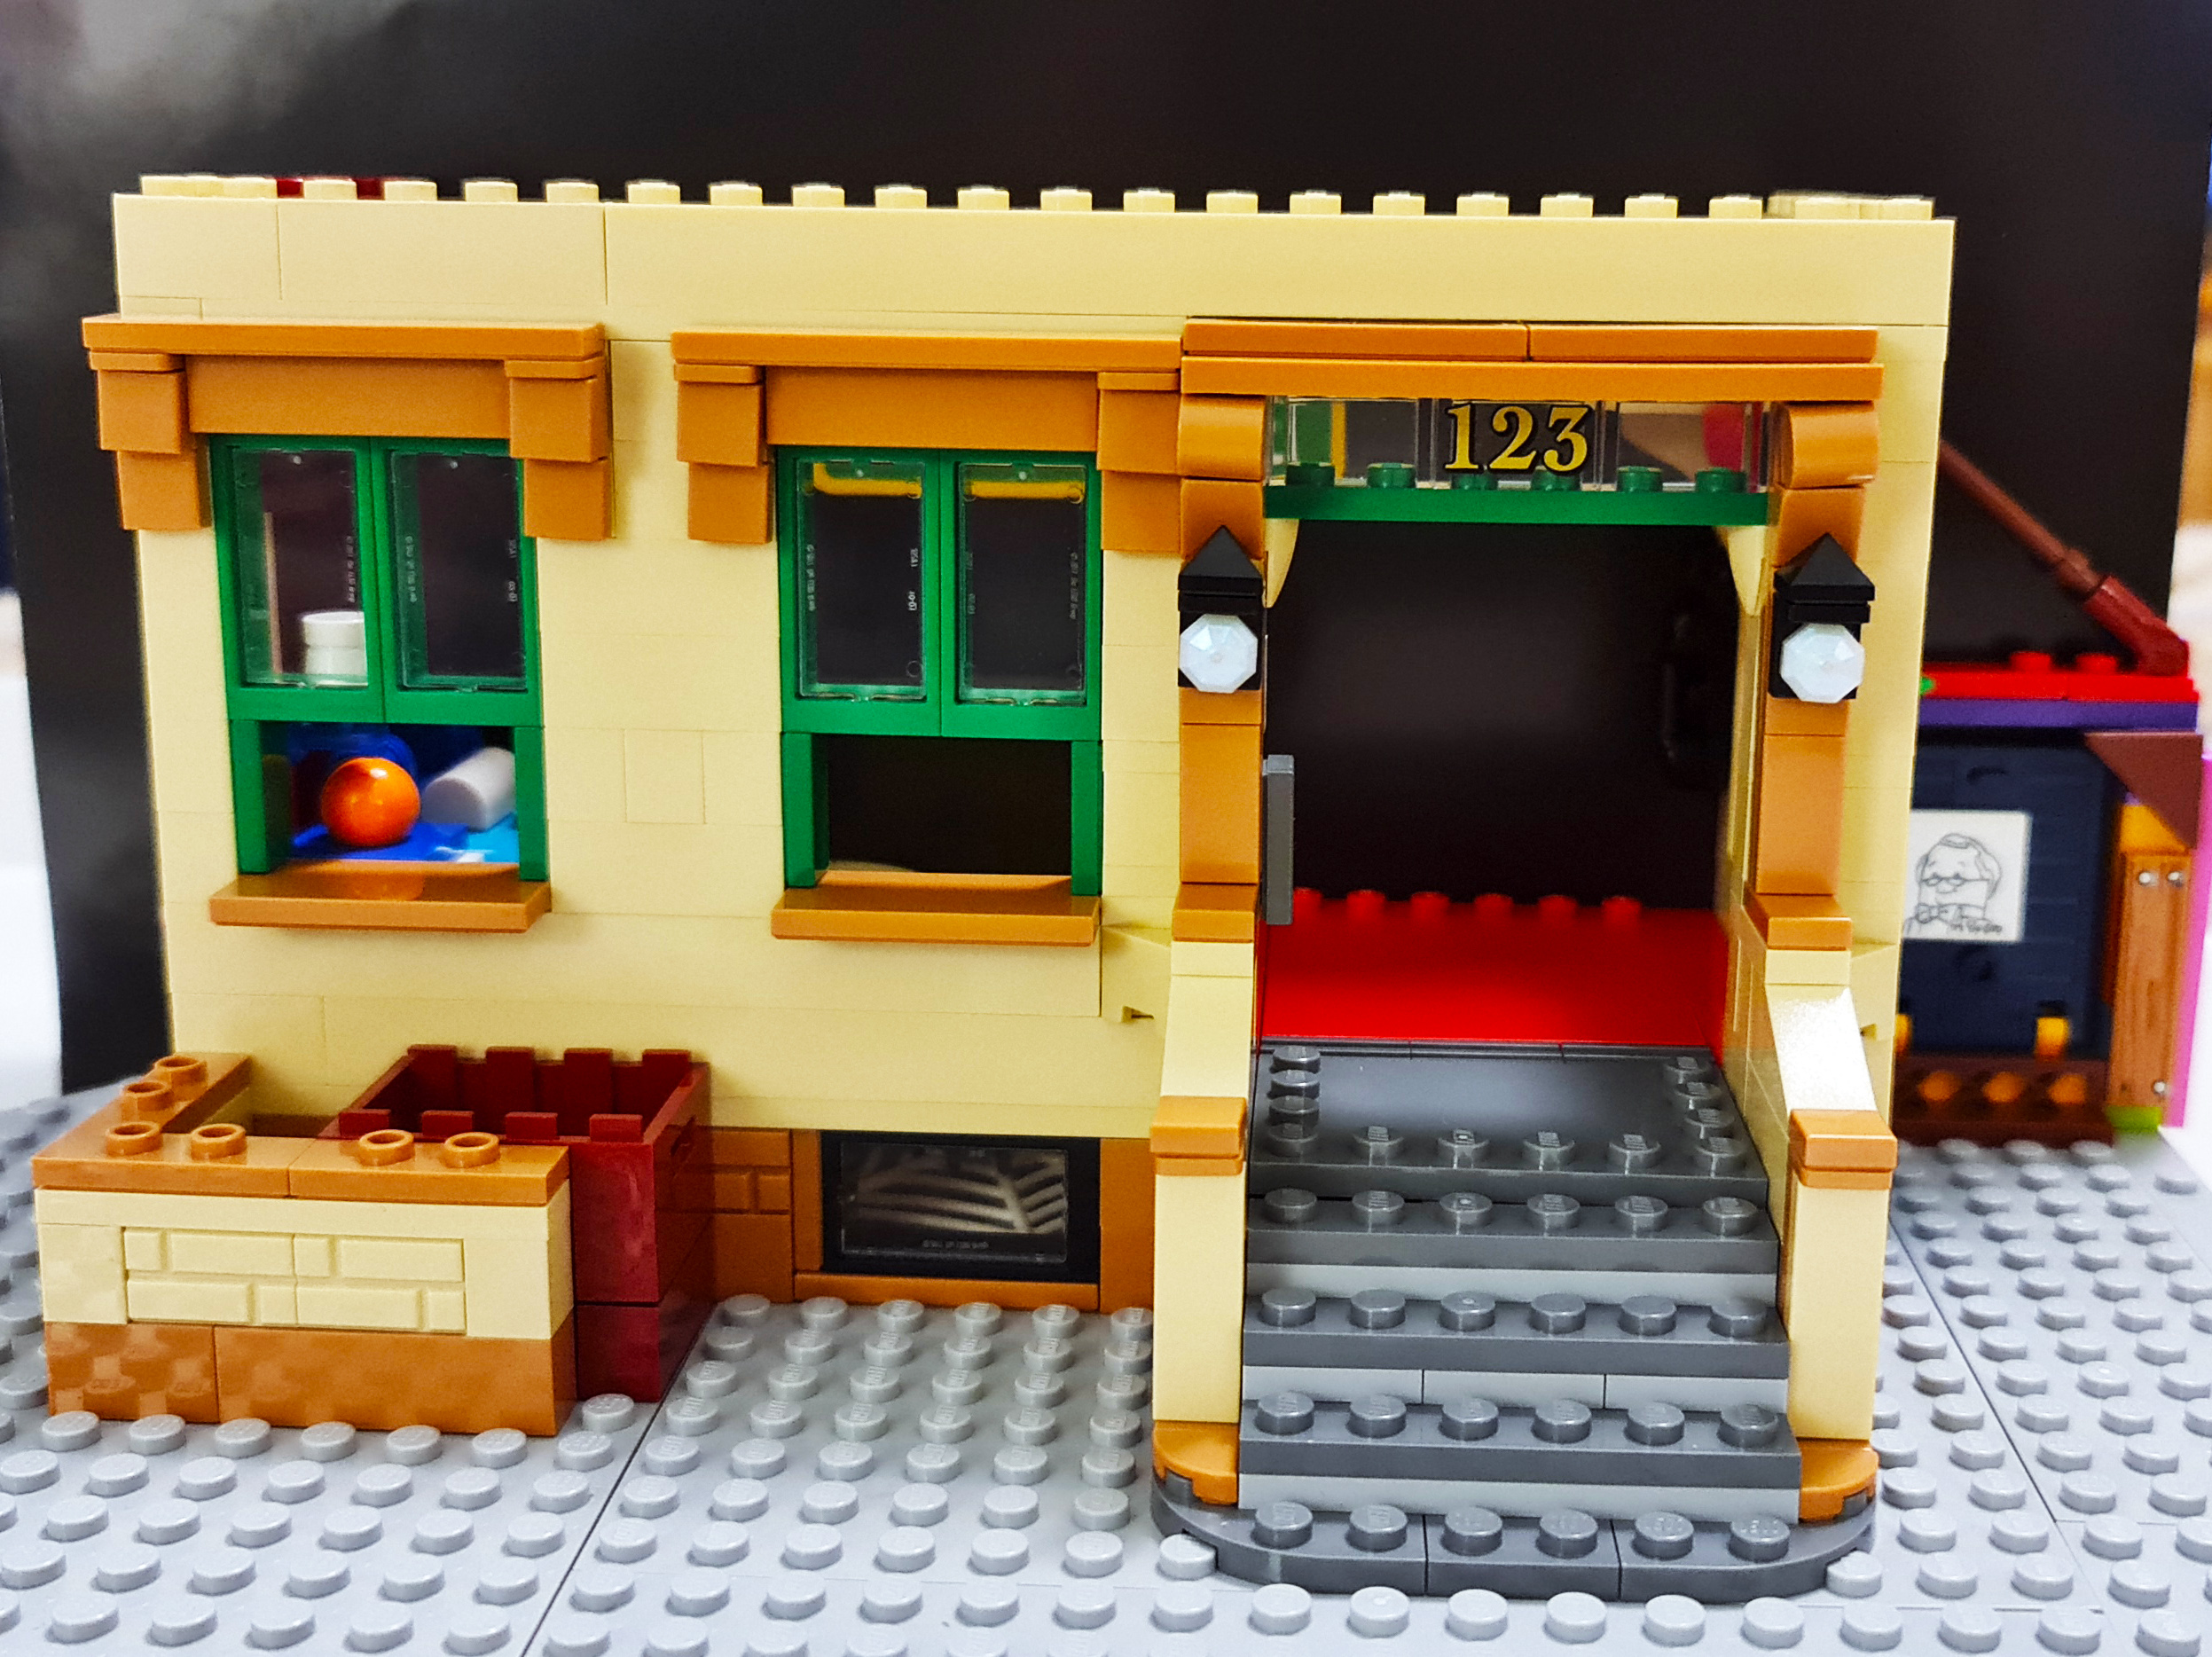
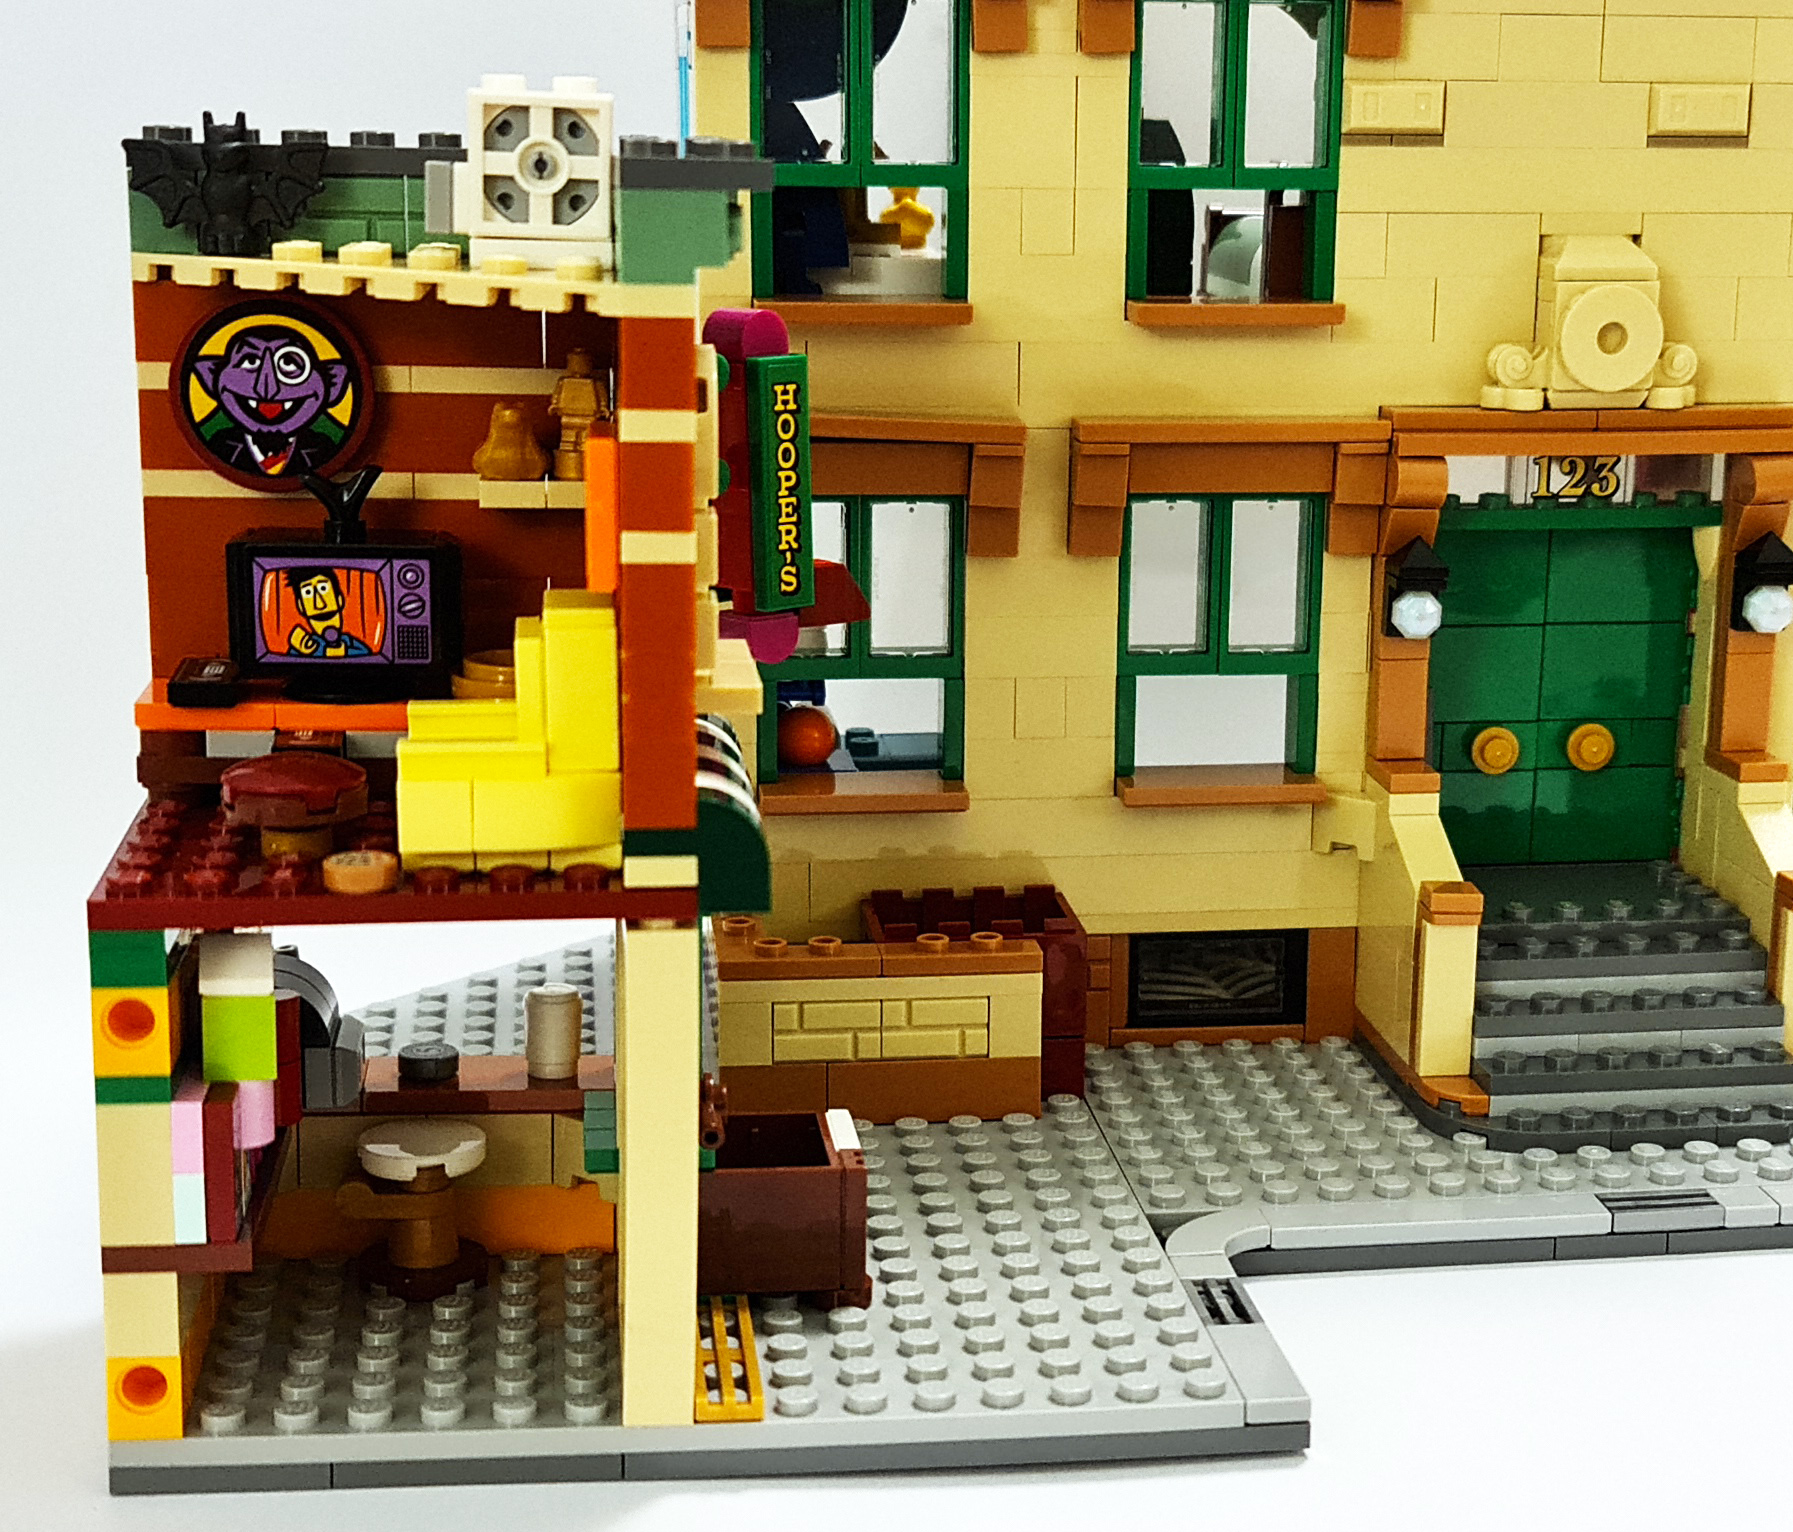
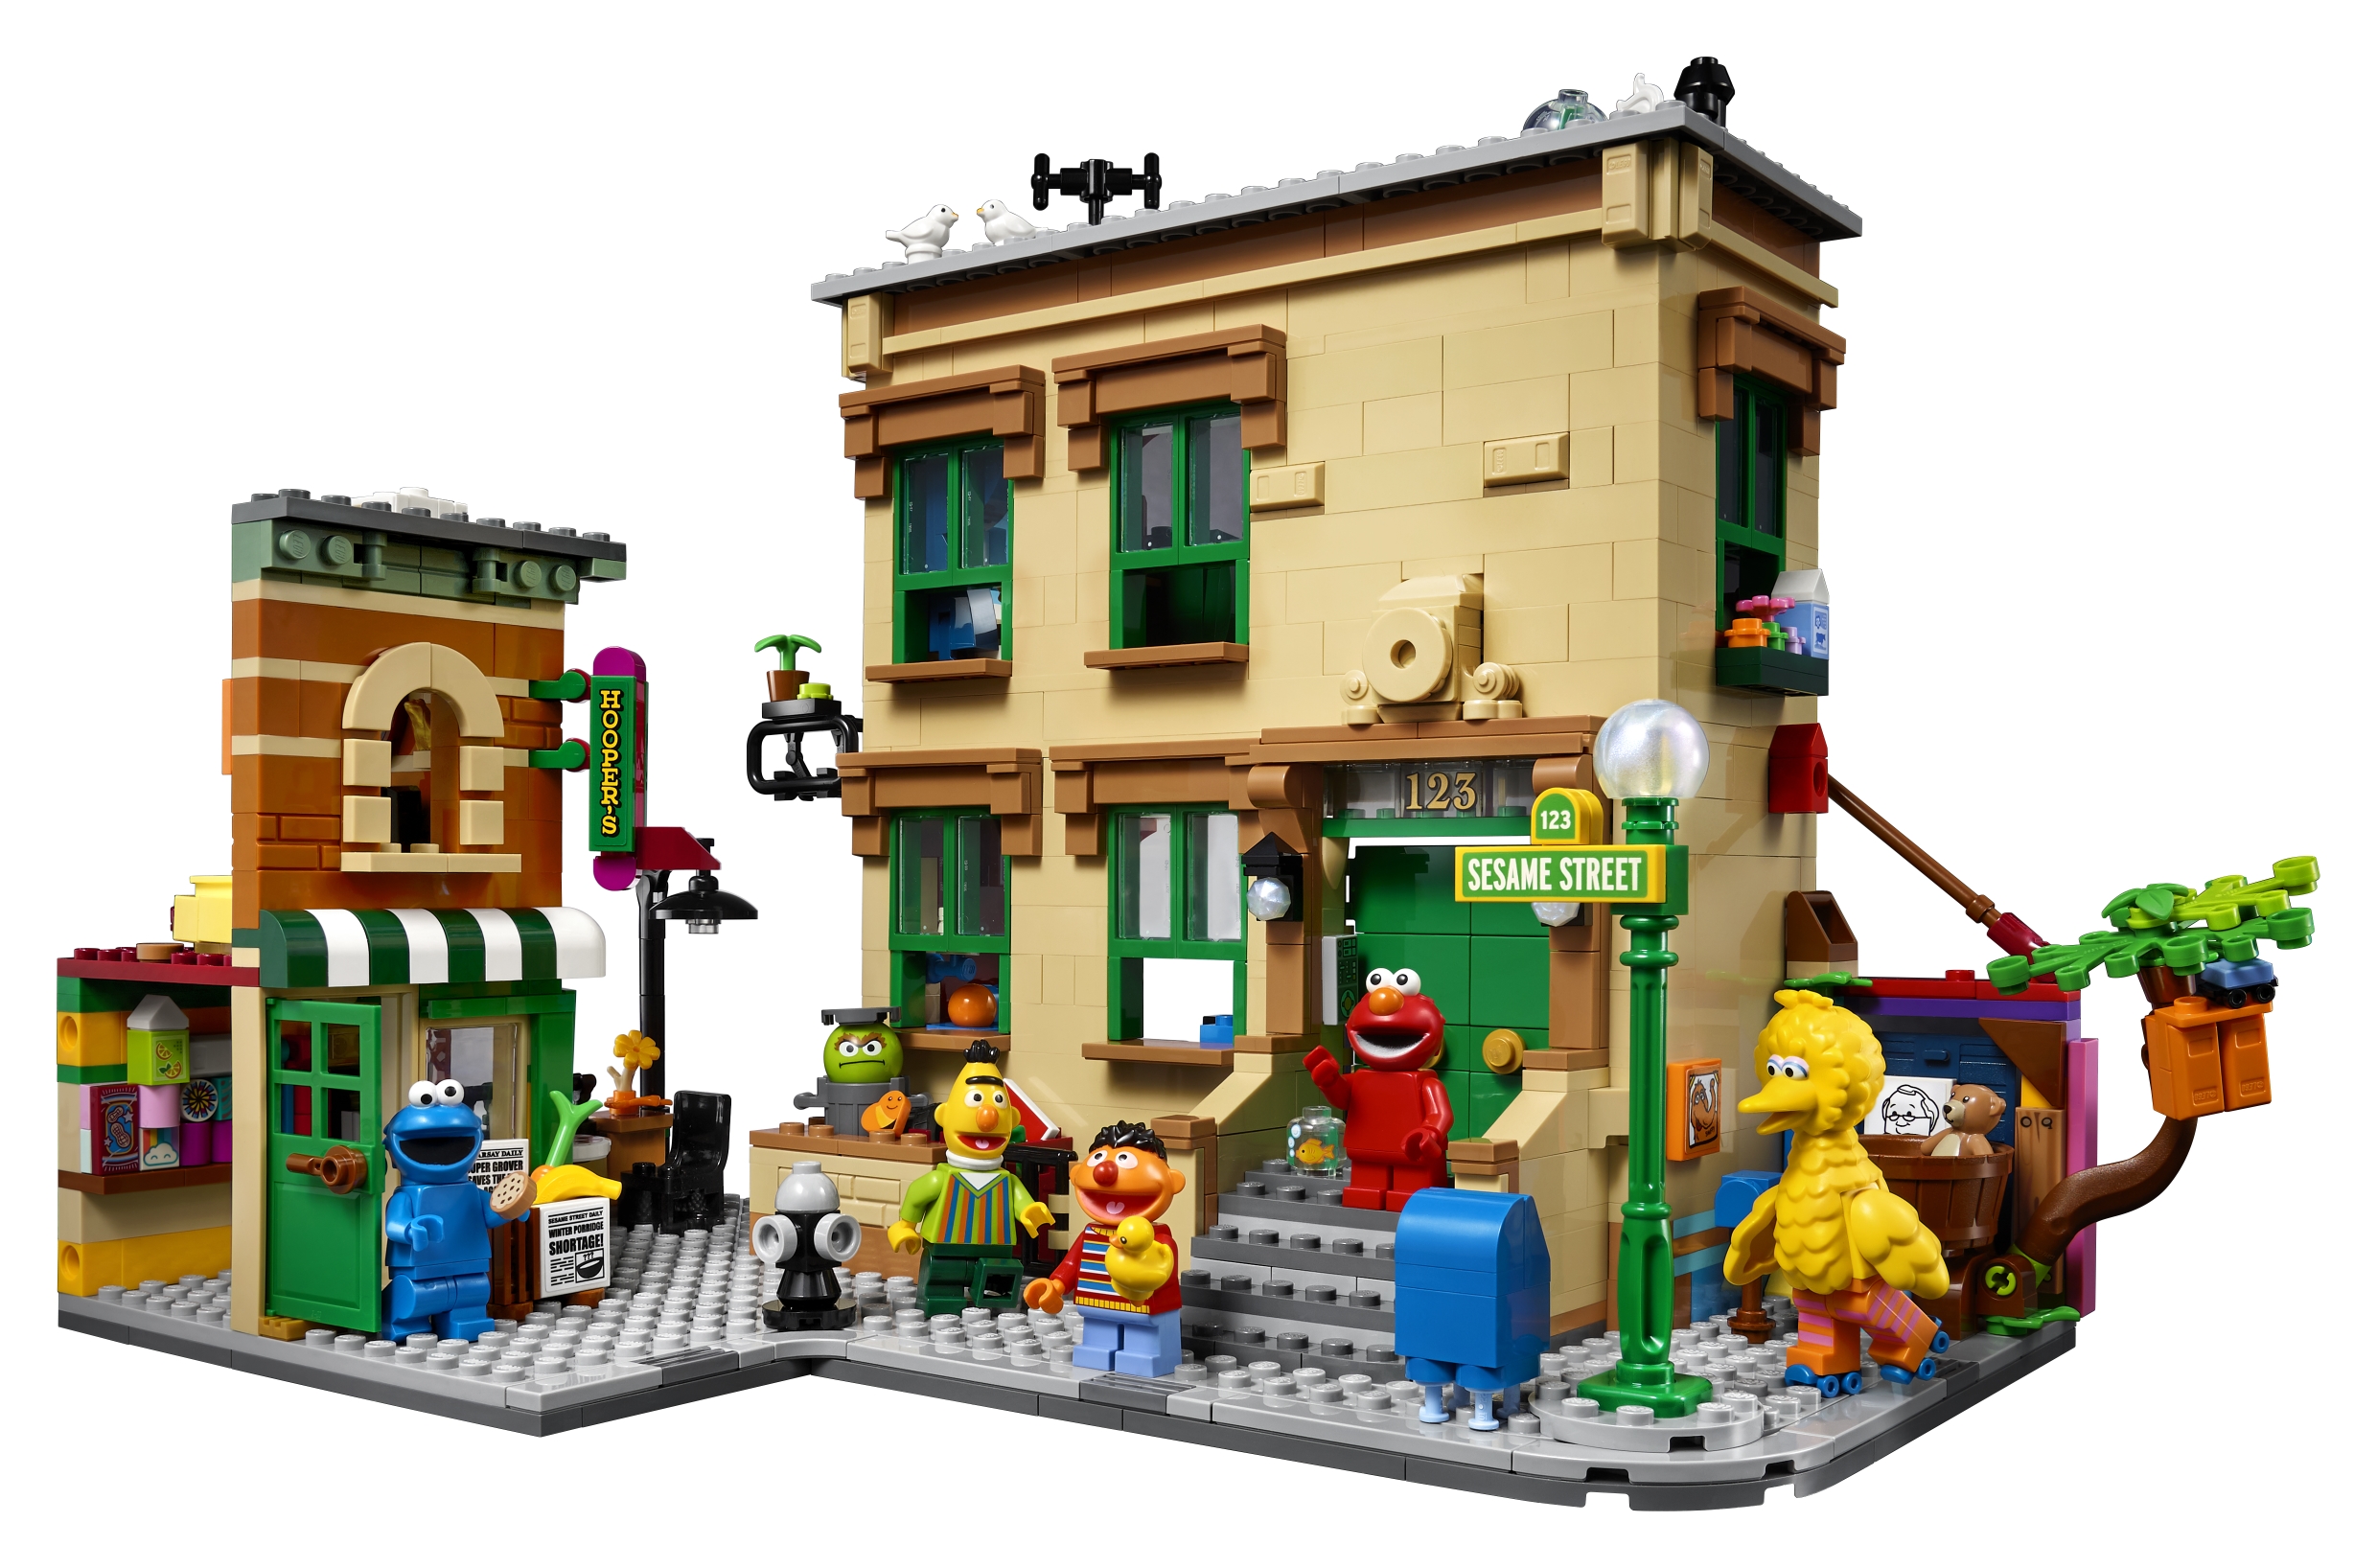
Created with all the
delightful elements of 123 Sesame Street, the new set is packed with authentic
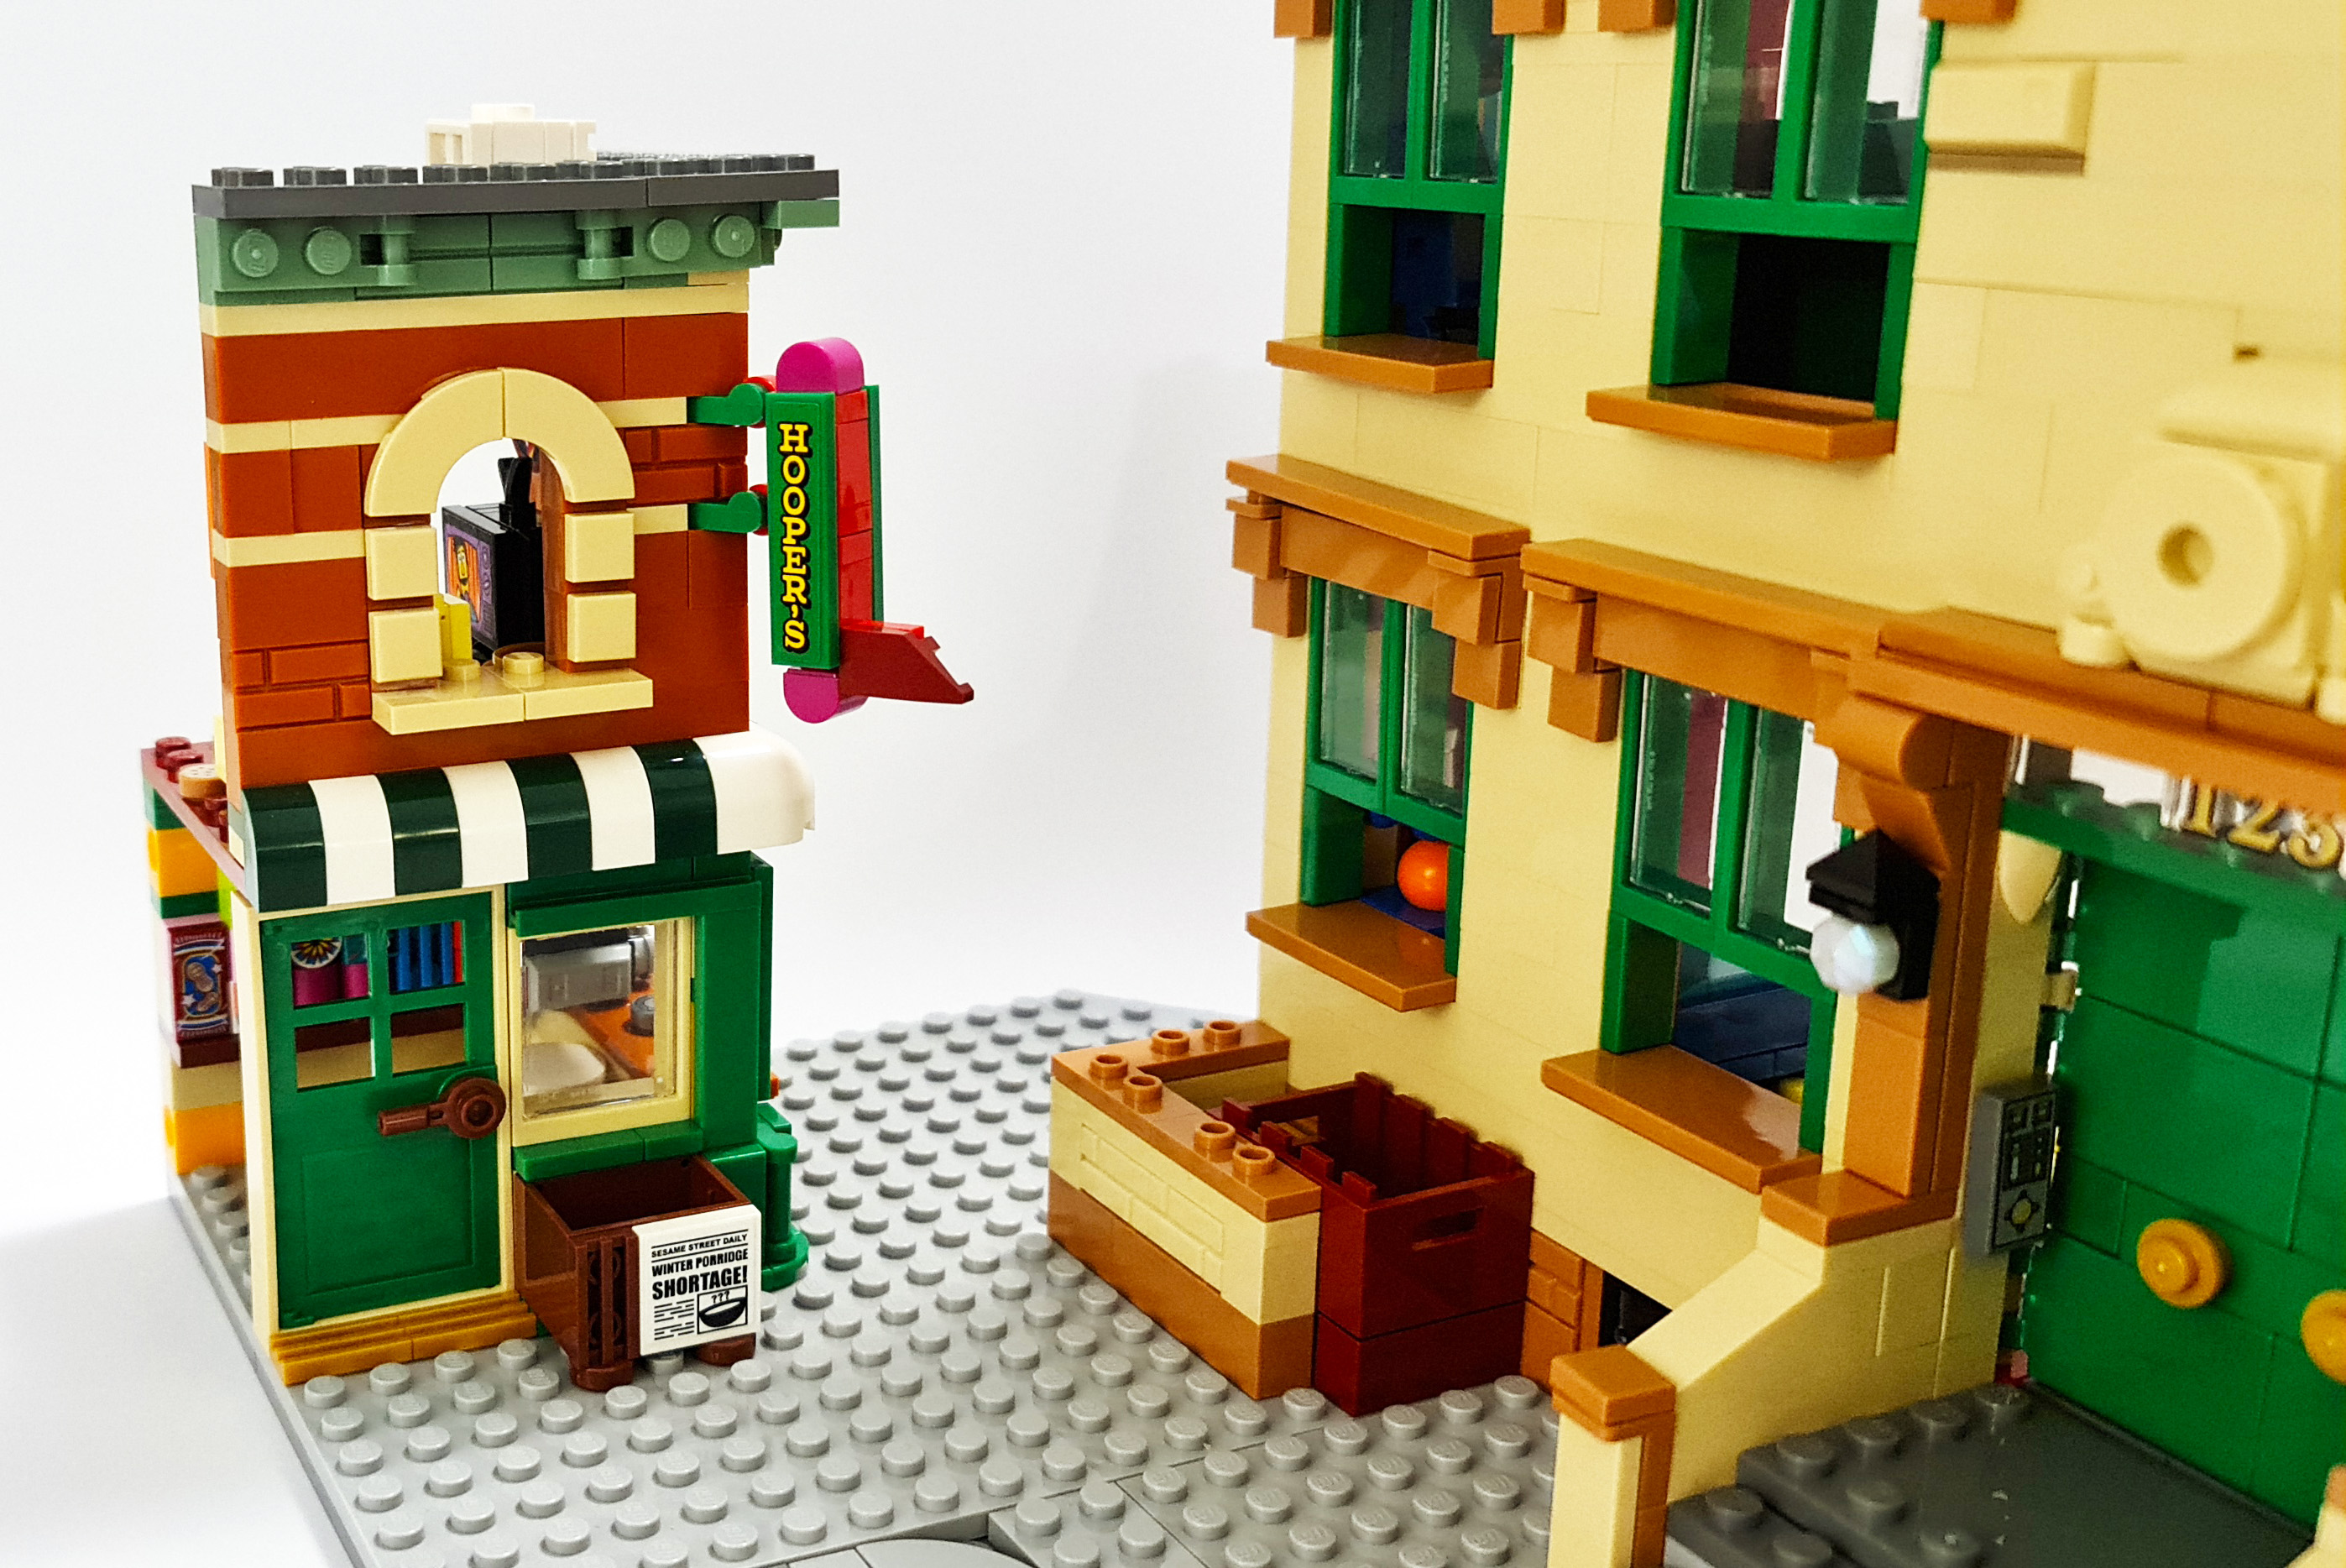
details from the famous New York City neighbourhood. From Bert and Ernie’s
apartment, in which Bert famously pleaded with Ernie to remove a banana from
his ear so he could hear better, to Big Bird’s nest, where the grown-ups
finally met Mr. Snuffleupagus in person – builders will marvel in Sesame
Street’s most memorable moments.
As they embark on their
immersive build journey of LEGO® Ideas 123 Sesame Street, seasoned LEGO® fans
and younger builders alike can take a trip down memory lane, passing by
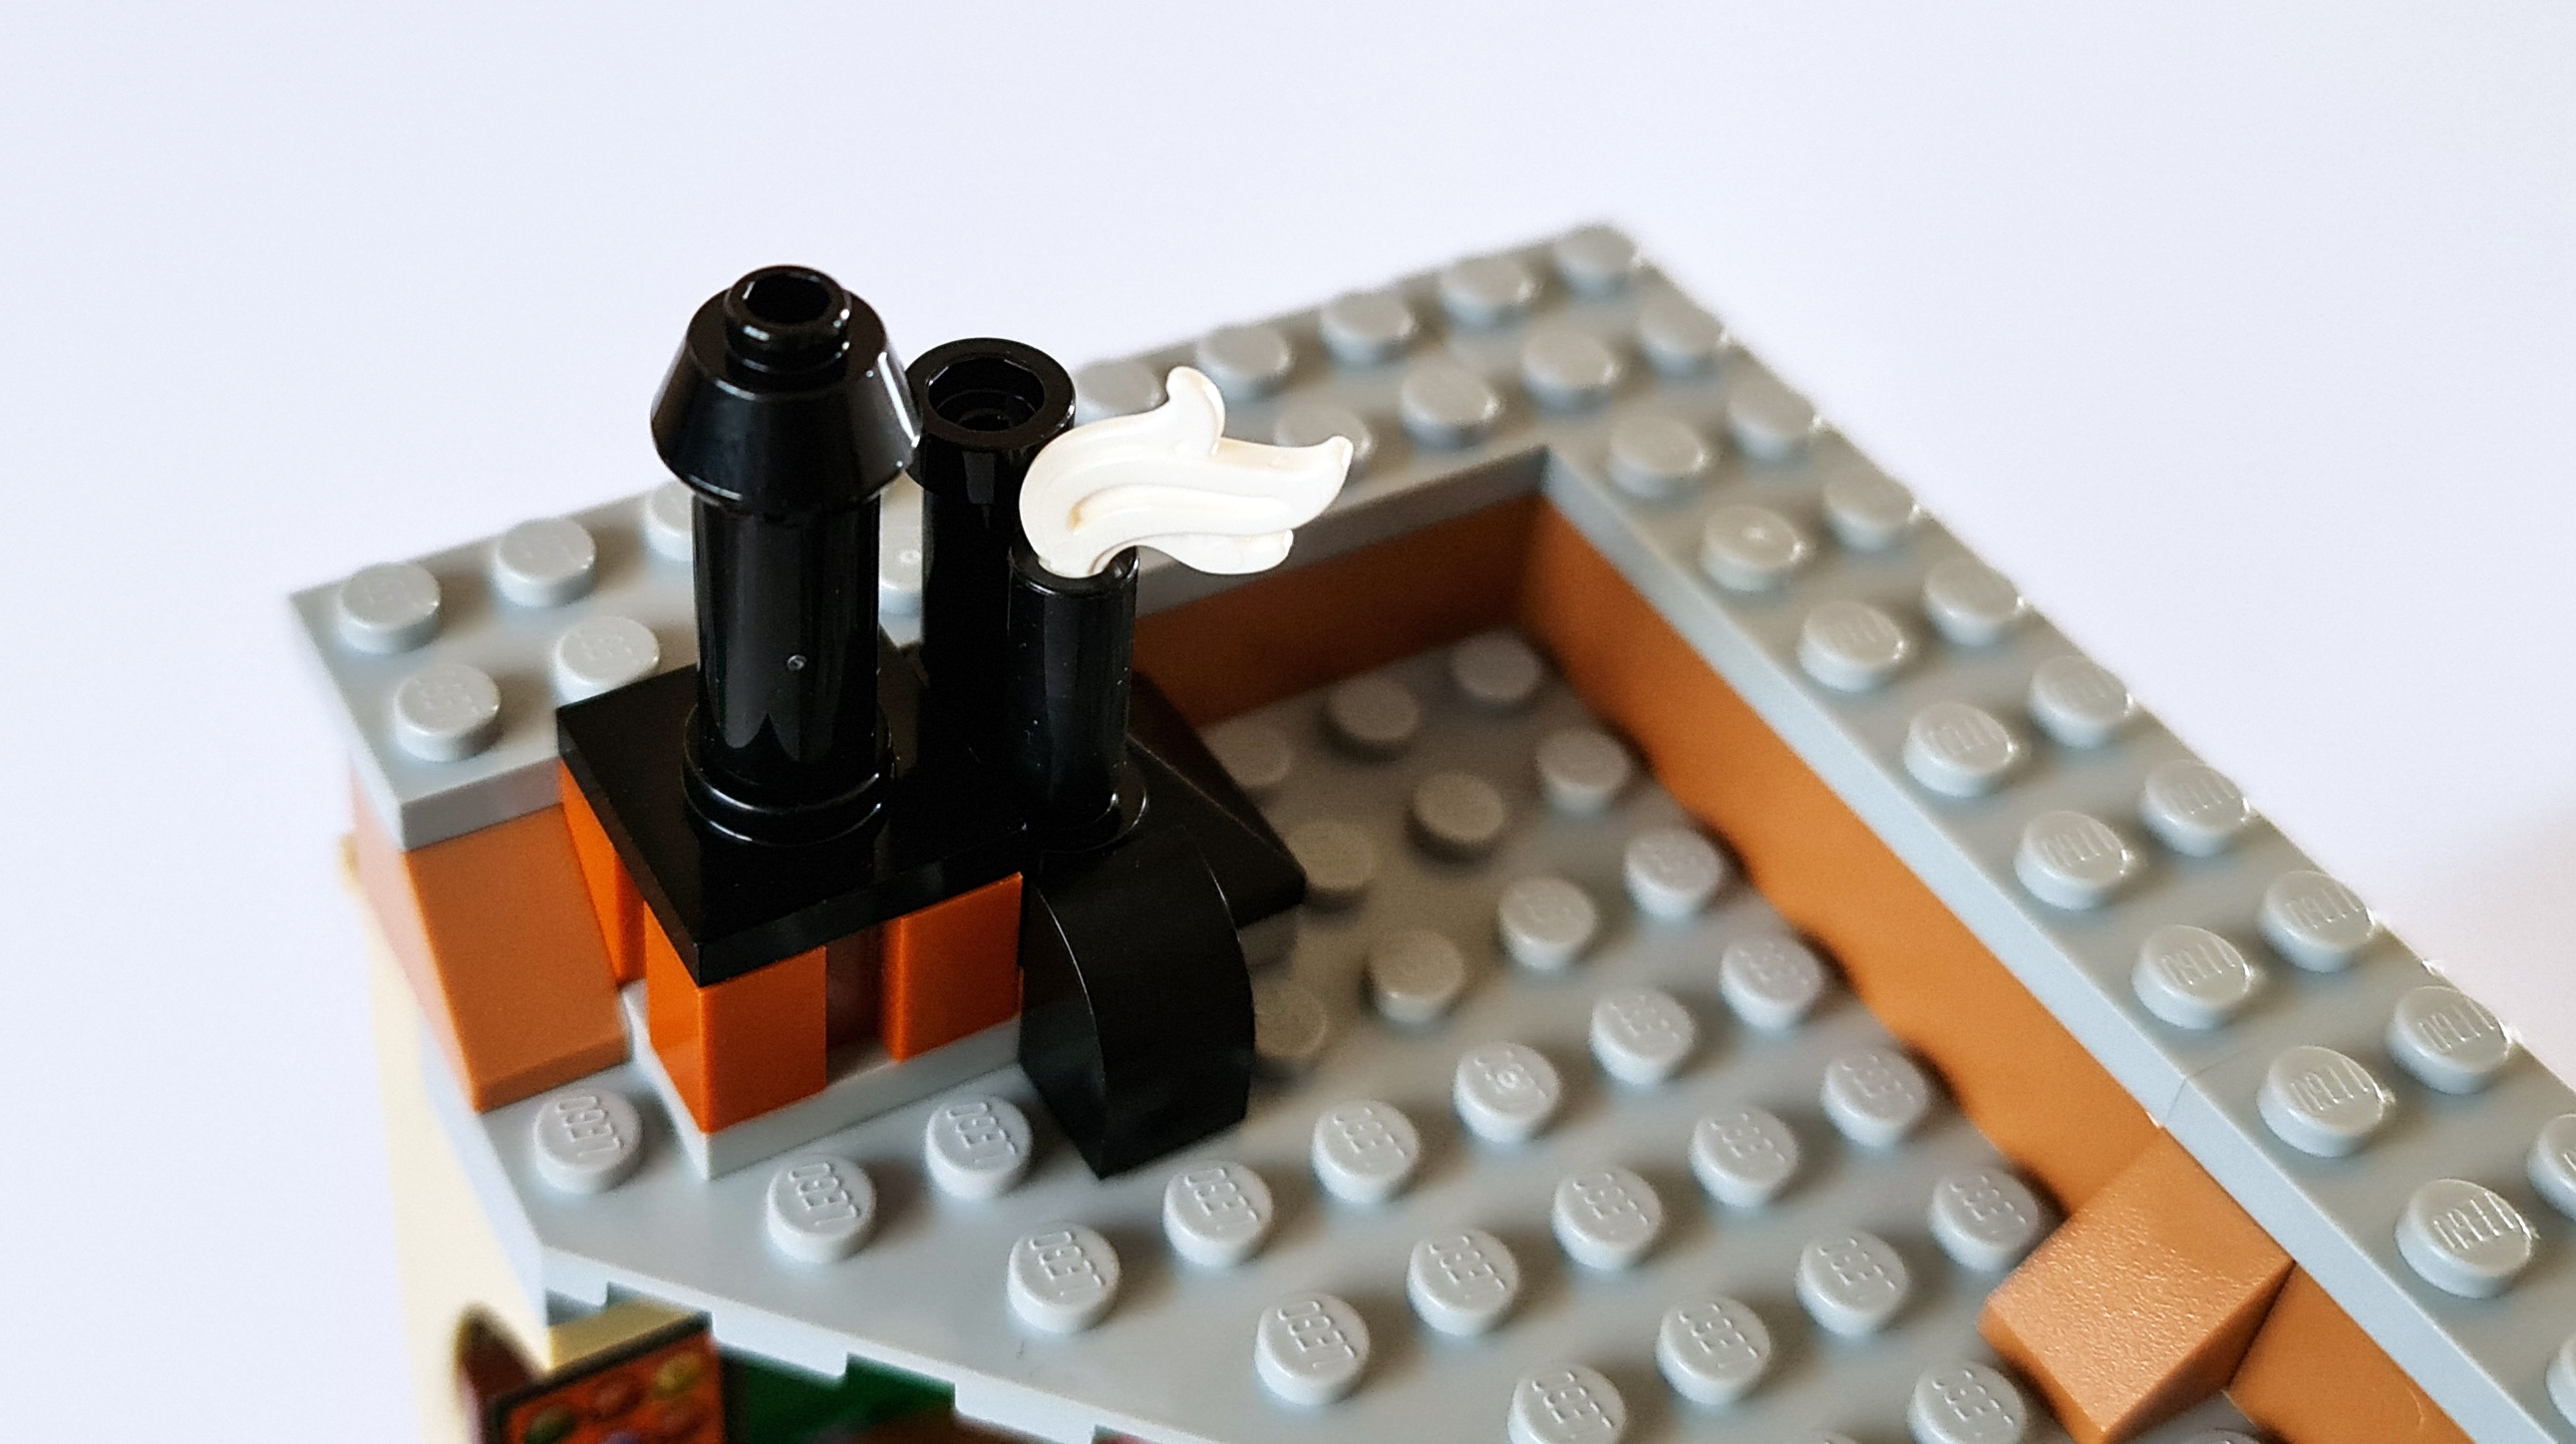
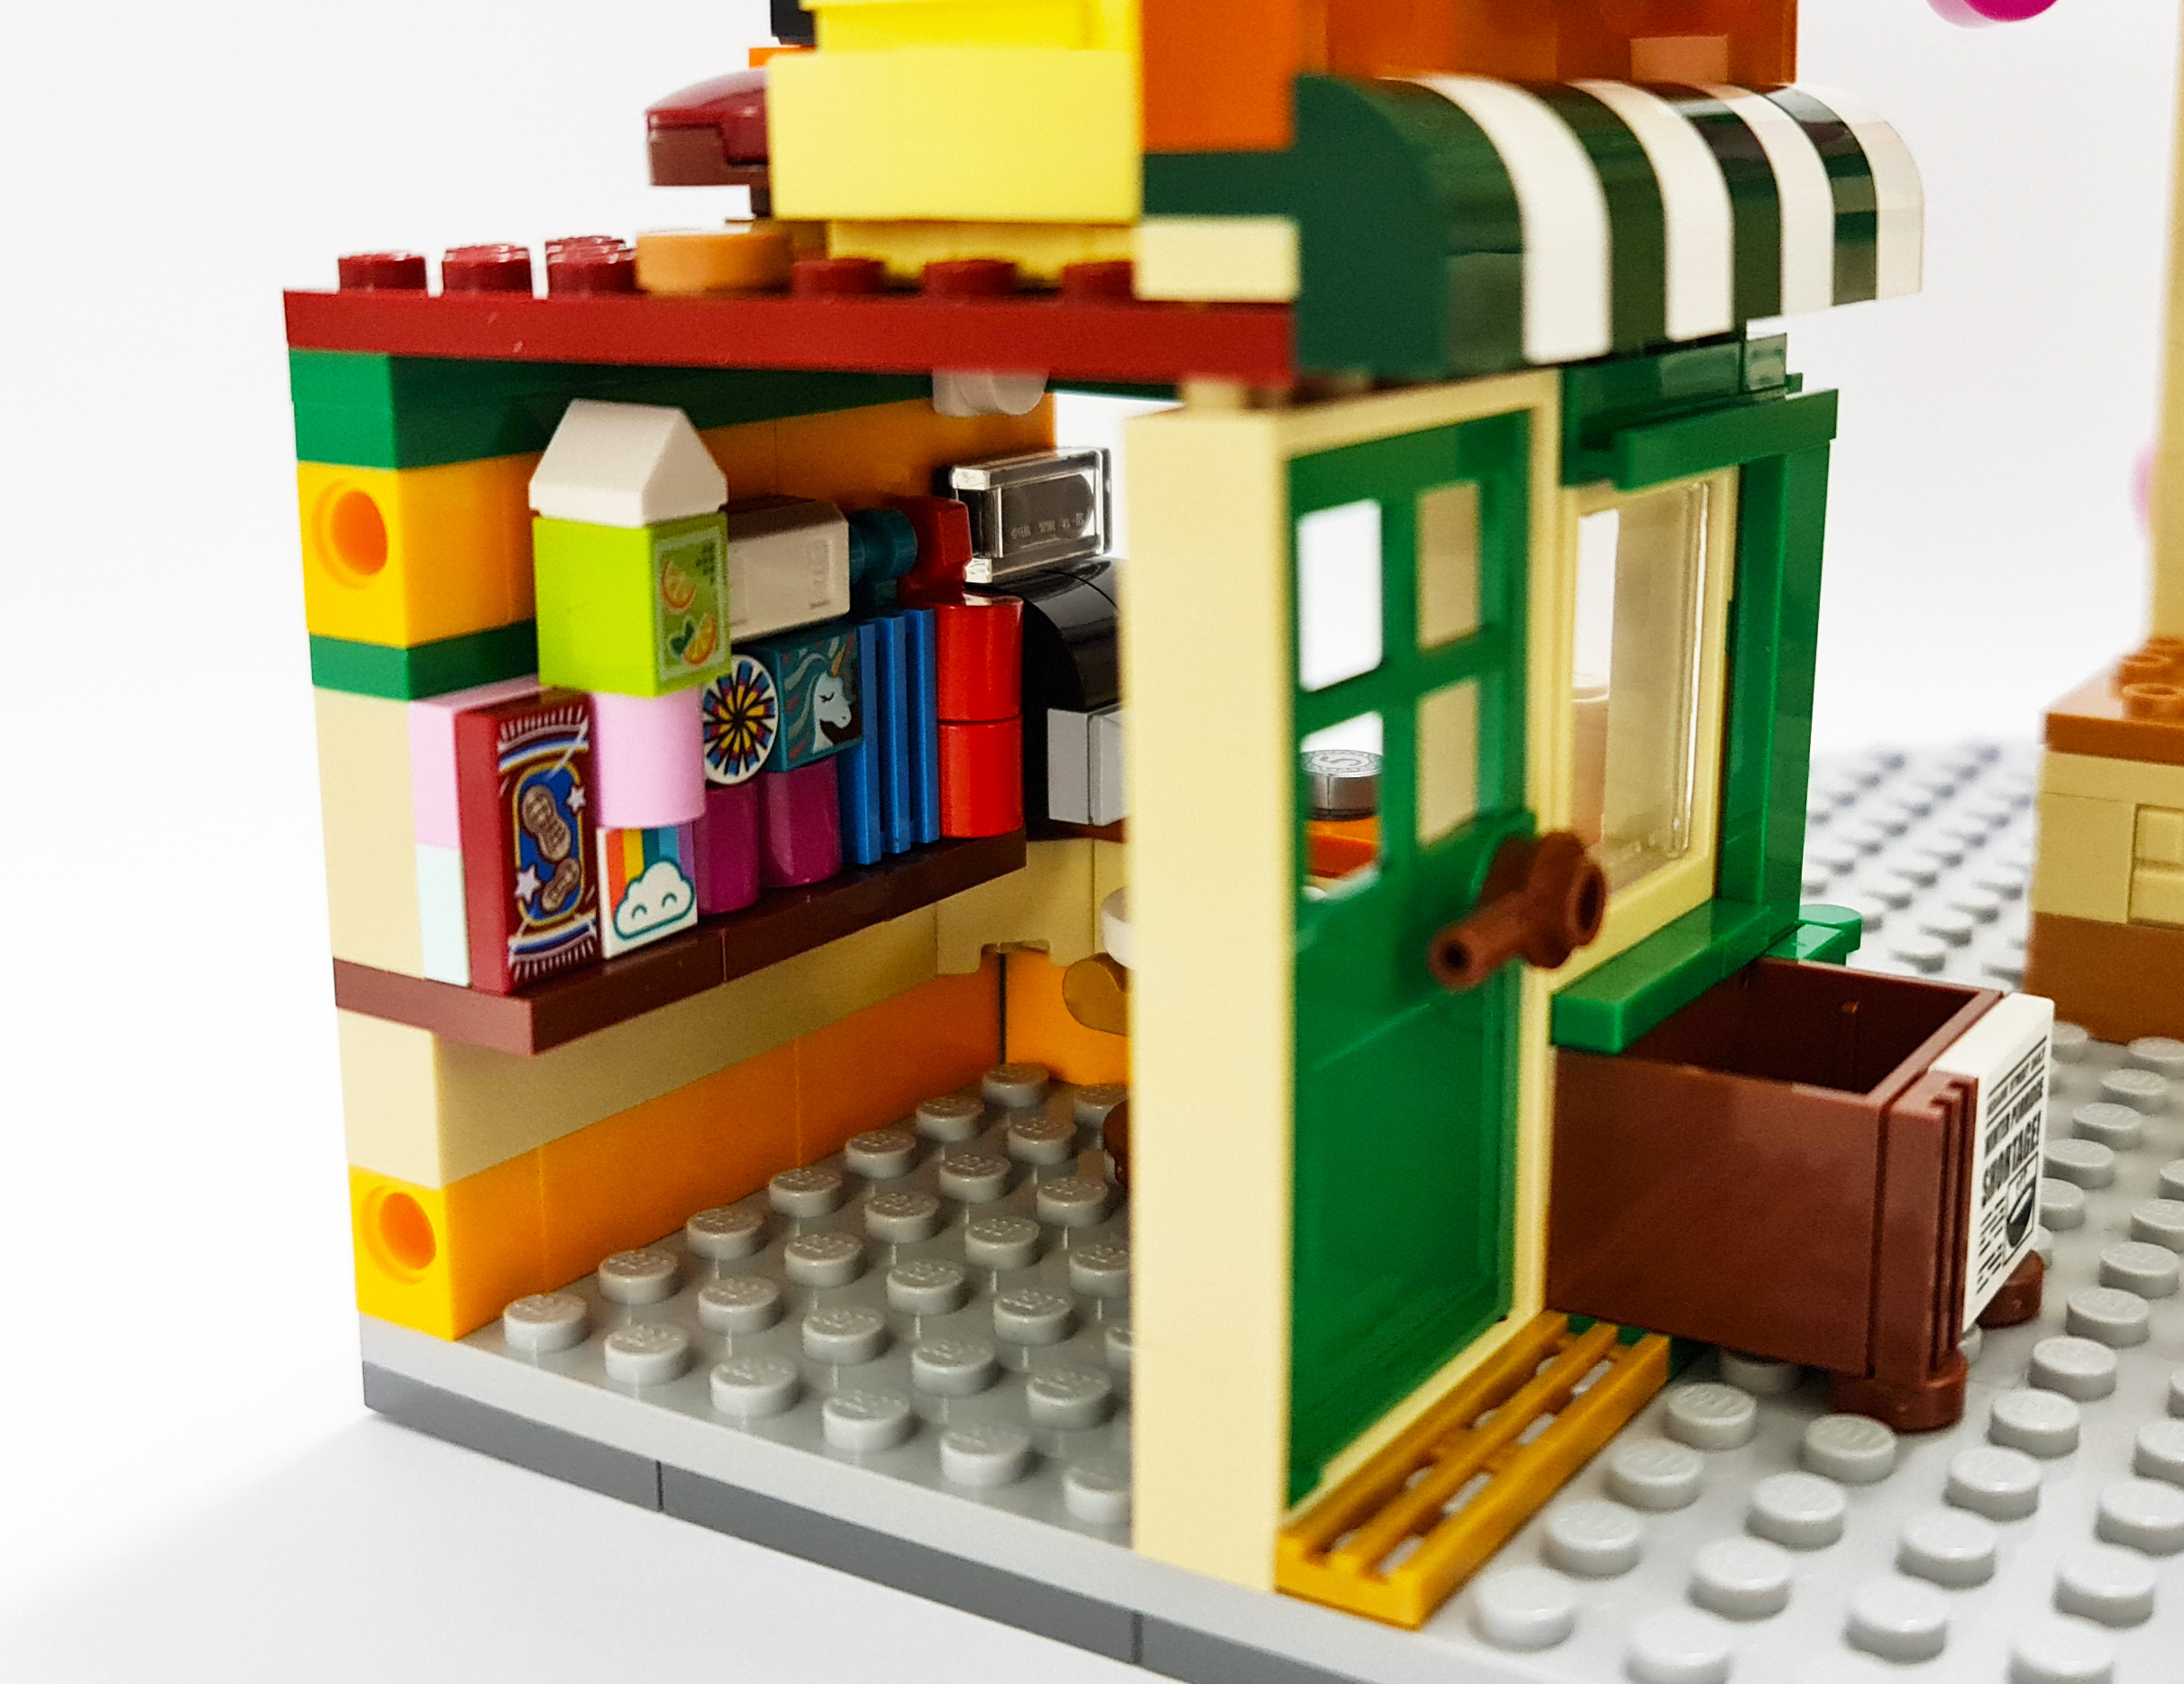
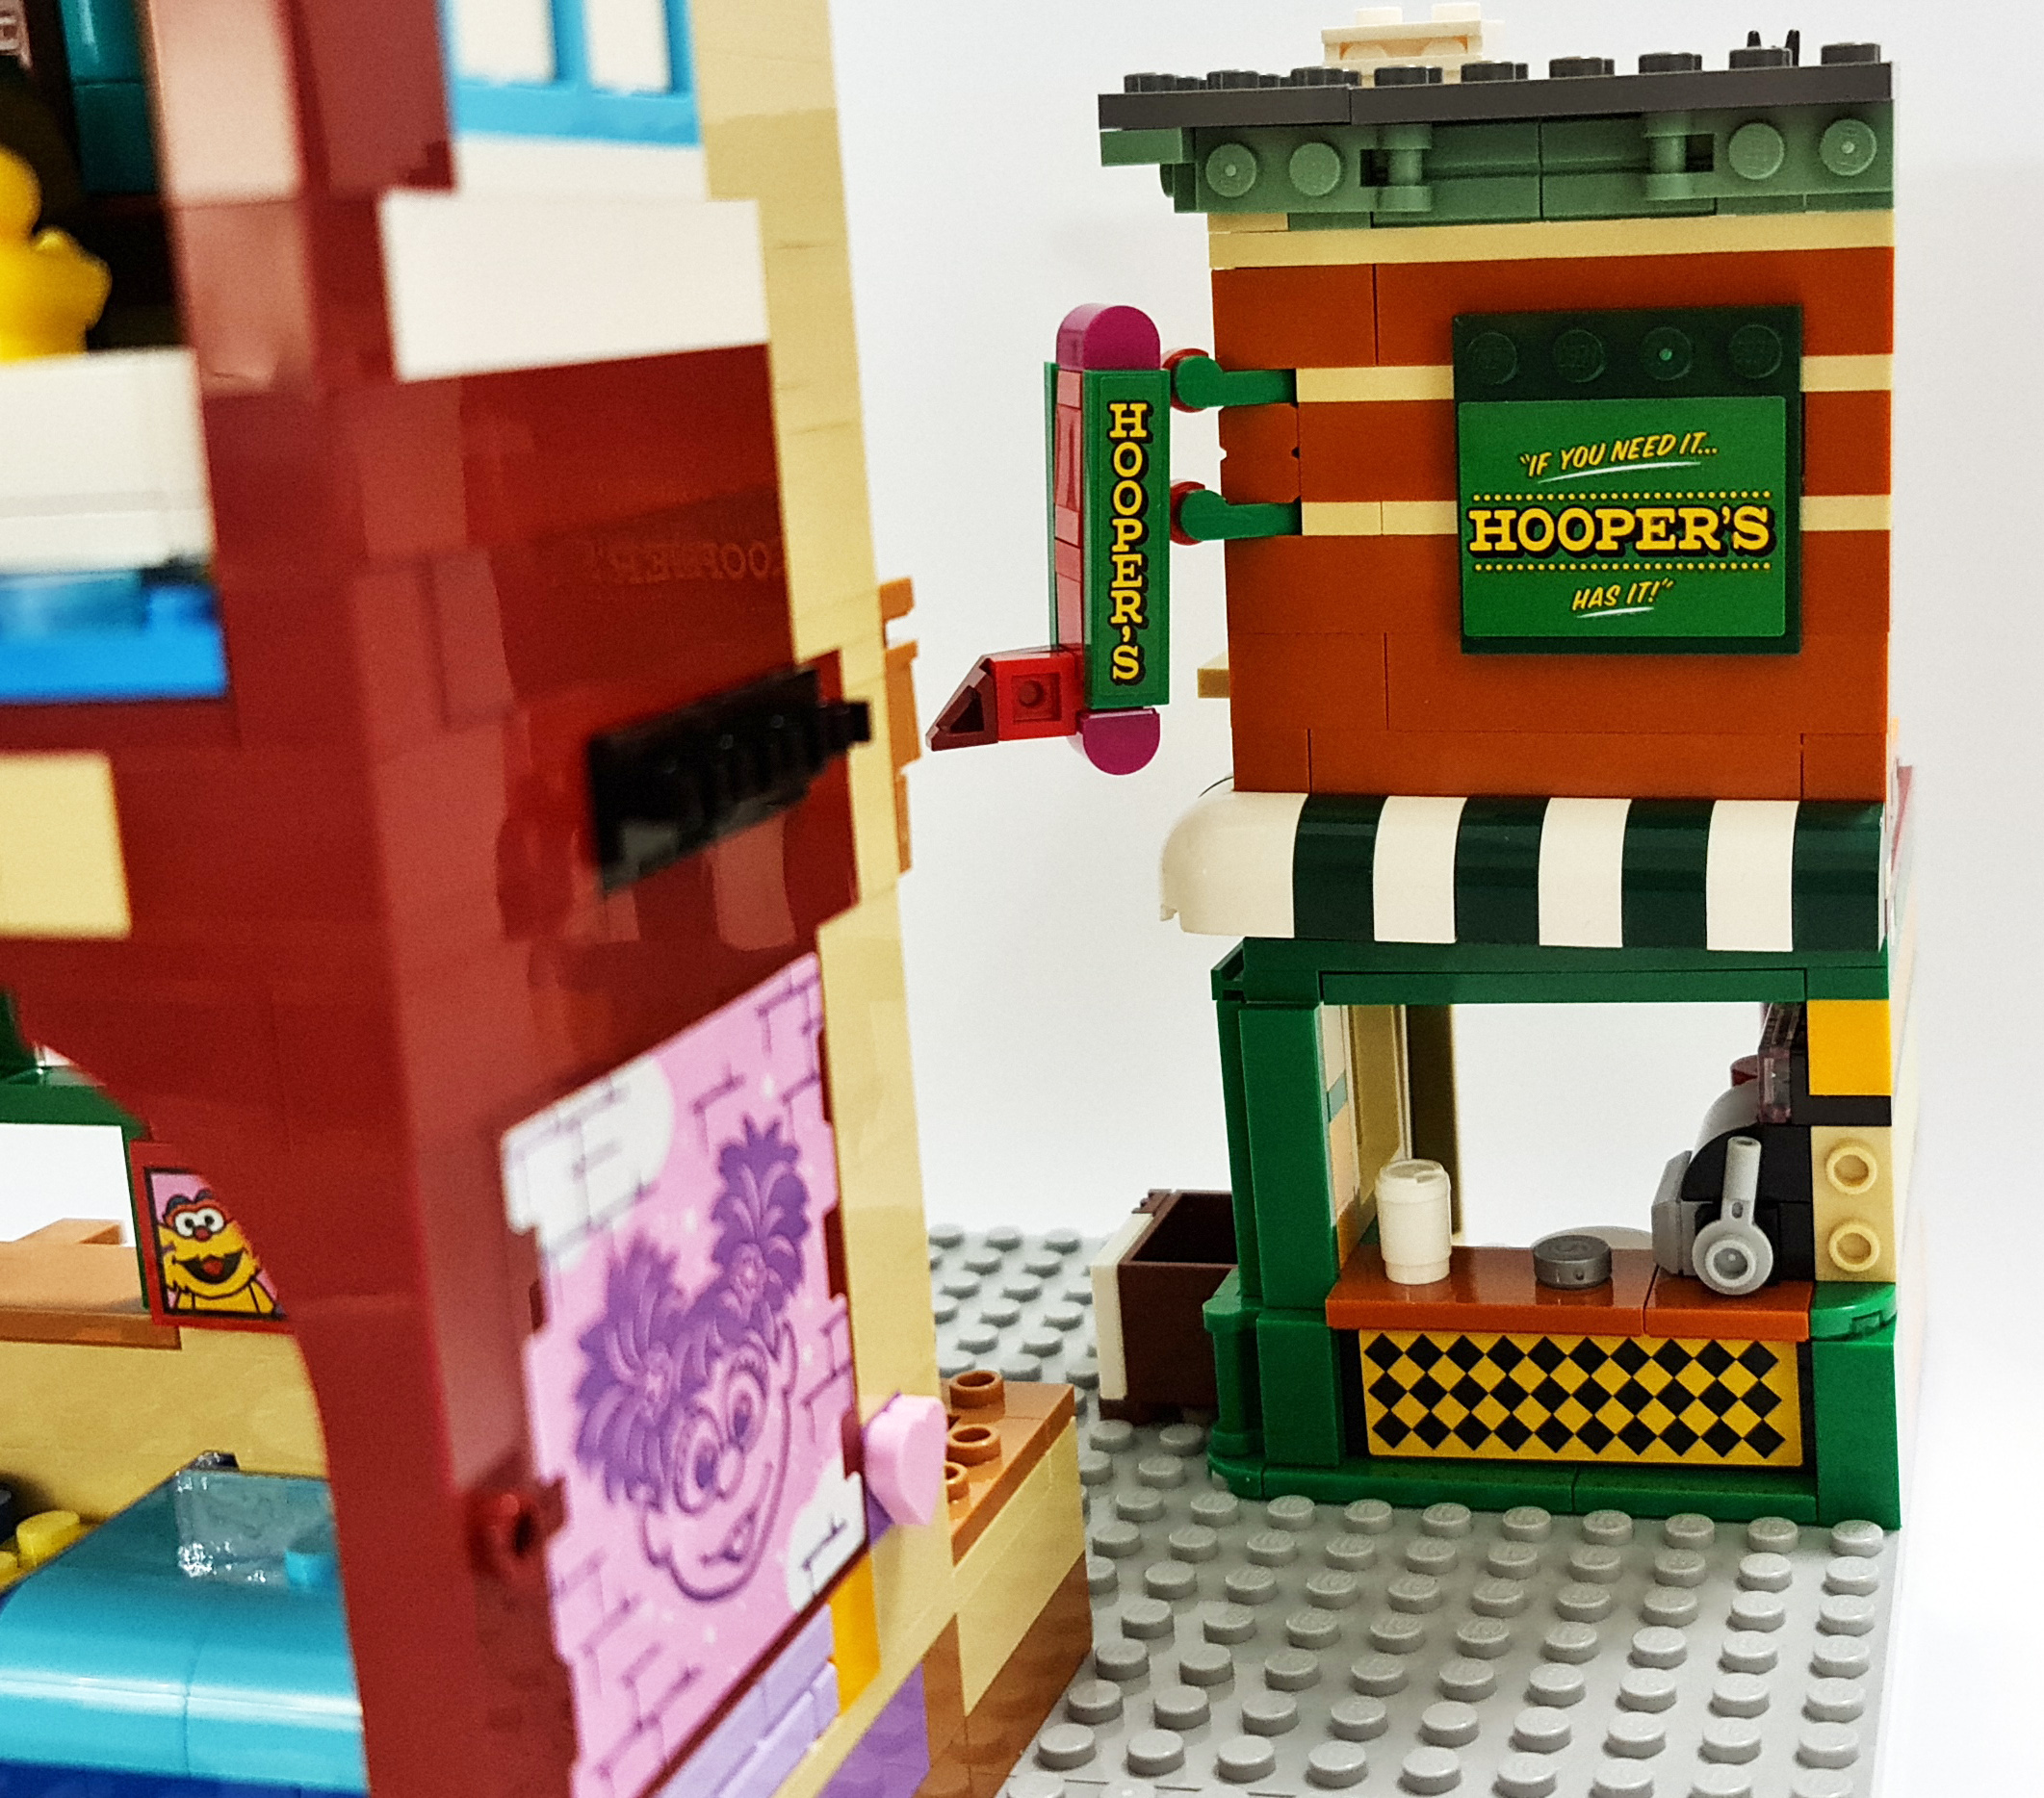
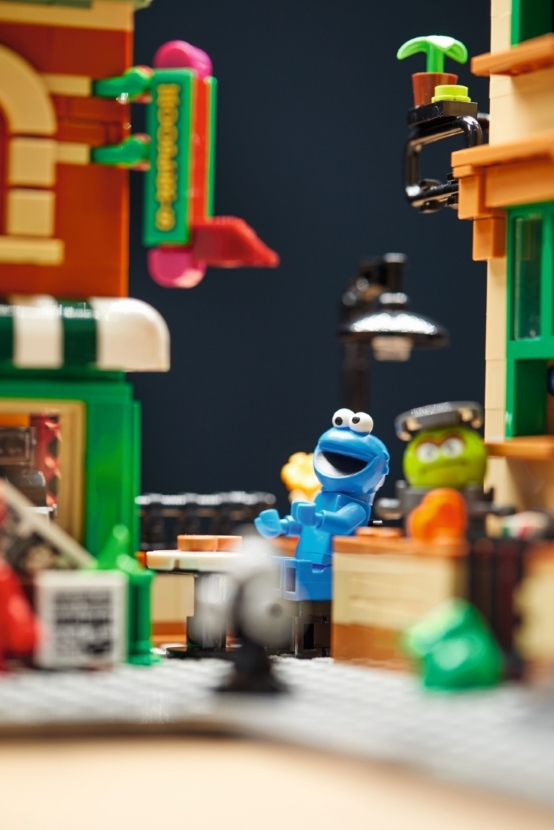
Hooper’s Store, Oscar the Grouch’s trash can, and many more quintessential
Sesame Street locations, making it the perfect set to enjoy on your own or
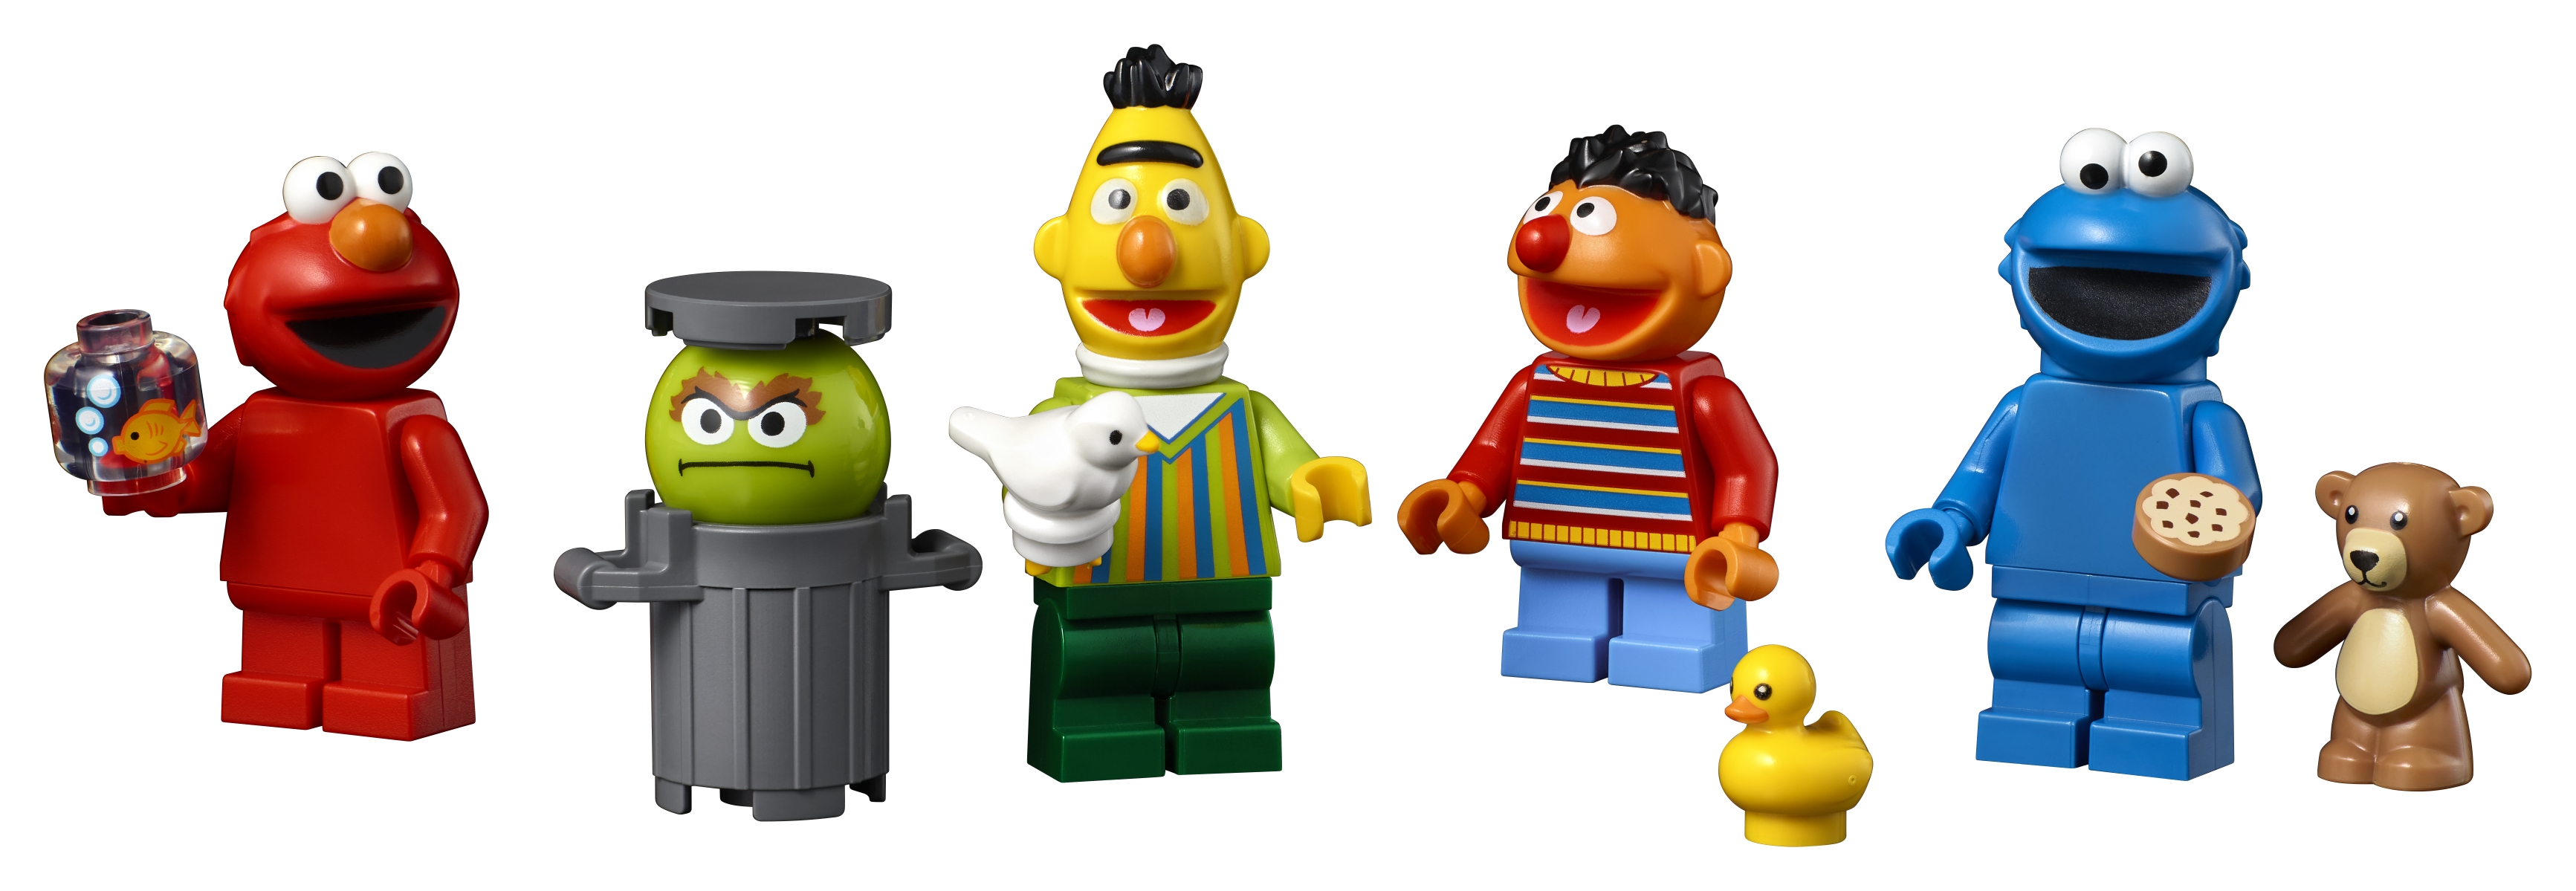
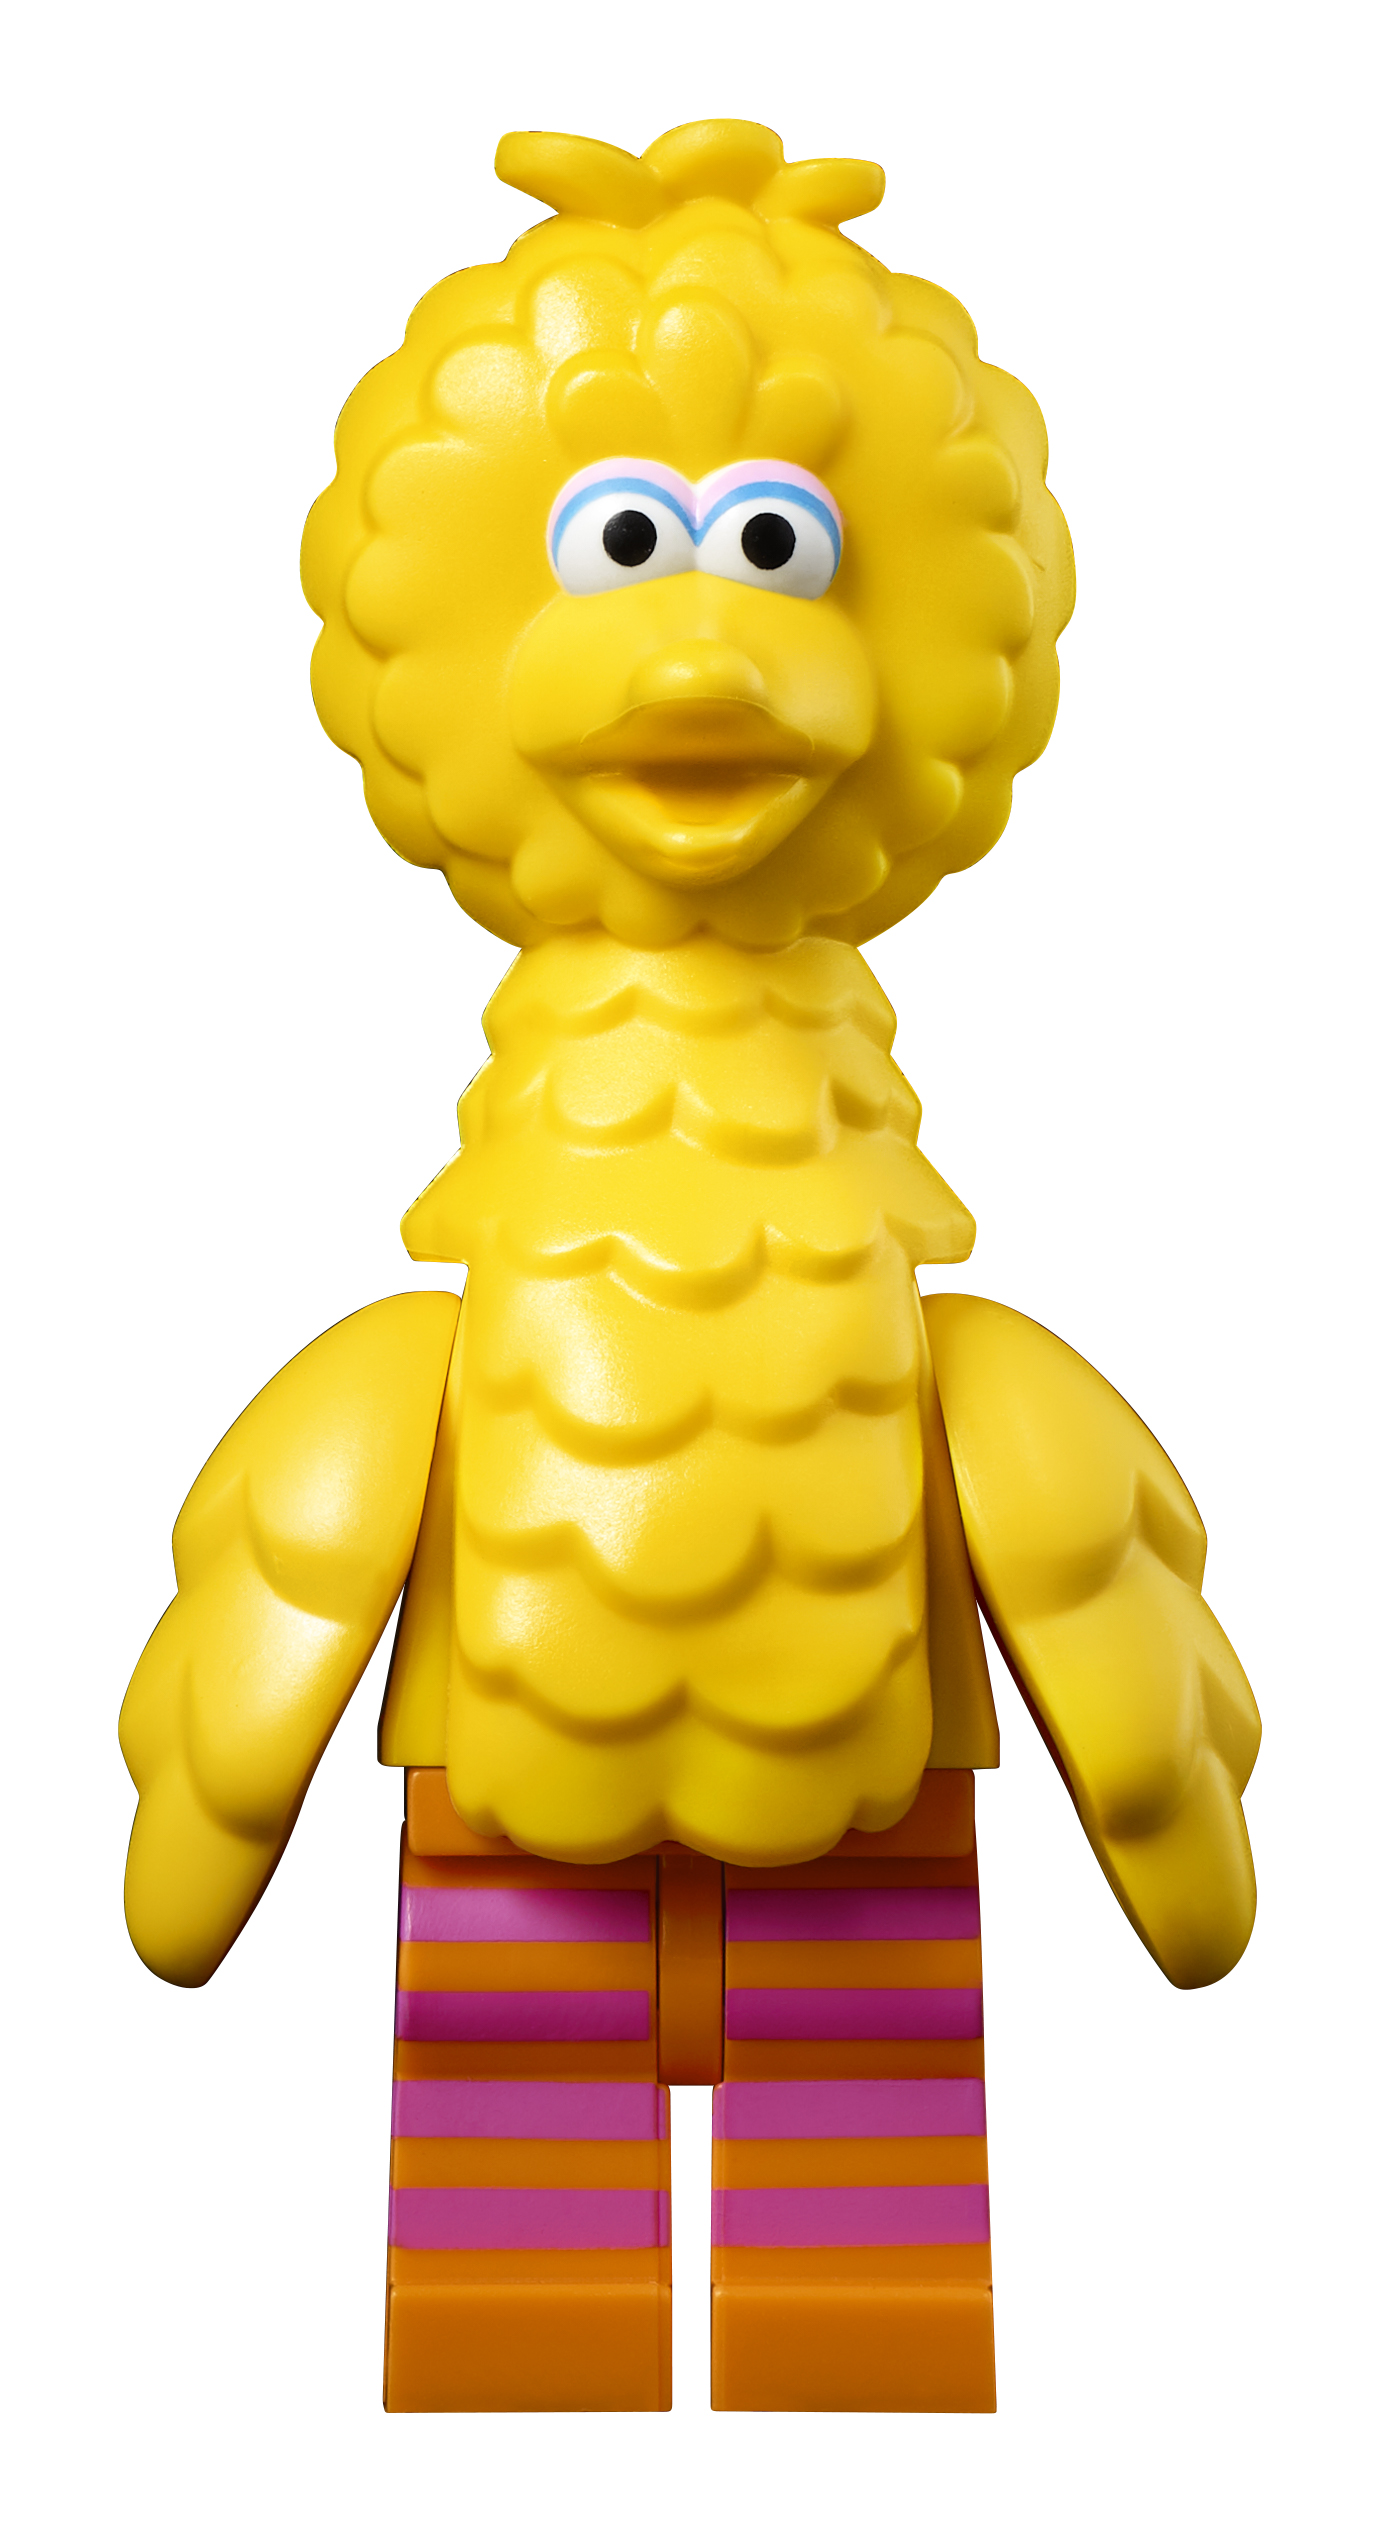
together as a family. Fans can even bring their favourite characters and show
moments to life with the brand new and exclusive buildable minifigures which
have been moulded specifically for the set, including characters such as Cookie
Monster, Elmo and Big Bird.
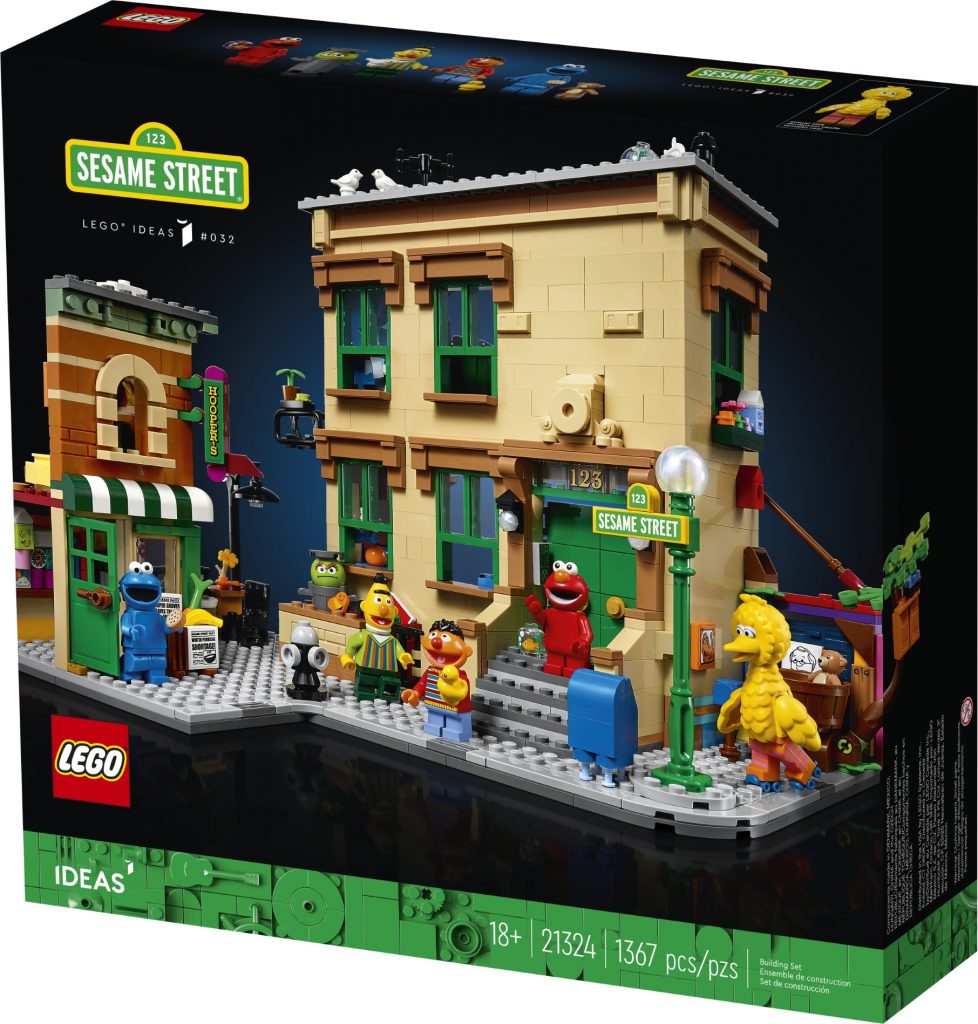
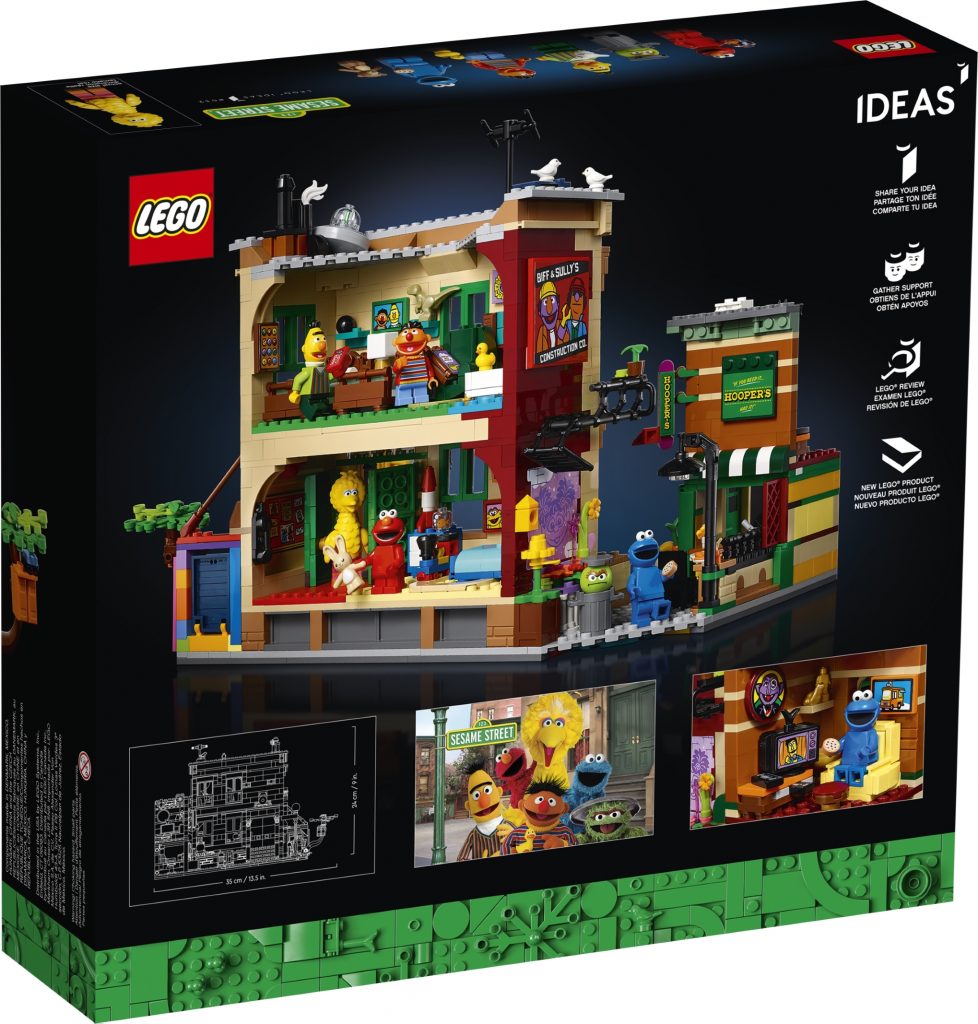
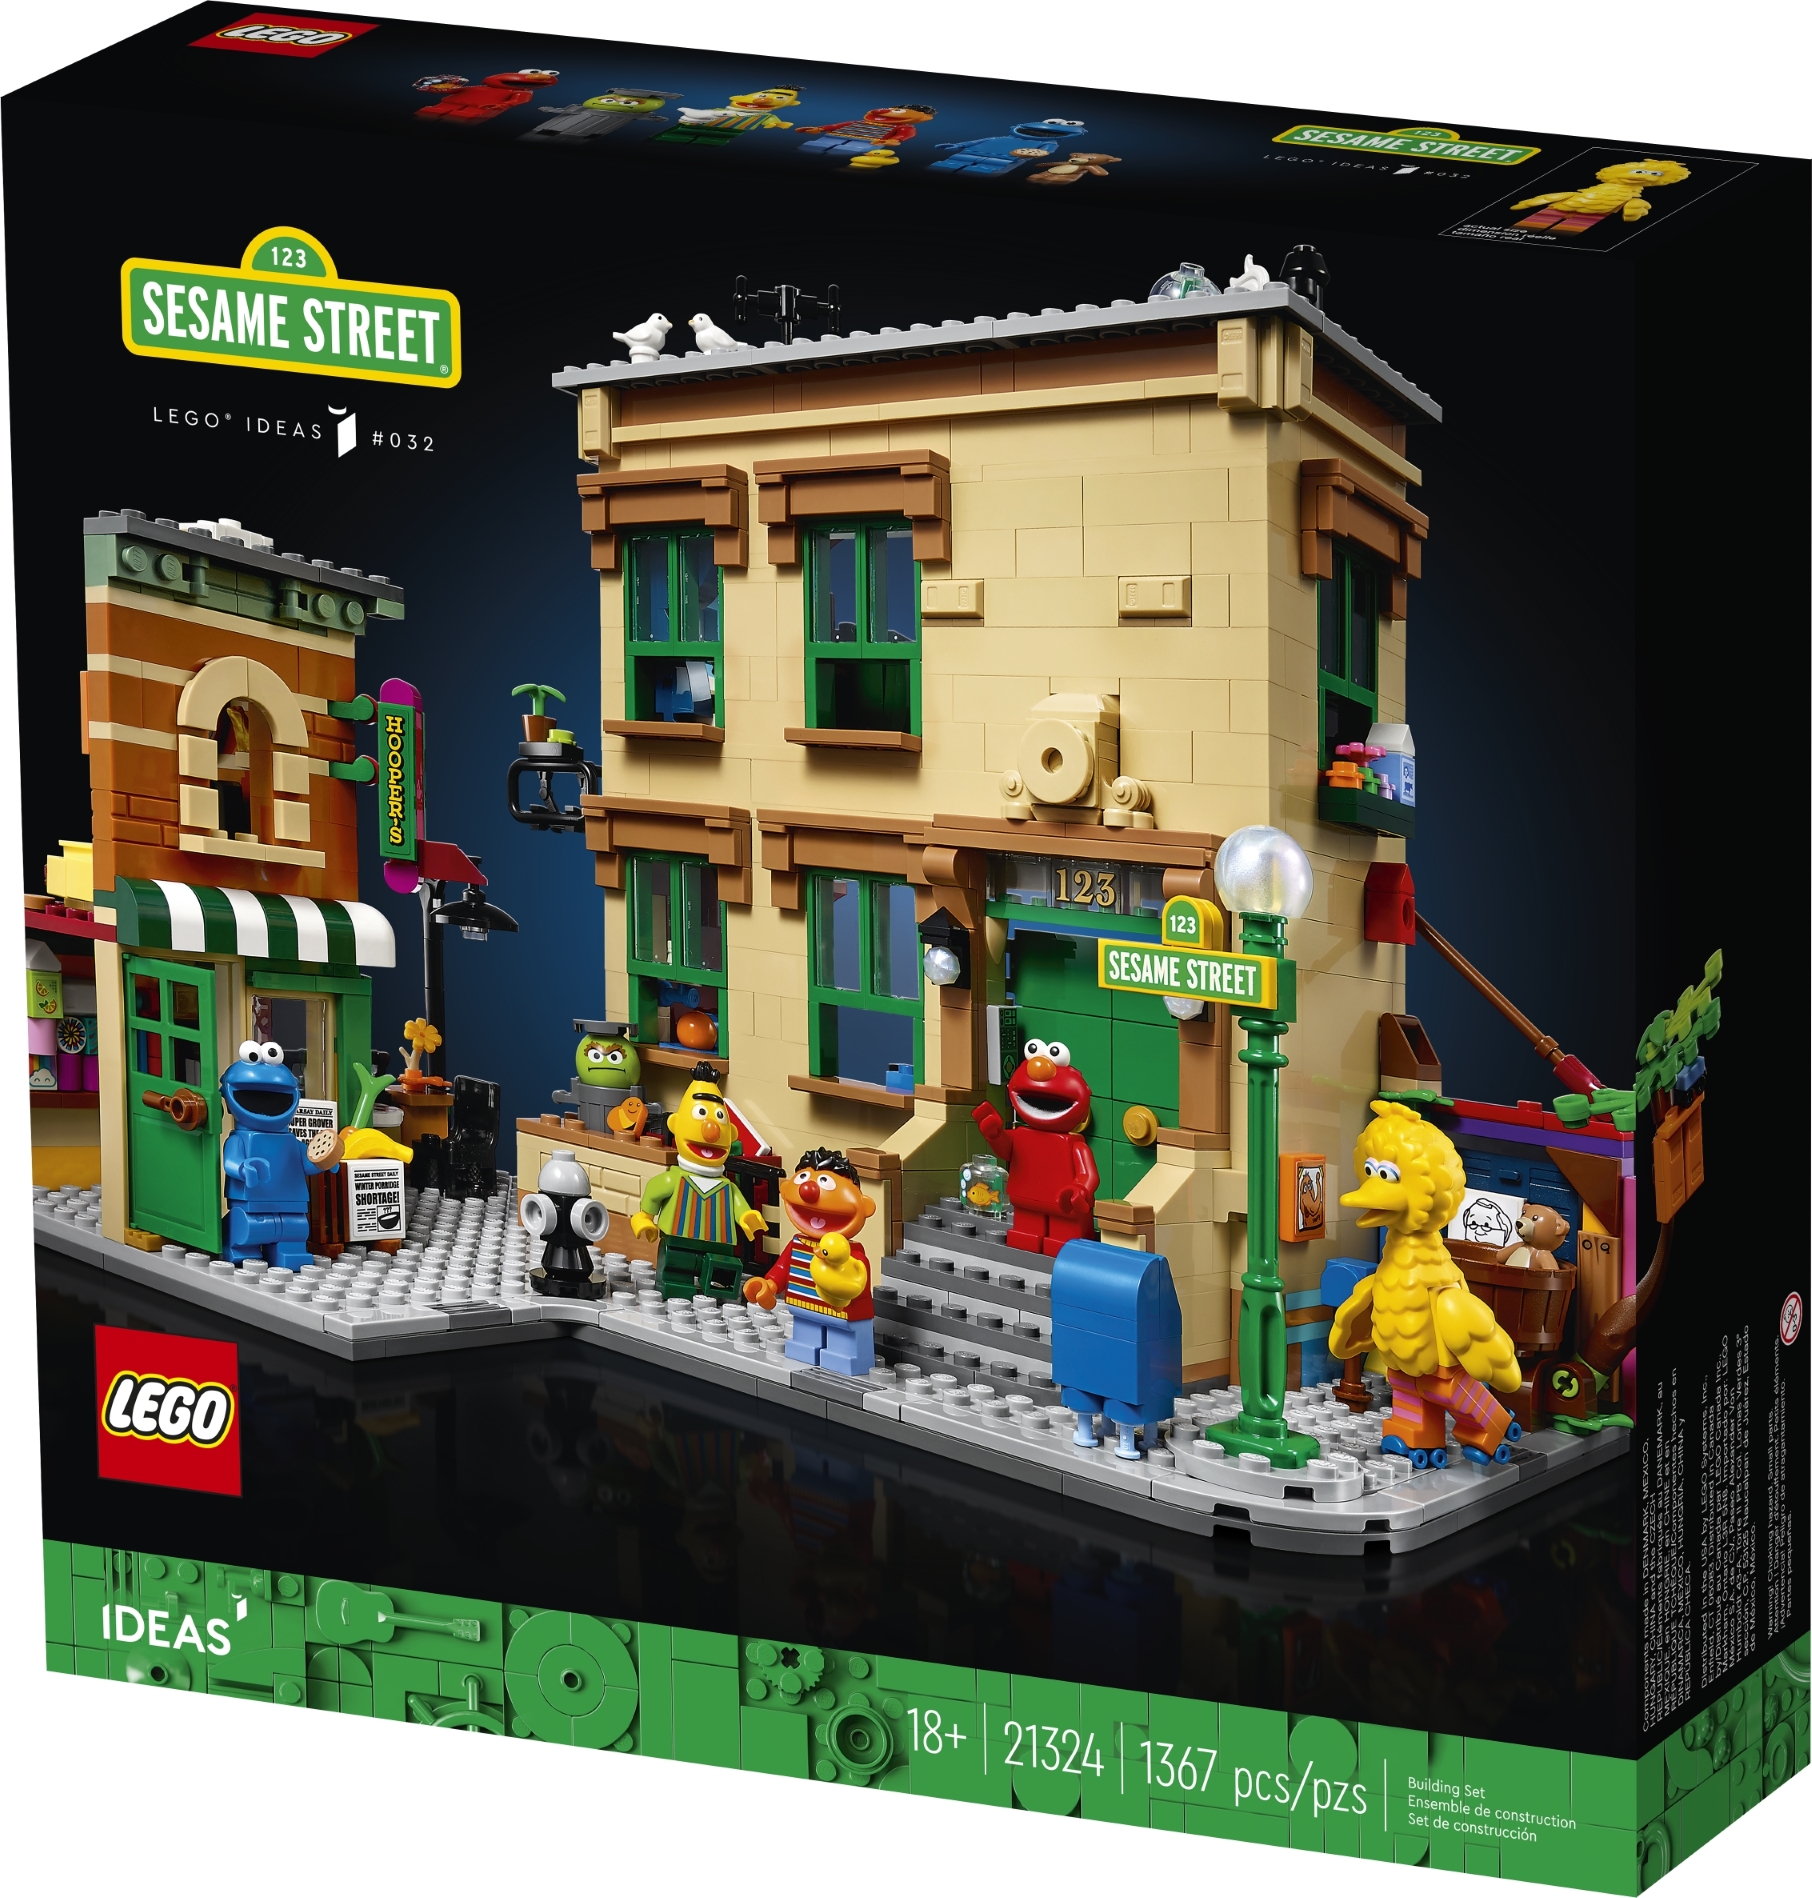
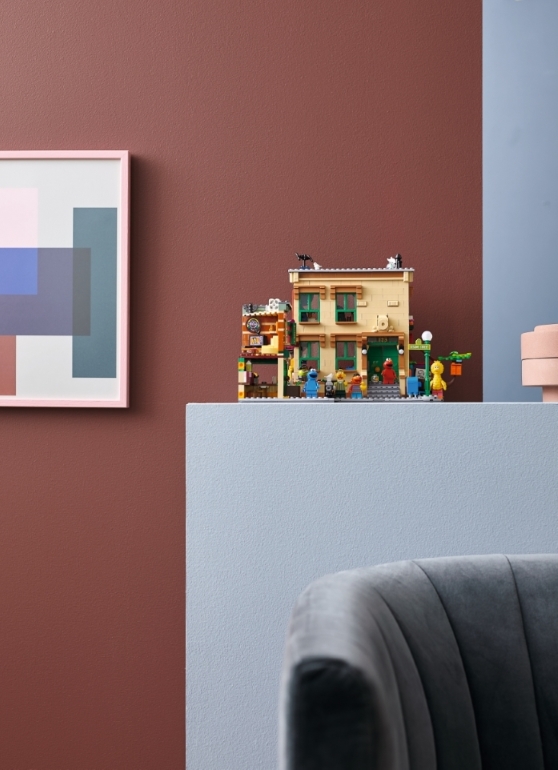
The Box, Inside and Outside
The box presentation is the
new 18+ black box with the set images brightly printed to jump out and catch
your eye.
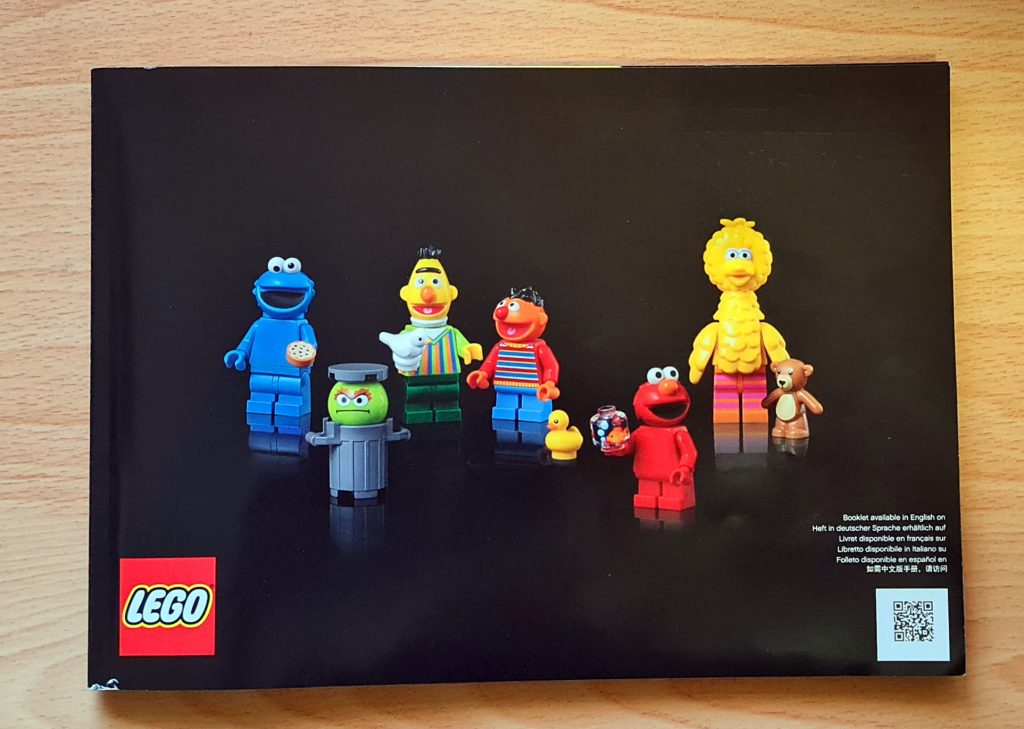
The instruction manual is also all black with the well-loved character minifigures in a row on the front and just the Sesame Street sign logo on the back. Inside has some detail about Sesame Street, the original designer and LEGO® designers.
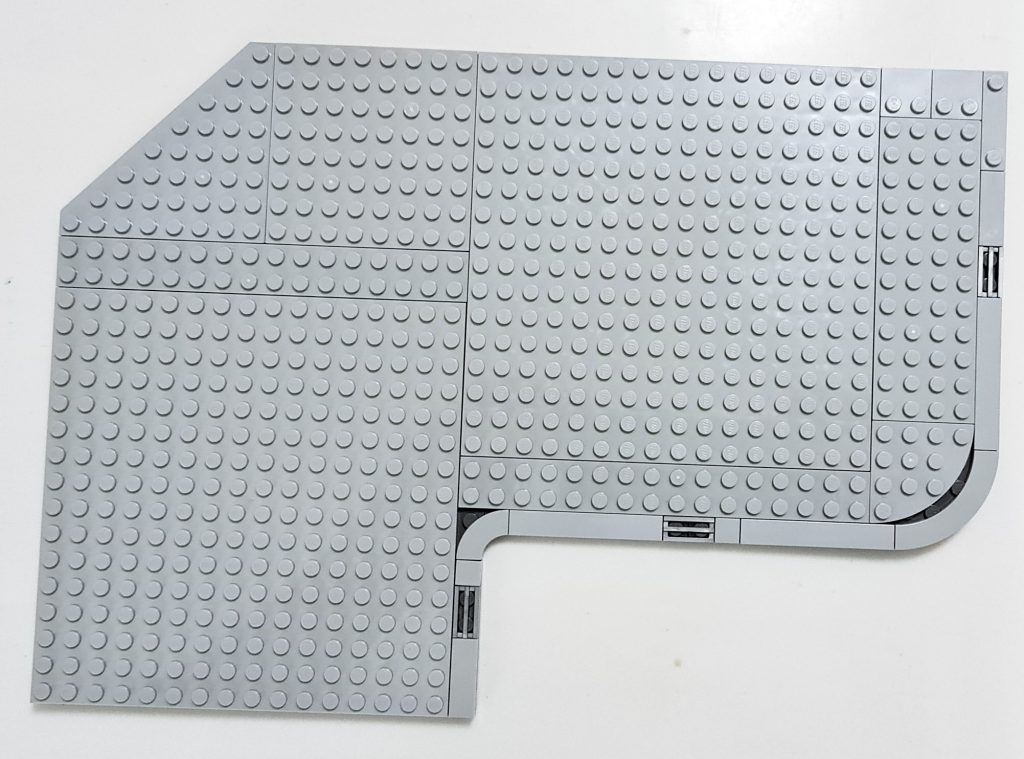
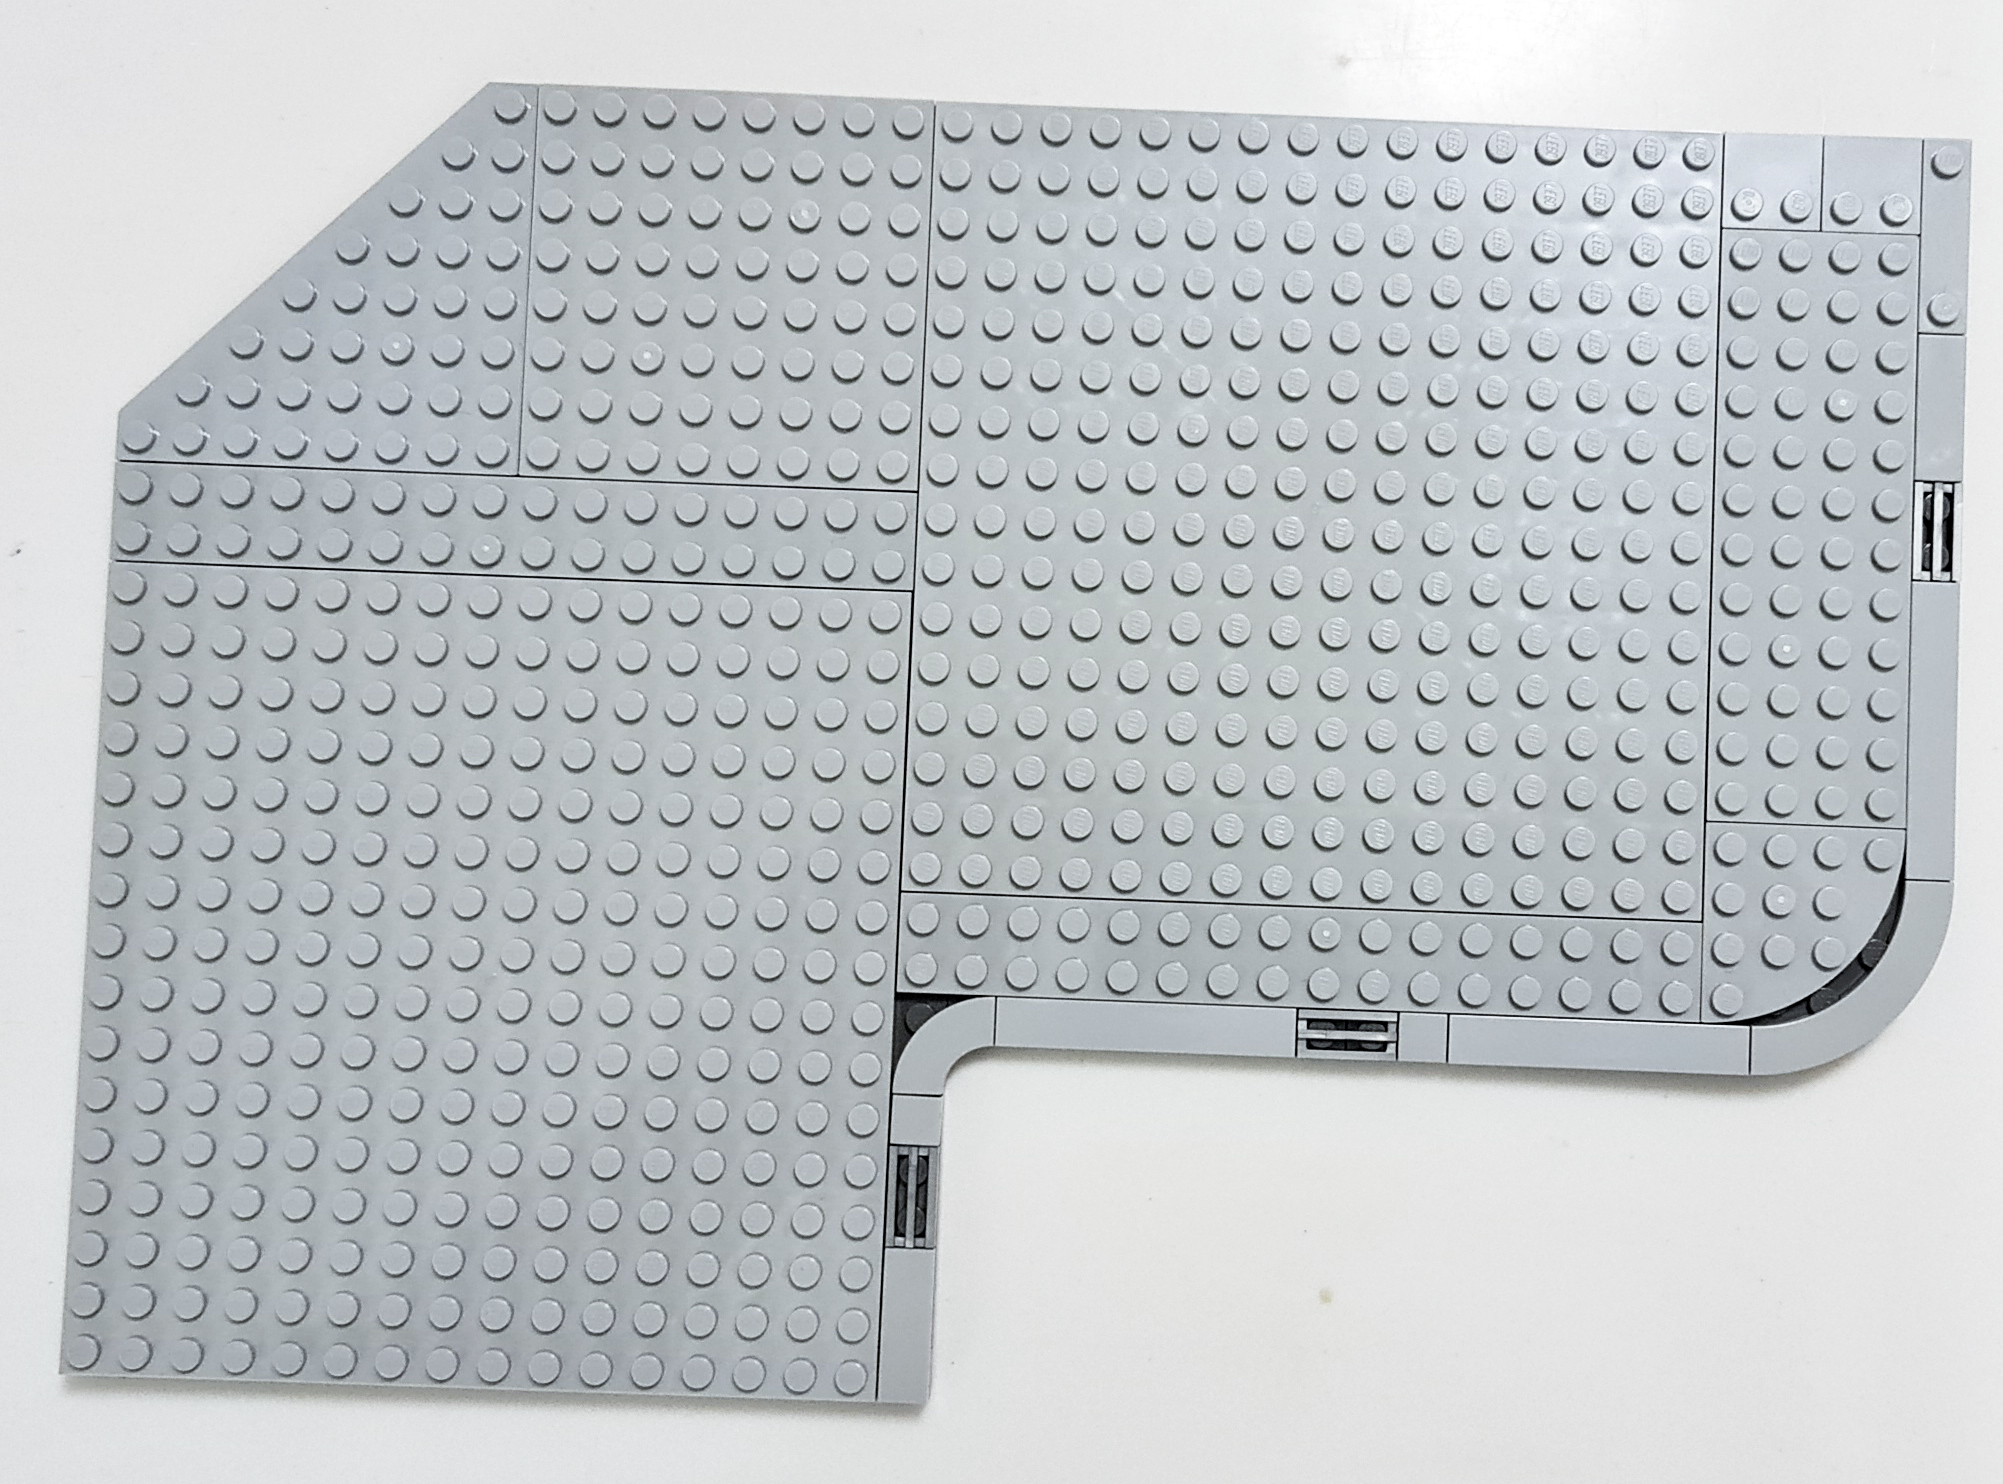
We get 2 16×16 Light
Bluish-Grey plates and 11 bags of parts.
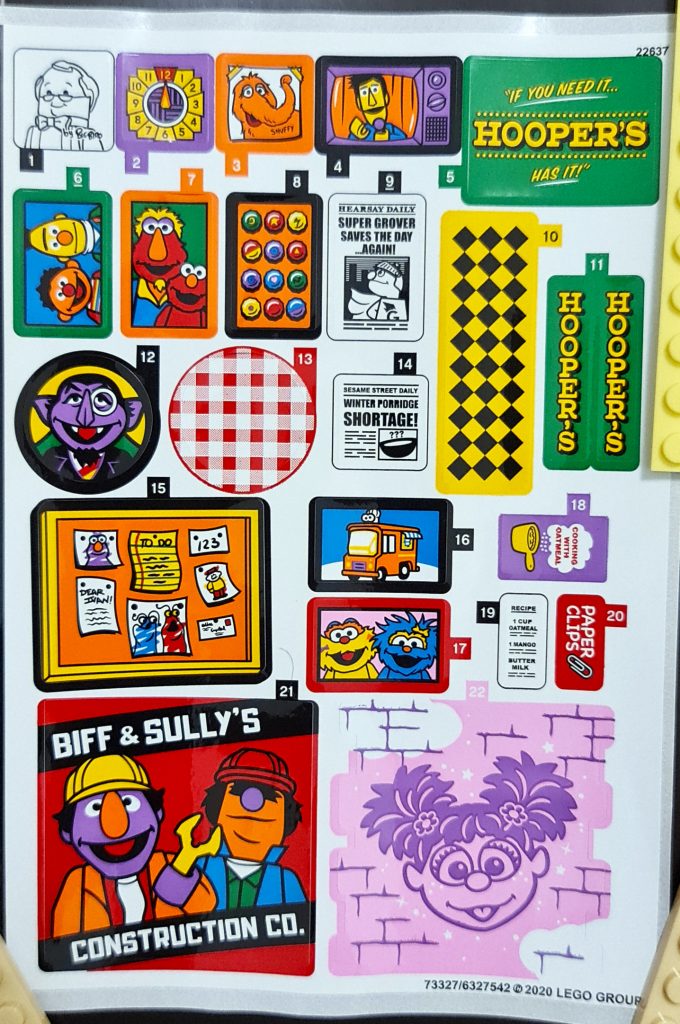
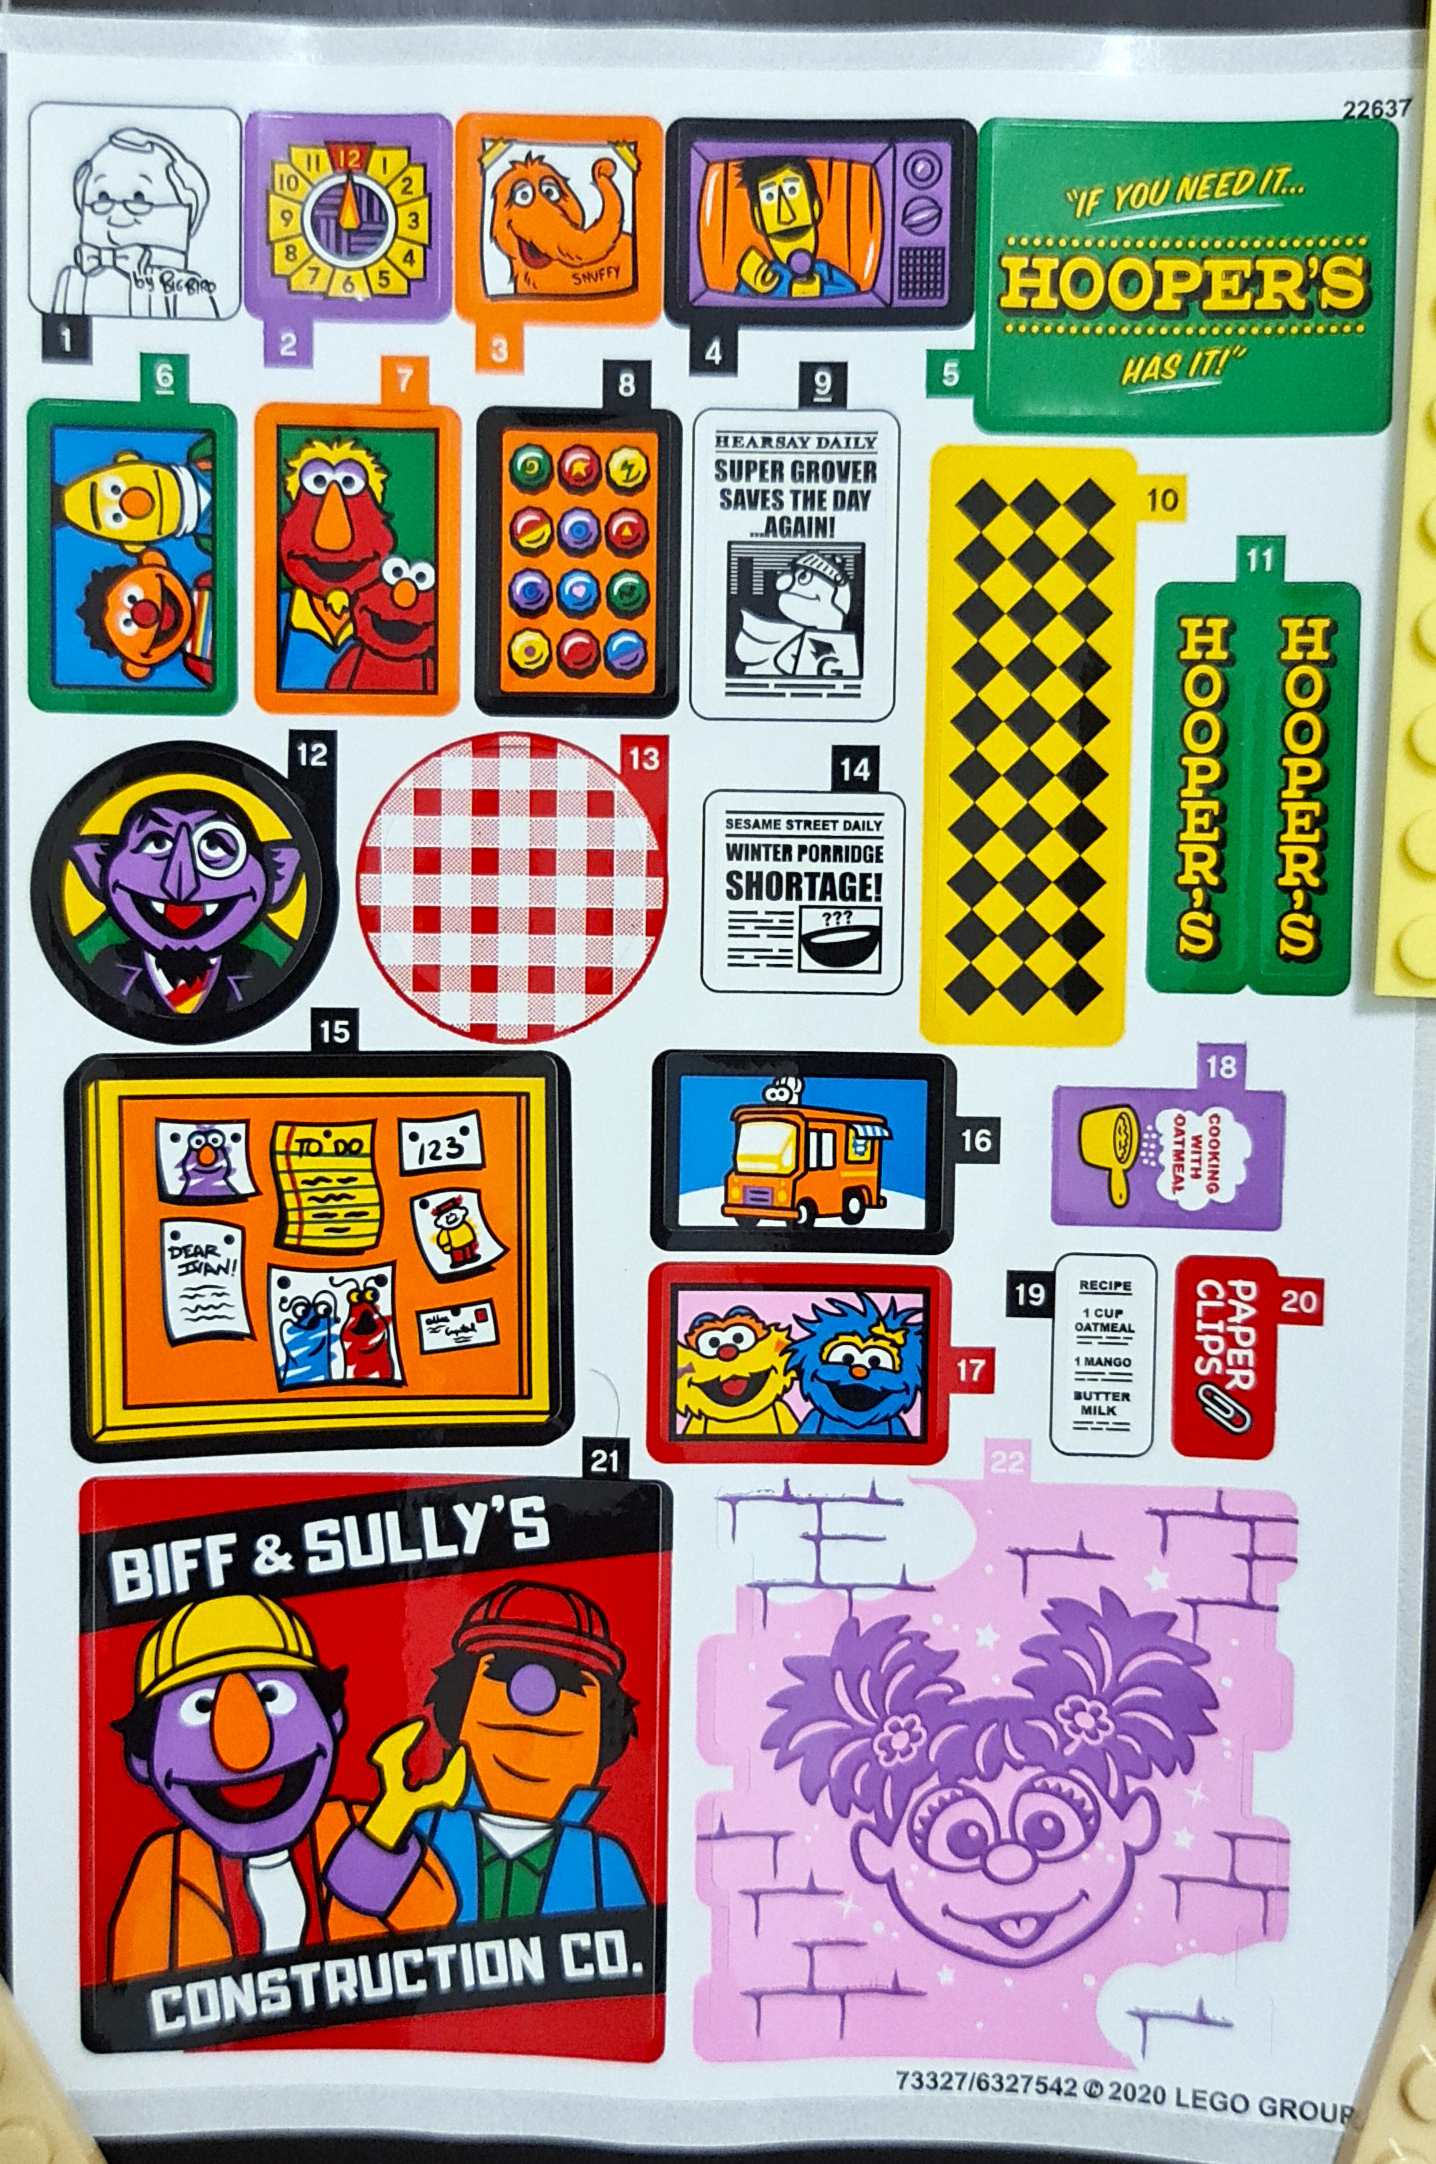
There is also a sticker sheet with 22 wonderful Sesame Street designs, which also bring in some of the well-loved characters that were not made into minifigures.
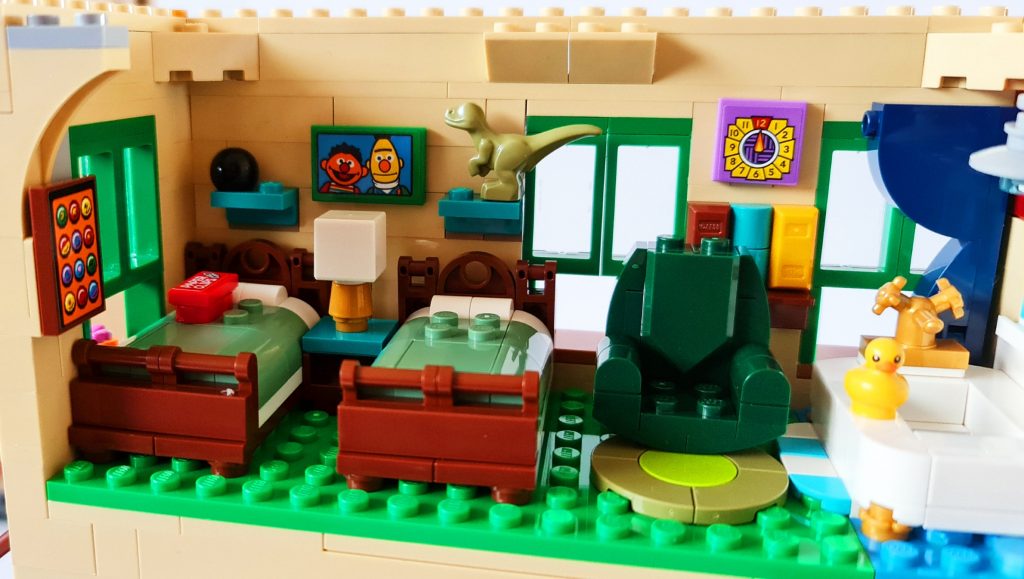
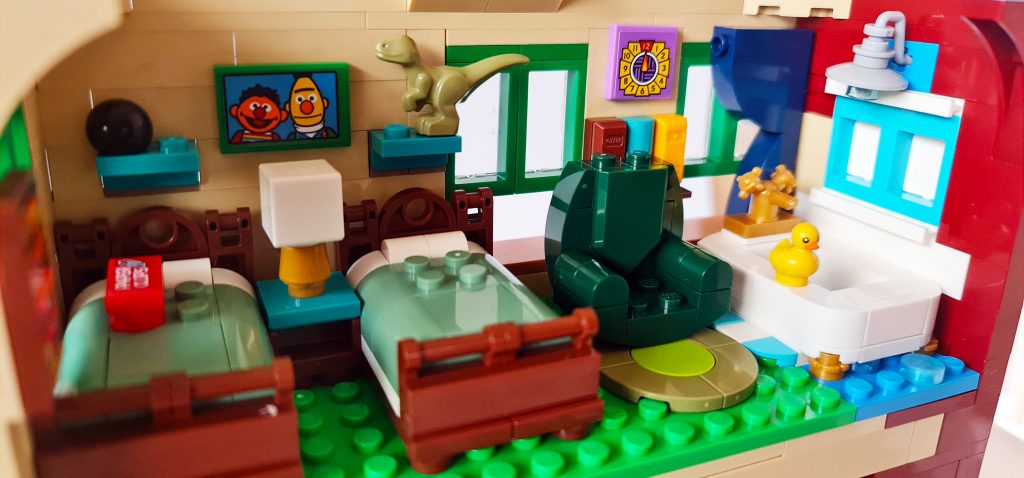
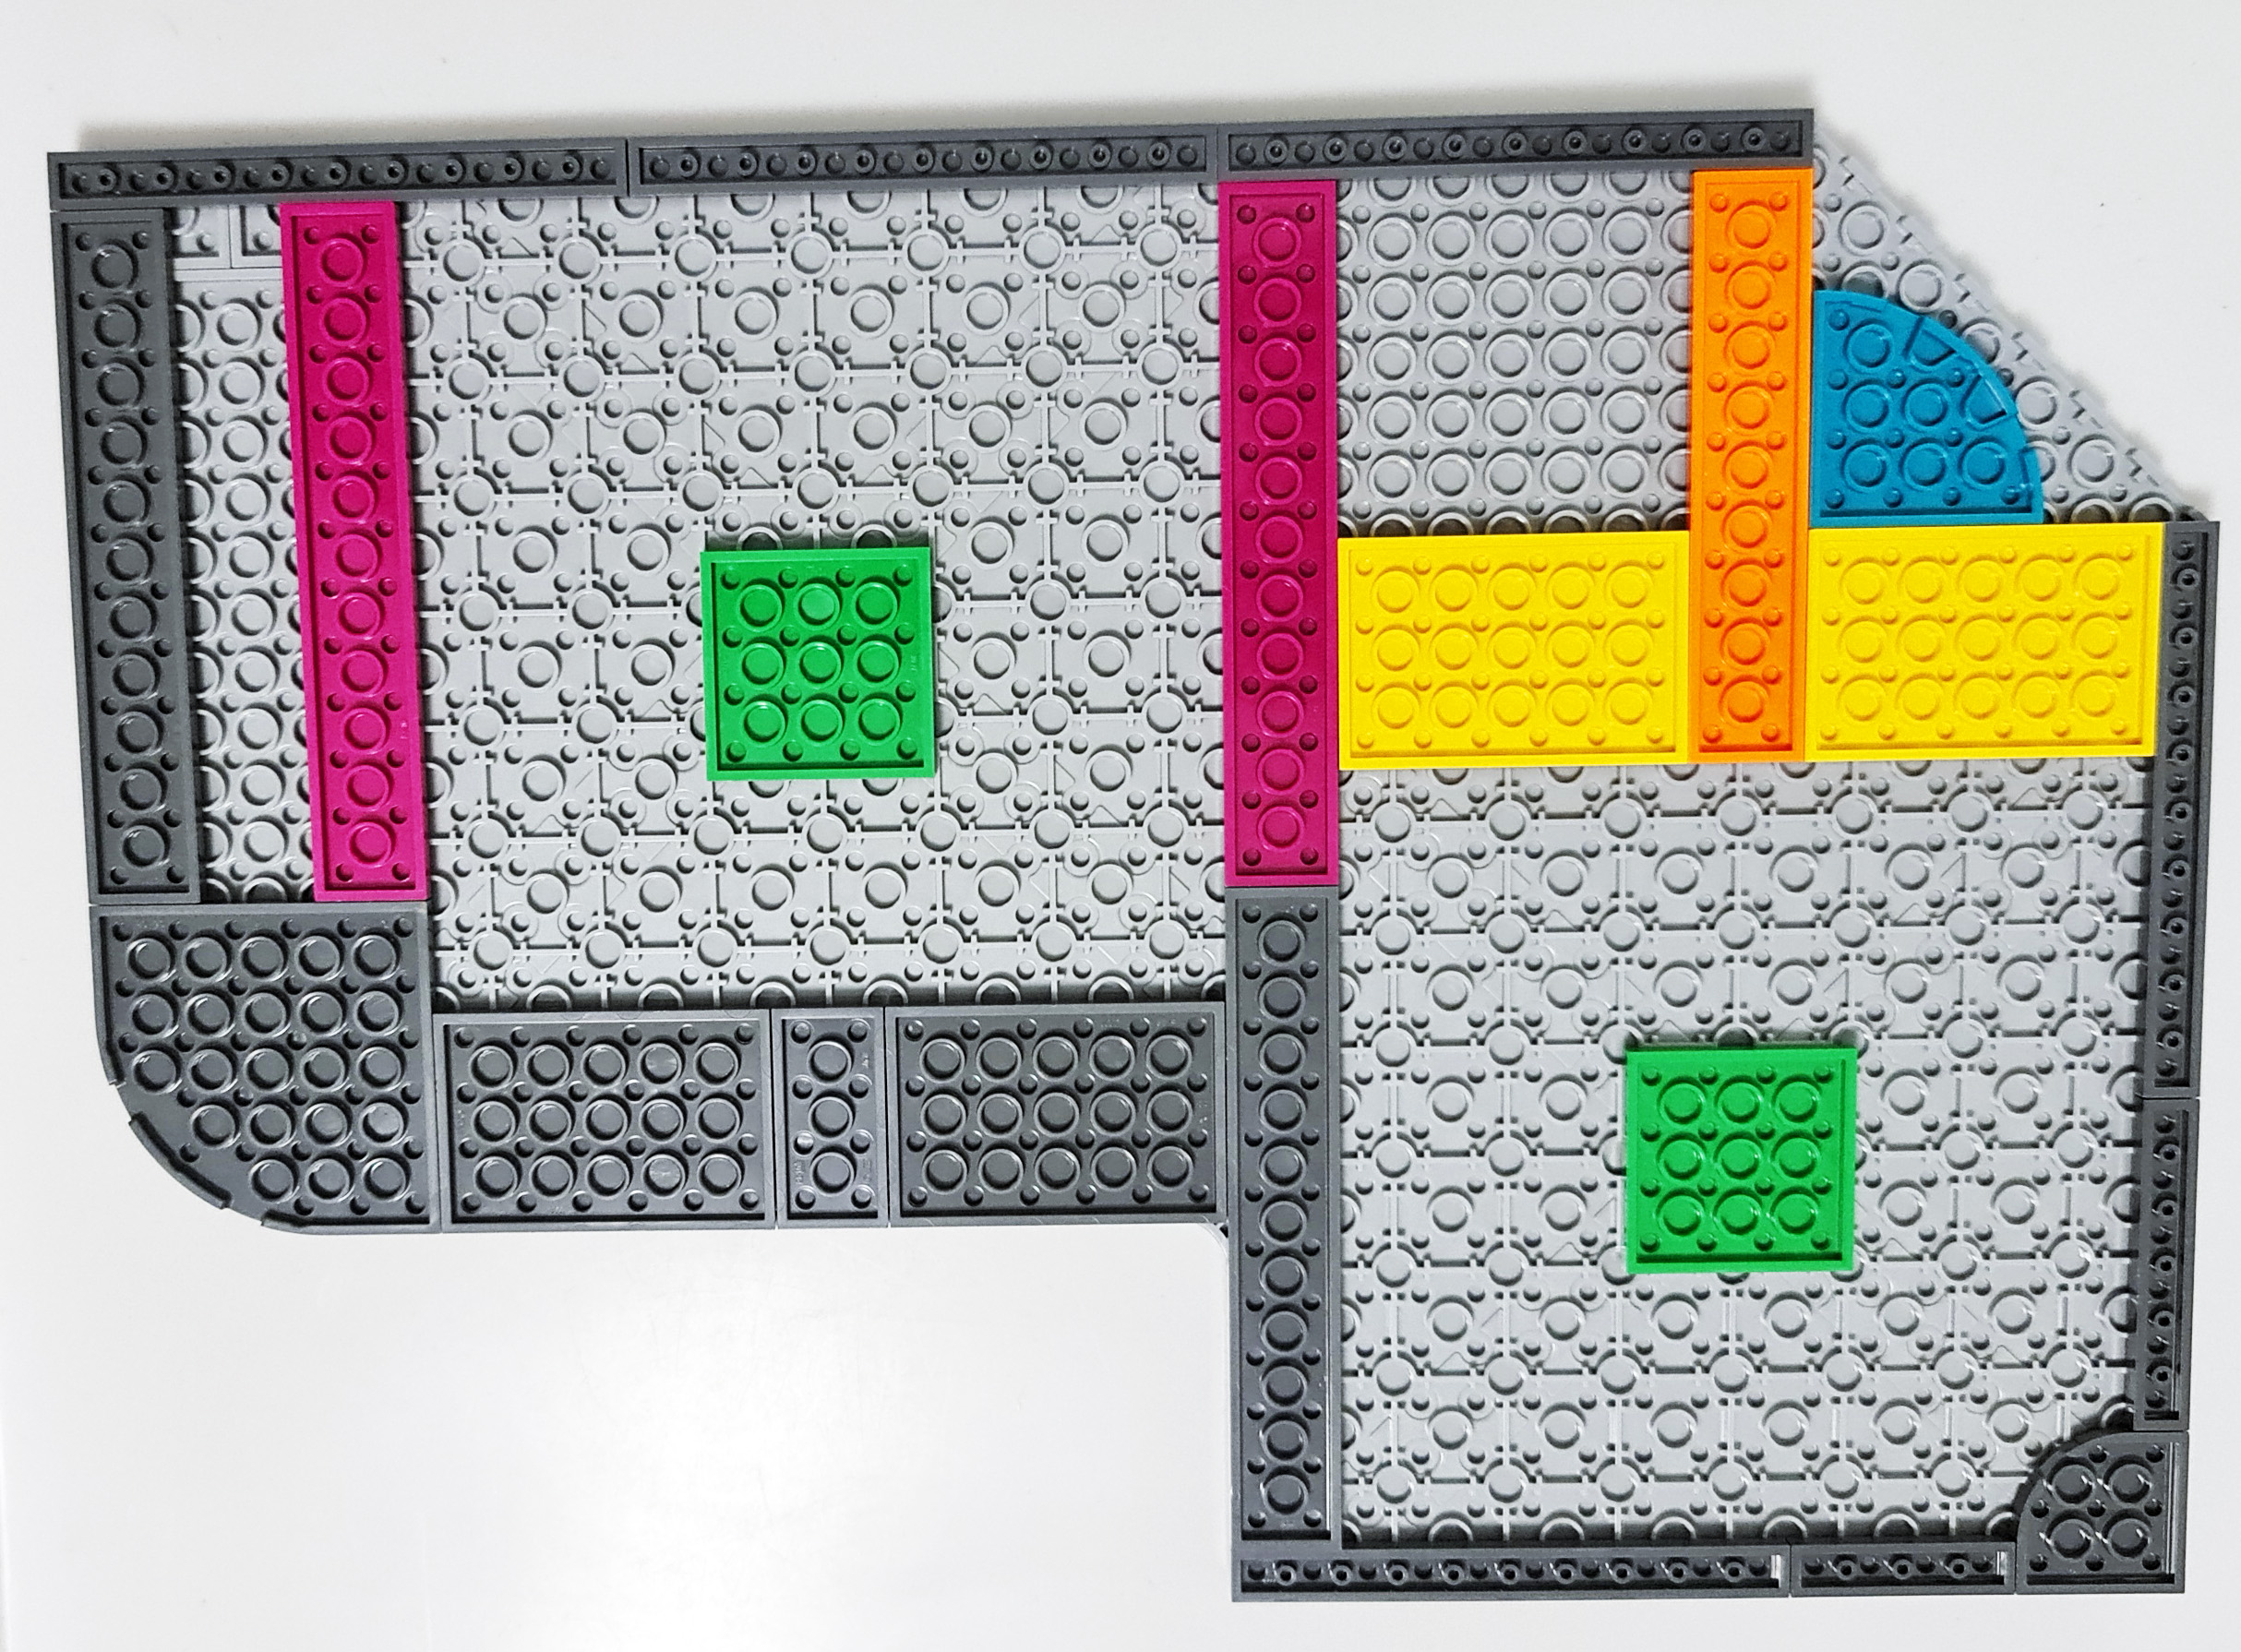
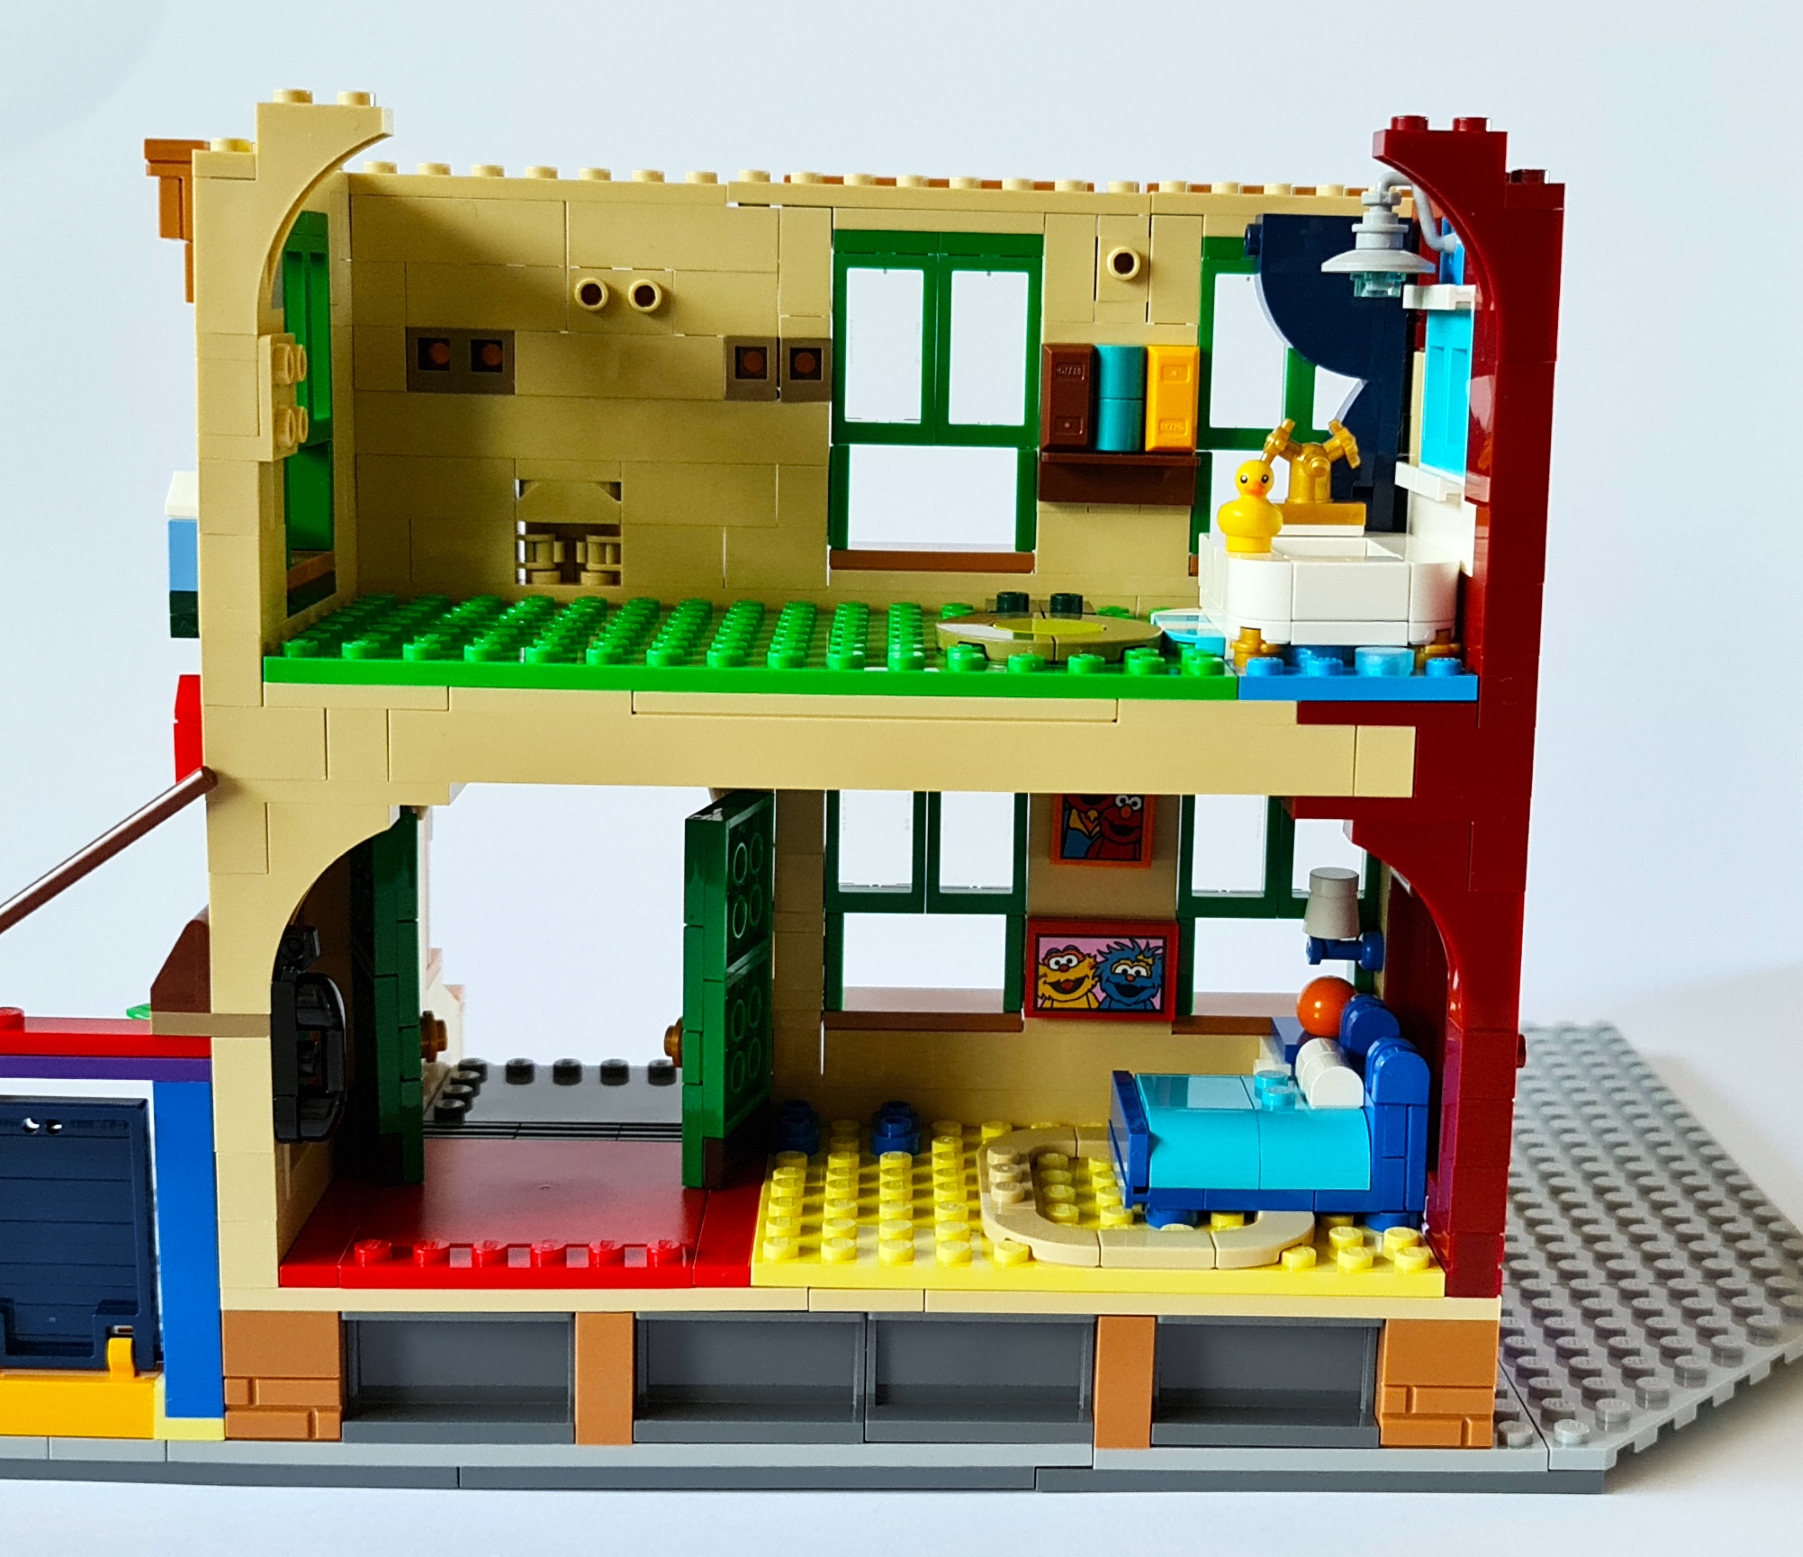
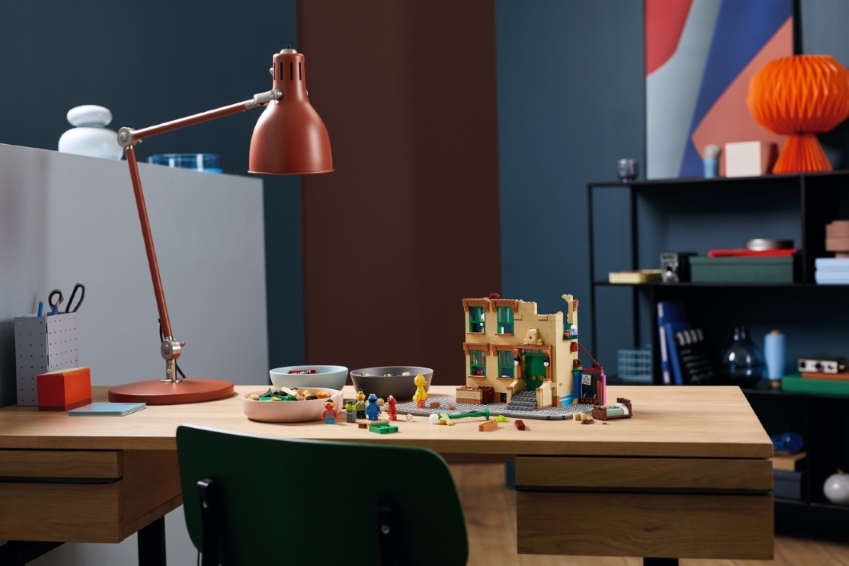
The Build
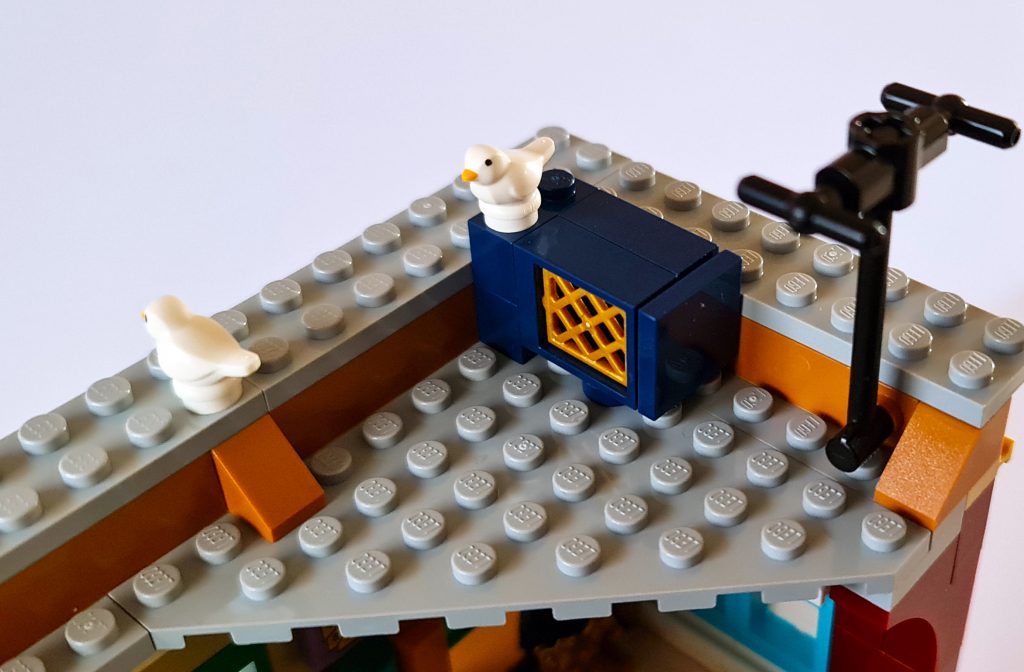
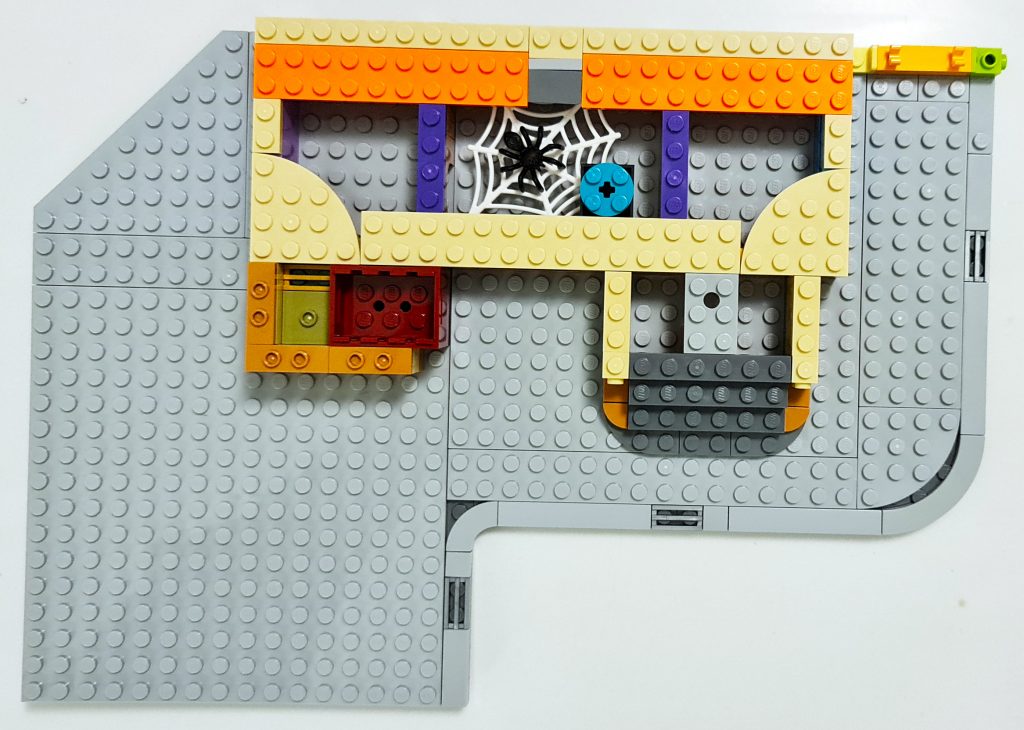
We begin the build with the base (the street block) and then see the building emerge from the ground up.
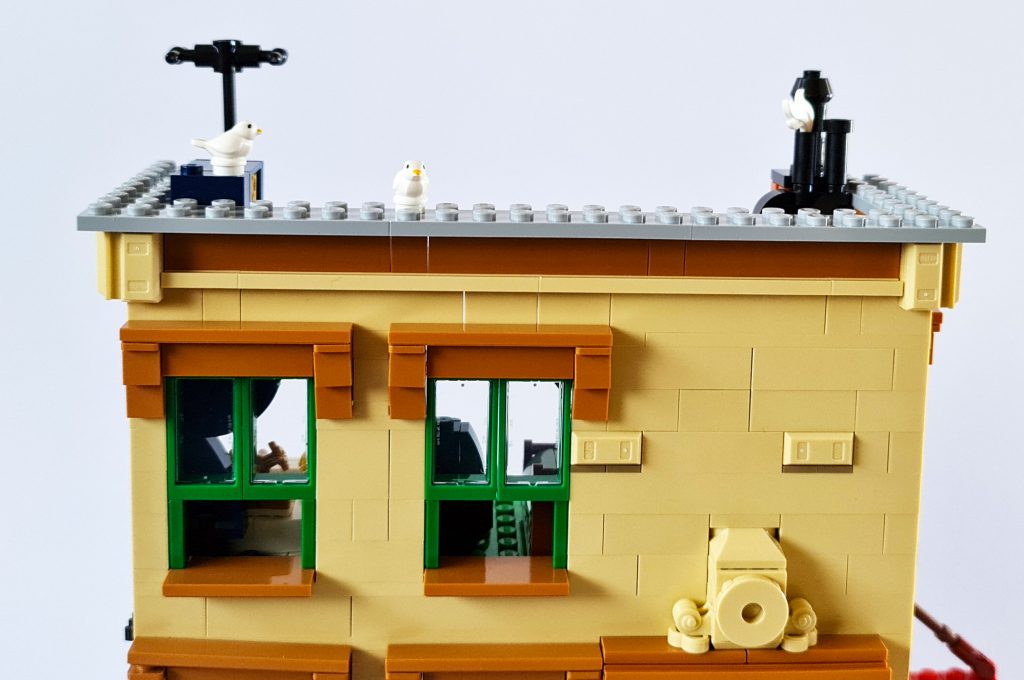
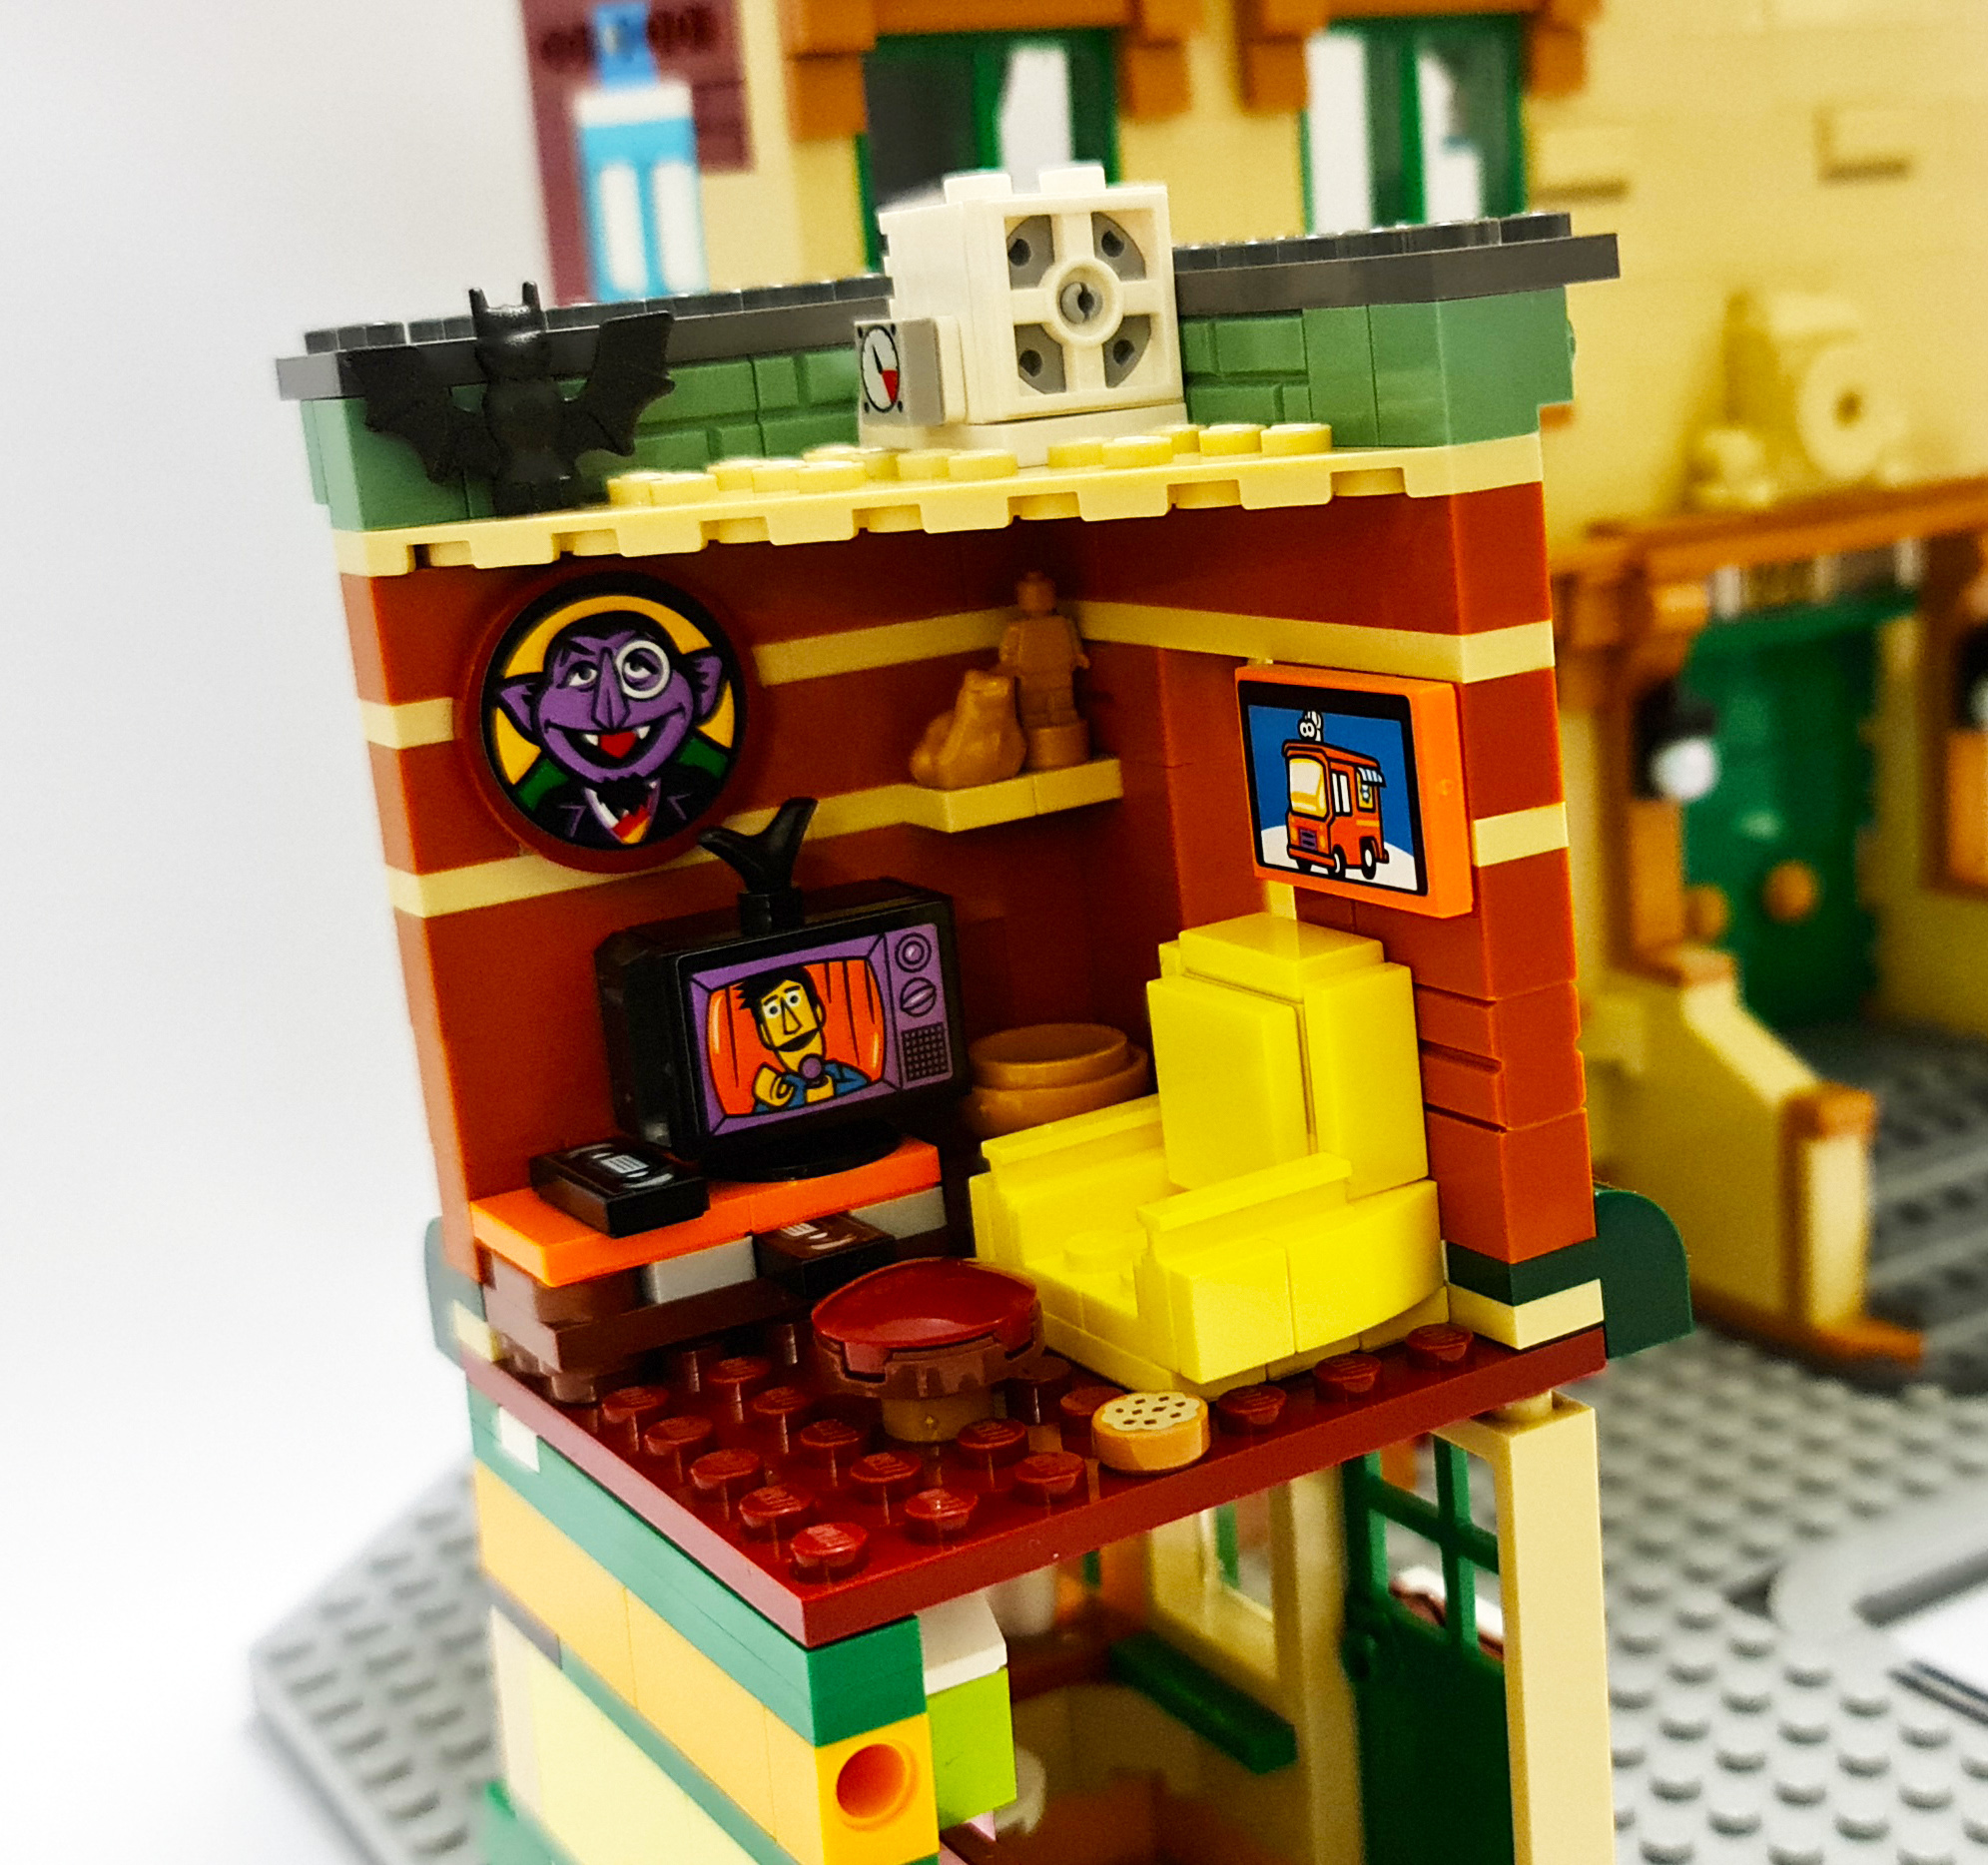
The building has been cleverly thought out and with excellent part use in the finer details and the features of the building. There are also some hidden “easter eggs”, such as the spider on its web in the basement.
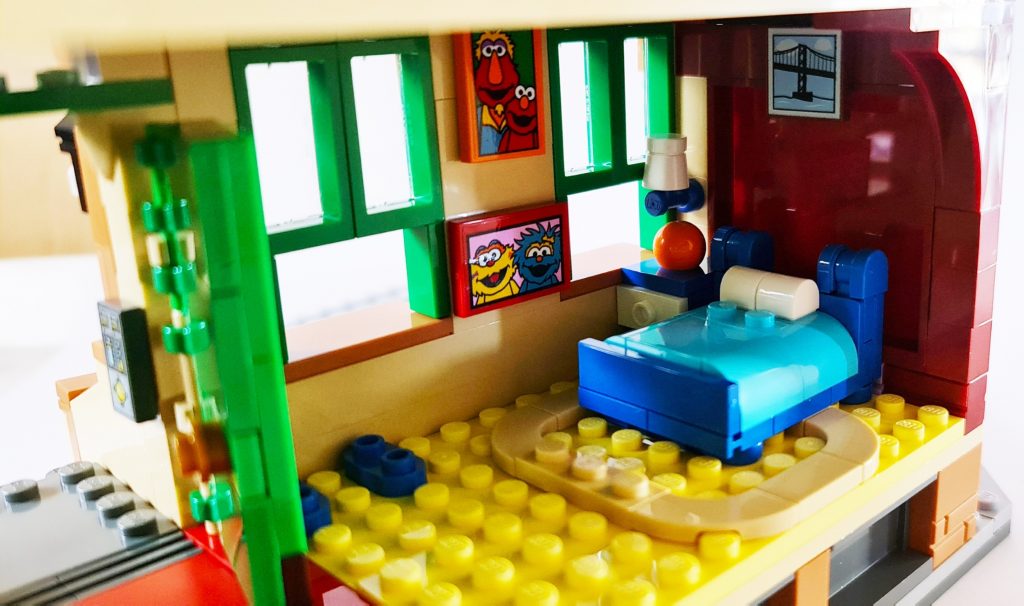
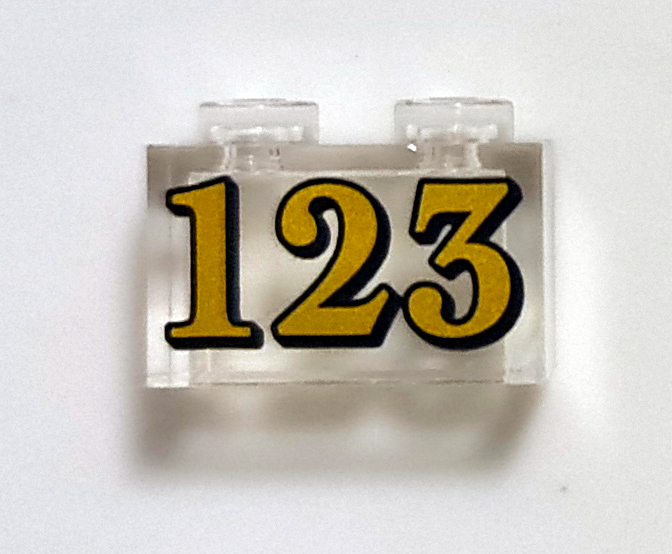
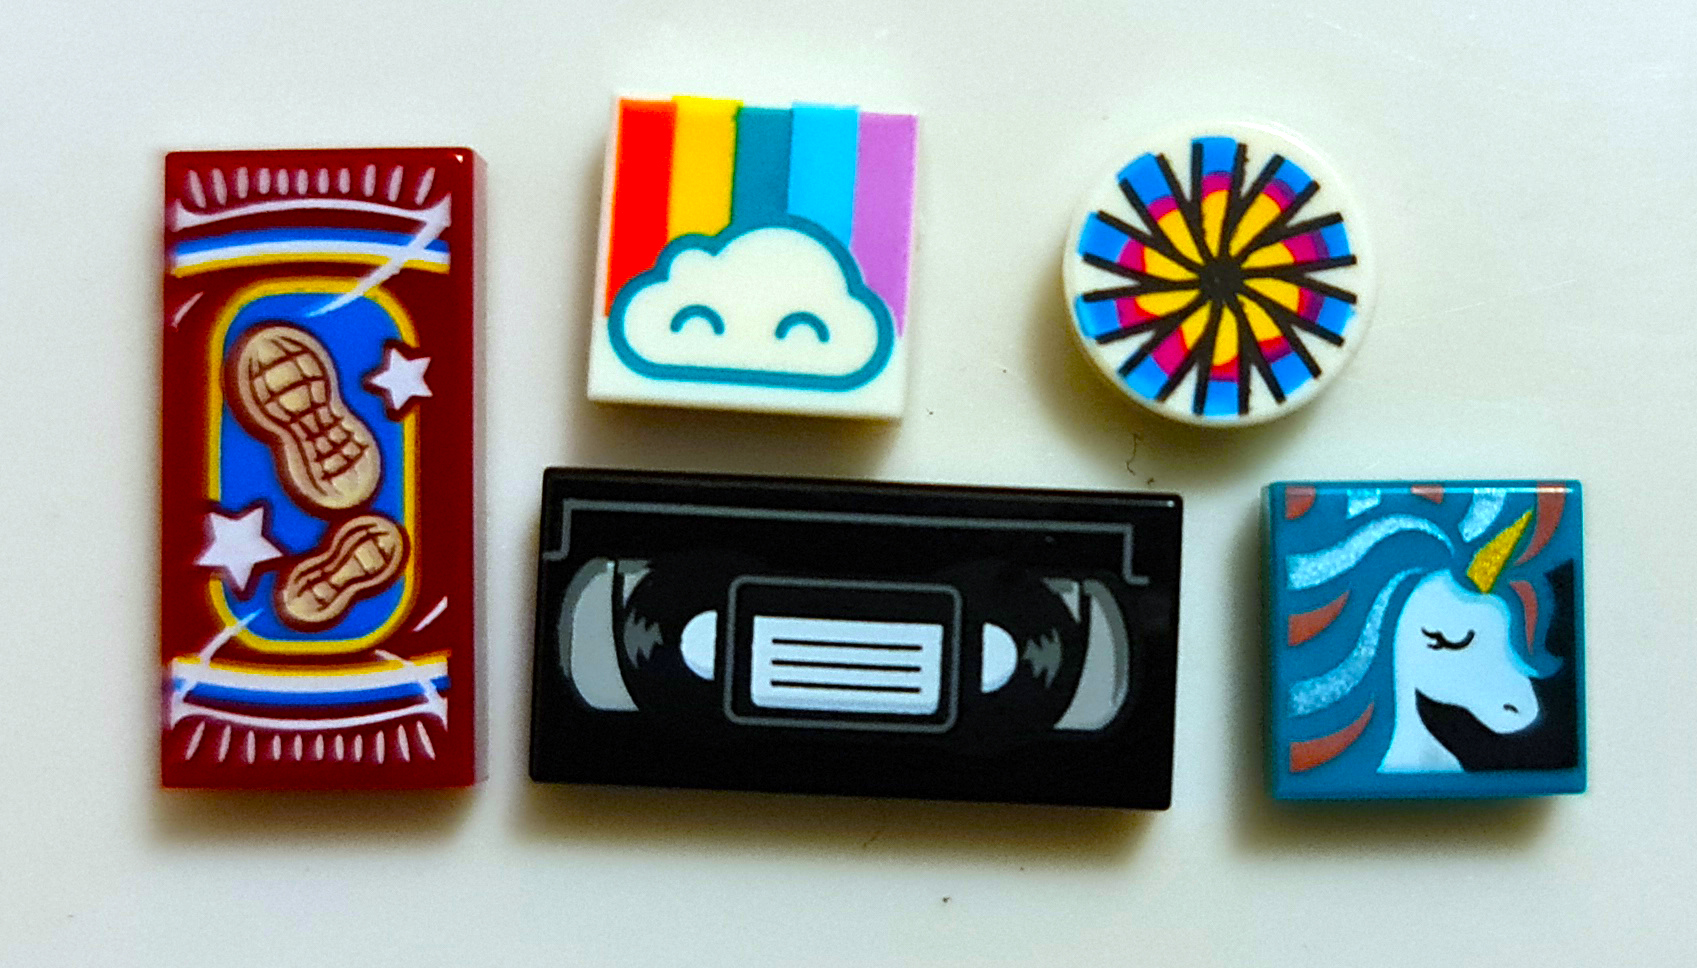
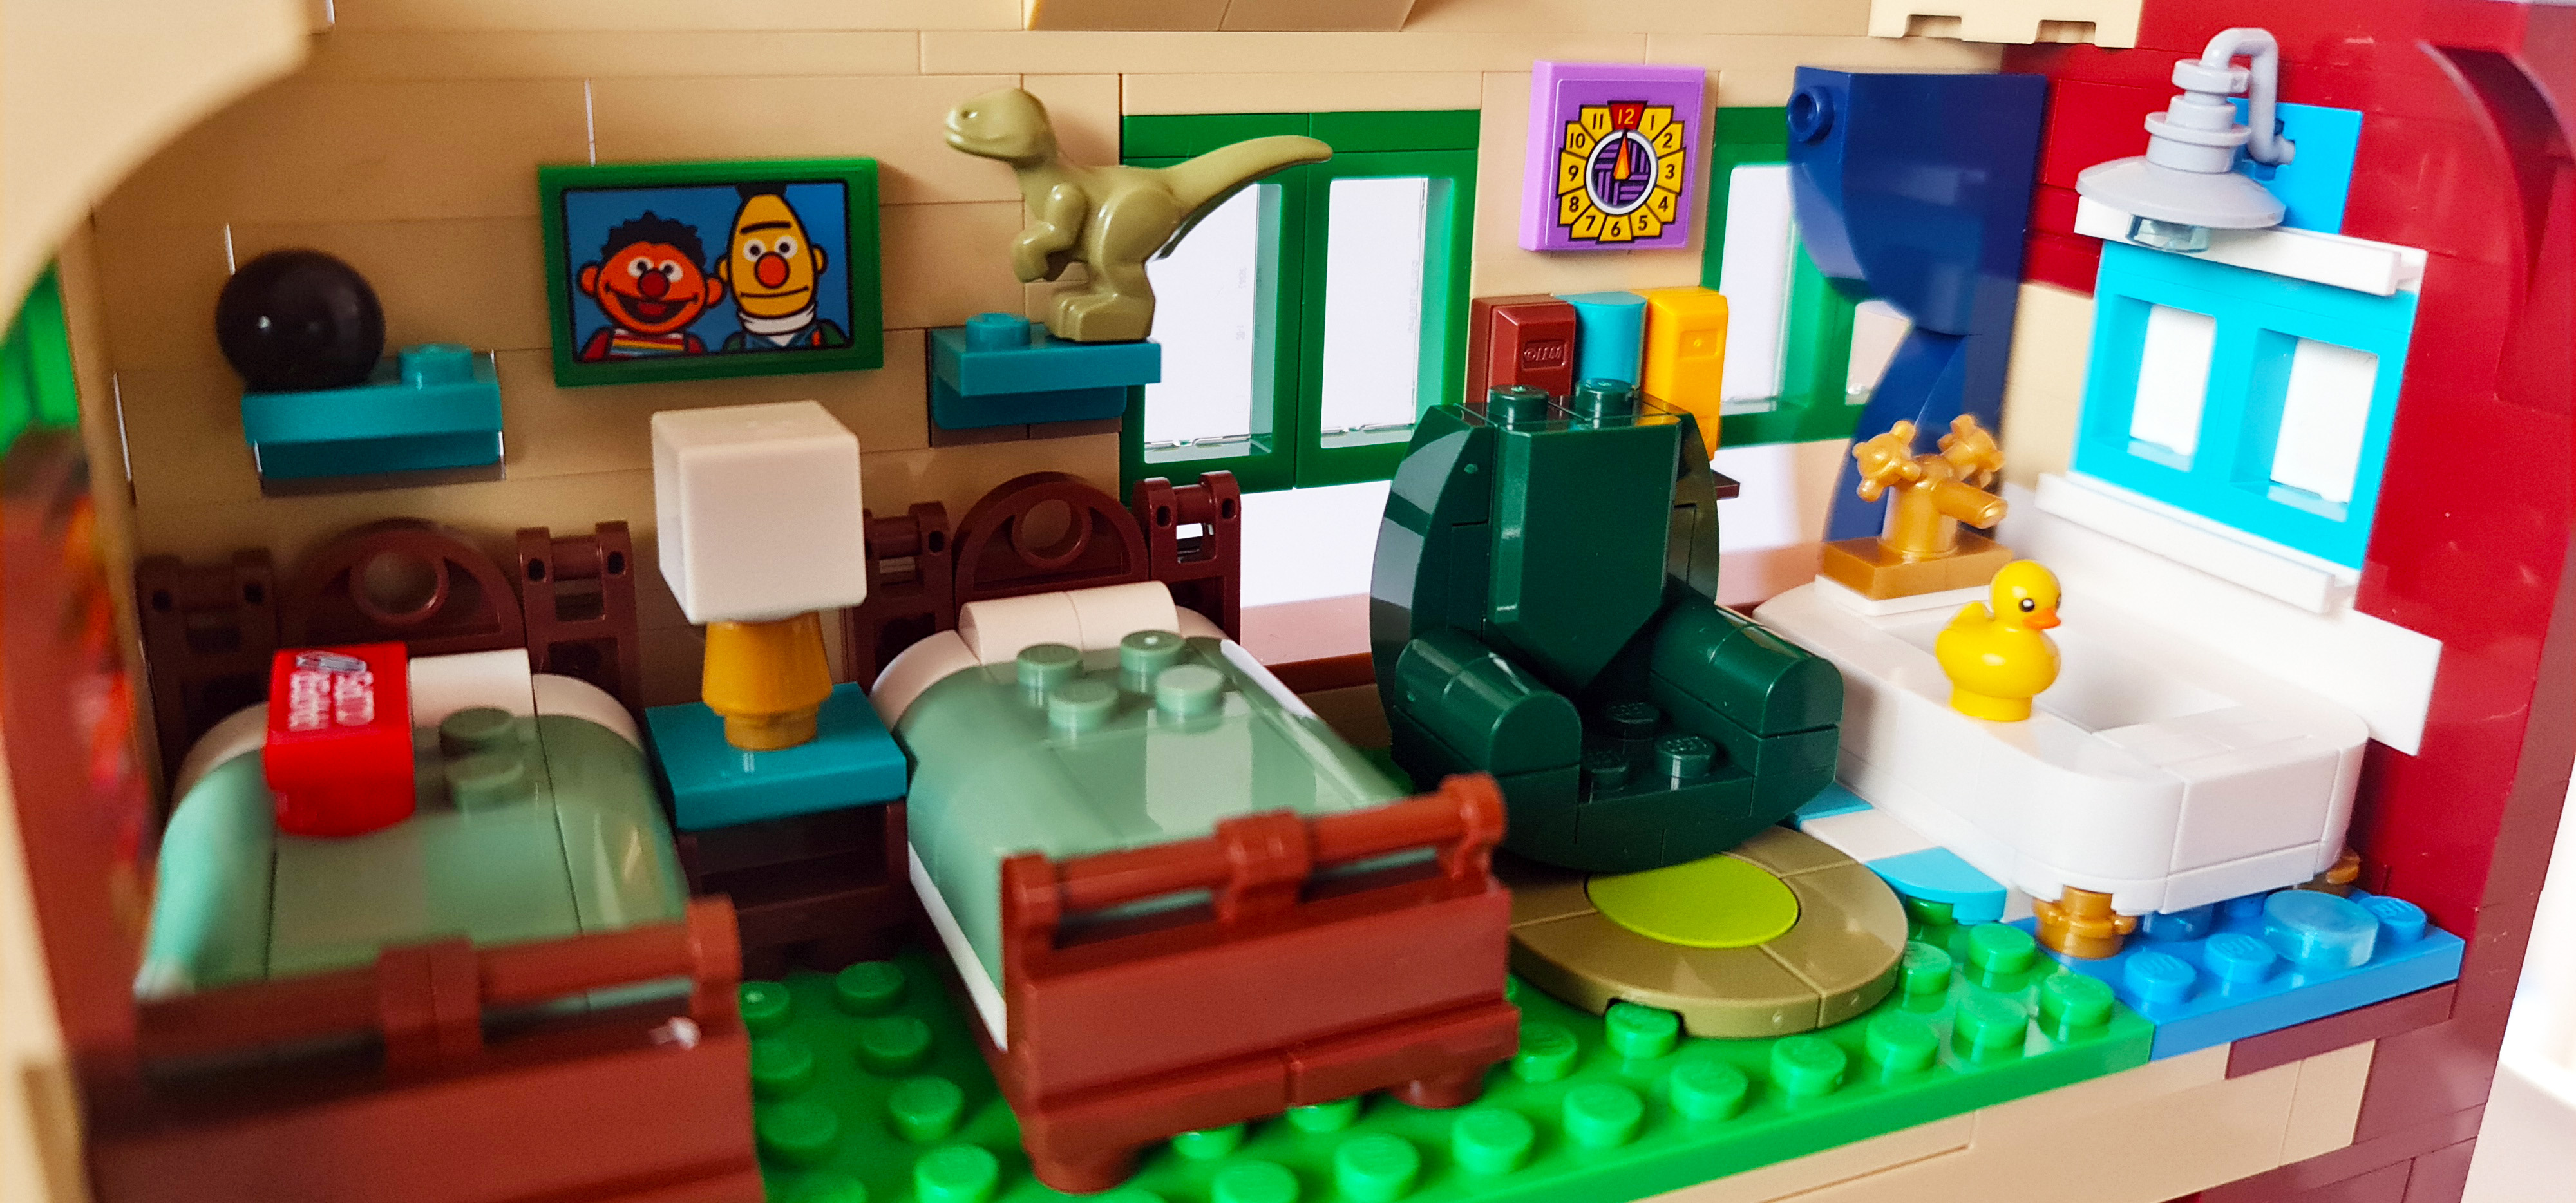
Most of the image detail come from the sticker sheet, but we have been given some nice new printed parts as well.
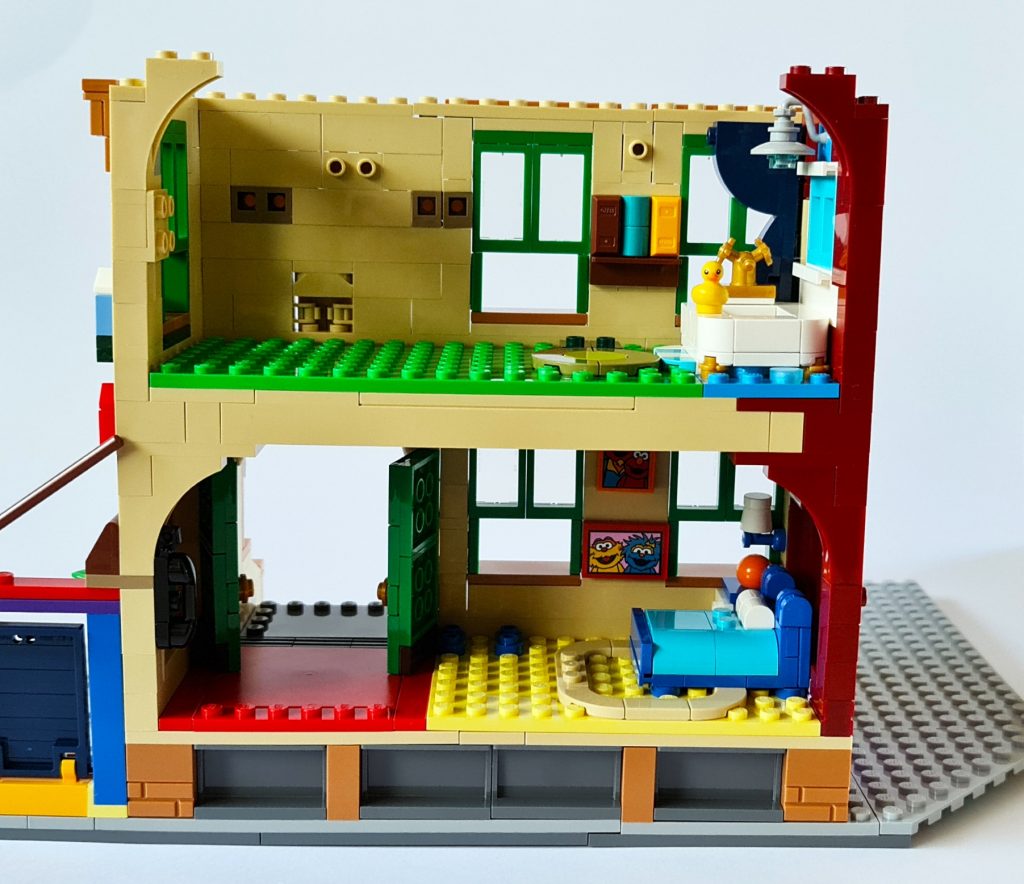
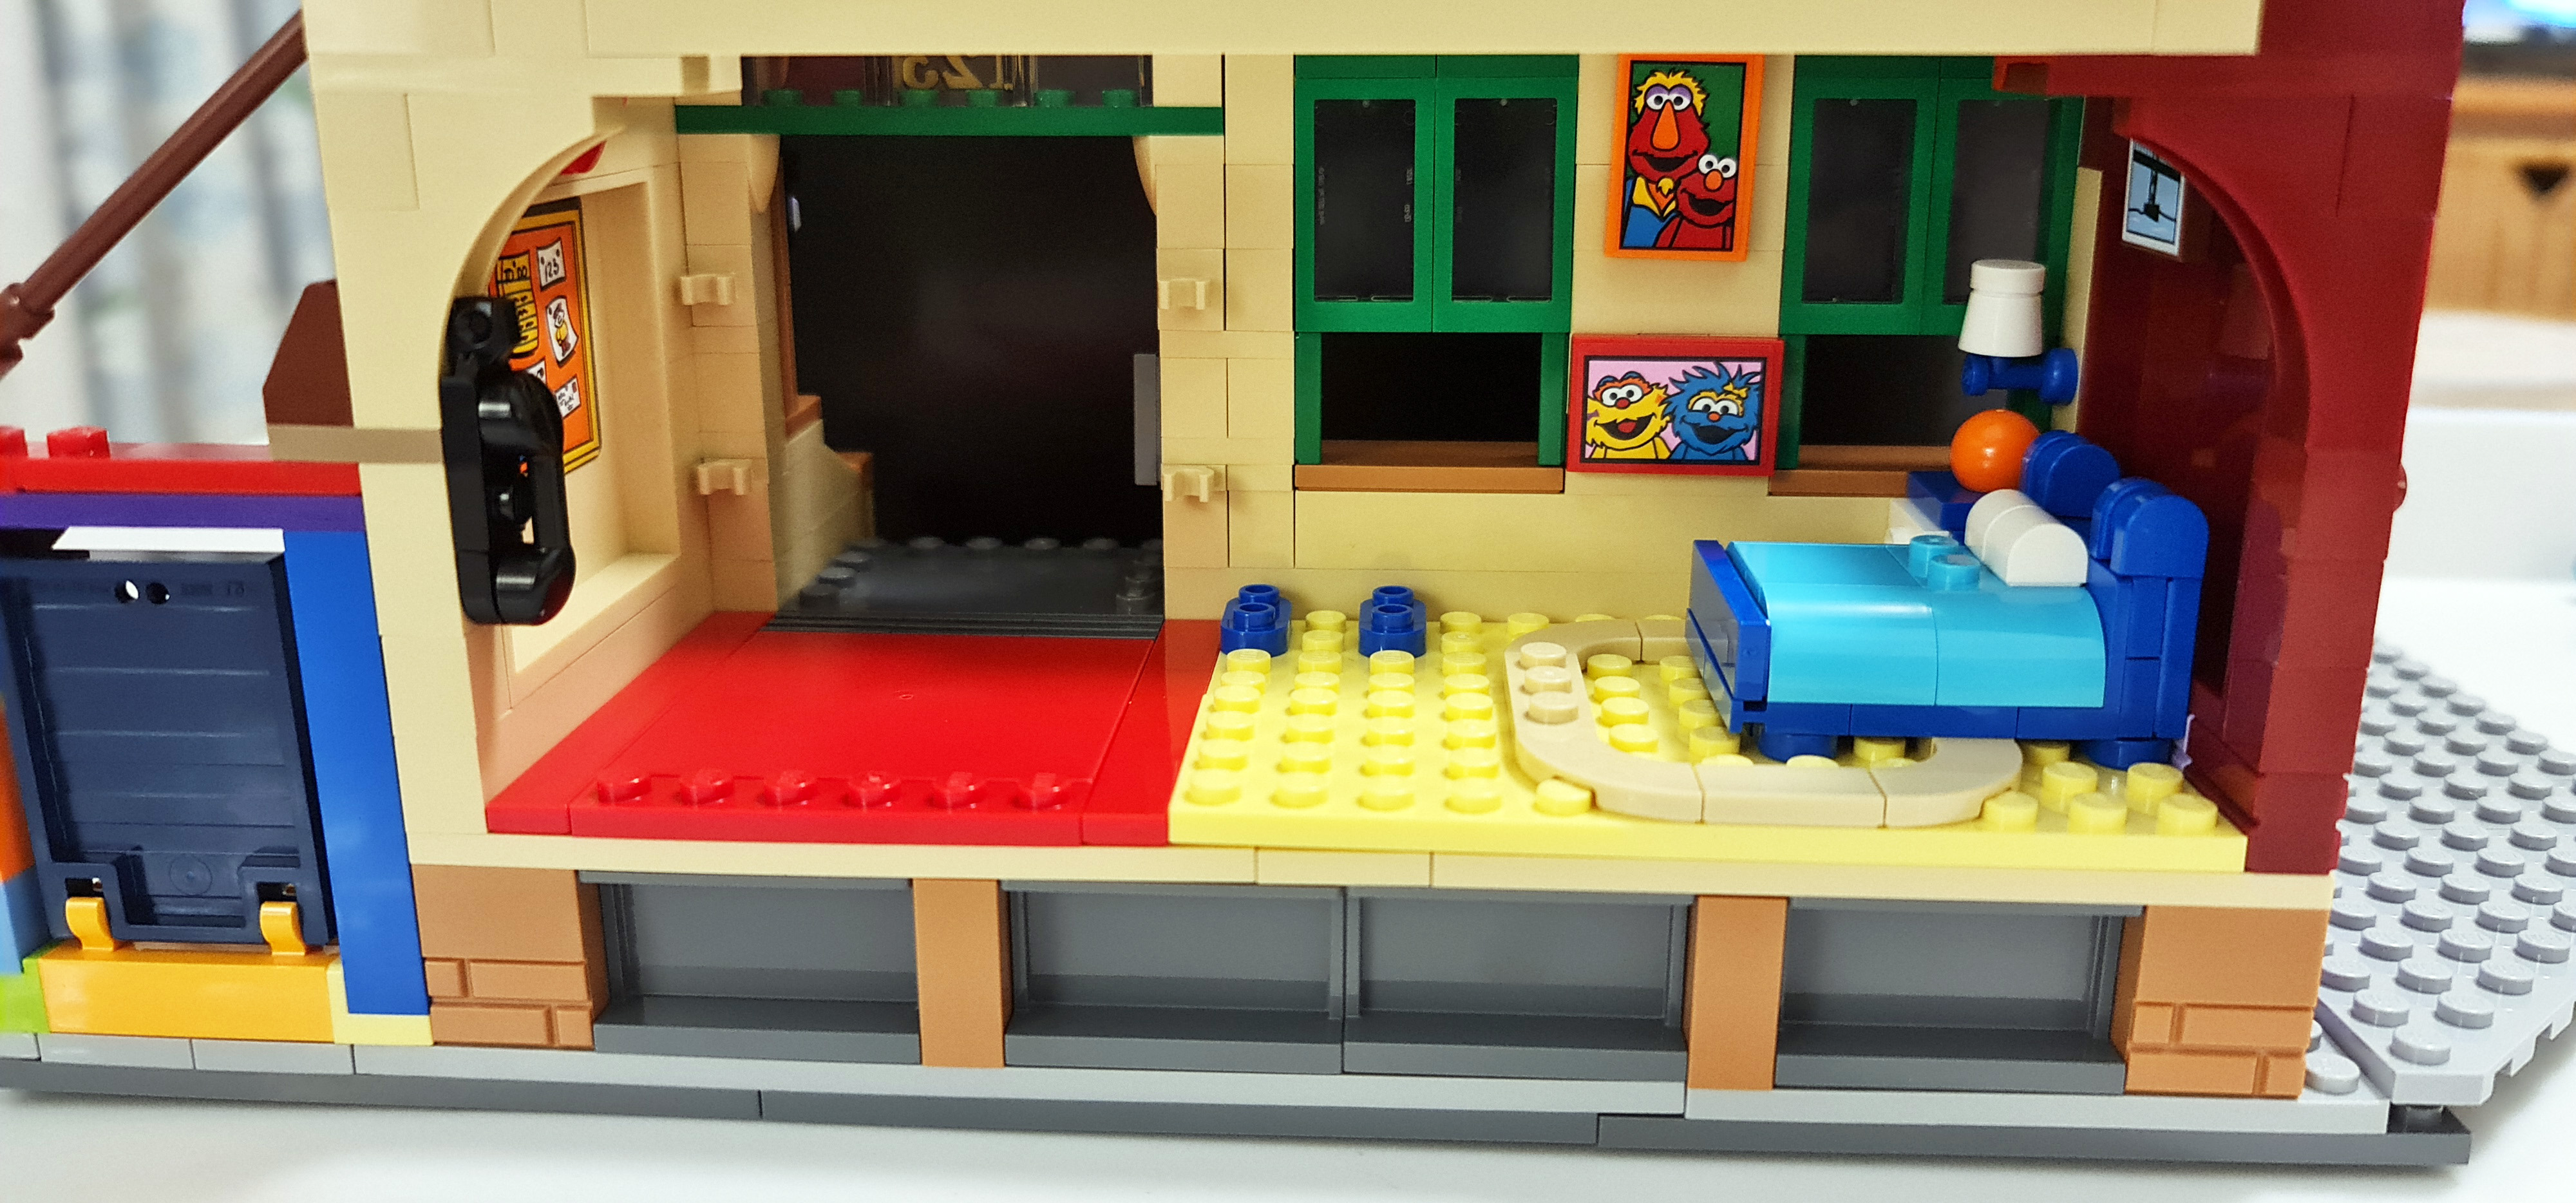
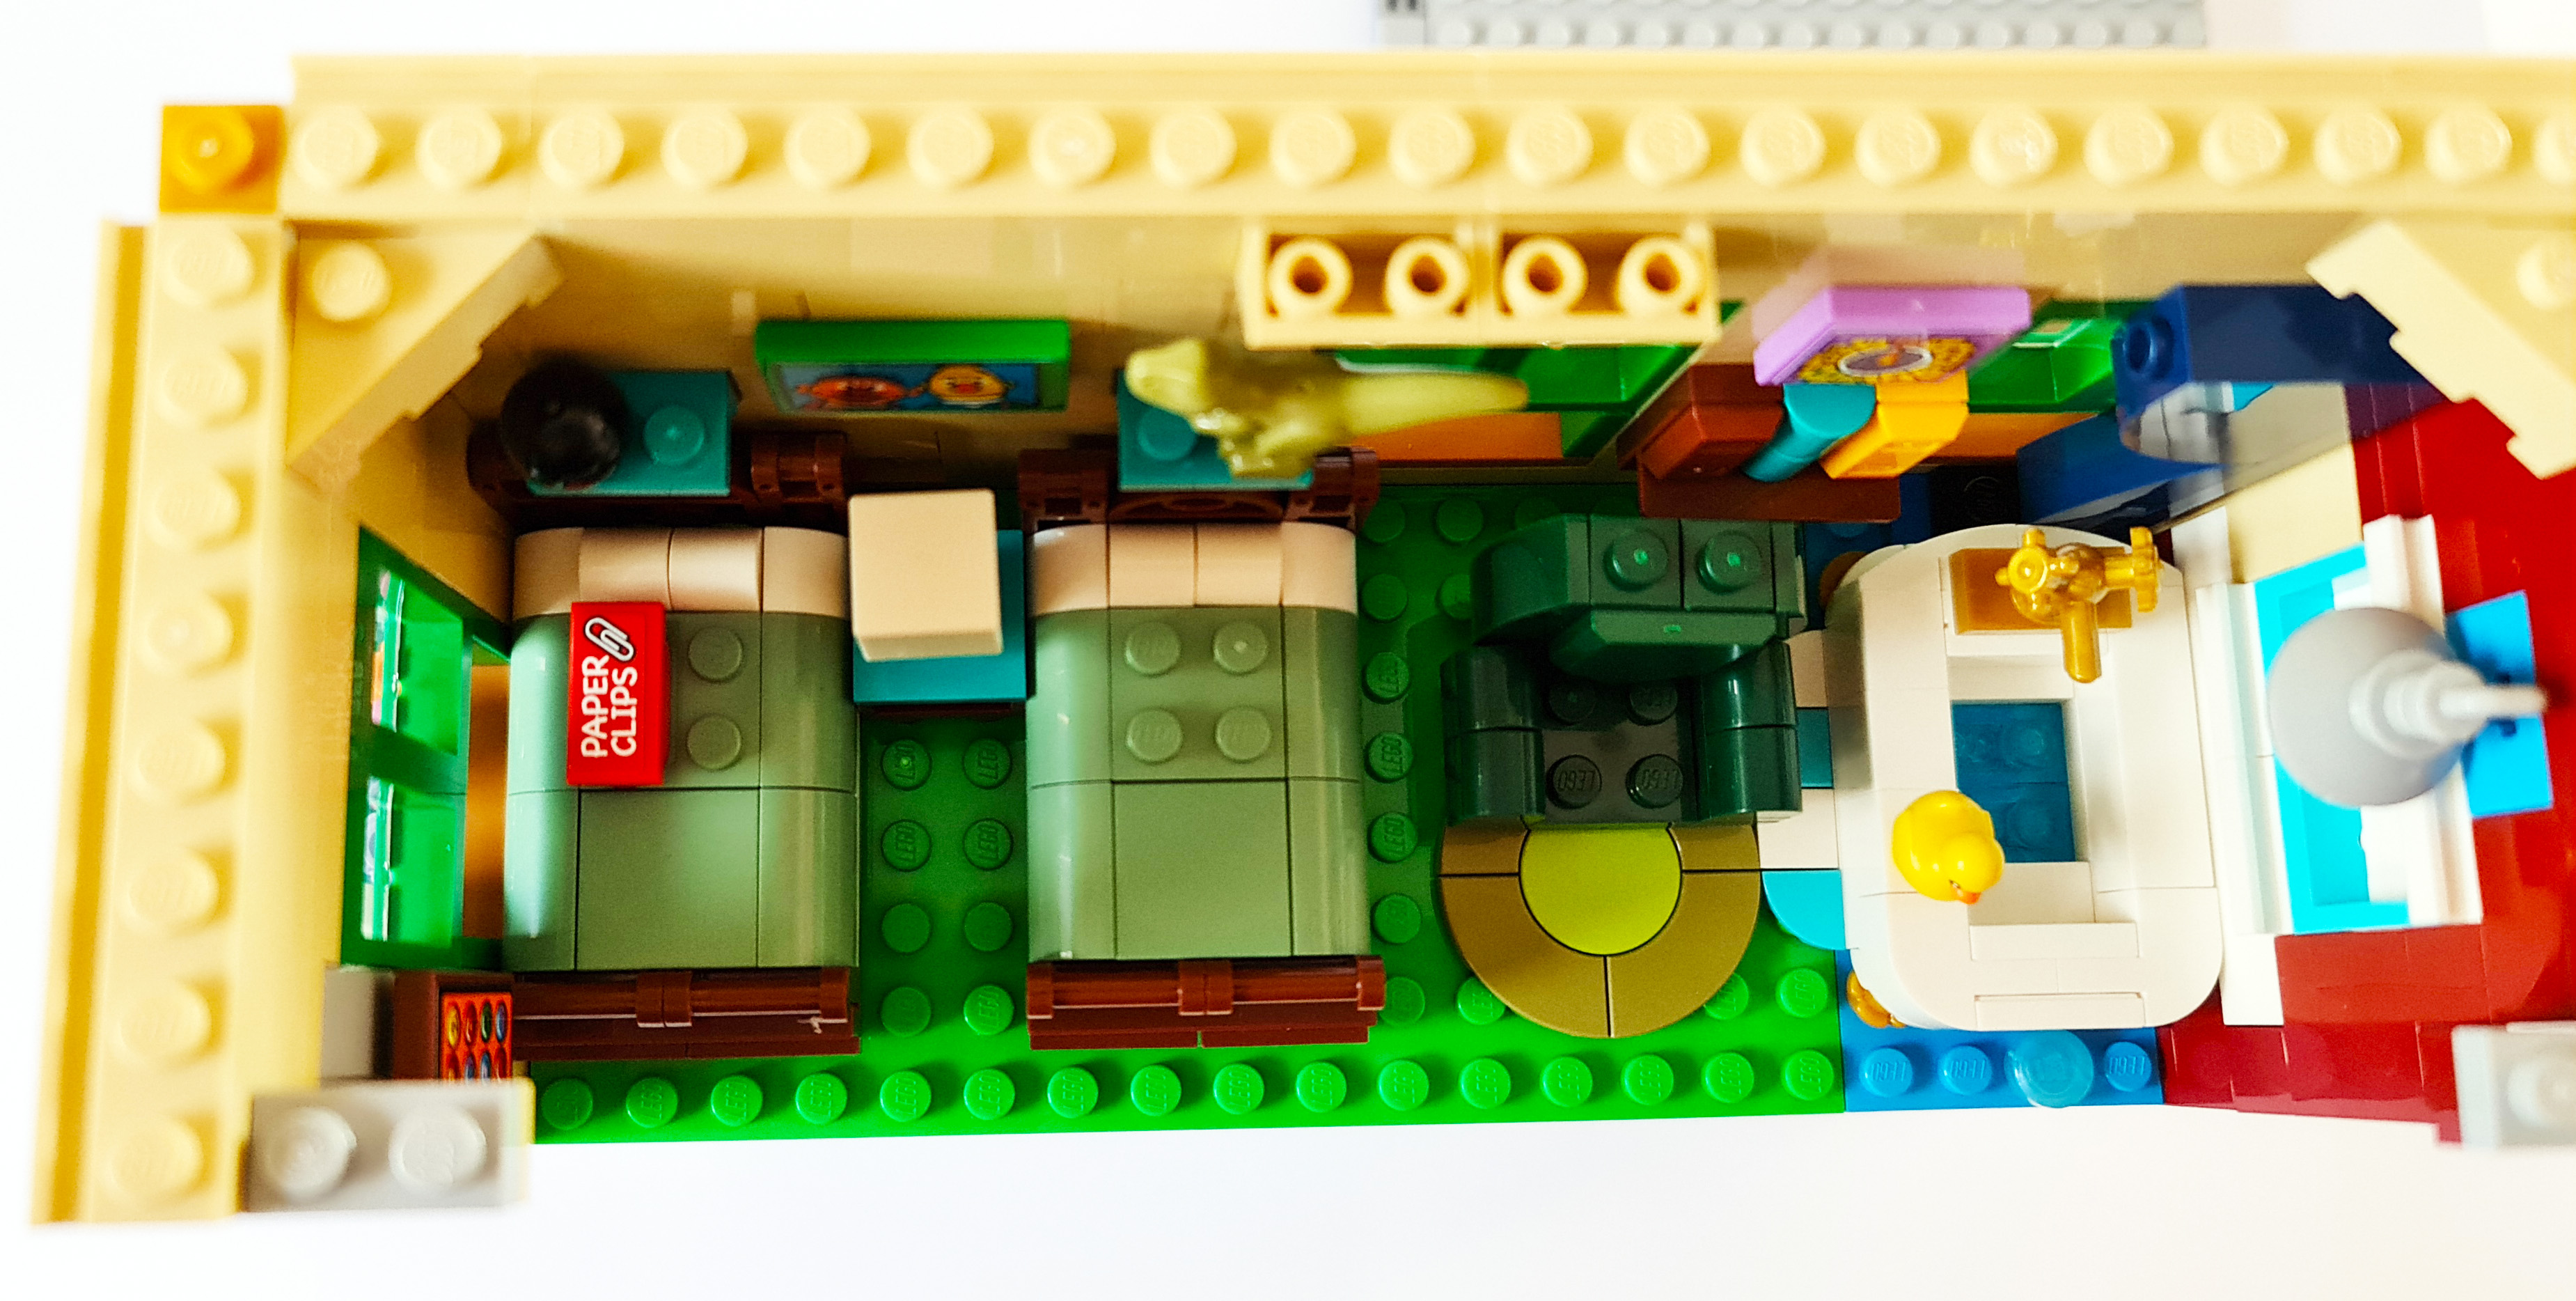
Once each part of the building structure is put together, we start to furnish the rooms. It is a great learning experience to see how the furniture and fittings are put together and what parts are used which one would not necessarily think of.
As the build progresses and
the set comes to life, the memories start flooding back from the time spent
watching these loveable teachers.
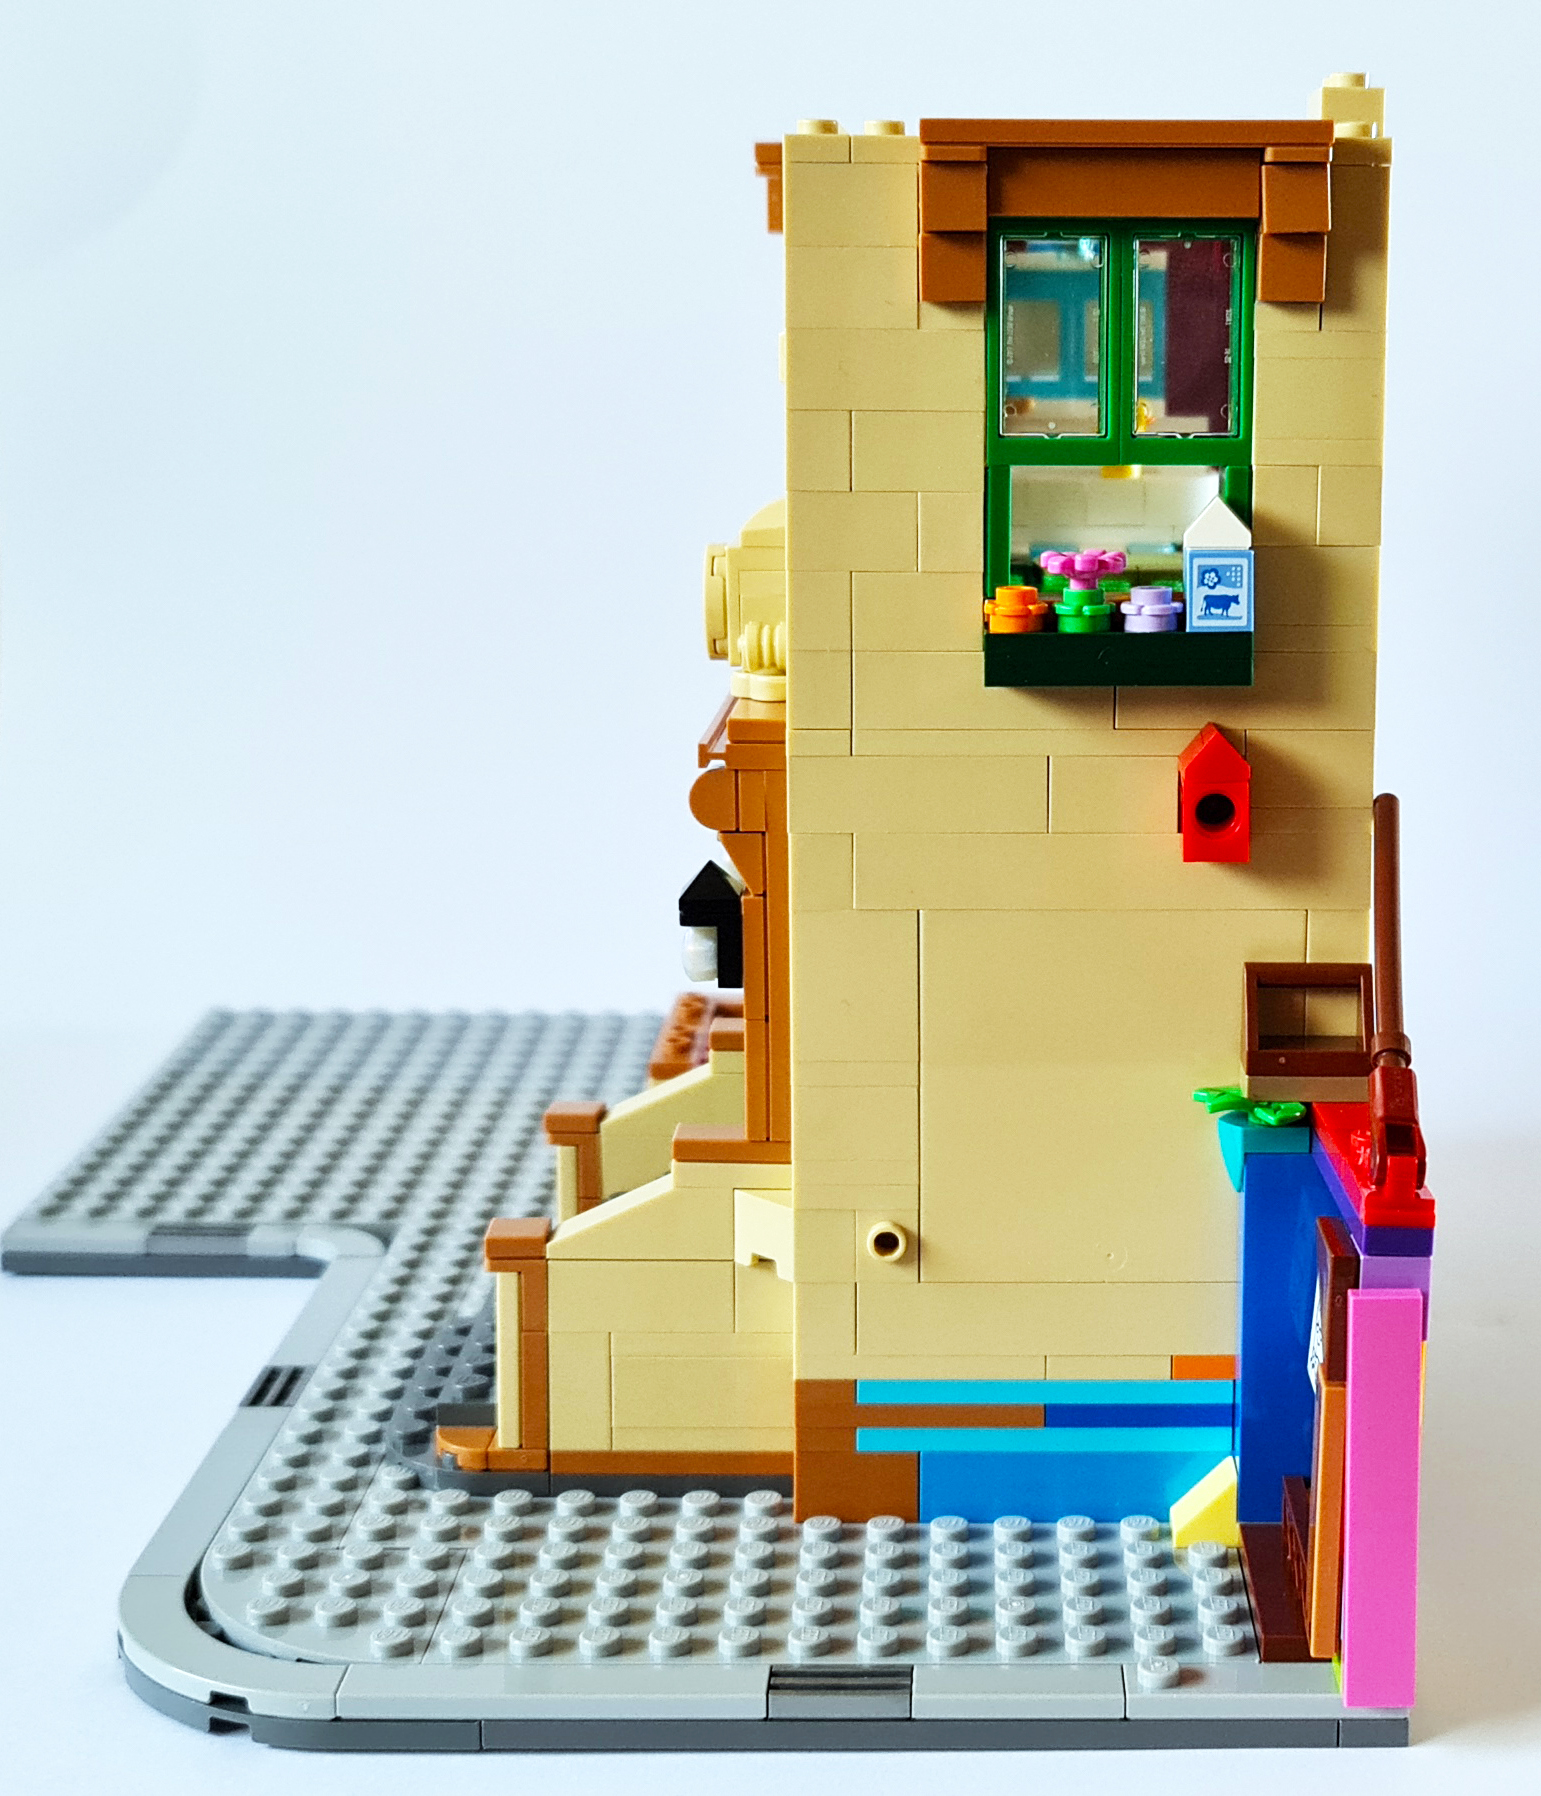
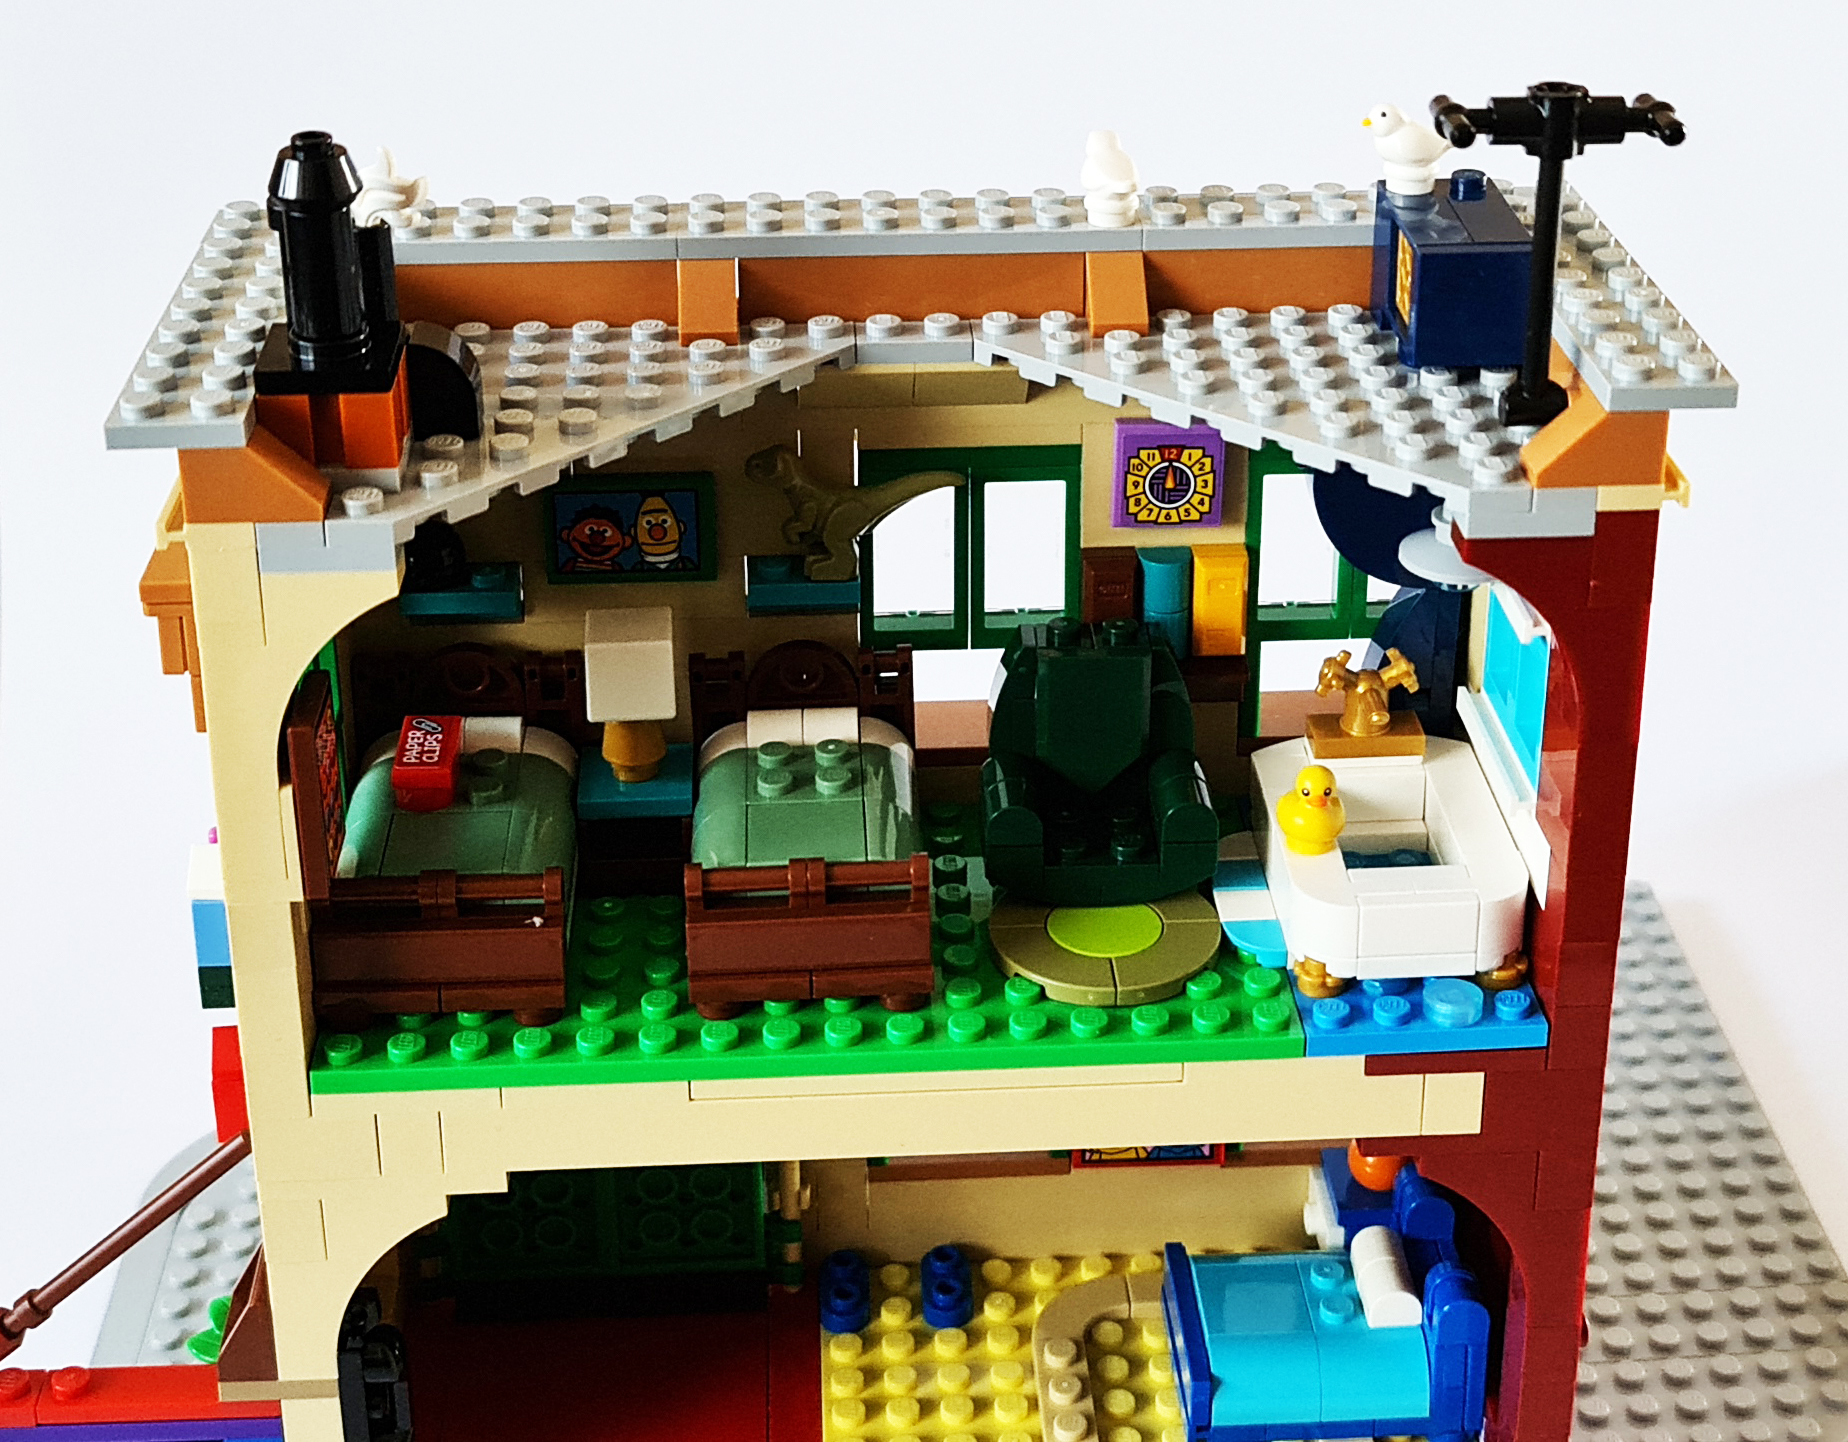
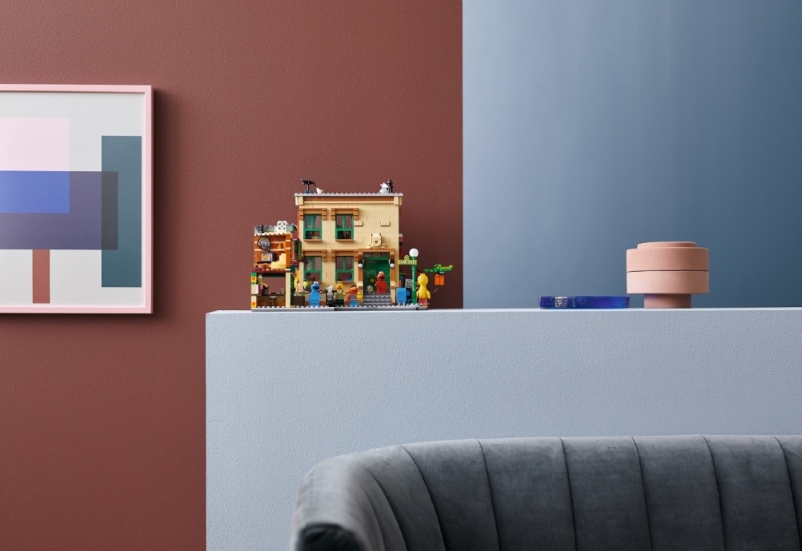
The set has been built in the standard LEGO® “Dolls House” design so that you can display or play with the minifigures in the various different rooms and outside areas.
The Minifigures
Each bag set contains one of
the iconic characters supplied in the set.
Starting from first to last, we have Big Bird, Elmo, Ernie, Bert, Cookie Monster and lastly Oscar the Grouch in his trash can.
Elmo, Oscar, Bert, Ernie, Cookie
Conclusion
Although the set is very much reduced in size to the original Ideas submission, it is a real joy to build. There are no big complexities in the build, but there is a lot of fun and learning involved, which I would say is the essence of Sesame Street. I highly recommend this set to build either for yourself or your kids to have fun playtime with.
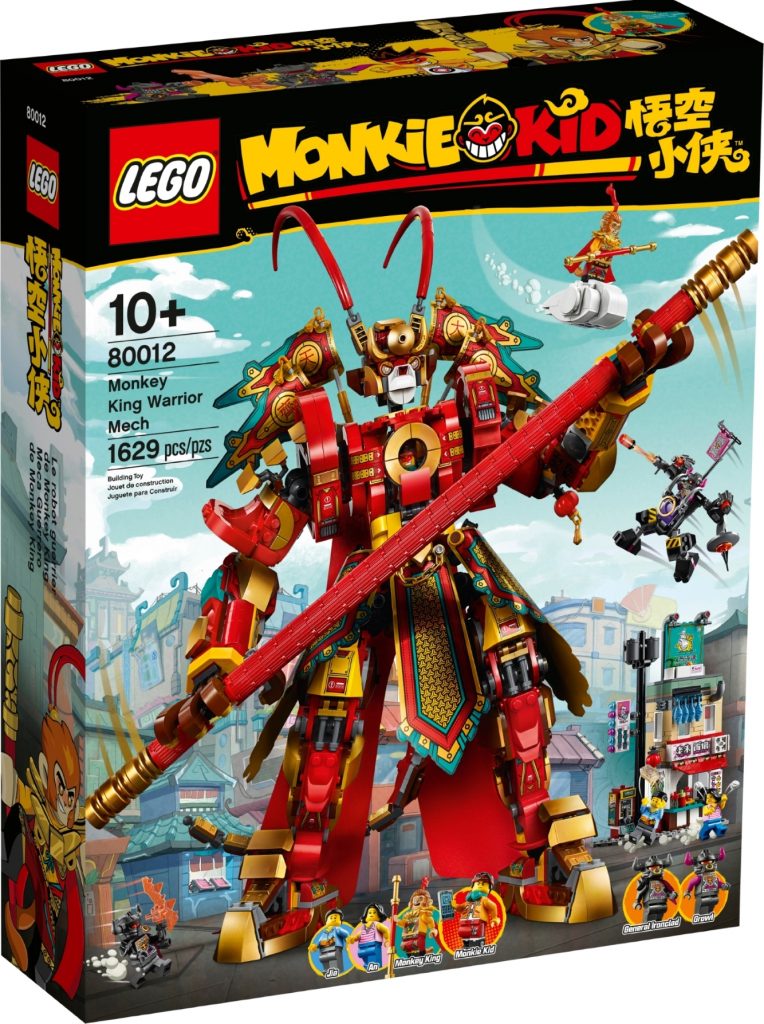
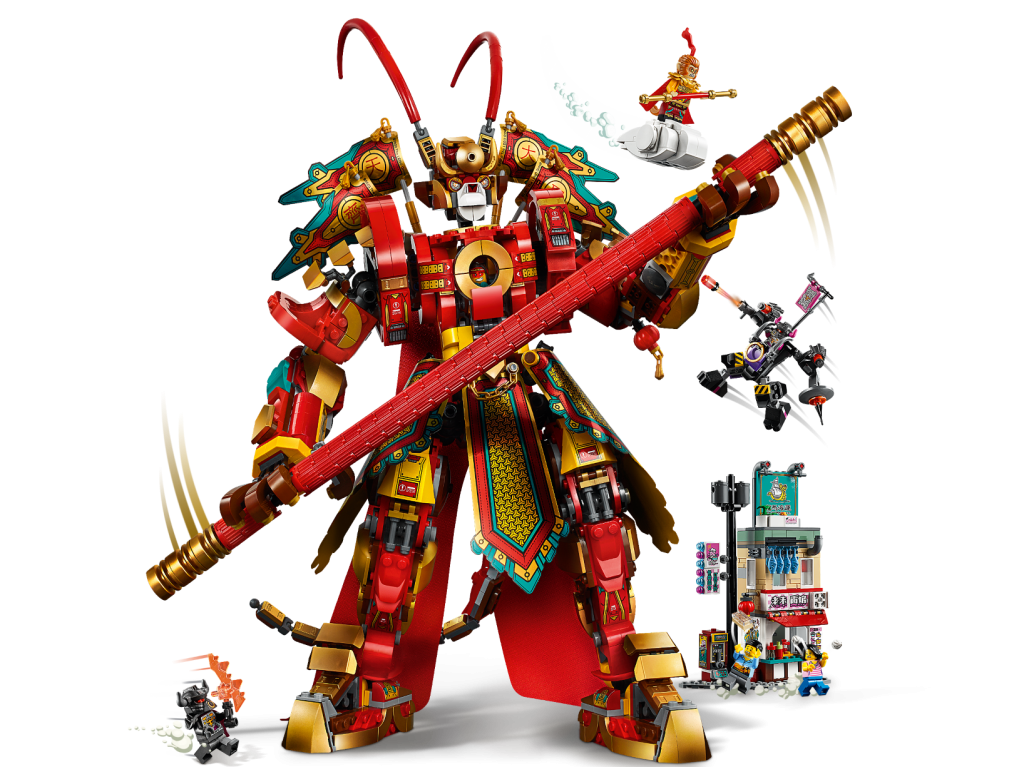
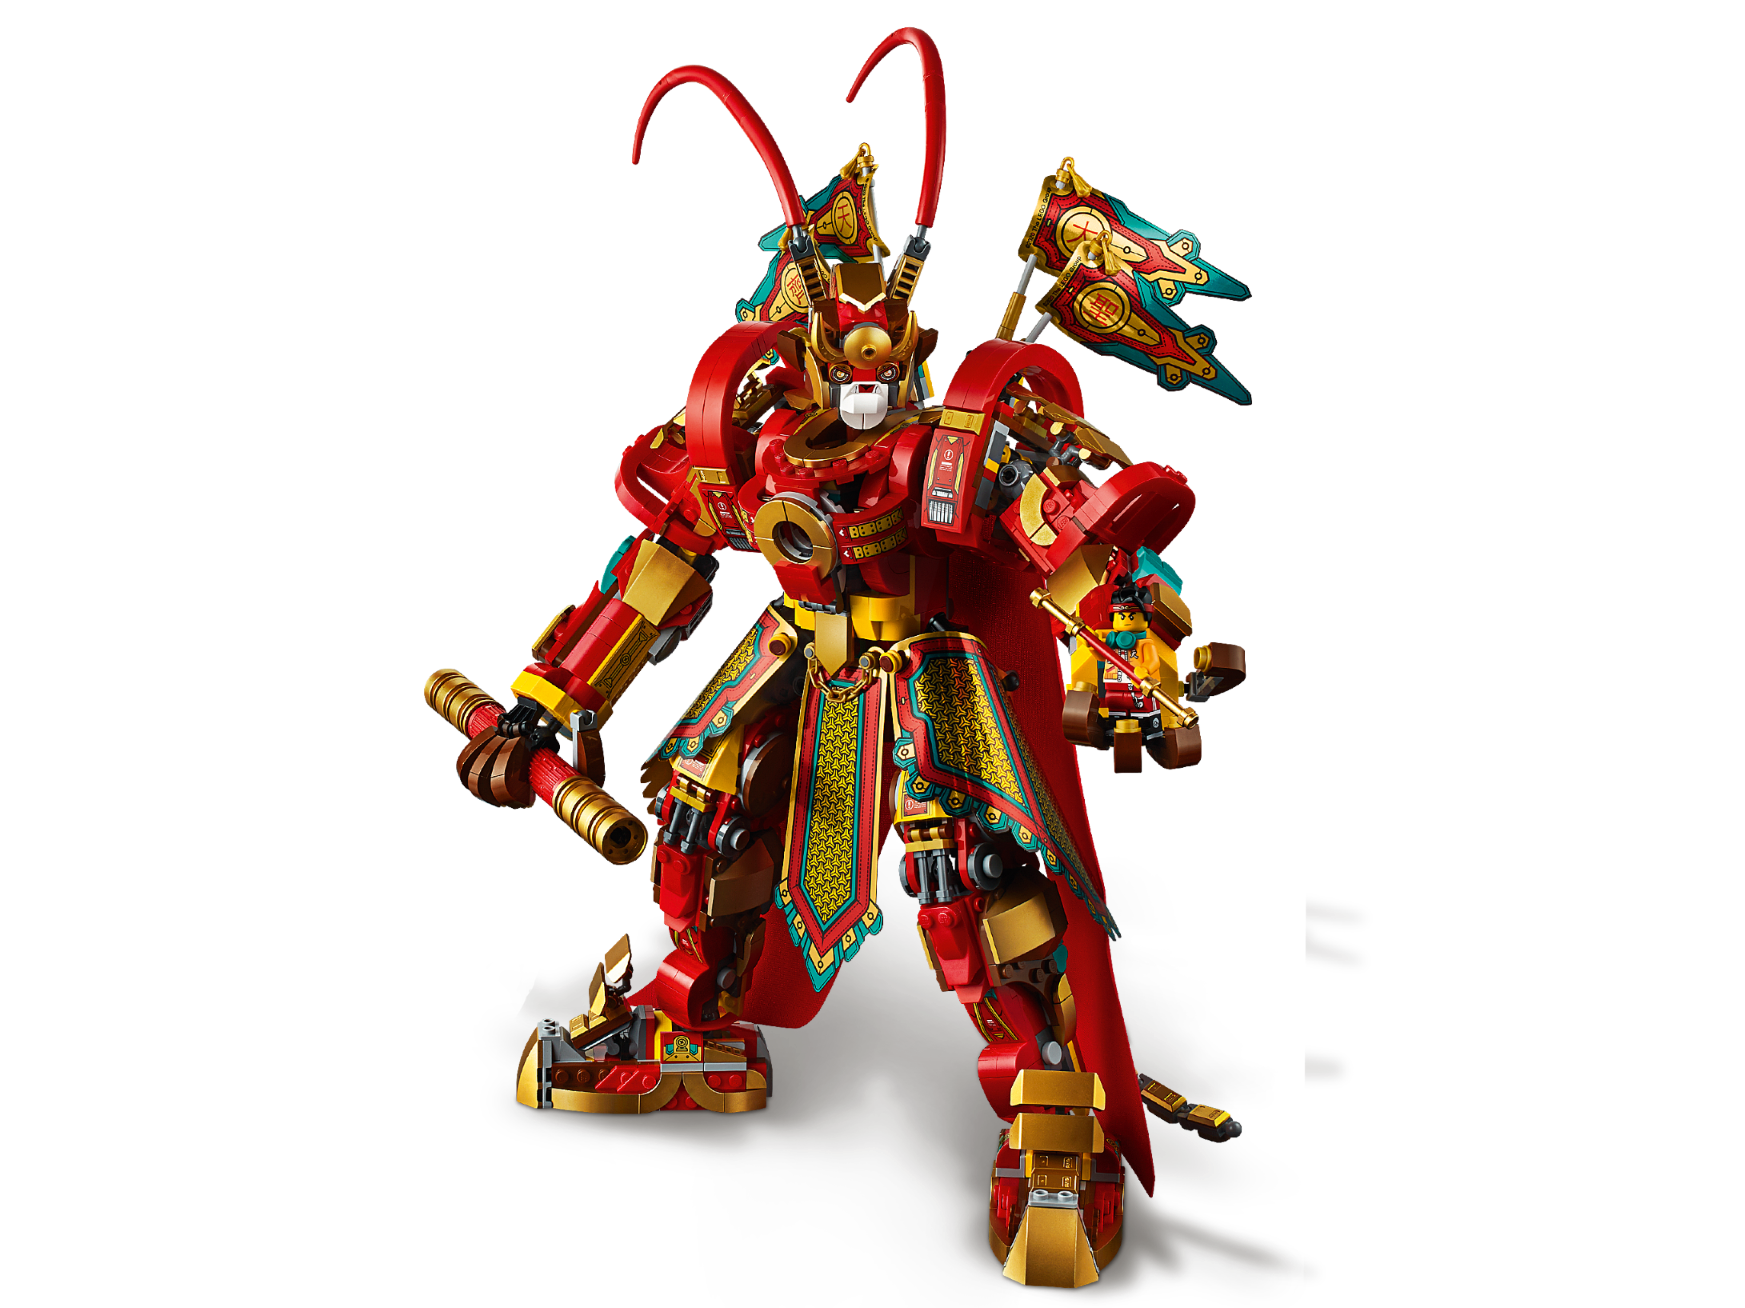
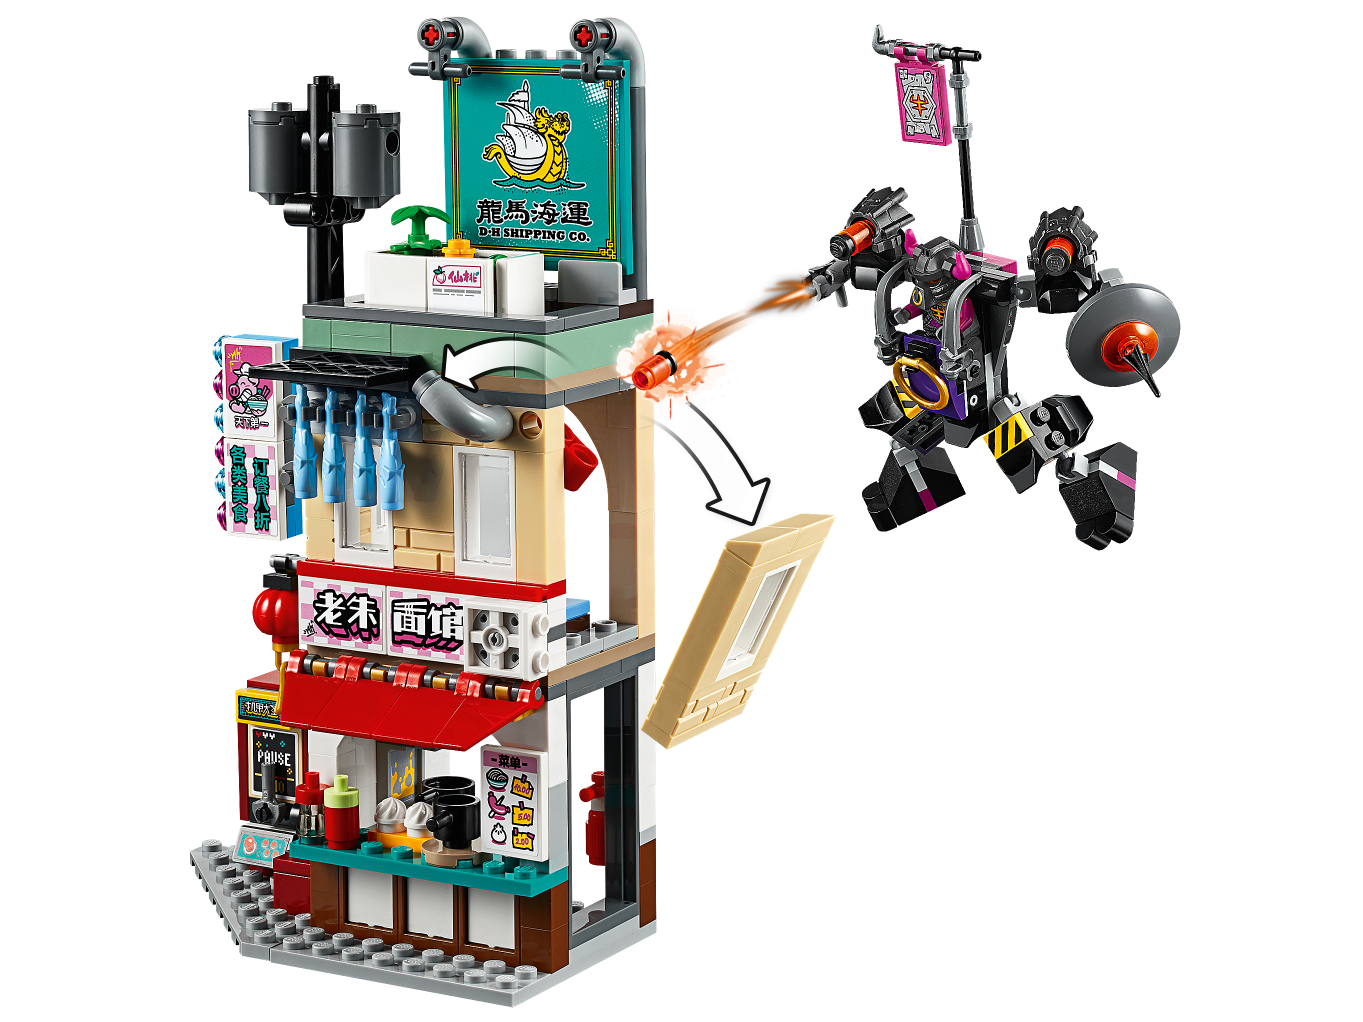
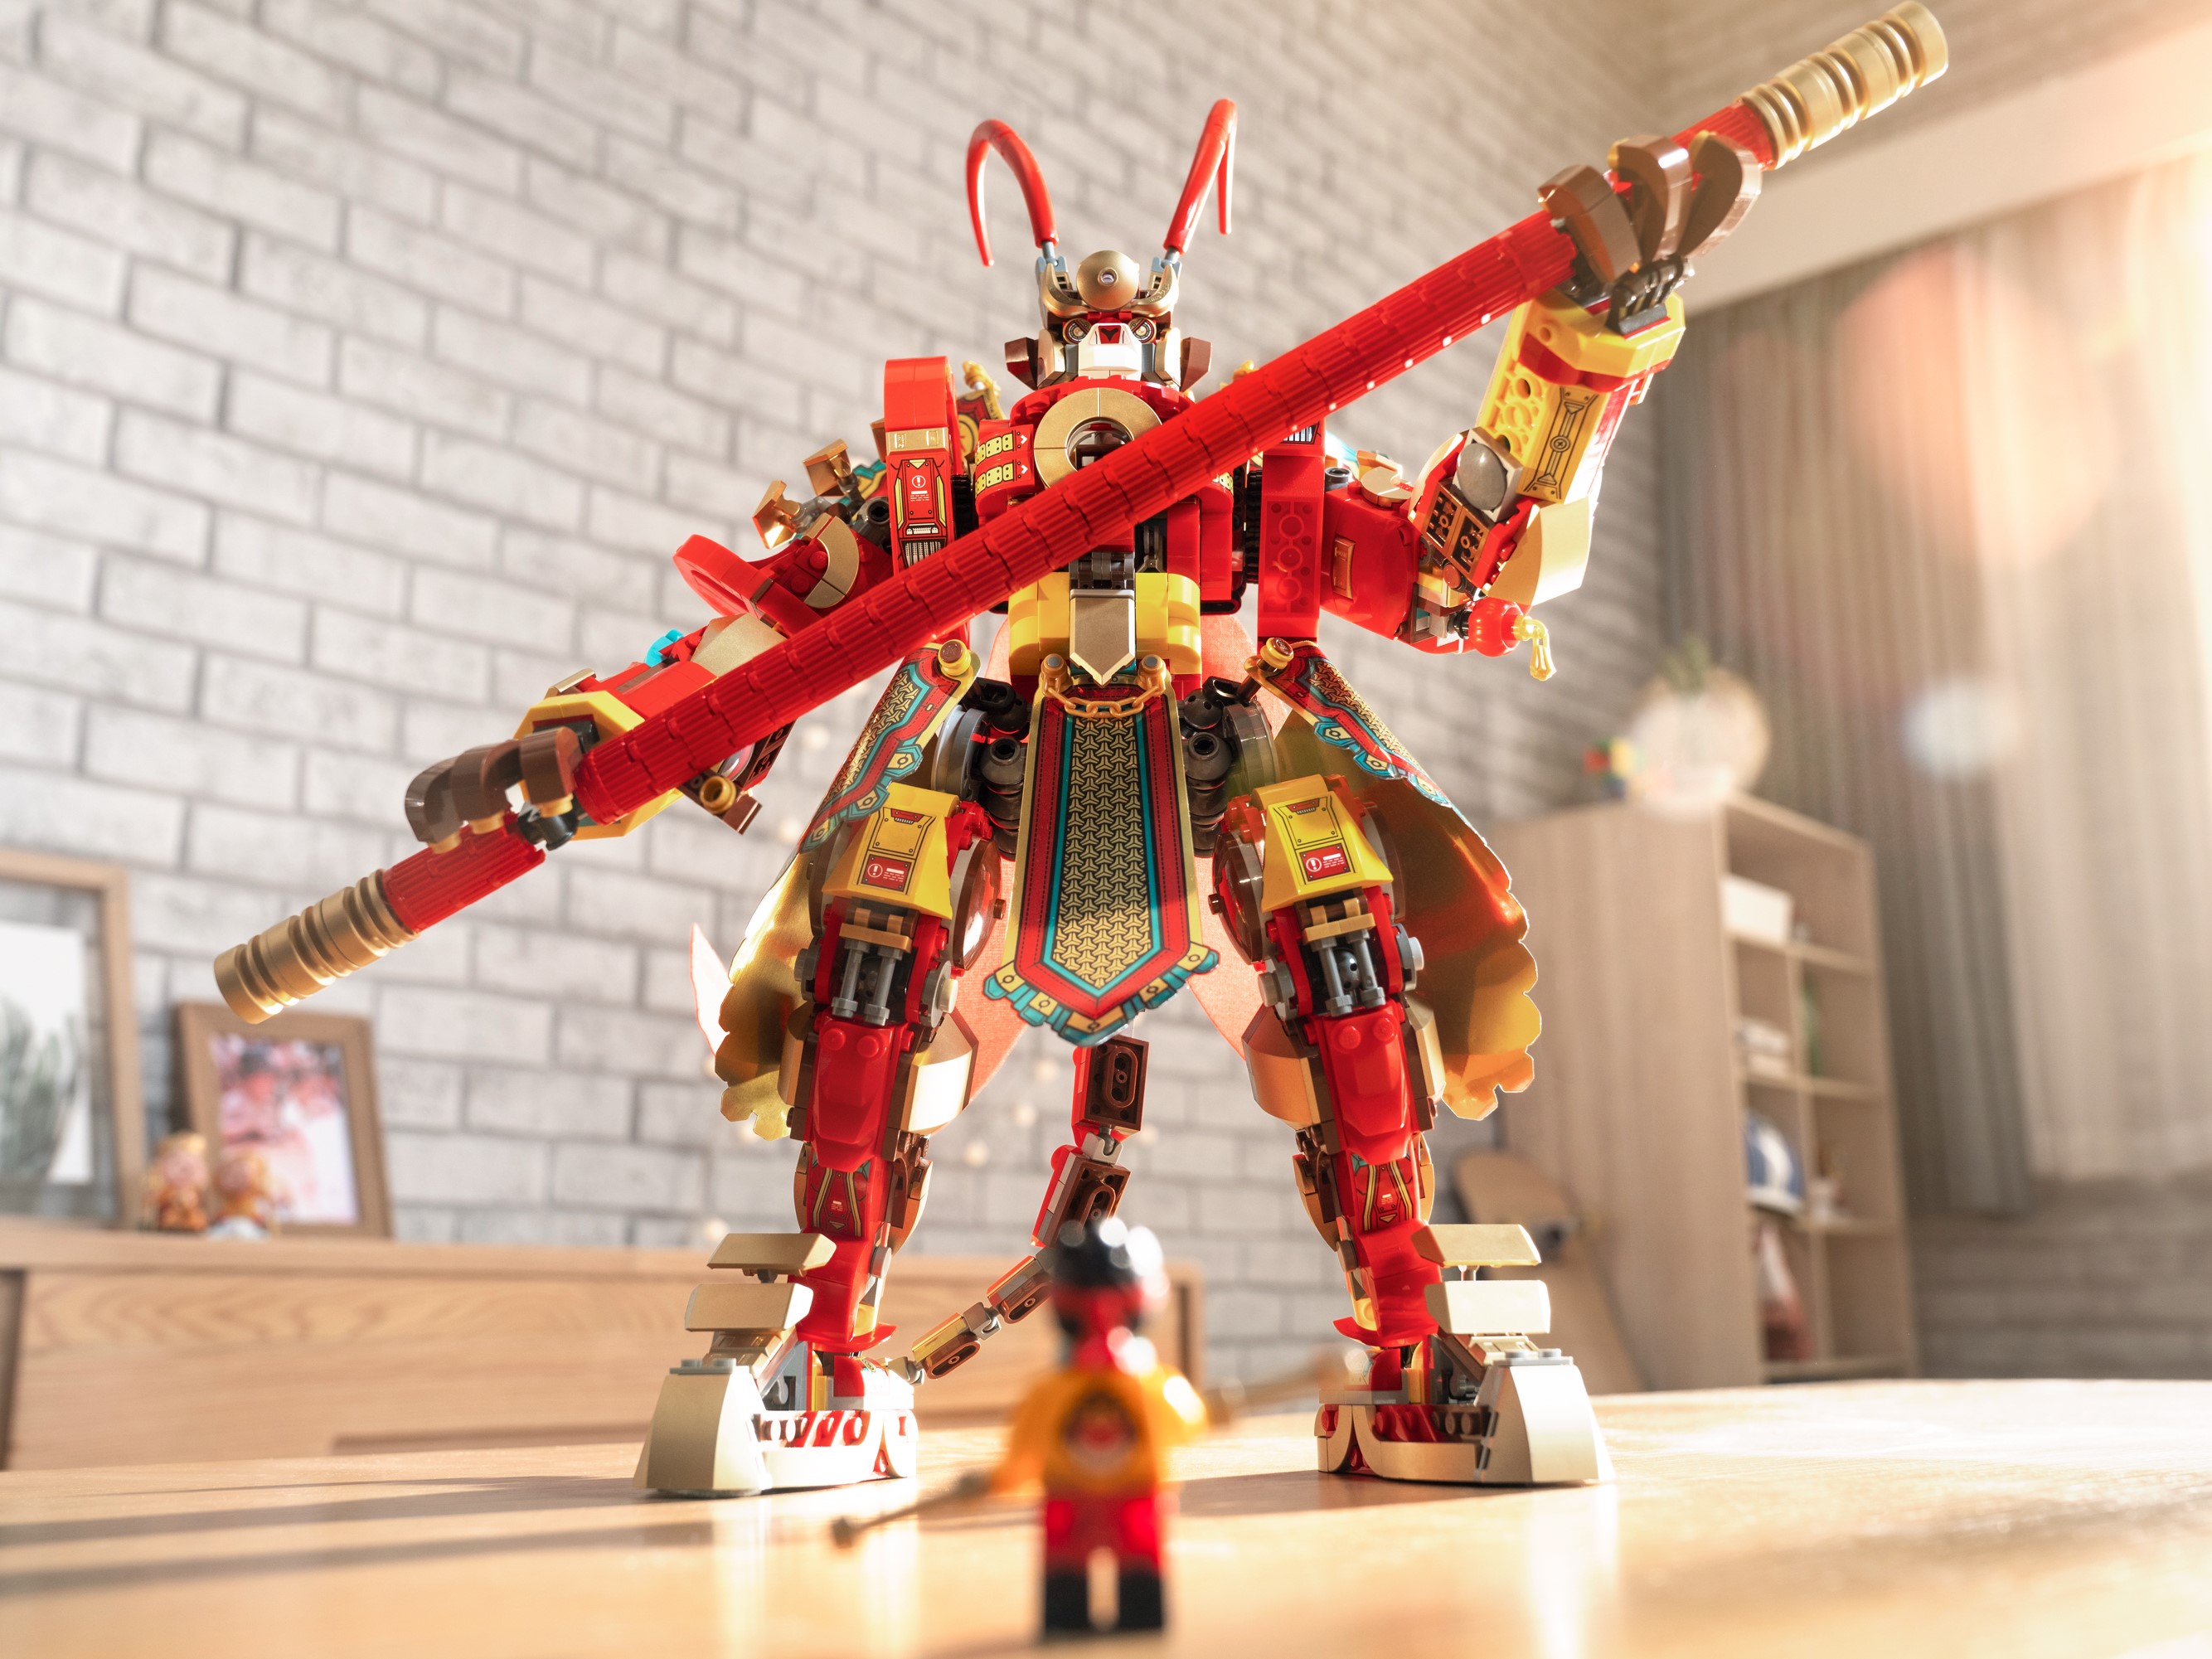
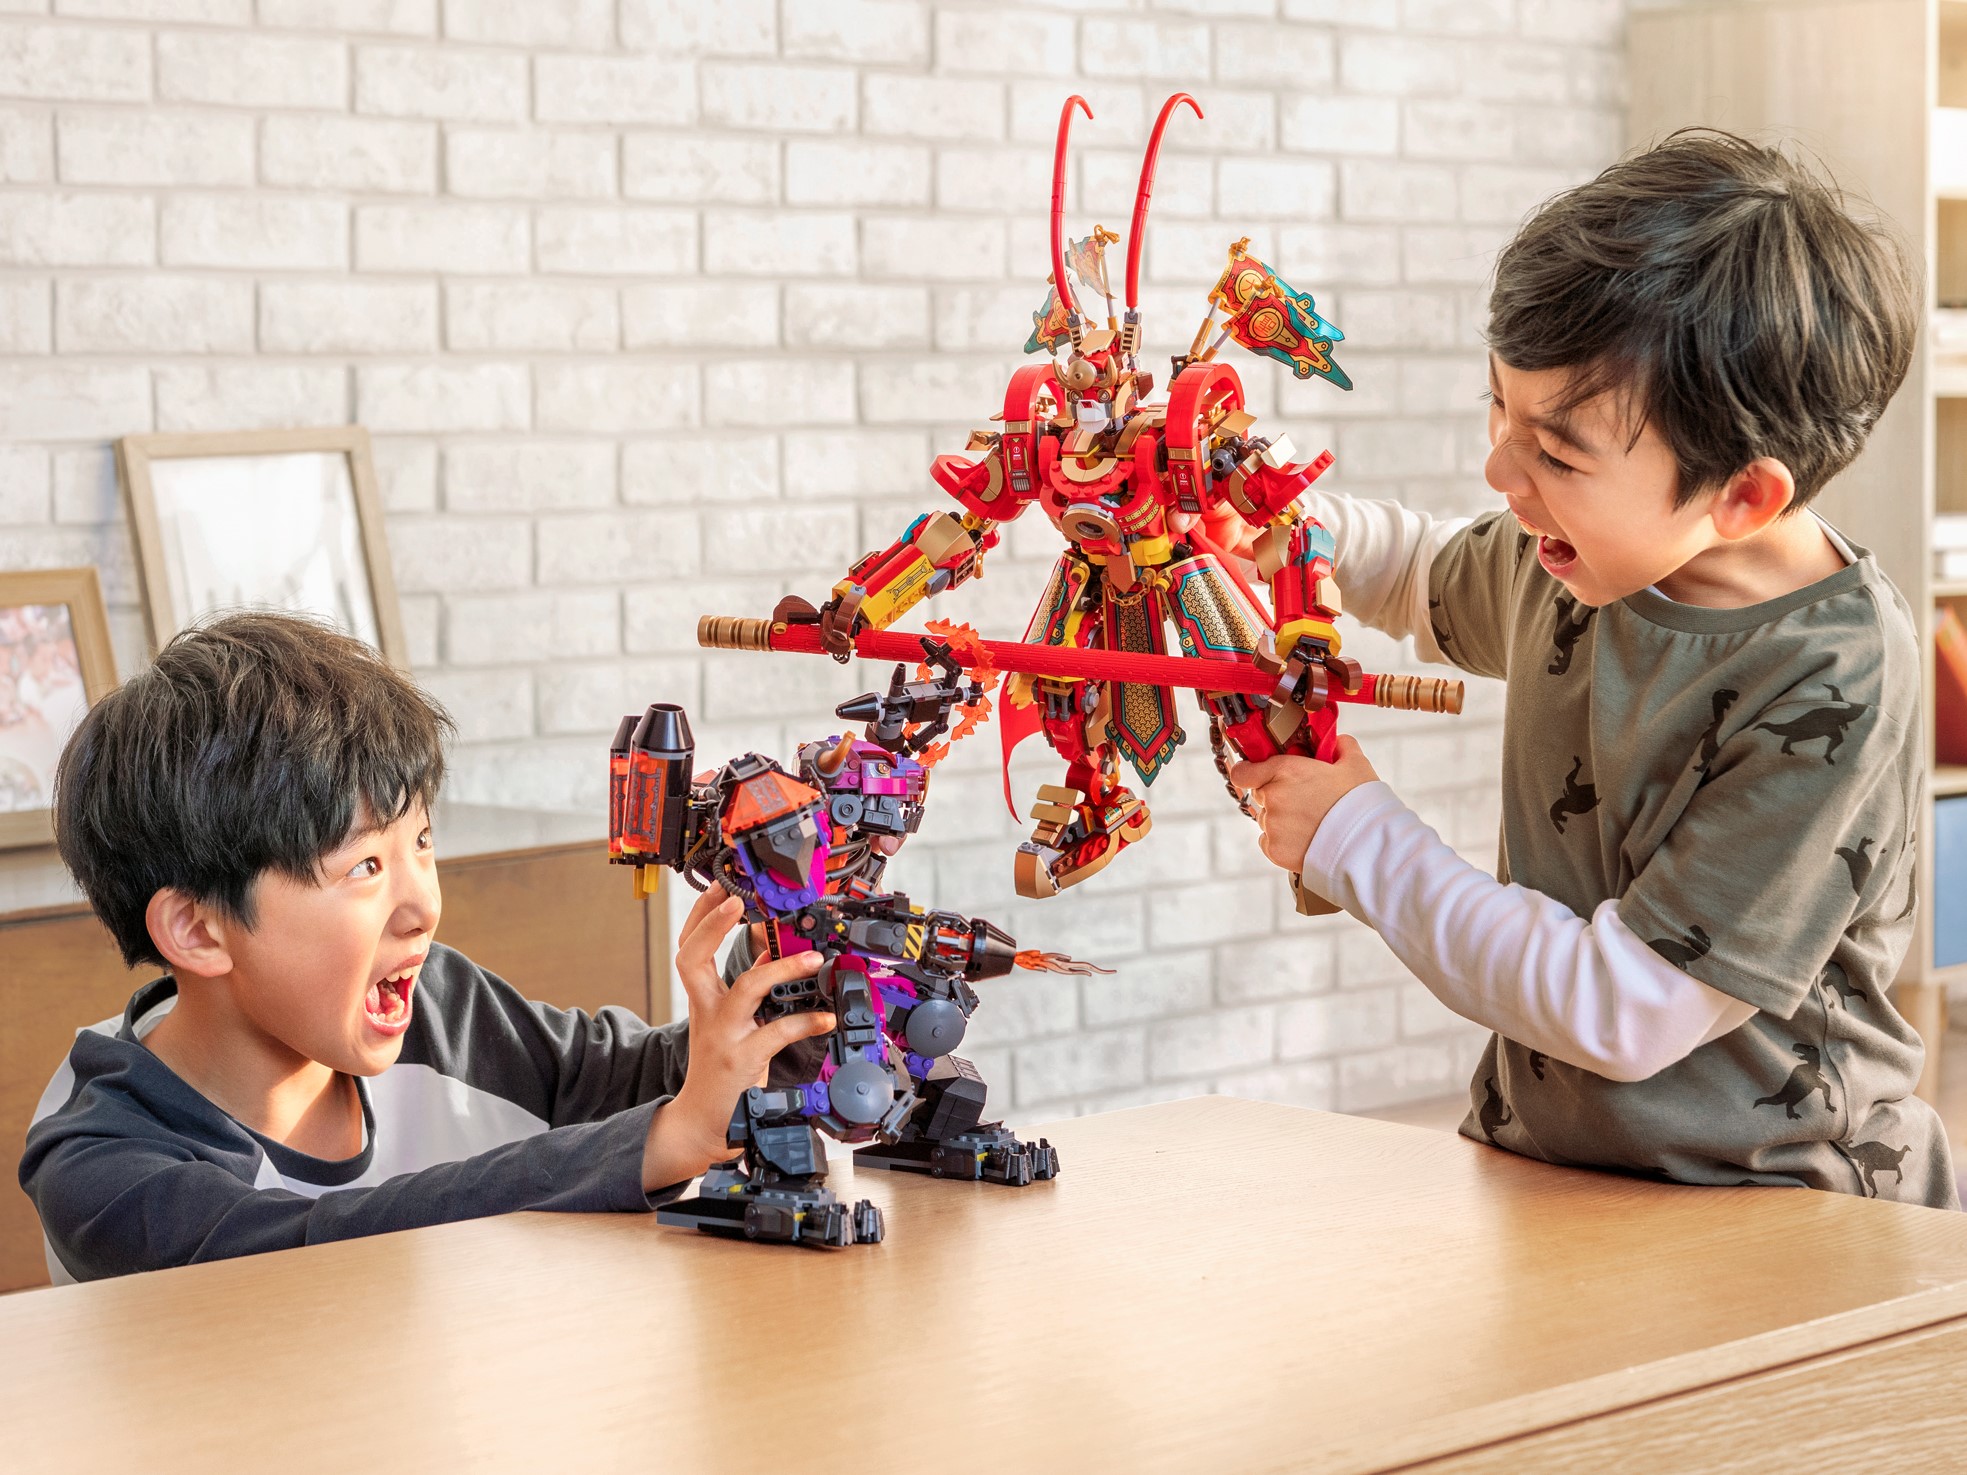
Centuries ago, the beloved Chinese Monkey King used his magical staff to capture and trap the evil Demon Bull King deep inside a mountain. Flash-forward to modern-day China, when fate leads MK (aka Monkie Kid), a young noodle shop delivery boy, to find the long-lost staff. Soon, MK and his best friends find themselves entangled inadventures packed full of action, mystery, imagination, and magic.
Being a LEGO® Mech fan, I had
to get this set to build as it looked so awesome.
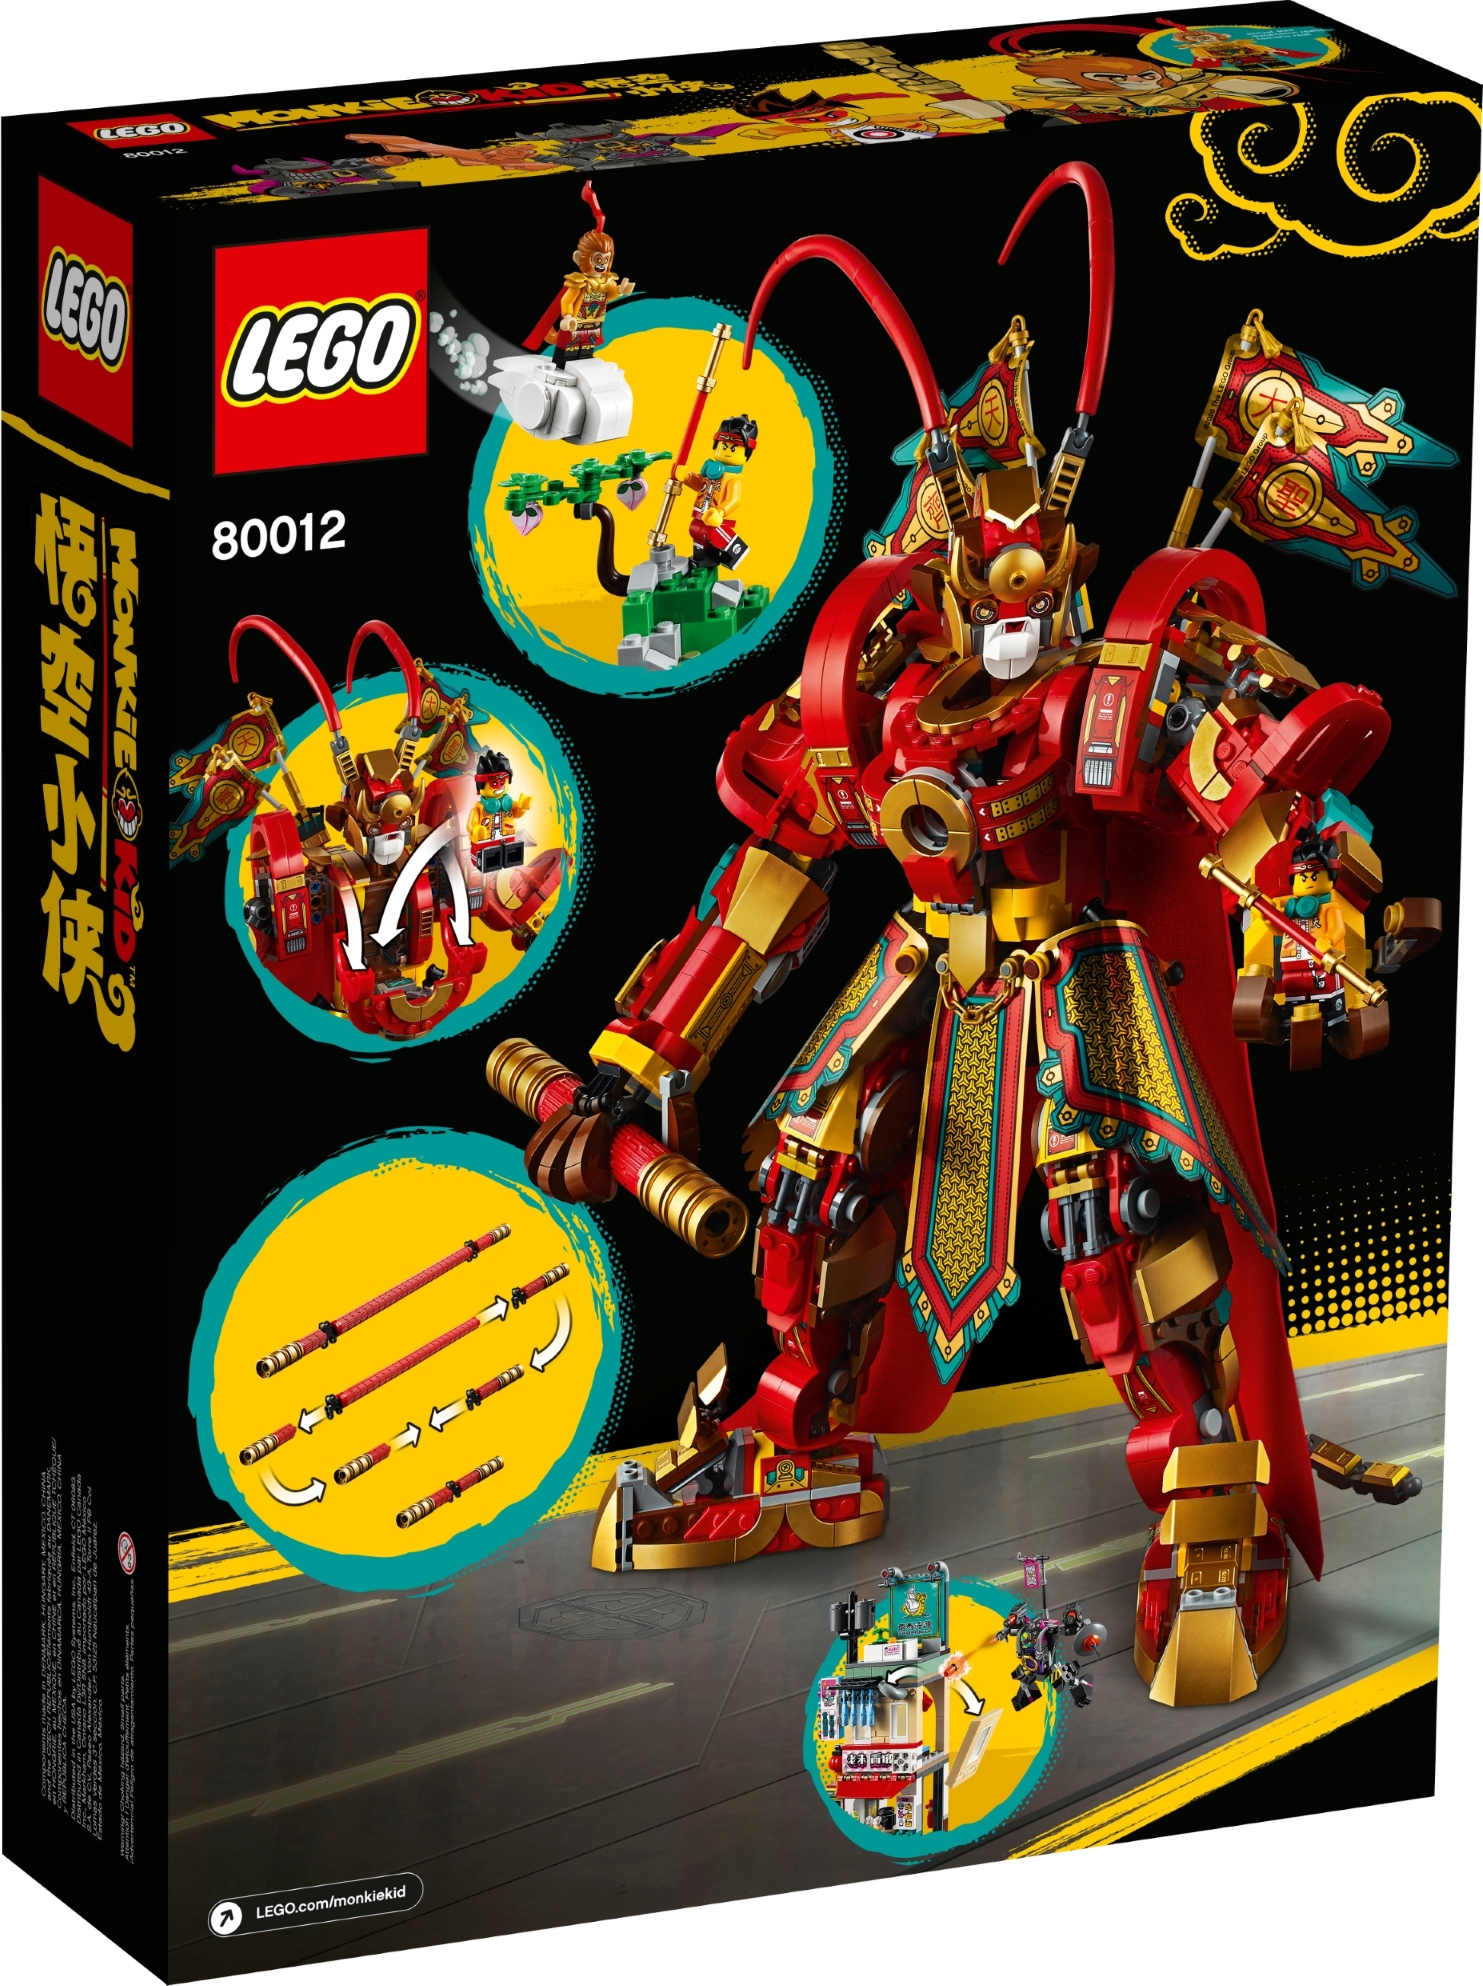
The set comes with 12 bags of
goodness, a sticker sheet with 47 stickers in 31 unique and eye-catching designs,
a plastic sheet with foil printed cut outs as well as a fabric cape to dress
and decorate the mech.
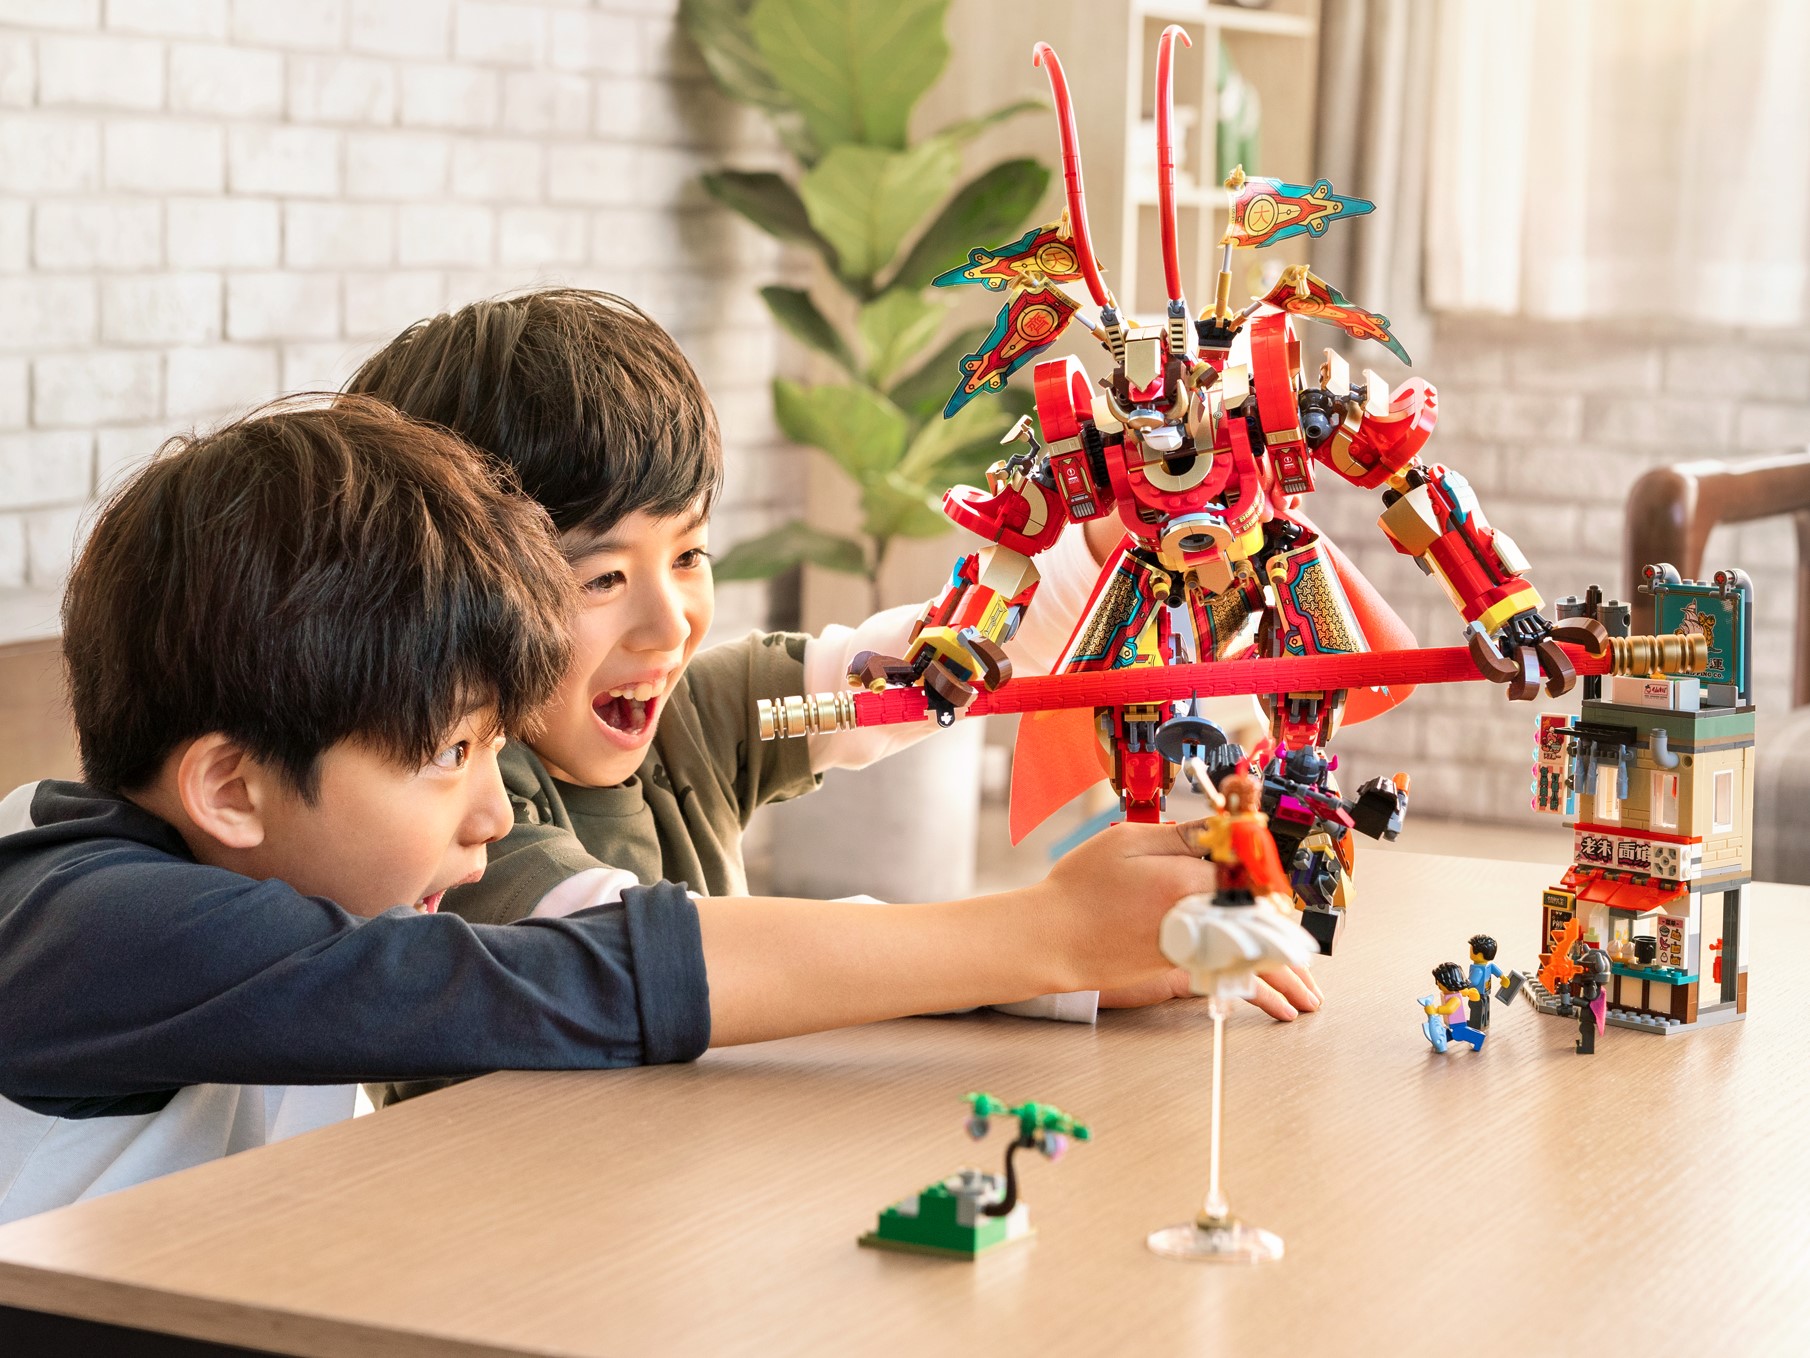
Apart from the great mech build,
this set comes with a number of mini-builds to set a fun scene for playing
with.
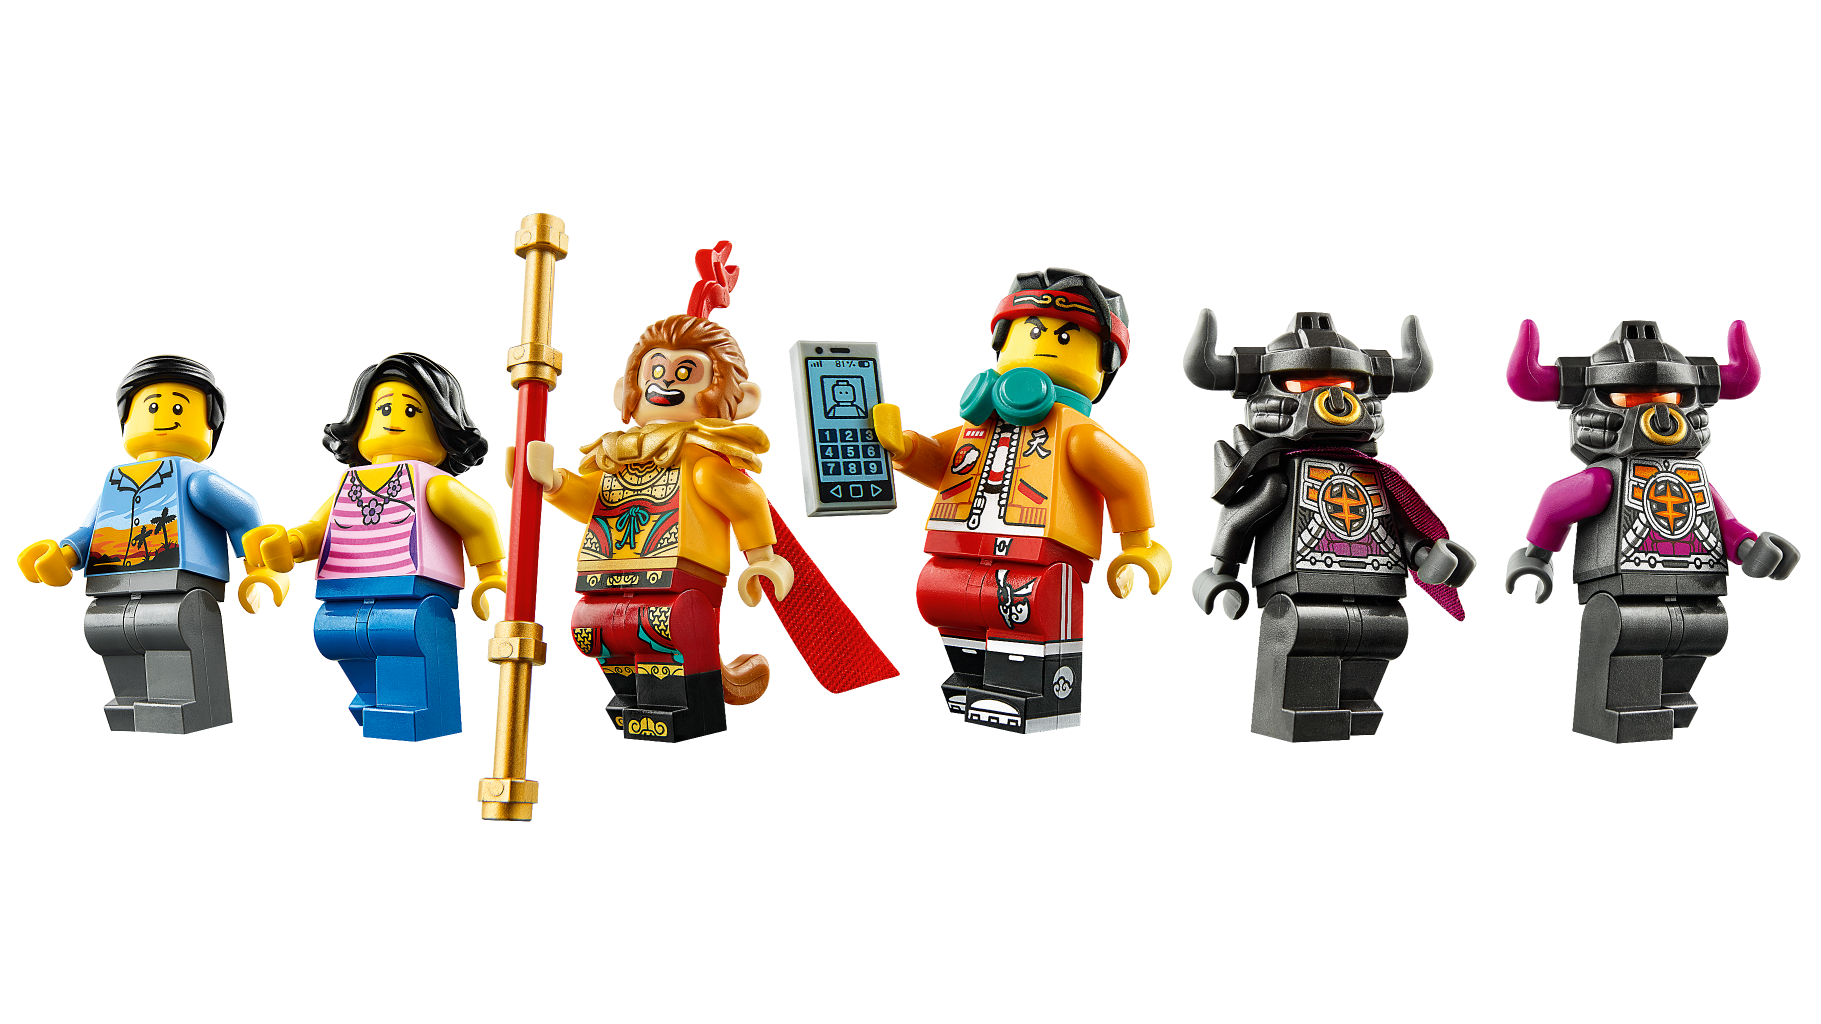
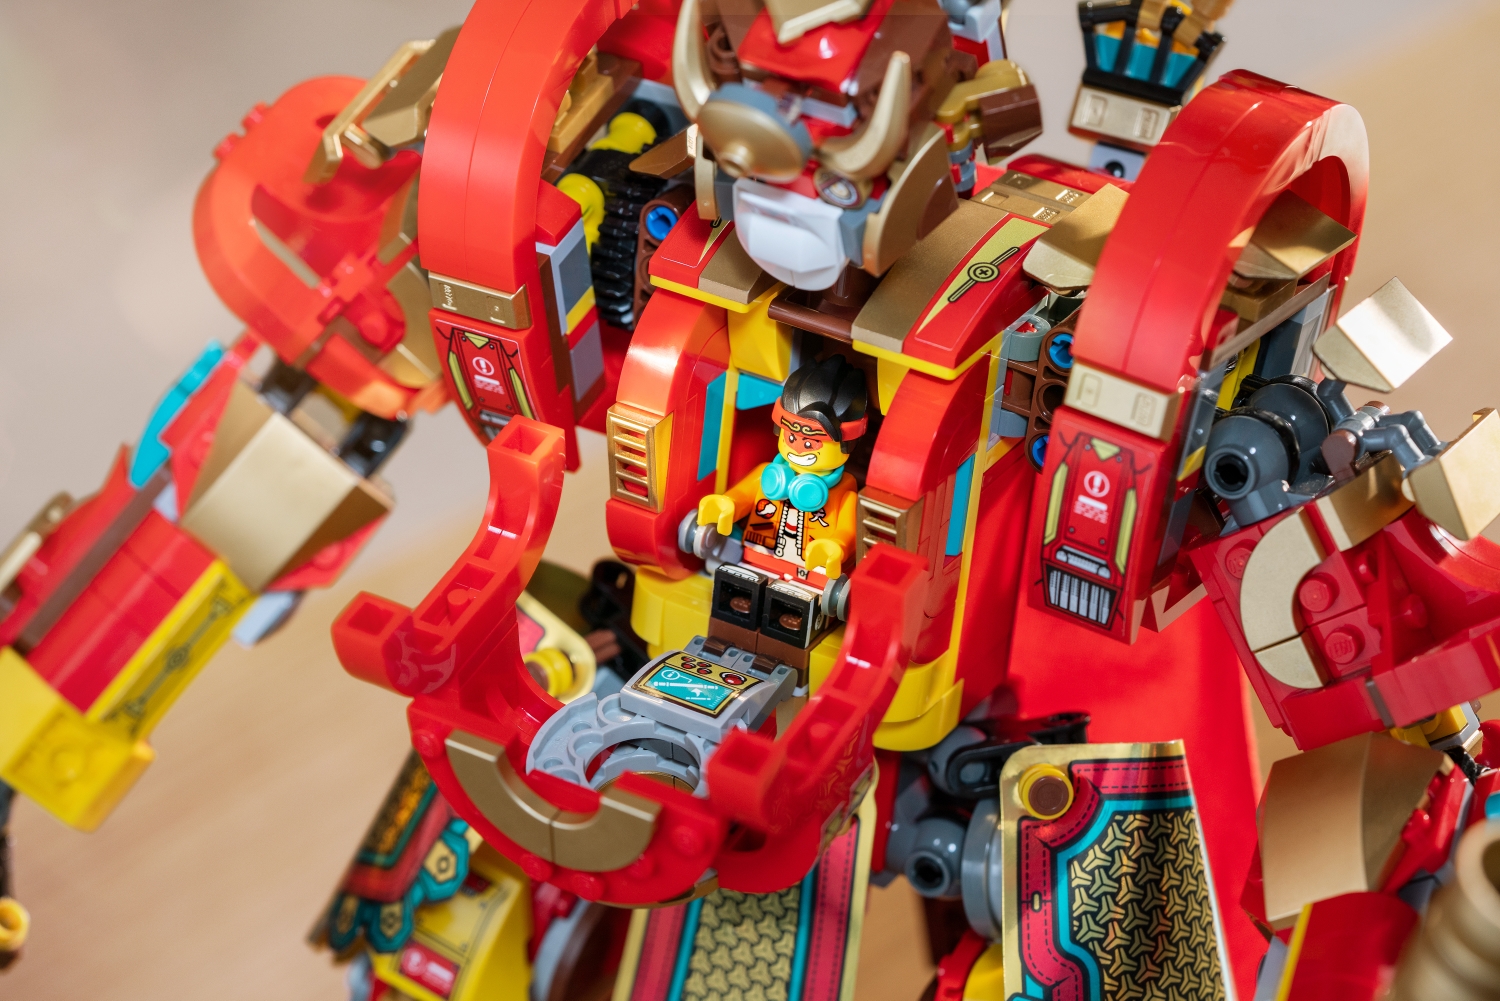
The Minifigures
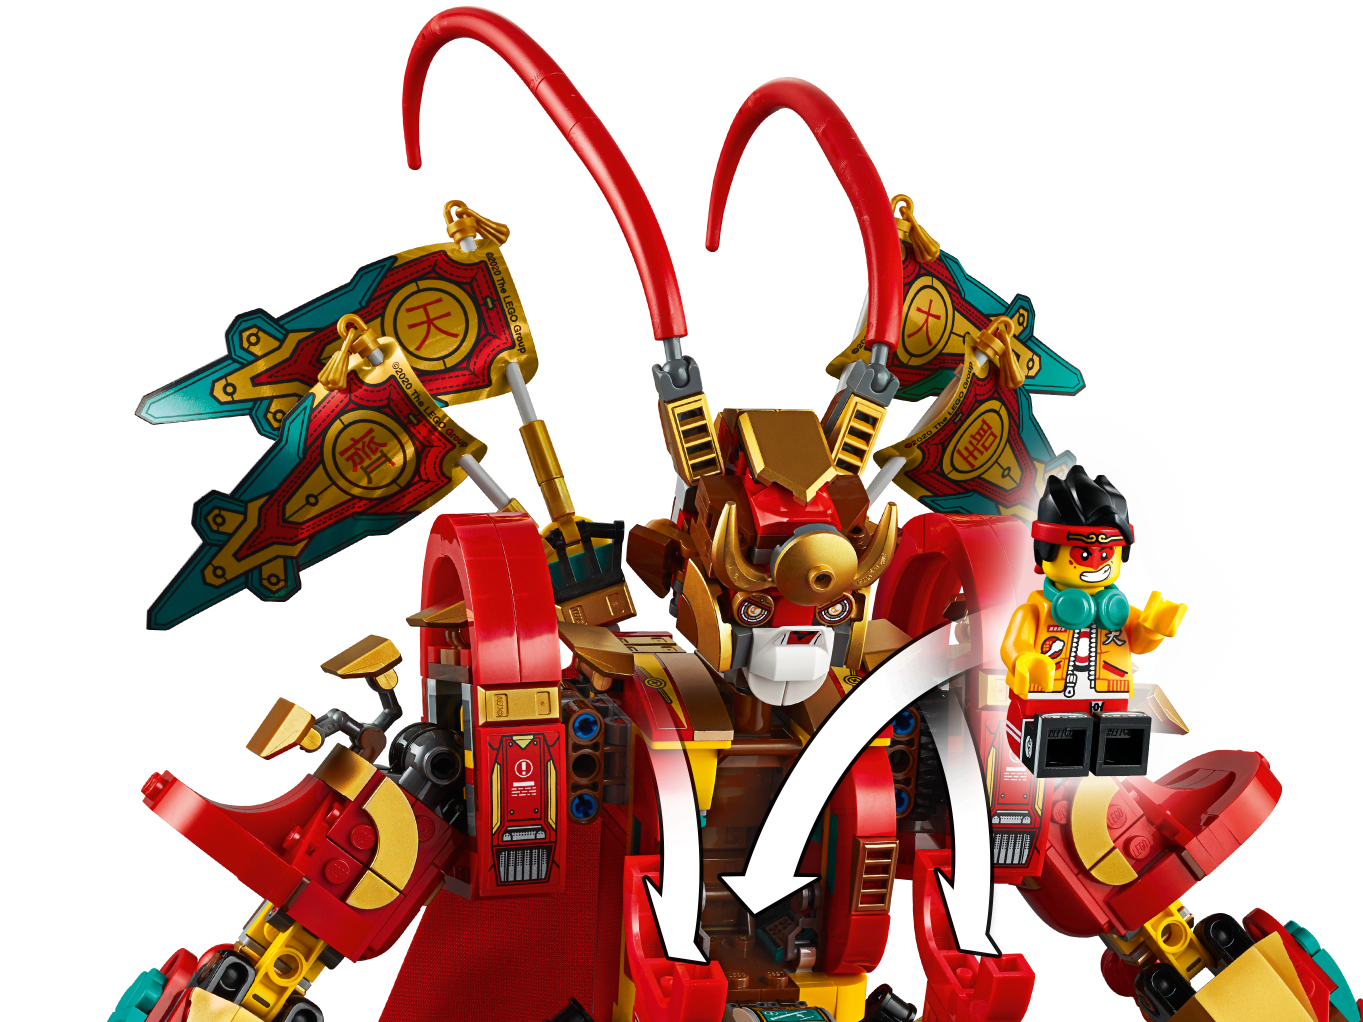
Jia, An, Monkey King, Monkie Kid, General Ironclad & Growl with some nice new parts, such as the headphones around MK’s neck, the Bull Helmets and more…
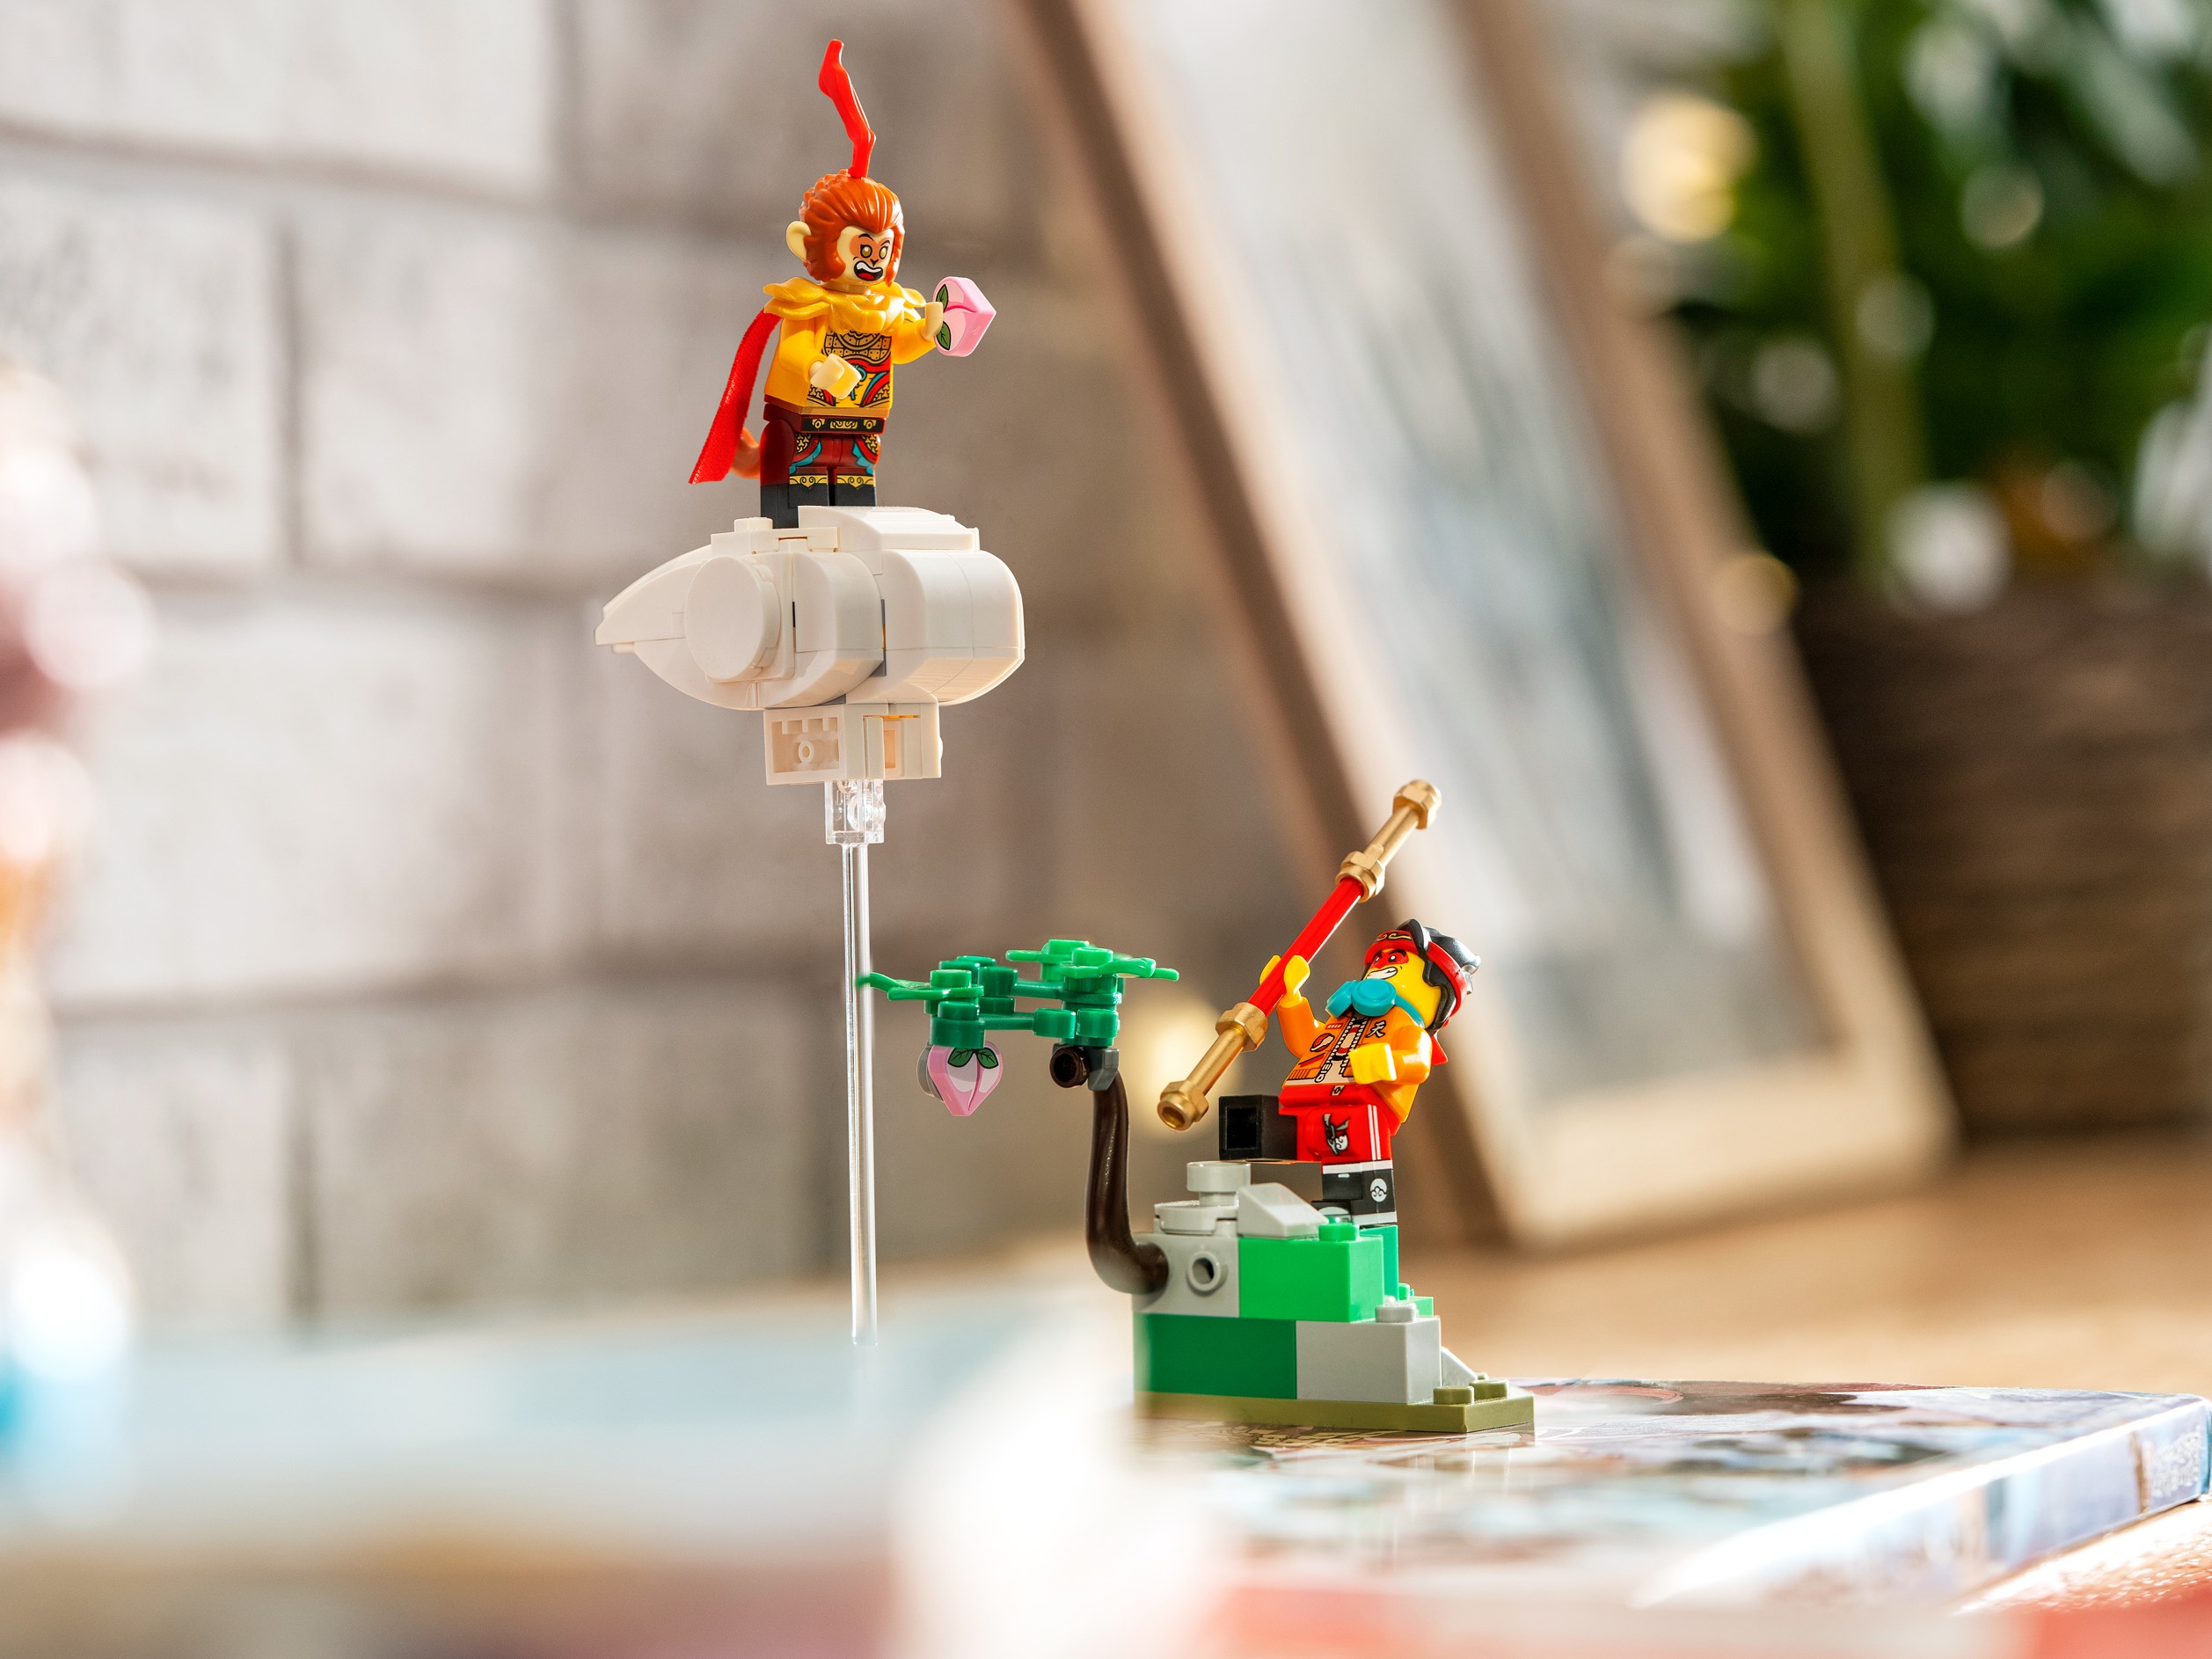
The Mini-Builds
Bag 1: Contains the parts for
a small Bull Mech. A quick and fun little build that fits Growl the Ironclad
Henchman minifigure who is also in this bag.
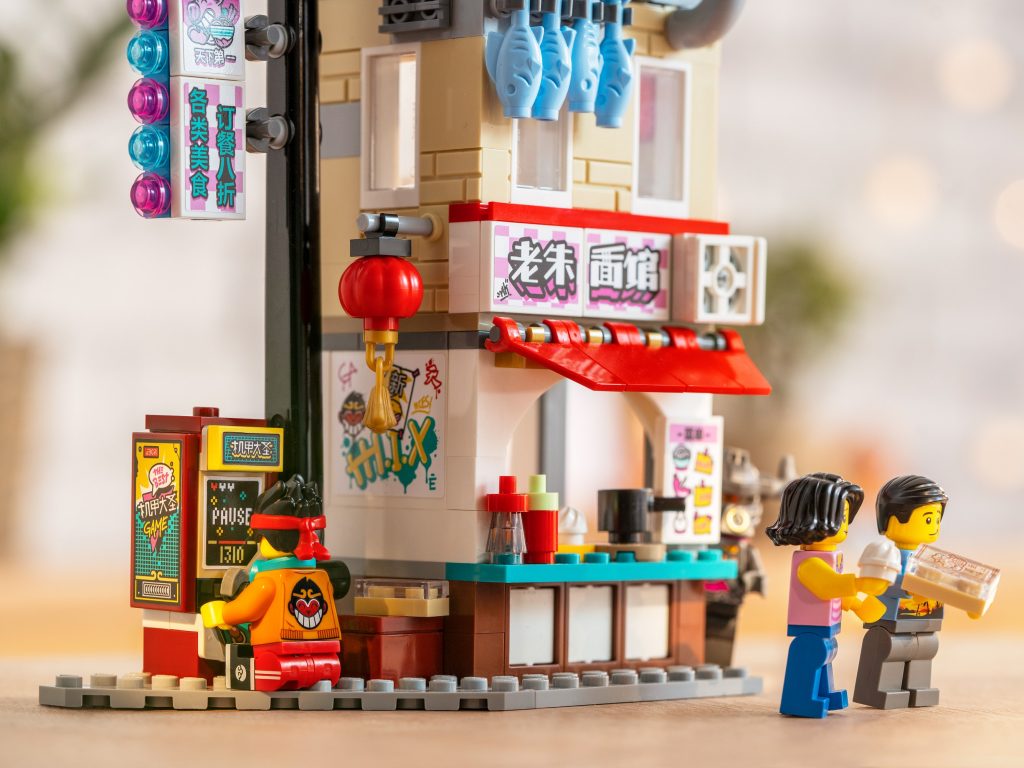
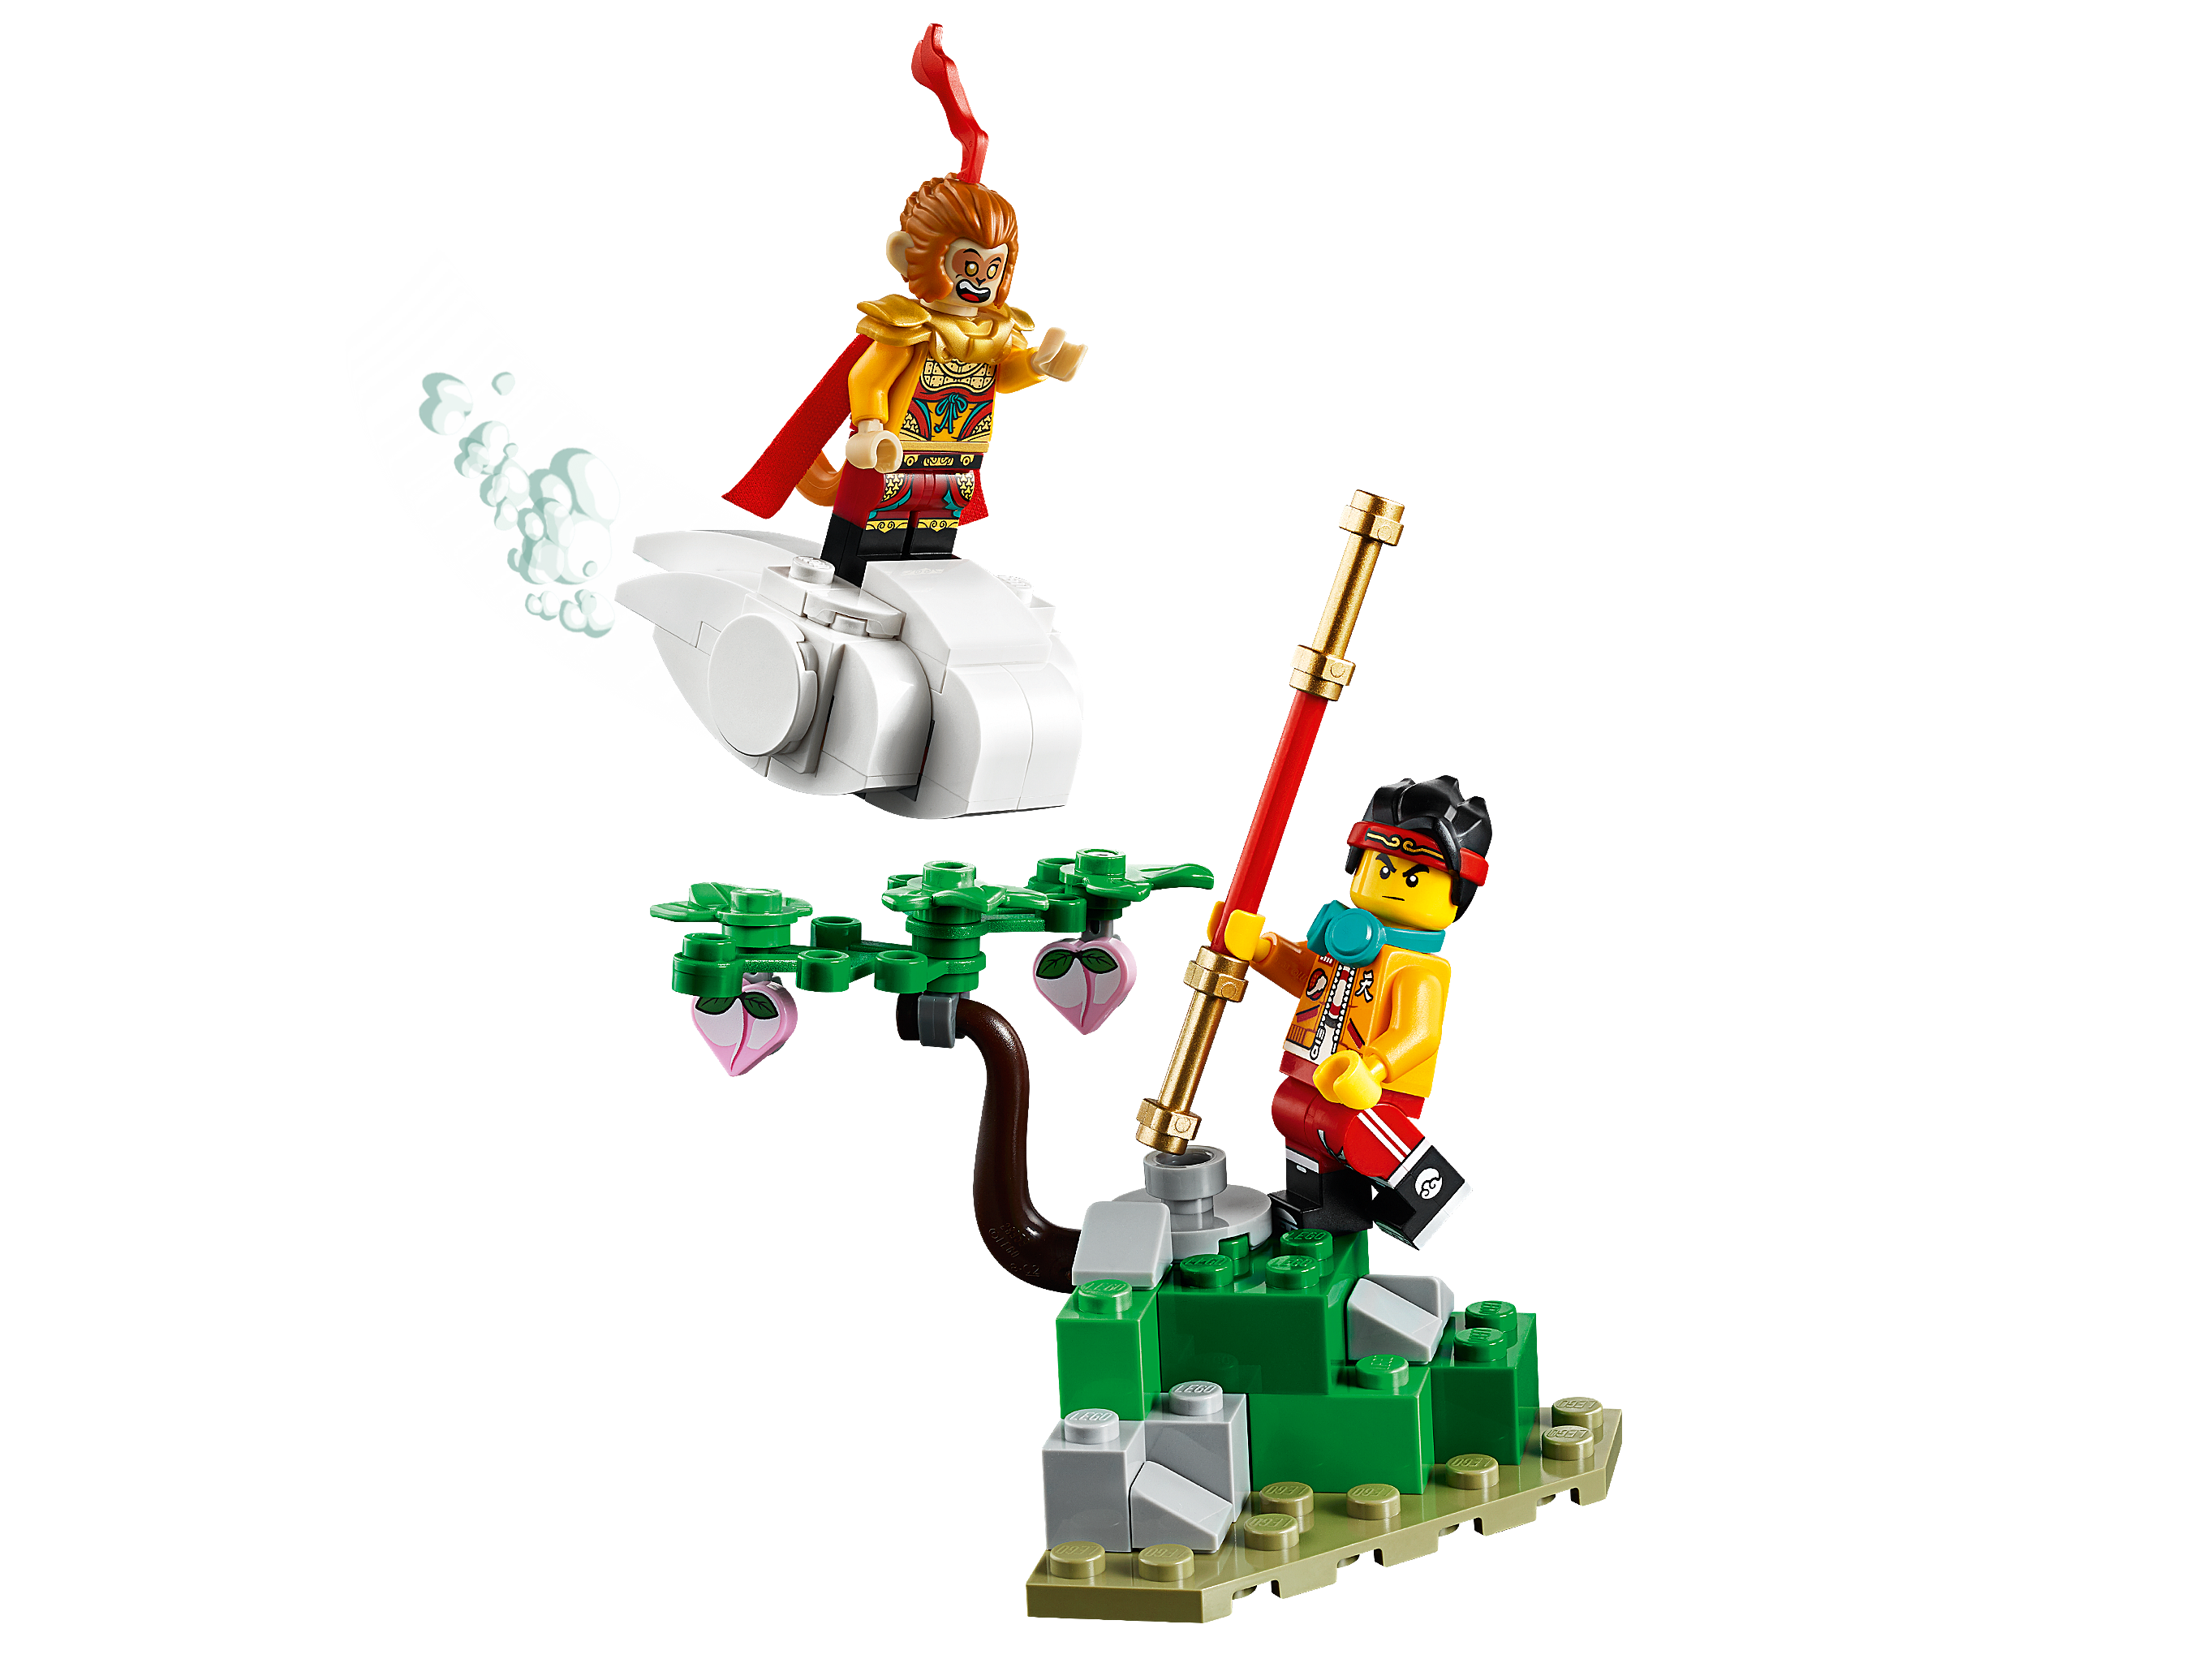
Bag 2 & 3: We build the Monkey
King and his flying Cloud. There is also a nicely detailed Noodle Shop with
some interior design. There is also a side attachment with a power pole and
arcade game. The An minifigure is also found in these bags.
Bag 4 has the parts for the start of the mech torso and the final mini-build. The iconic Flower Fruit Mountain that is said to be where the Monkey King imprisoned the Demon Bull King. The tree built on the top of the mountain has some nice 1×1 pink heart tiles with peaches printed on them.
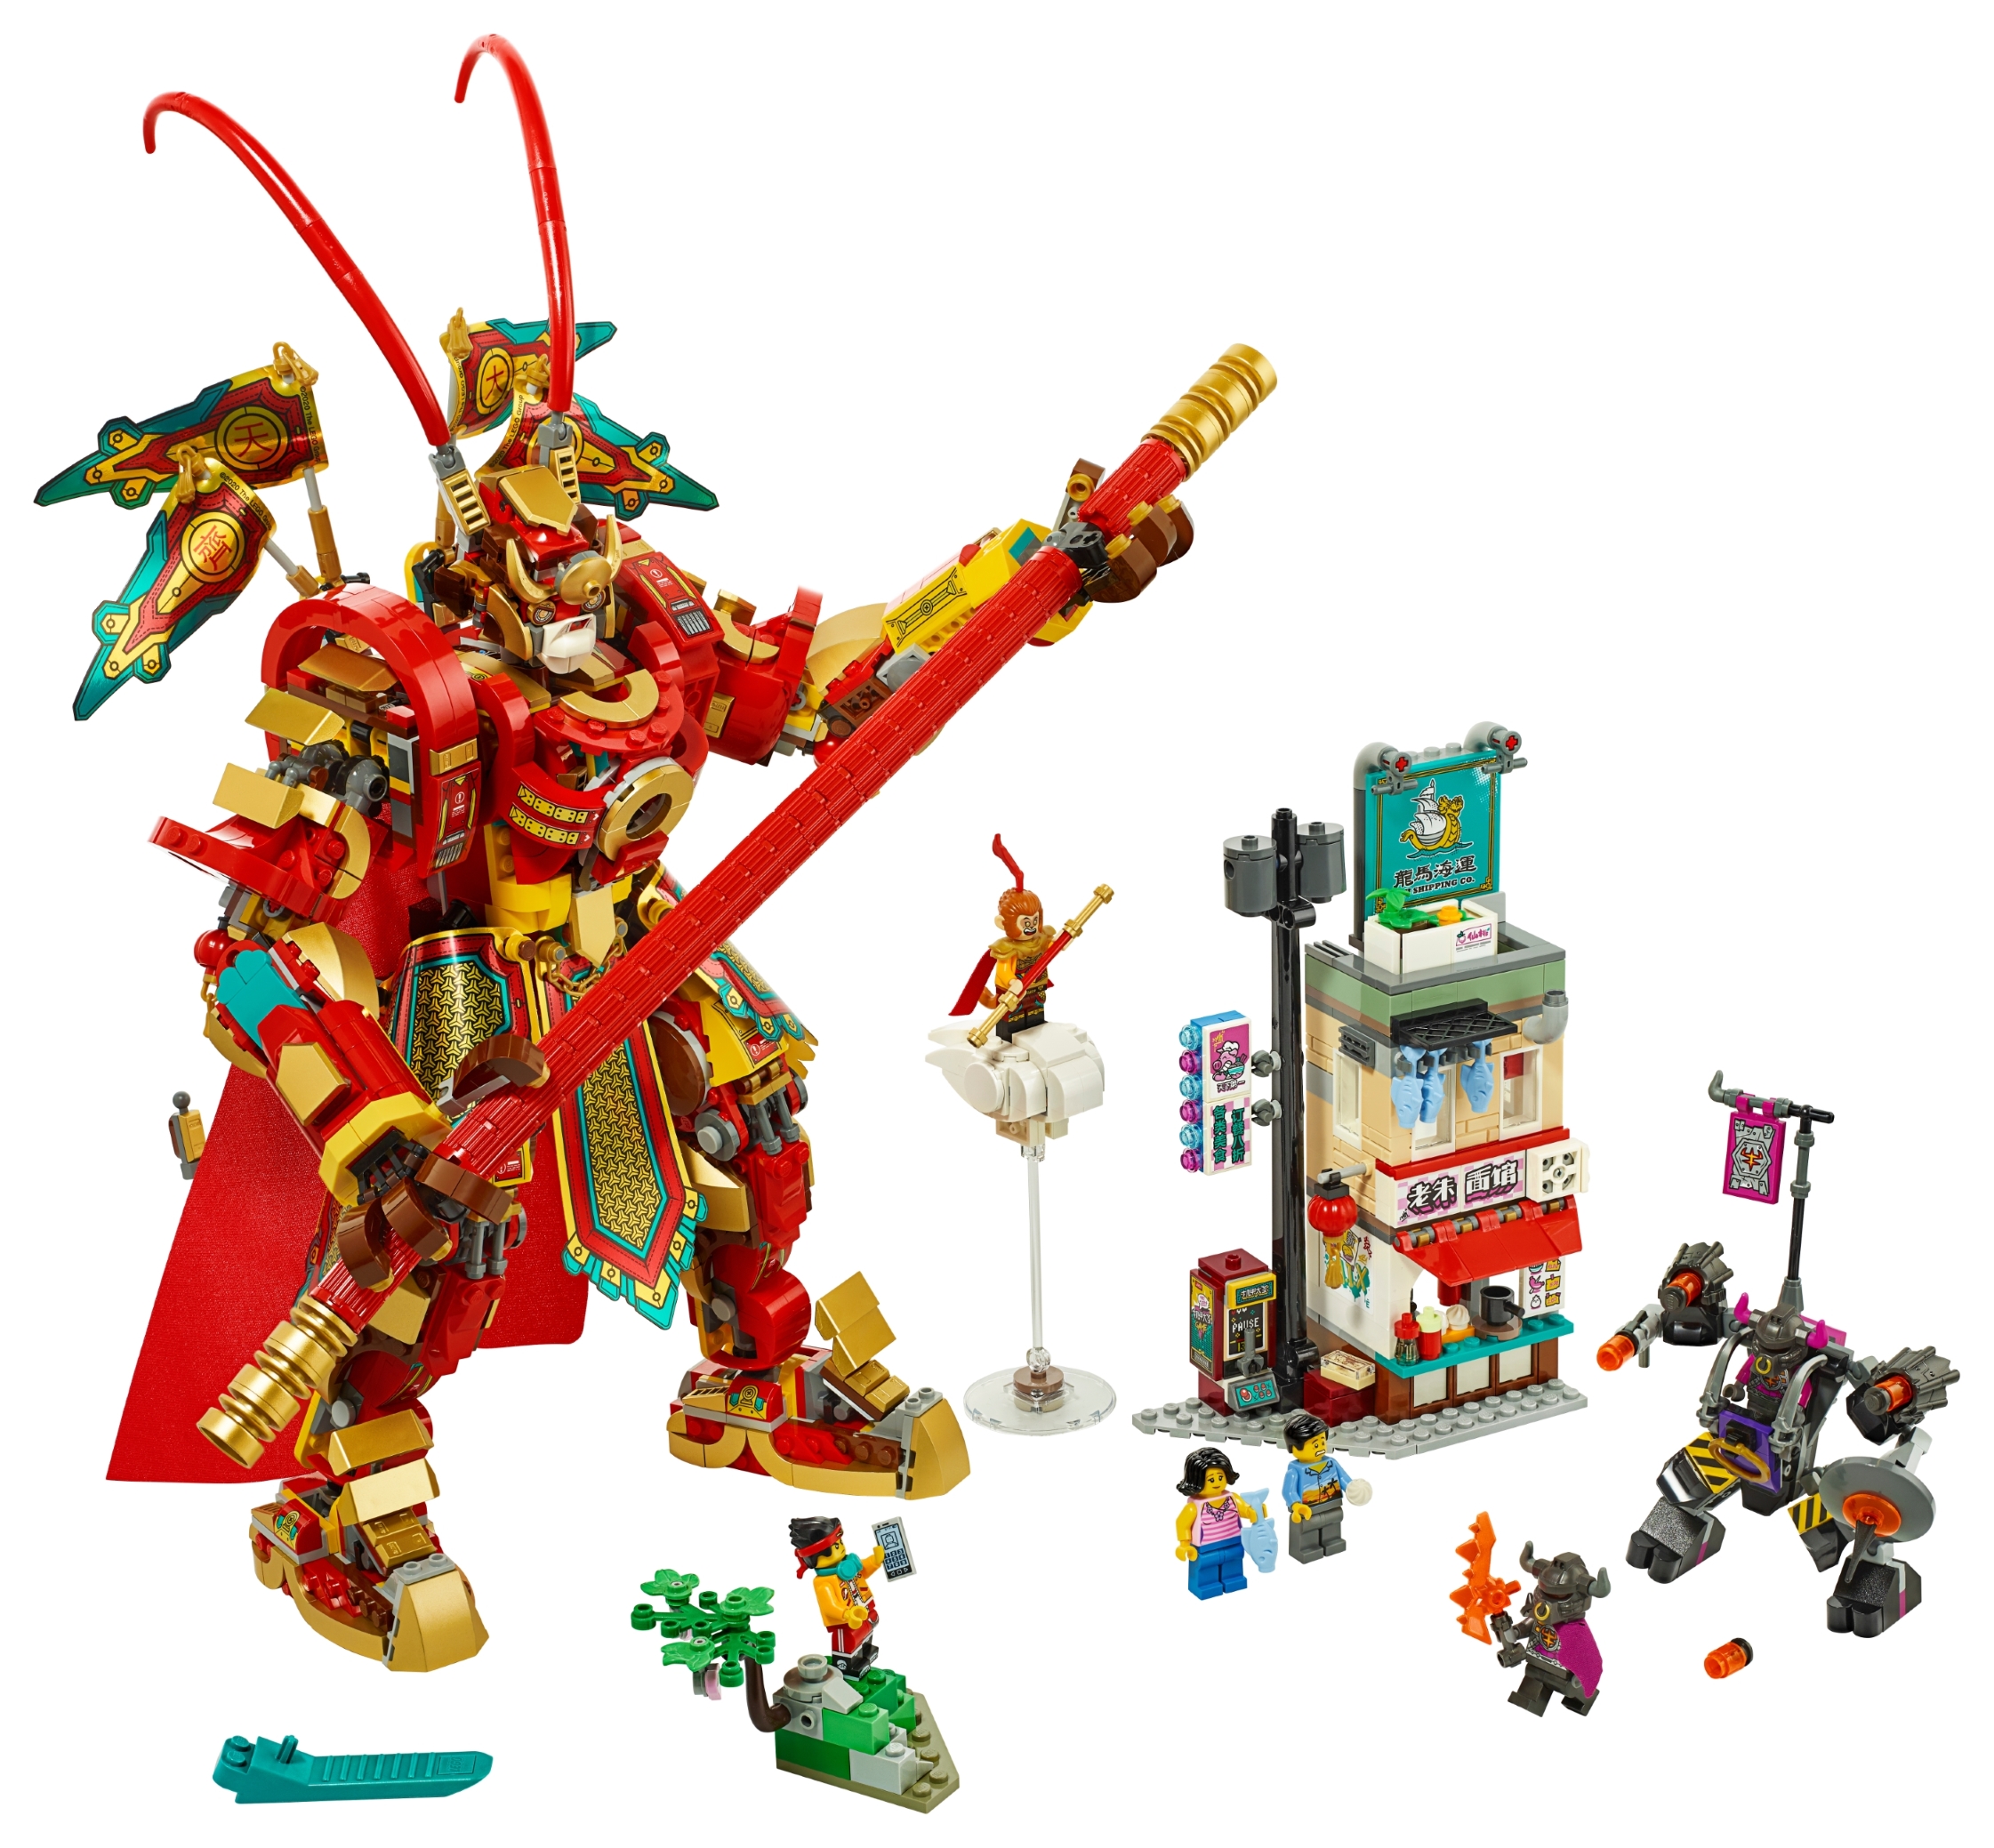
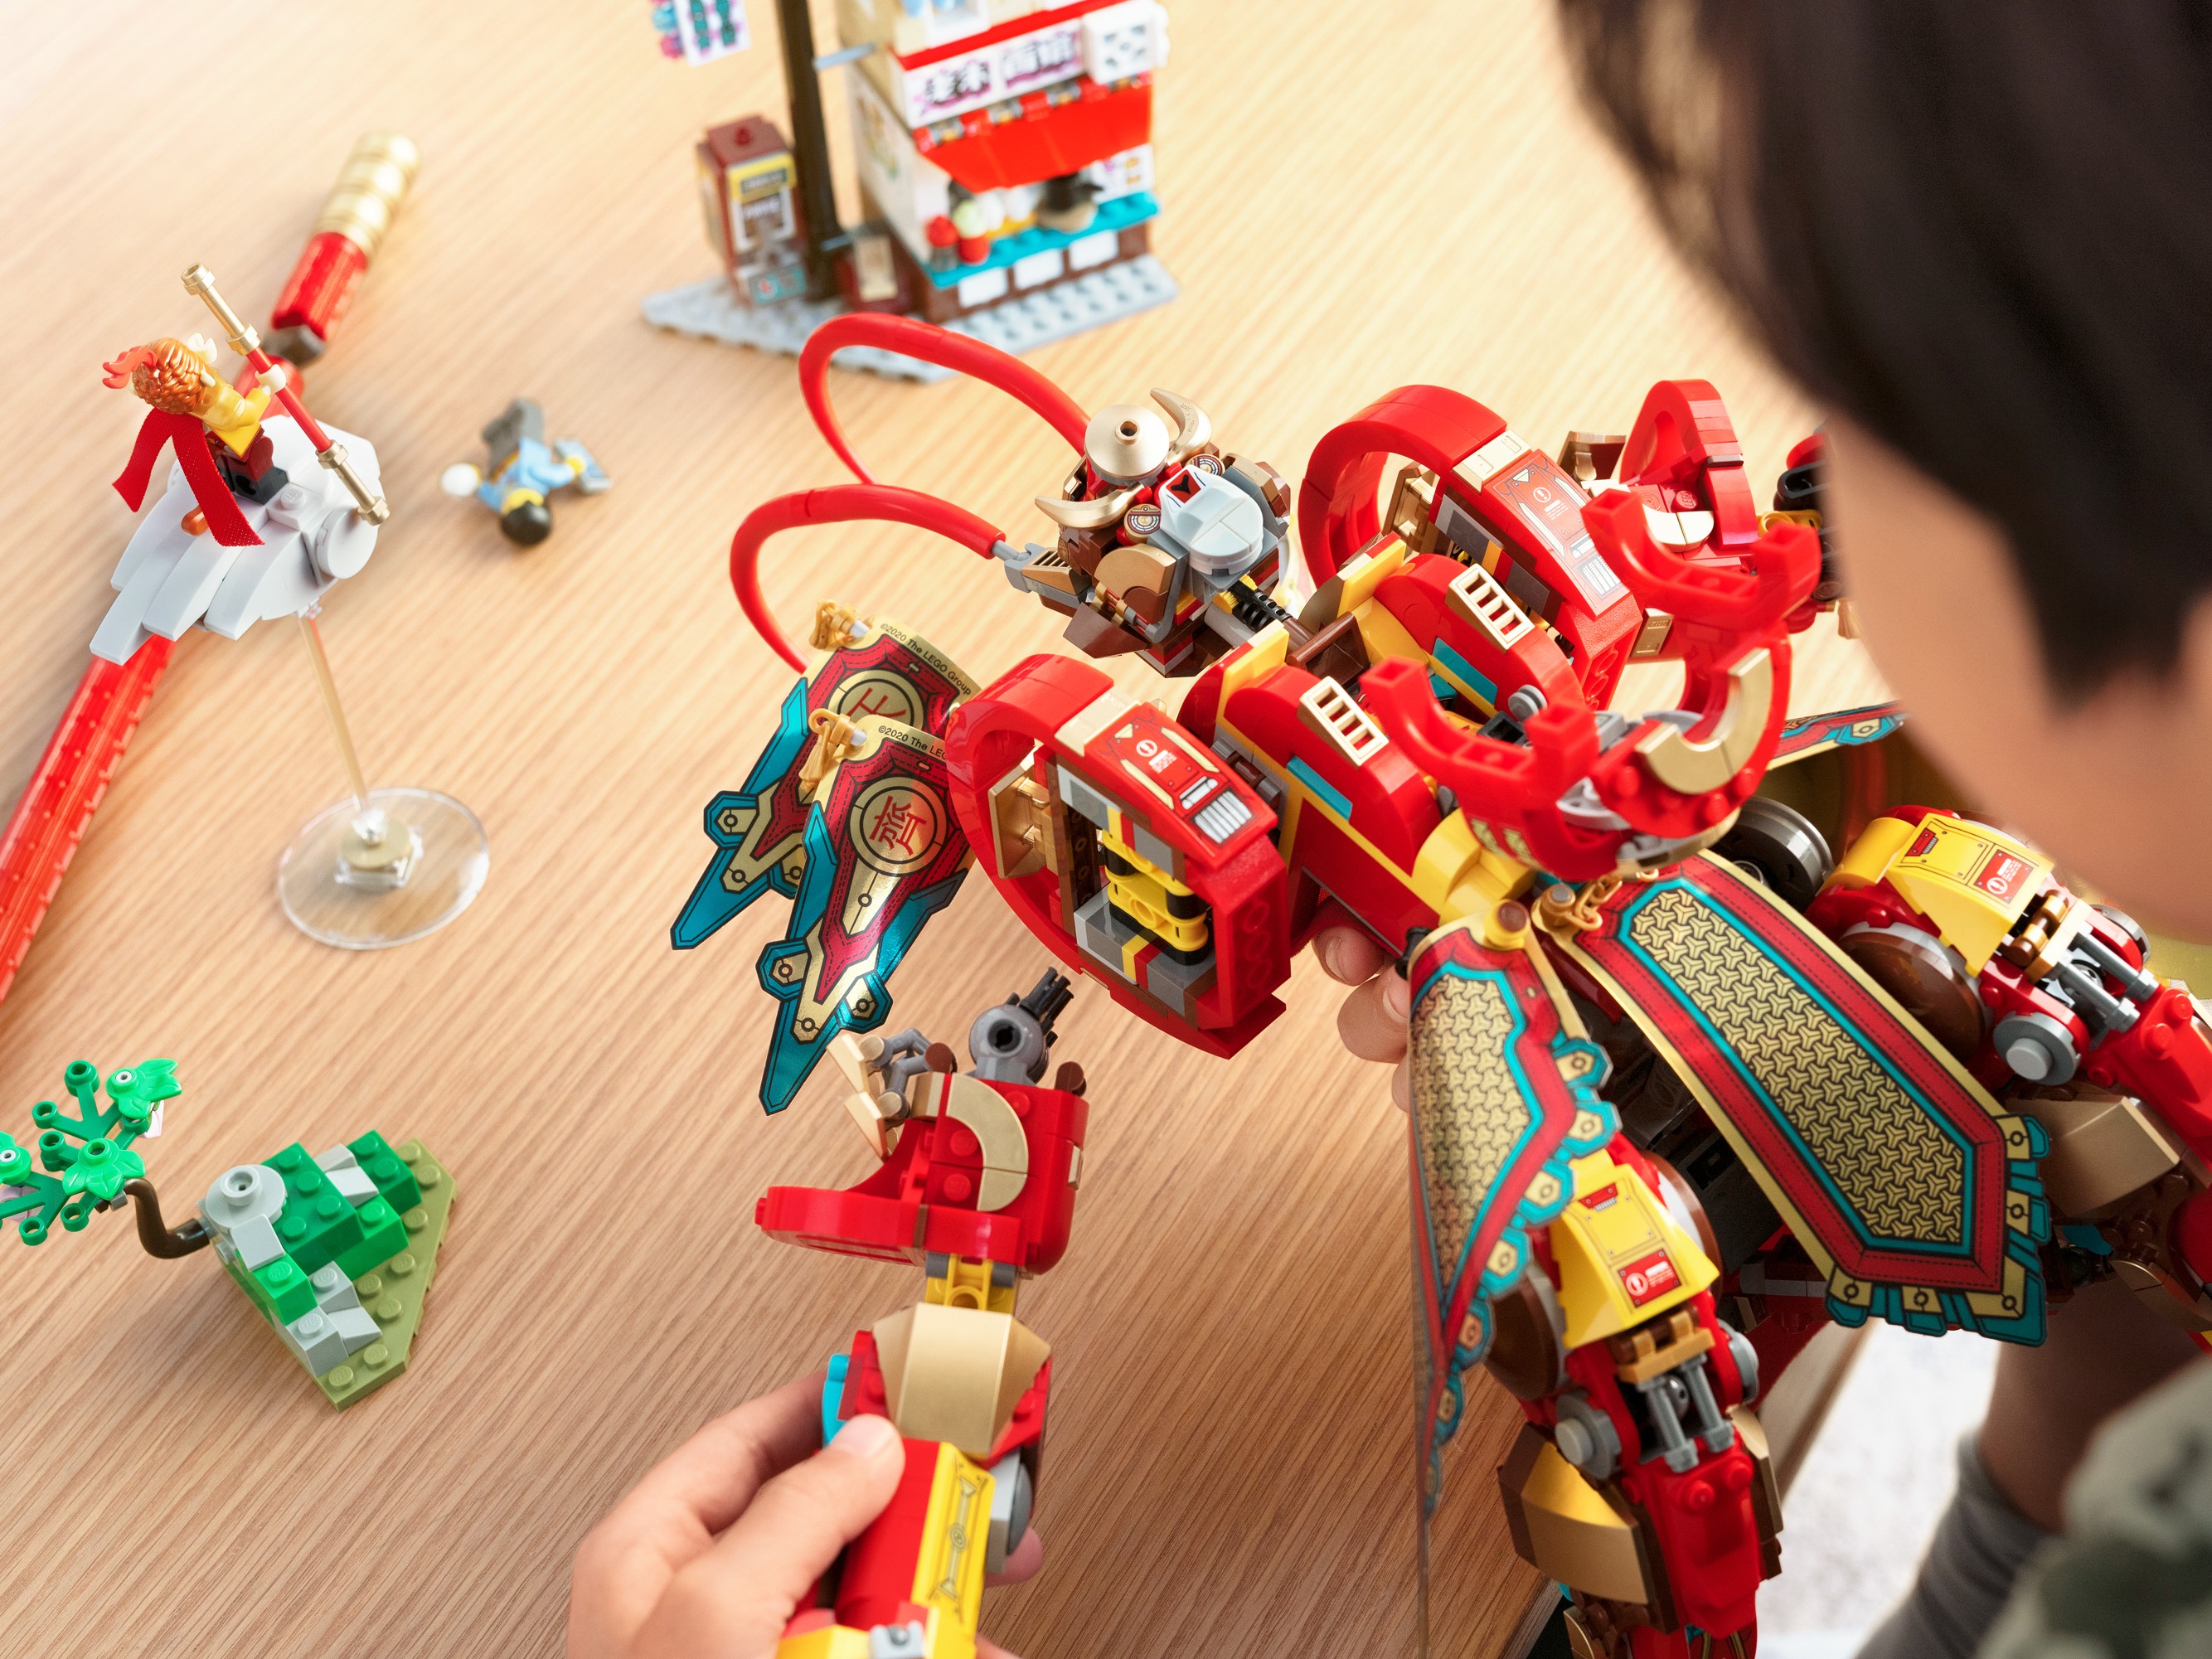
The Warrior Mech Build
Bags 4 – 12 have the rest of
the parts to build the mech.
It is a nice surprise to see
the return of metallic gold parts and so many of them.
The build progresses in the
following stages.
Bag 4 – Torso & Monkie Kid Minifigure
Bag 5 – Shoulders and Torso Details
Bag 6 – Upper Legs and General Ironclad
Minifigure
Bag 7 – Lower Legs
Bag 8 – Feet
Bag 9 – Upper Arms and Jia Minifigure
Bag 10
– Forearms and Hands
Bag 11
– Head
Bag 12
– Staff, Banners and Dressing
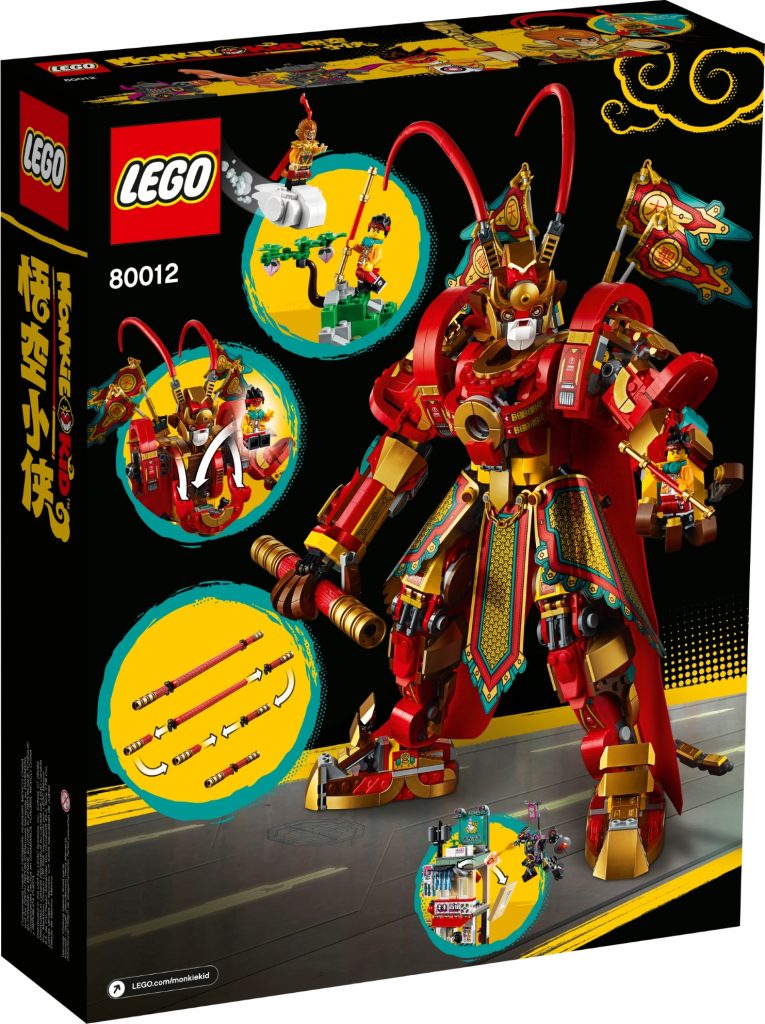
The mech is very well designed
with a sturdy skeleton of Technic parts, gears, ratchet, and ball joints. The
arms move on rotation gears at the shoulders to give them some good manoeuvrability.
We have seen this technique in other sets as it works well.
The colours of red, yellow, turquoise
and metaling gold are very eye catching and stand out, giving the mech a powerful
look.
There is some excellent part
usage to add little details all over, such as Utensil Zip Line Handles as the
control levers in the torso cockpit and Weapon Hilts as metal bars at the knee
joint.
Instead of printed parts which
would have raised the cost of the whole set two-fold, they have included the
sticker sheet with small stickers to really bring out the detail in the whole
build.
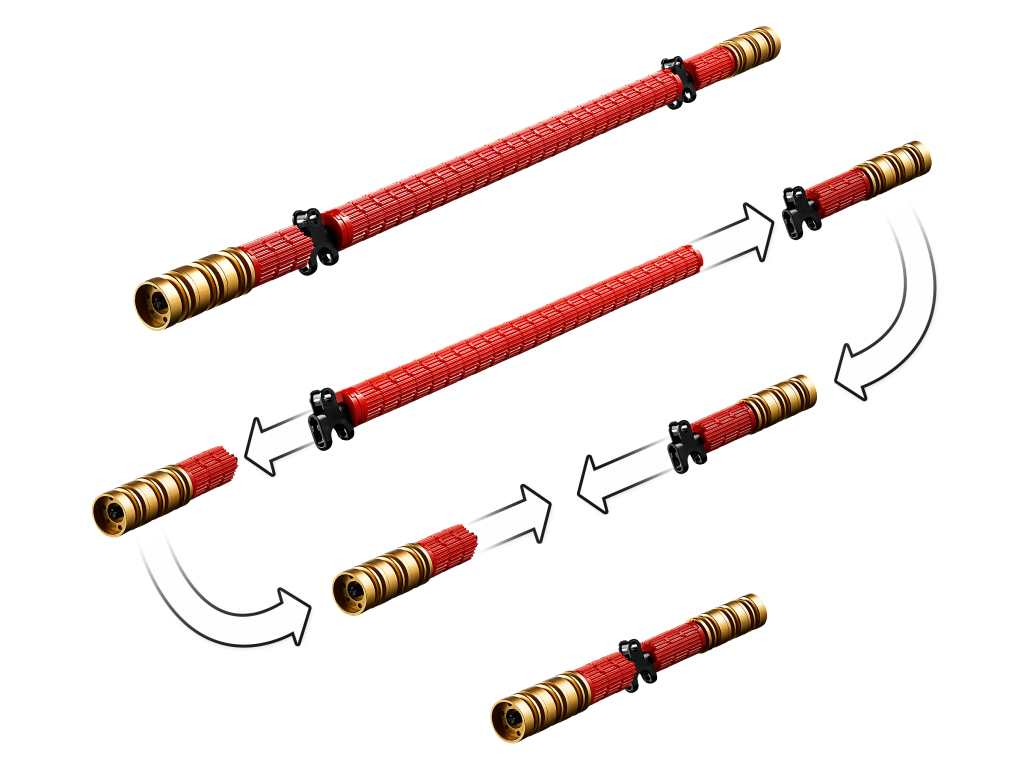
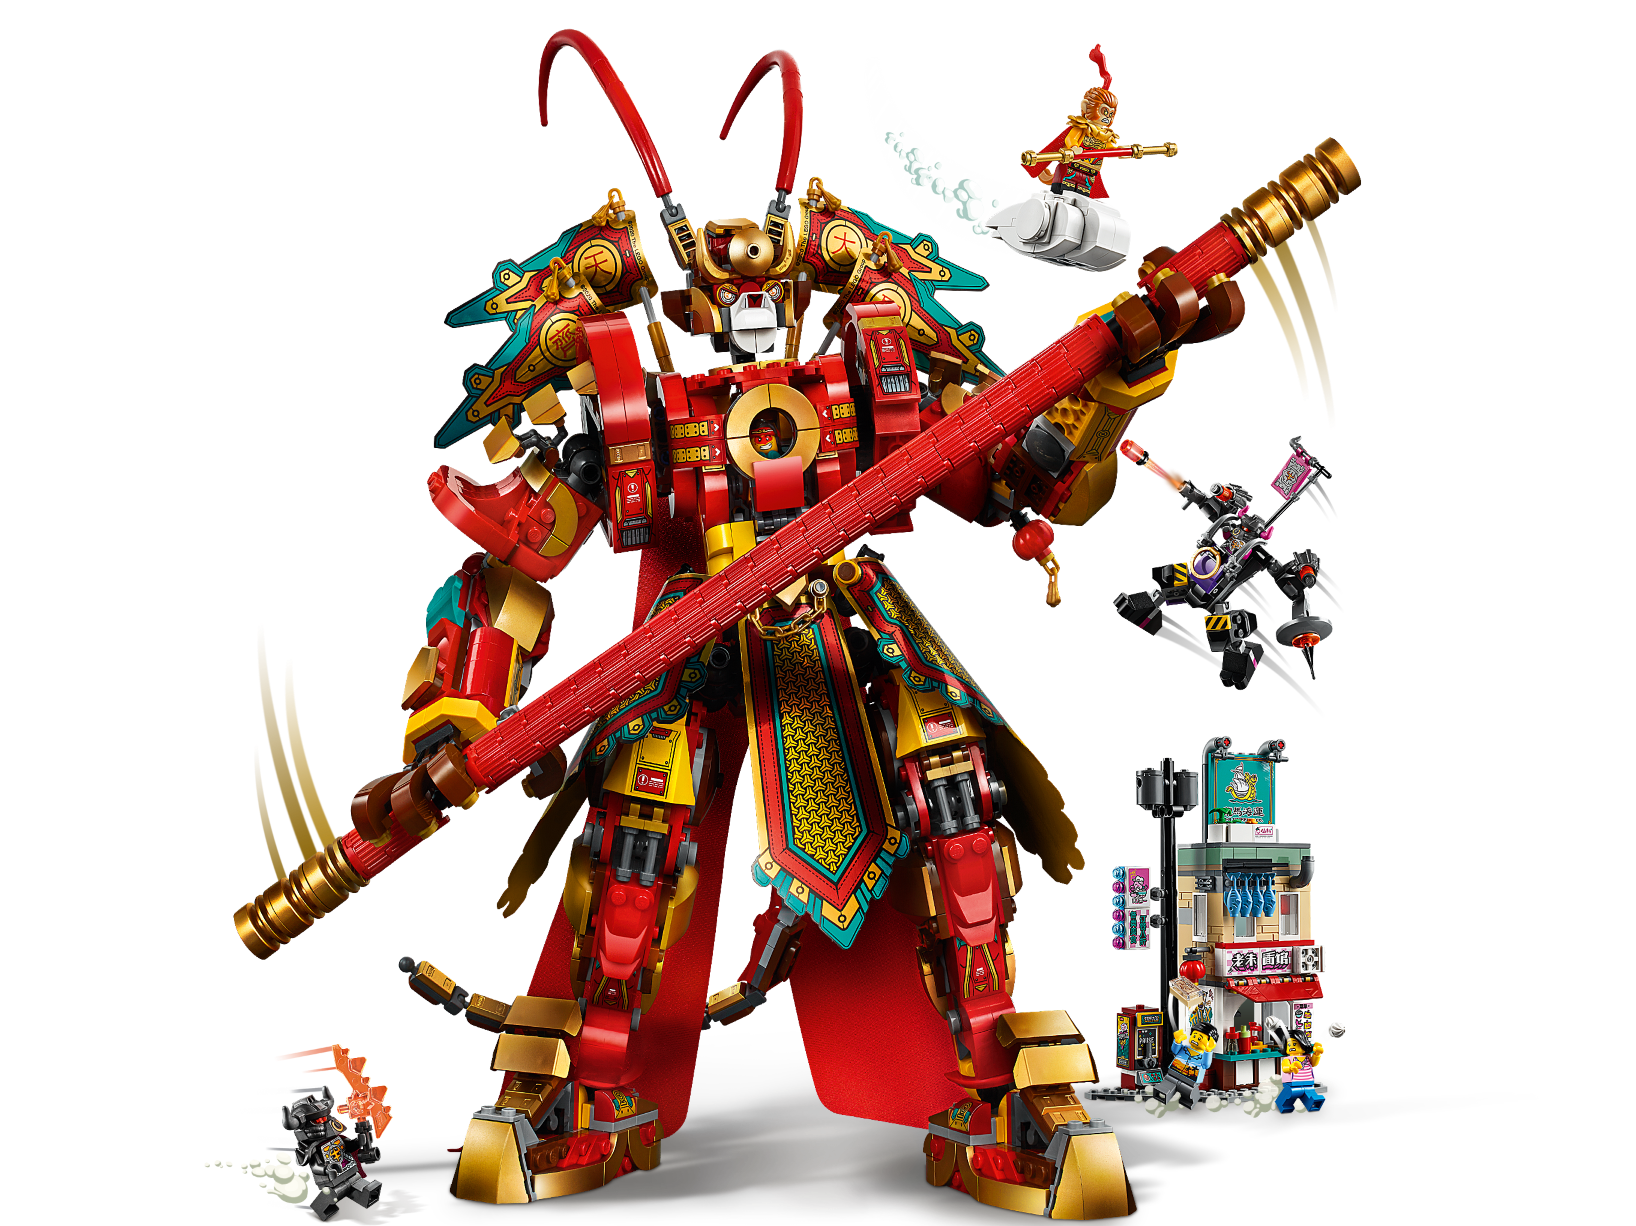
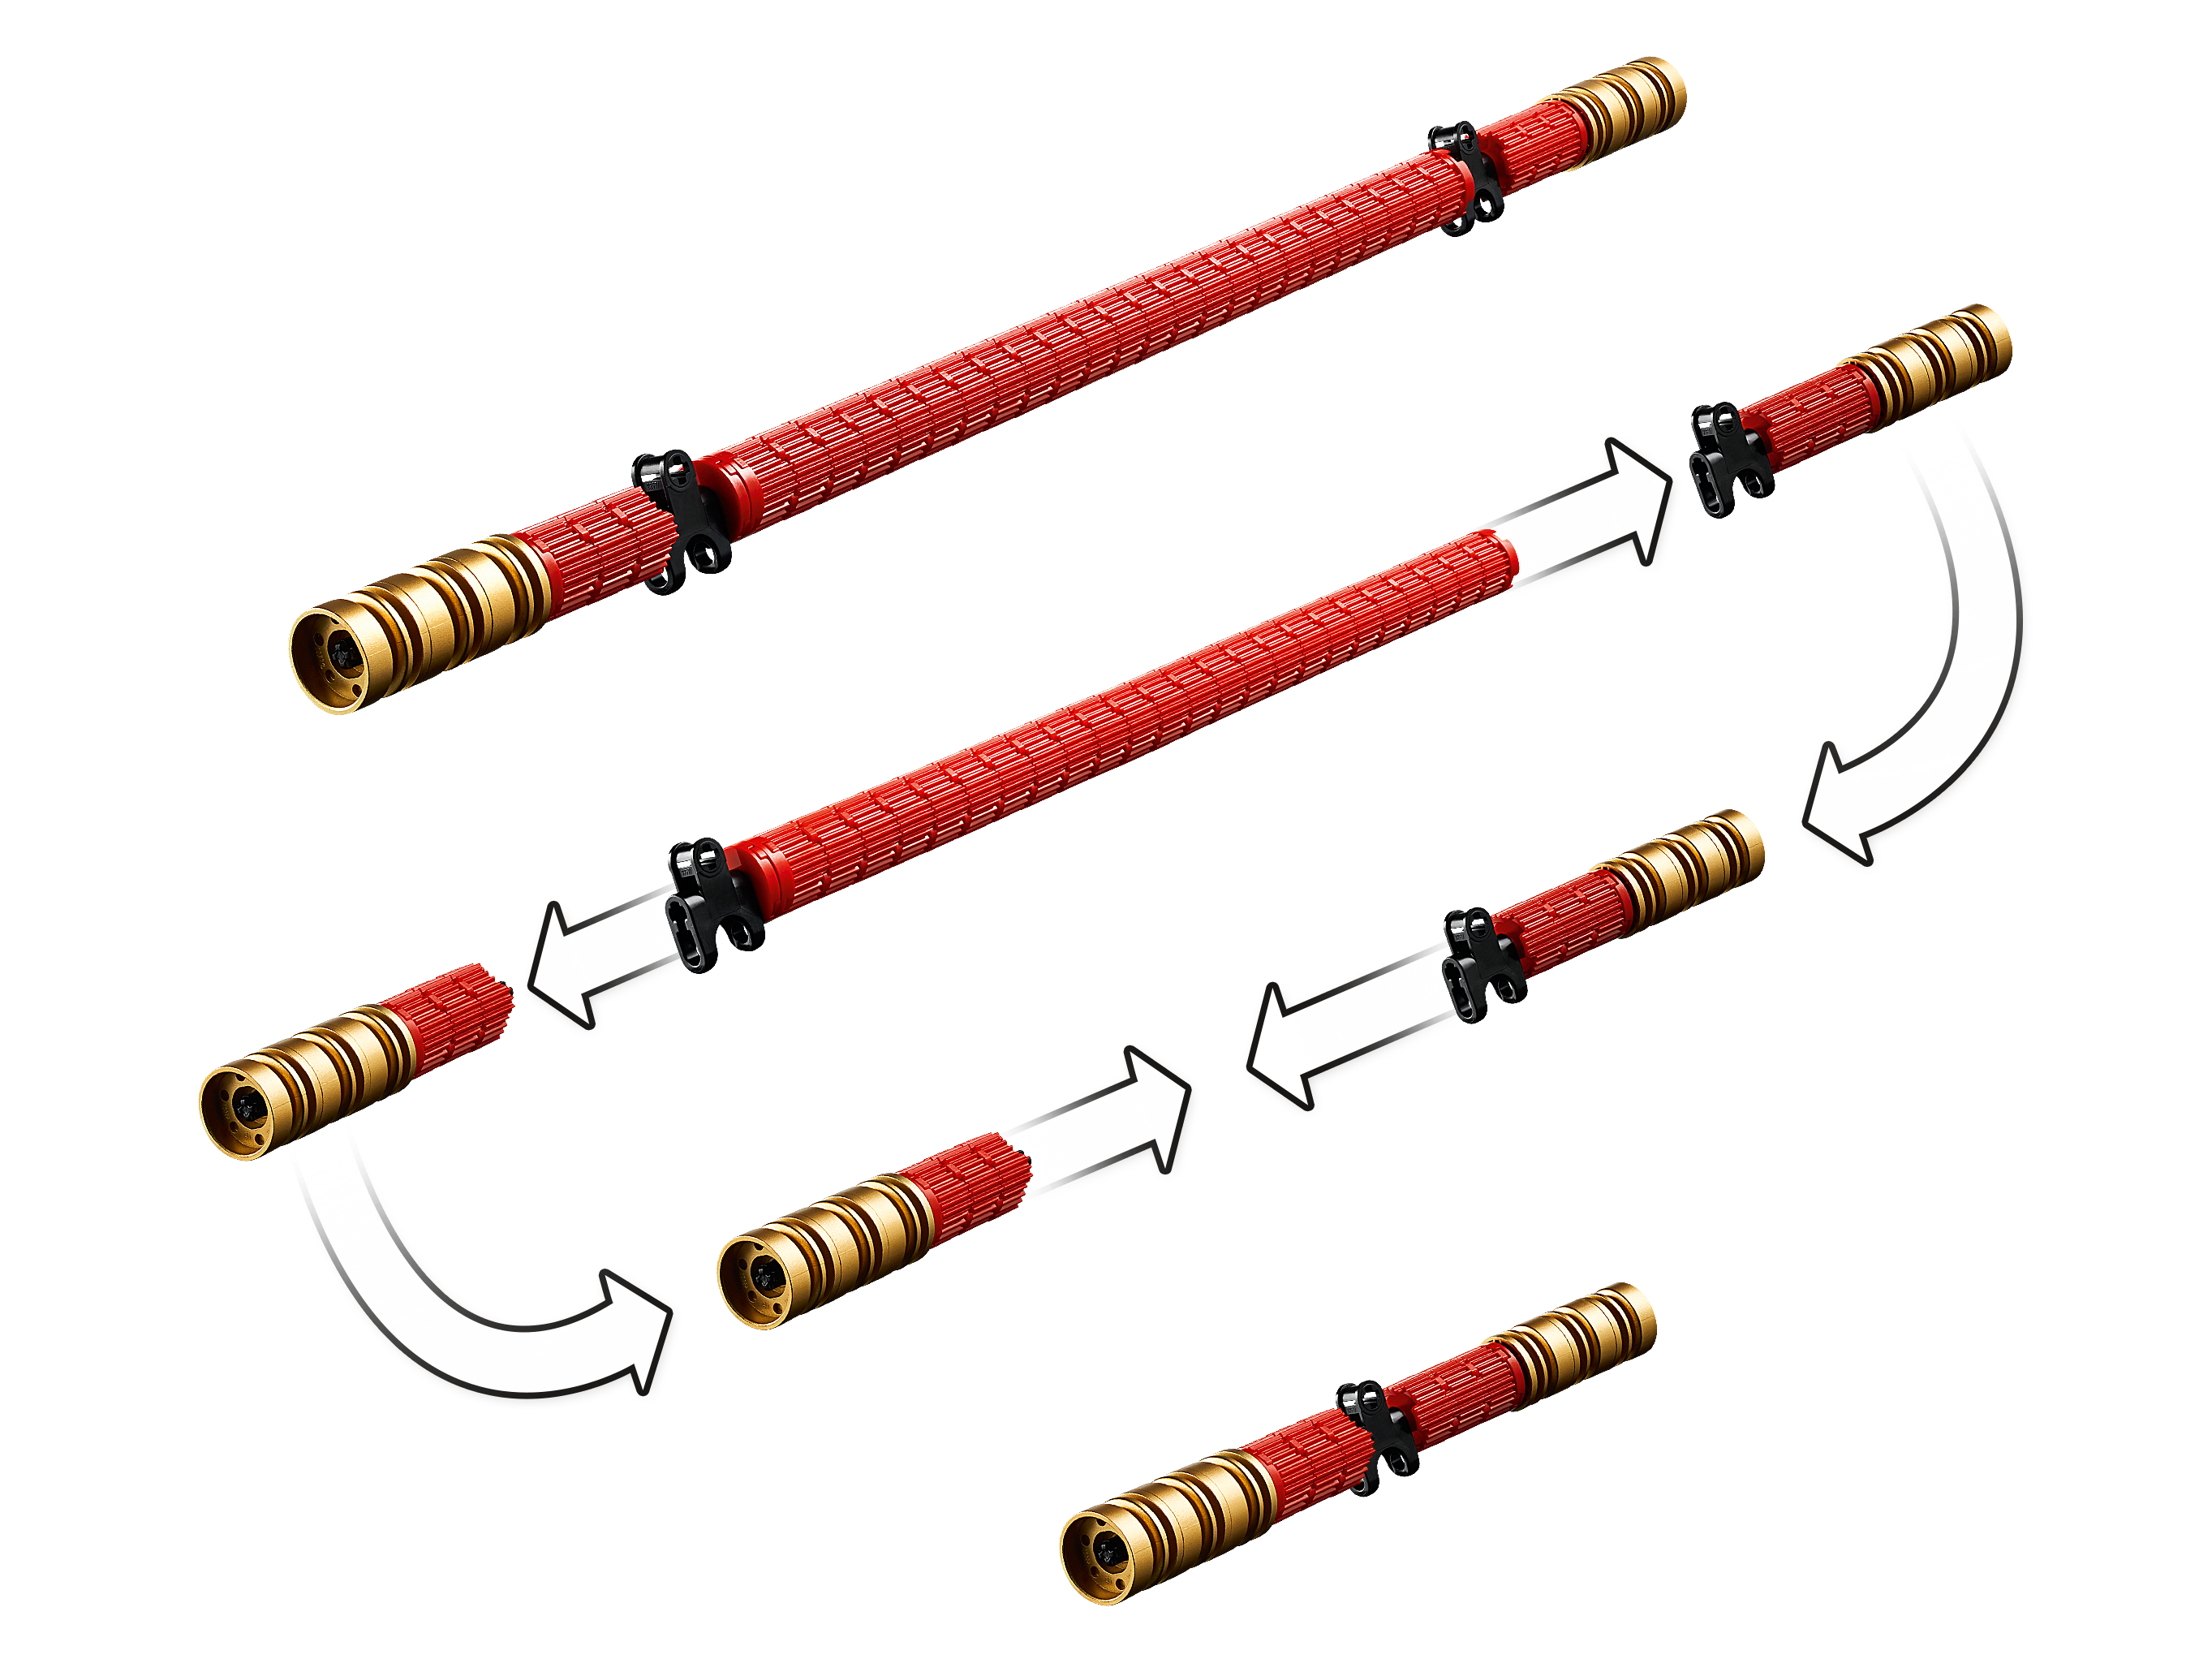
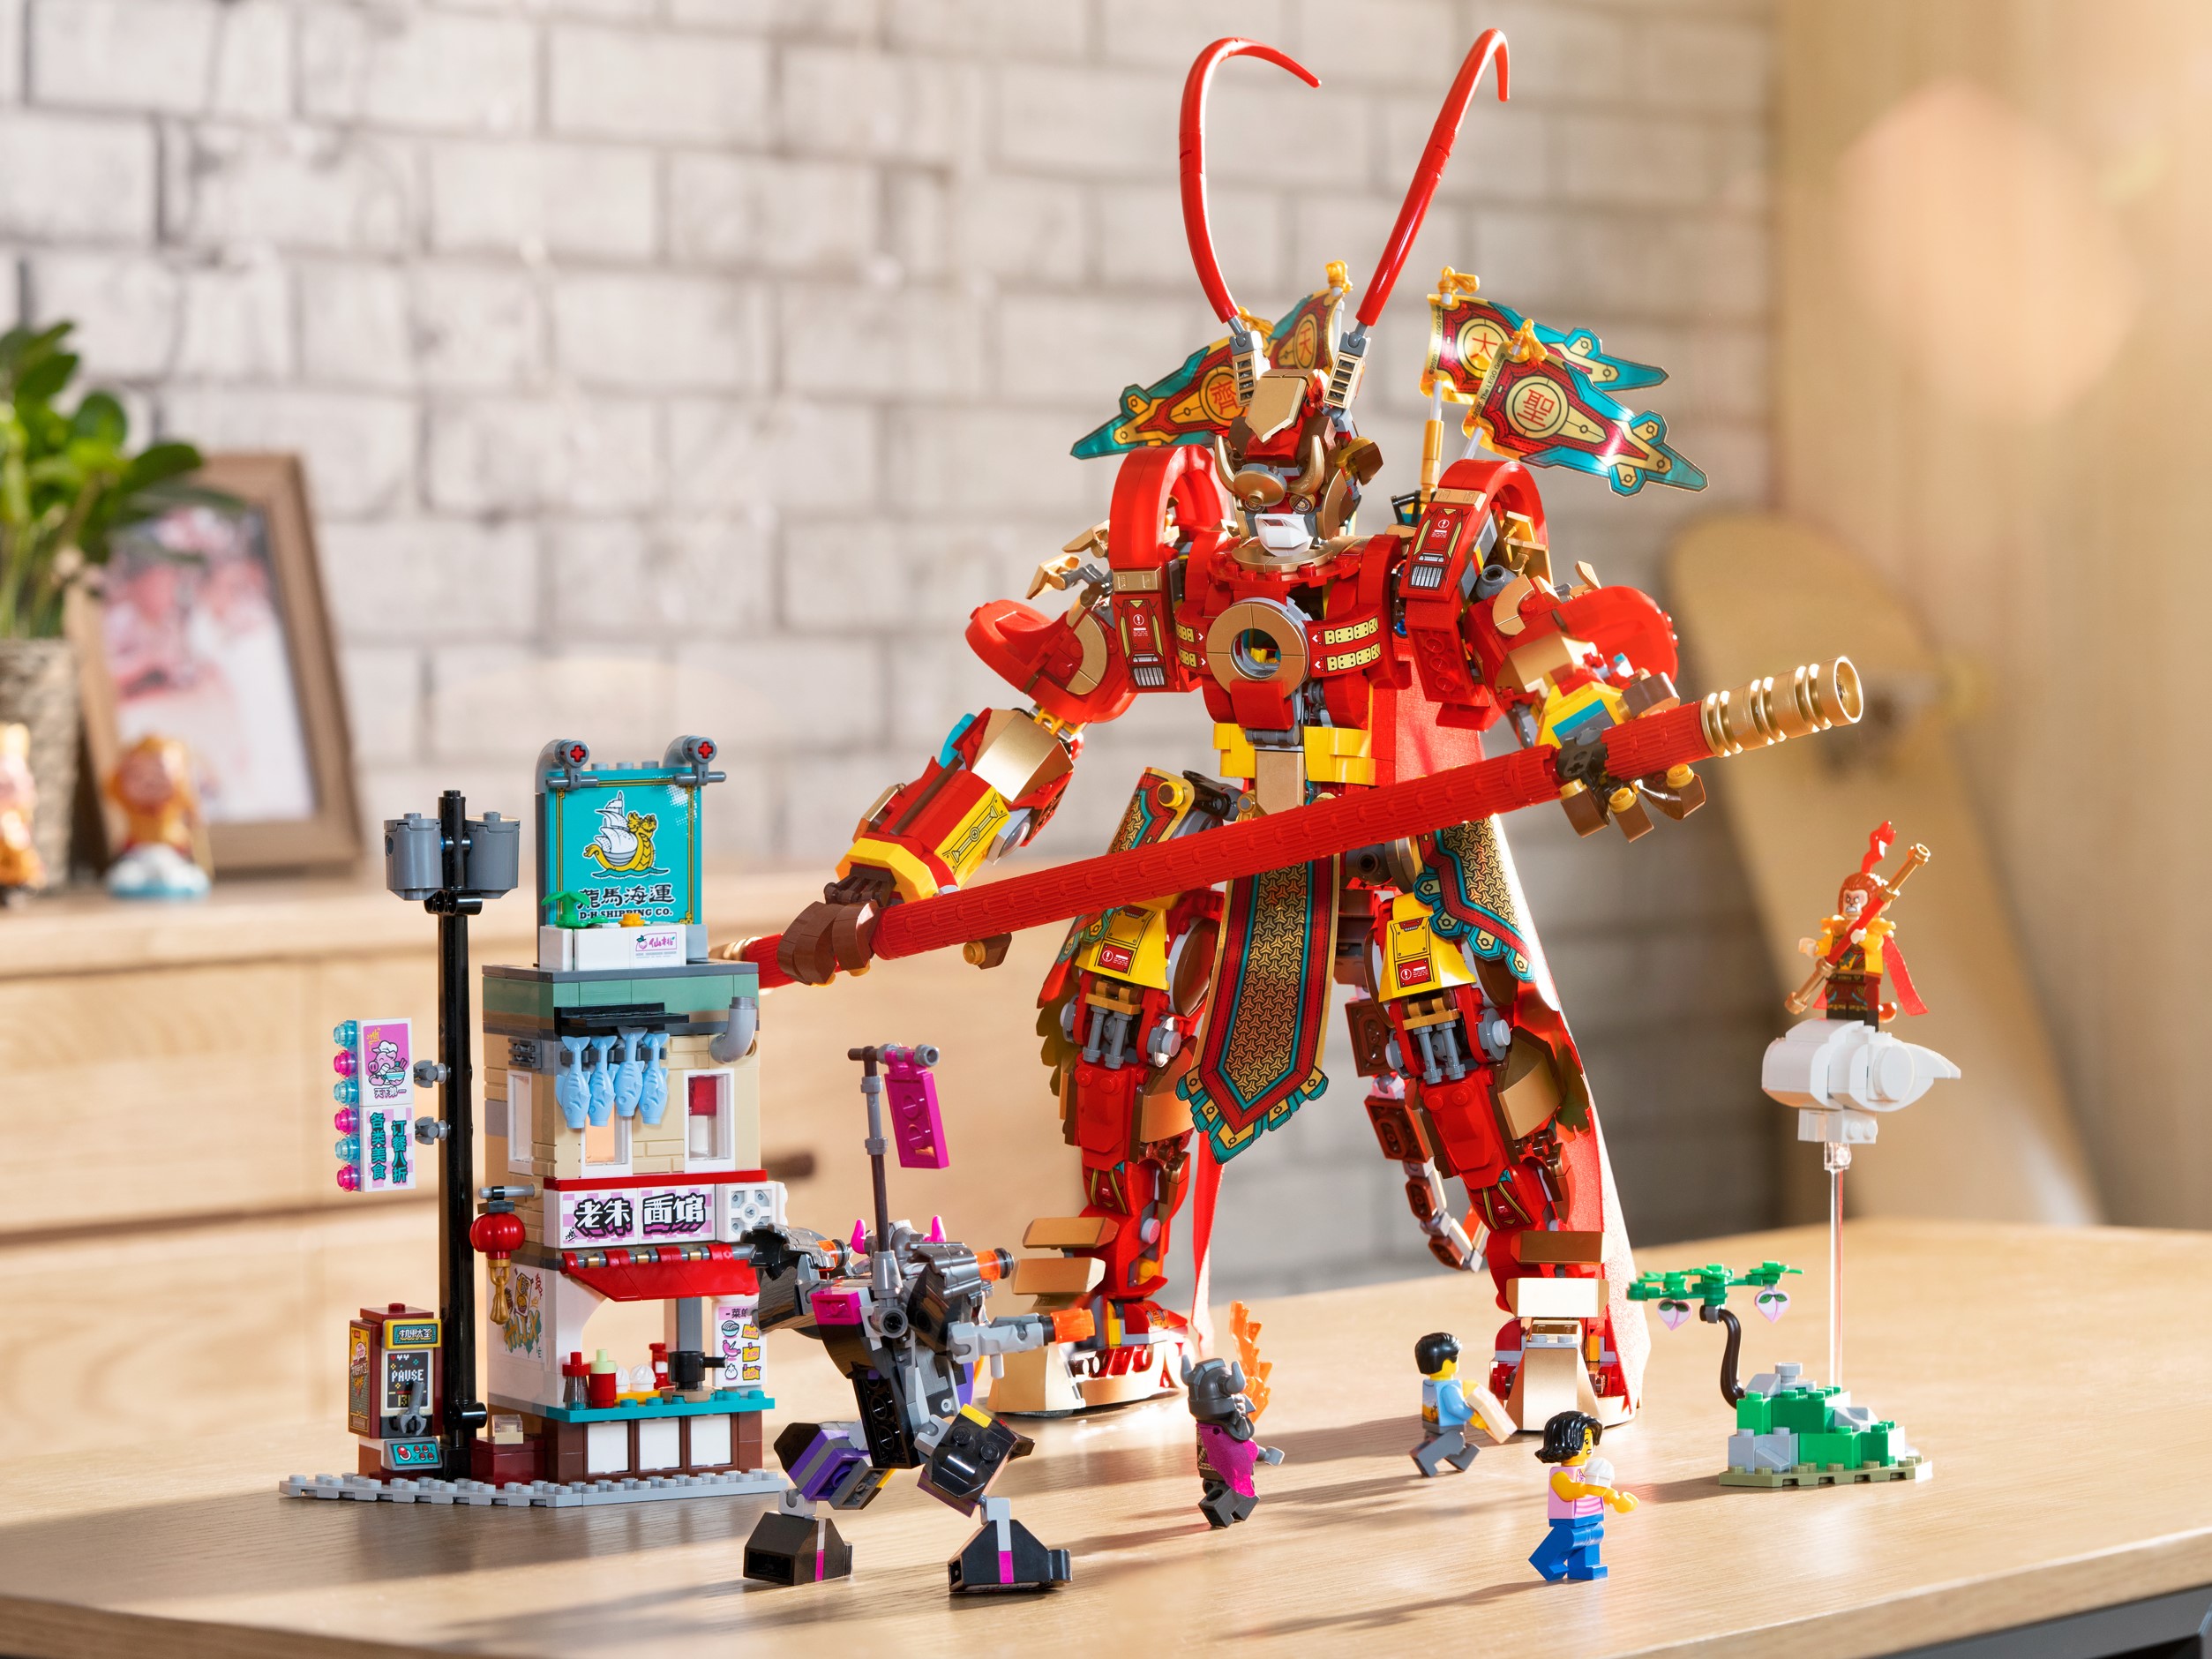
We finish off with the large
staff that can be set in place between the hands, held in one hand as a full
staff and even shortened into a smaller staff.
The last bit of detail is the plastic foil printed Samurai dressing and fabric cape, all attached at cleverly well positioned pins and small ball joints.
Conclusion
I really enjoyed building this
set and feel it is one of the sturdiest of the large LEGO® mechs to be
released. The Ideas Voltron set was a fun build but only a display piece in my
opinion. This build has a lot more playability and can be placed in a variety
of different poses. There are a few fiddly bits that can fall off if and if not
balanced correctly it will fall over due to the size. The added mini builds
give some extra playable features to the whole set.
The LEGO® designers have done an excellent job in making a solid, sturdy mech that looks like the Monkey King and I definitely recommend this set if it falls within your budget.
Reviewed by Clive Crafford (SAFOLs Member, jhbLUG Member)
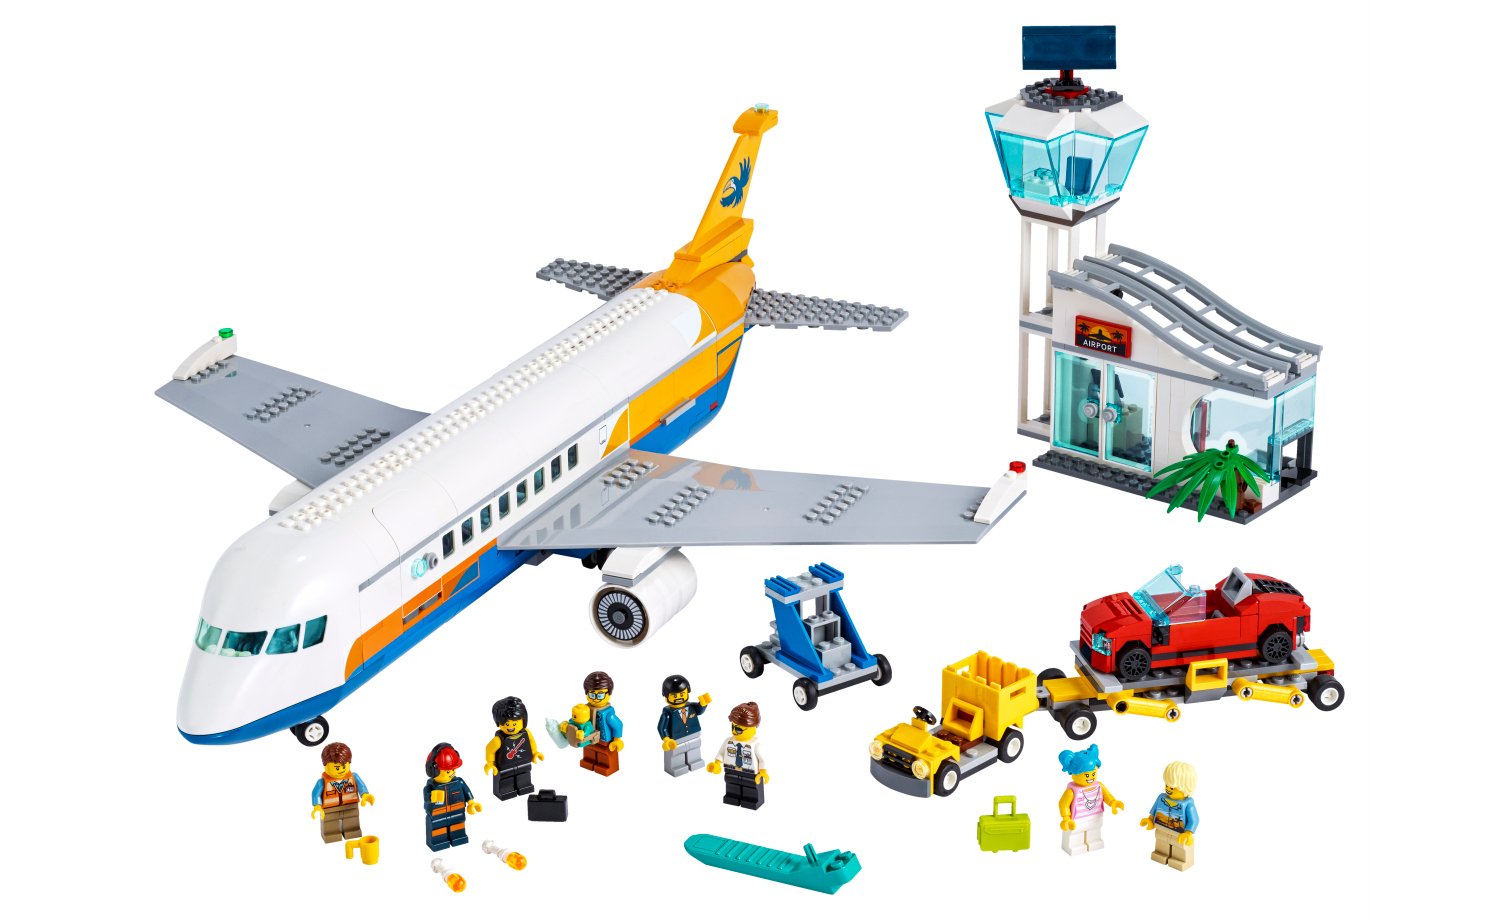
As a collector of LEGO® Planes, I was eagerly awaiting the new arrival when it was announced. I was pleasantly surprised with the new set once the first images were released, and enjoyed the building experience a lot.
Officially titled Passenger Airplane, set number 60262 comes with 669 pieces, 9 minifigures (includes a baby figure) and a retail price of R1 699.99 (before the November 1st price increases). Not differentiating too much from previous sets, this set comes with the plane, the airport terminal and control tower, along with a ground vehicle. The only addition to this is the passenger car belonging to Poppy Starr.
The red convertible is a pretty standard LEGO® vehicle measuring just 4 studs wide. The ground vehicle is also 4 studs wide, and comes with the standard steps to access the plane, the only difference to previous sets being the car lift. It works well to lift the car to the same height as the plane.
Although it is dubbed a passenger plane, it is actually the first multi-purpose plane with dedicated areas for both passengers and cargo. The build itself goes quite quickly, the larger components make this set feel bigger then what it is, with the small part count it has. There are some new elements made for the plane, the nose cone being the most noticeable. I like the new look, and reminds me of the shape of the A380, although this is a much smaller plane. The other parts are in the tail, and both work well. The look maintains similar colours to the previous passenger plane, and no dramatic changes has been made to the colour scheme. The larger blue area being exchanged for white and vice versa. The empennage (vertical tail) is a printed part, which will be welcomed by most, as positioning the stickers correctly on both sides has always been difficult and frustrating. The plane has 2 engines, and both are constructed with 3 major pieces, instead of a single piece as in previous iterations. The wing is still the same large, moulded piece, and seems unlikely that LEGO® will move away from this any time soon. The finished build is stable and as Brickman from LEGO® Masters Australia would say, has a lot of swooshability.
The interior of the plane is quite spacious. The car that comes with fits snuggly into the cargo hold, but it is big enough for all sorts of cargo you may need to fly around. The passenger area has just 5 seats, indicating that this is much more of a luxury private jet, and not to be used for commercial flying. The minifigures fit well with no struggle to get everyone seated. There is also a shared entertainment system. The sticker does contain a tease for fans of Bionicle, so will be interesting to see if this hints to future plans LEGO® have. The passenger area is connected to a service area, containing a small bathroom for the occupants as well as a service trolley, and baggage area. The plane can be piloted by two pilots, however only one is included in the set. The cockpit is one of the most detailed areas, and the designers recreated it very well.
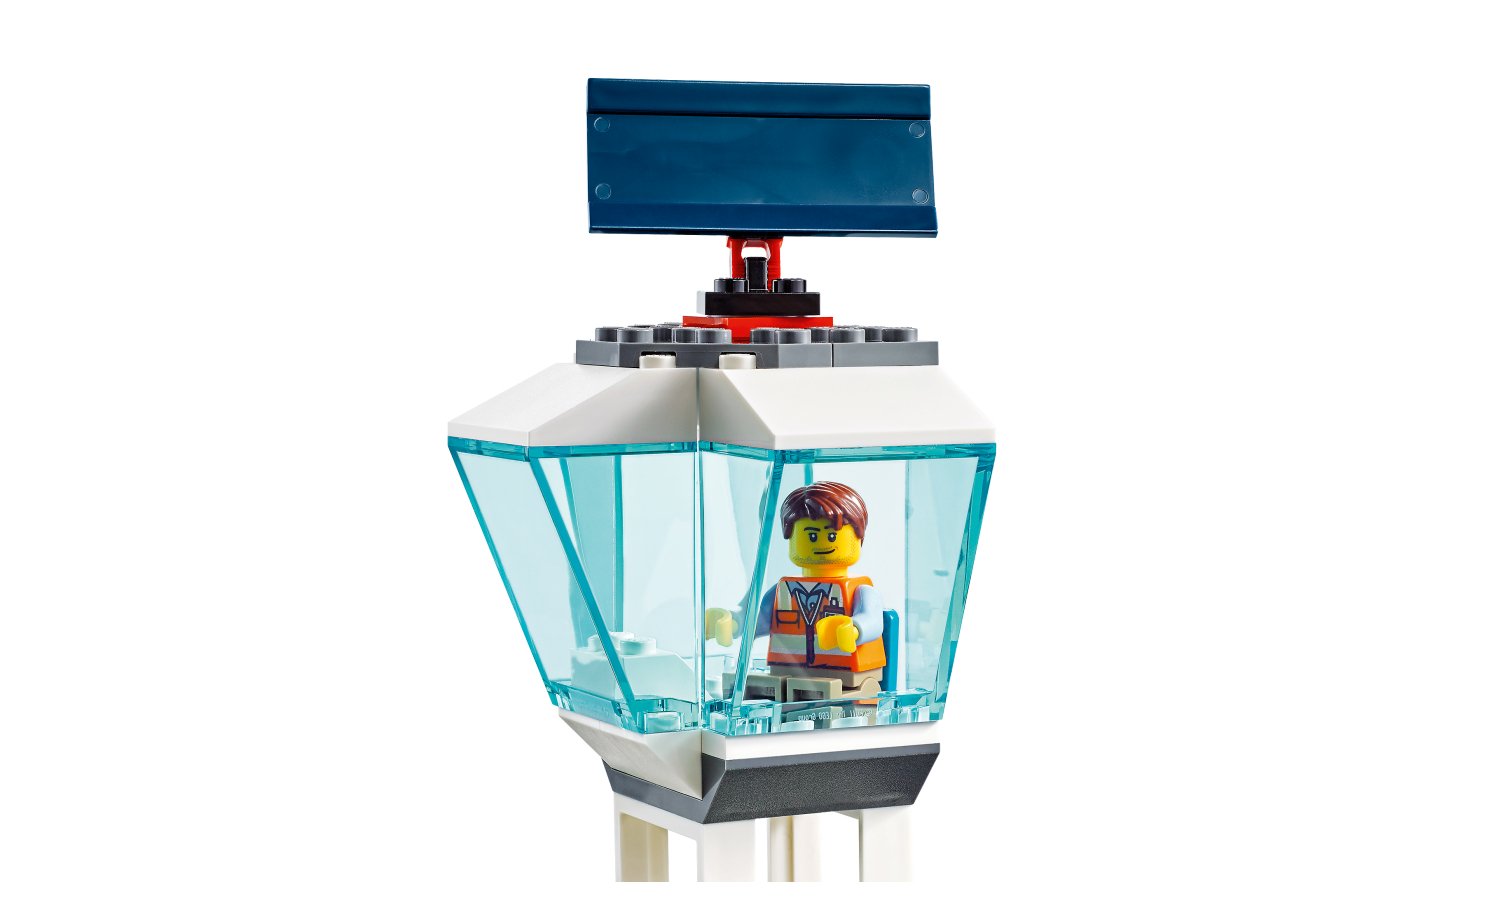
The most disappointing part of the build is the terminal building that feels lacking in all aspects, just as most previous sets. It would be great if this can be released as a separate, dedicated set, with more attention to detail and overall impression. This is aimed at younger fans, so is understandable that they do not require much in this regard, it is only adult fans that would like to see more here. The roller coaster track for the roof is clever, and gives the building a smooth look from the outside. The control tower is there just for the sake of, without adding too much to the set in terms of looks and playability.
Overall I am pleased with the look of the plane itself, and it makes for a decent companion to the other sets in the range. The only improvement would be on the airport terminal and control tower. I also like all the minifigures you get with the set, which makes the price feel better when looking at the piece count. It is definitely a fun set to play with and will be welcomed as a Christmas gift.
Reviewed by Chris McGee (SAFOLs Member, jhbLUG Member)
The world is changing
Initial
thoughts:
So, the partnership between LEGO® and
Nintendo® has become a highlight for many during an altogether rough
2020. Just the news alone brought with its thoughts and wishes of set
integrations with favourite games, minifigures of our favourite characters and
possibly even LEGO® themed Nintendo games.
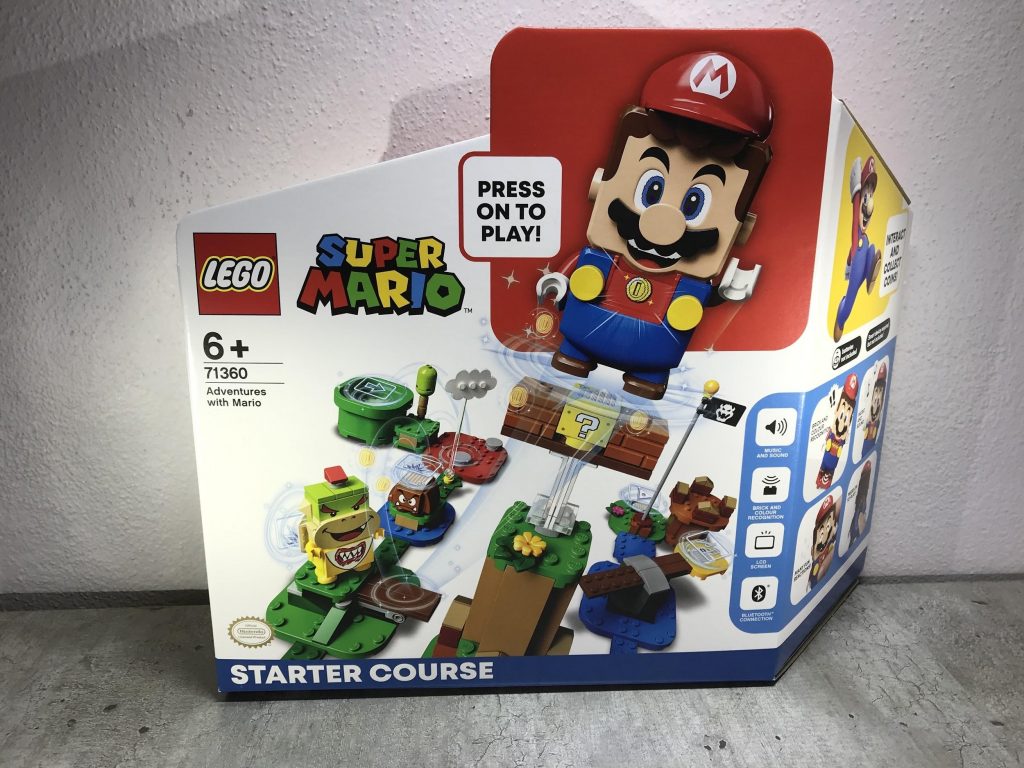
What we got was the announcement of a 4-year development and design process which yielded this starter course with its unusual figurine star. I was intrigued more than upset but I will not lie… I saw my minifigure dream collapse into a million studs. After a few days, more insights started to come to mind and after a few viewings of the videos, I decided not to write the concept off just yet.
A couple of months later the internet reviewers started receiving early sets for building and reviews (a great idea for this new concept I believe as it allowed for many different opinions to be available). I managed to see the potential of something I thought I could get into through these and taking the chance, pre-ordered my starter course. And, in late August, it arrived a bit earlier and I have now had about a week with the set.
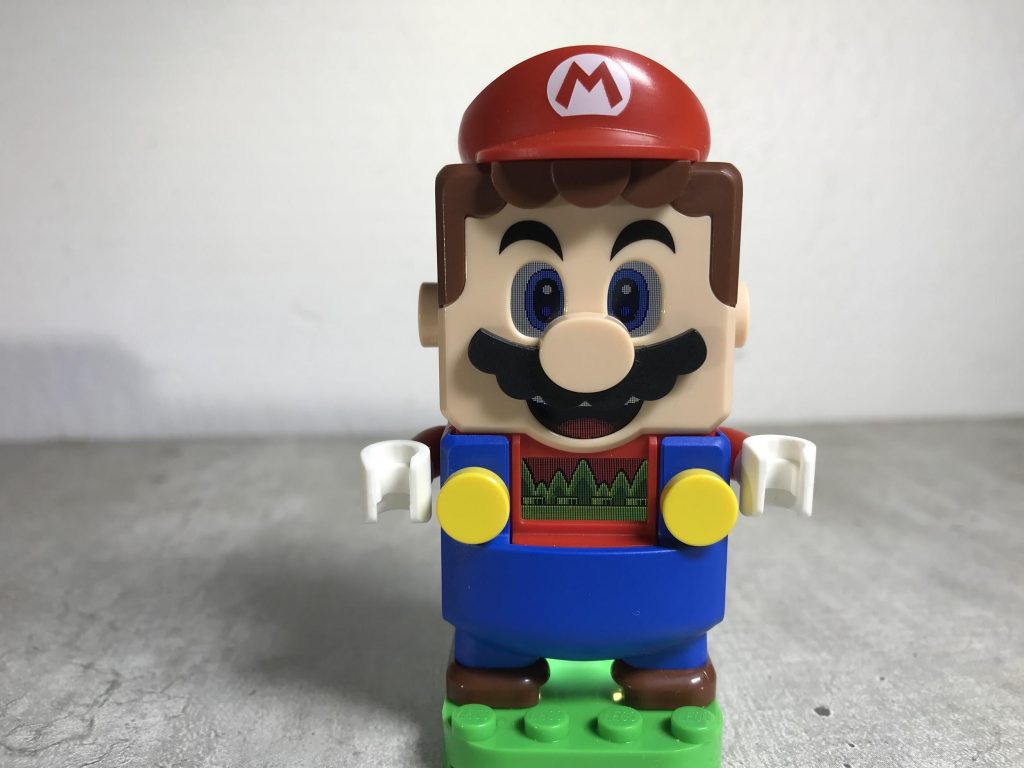
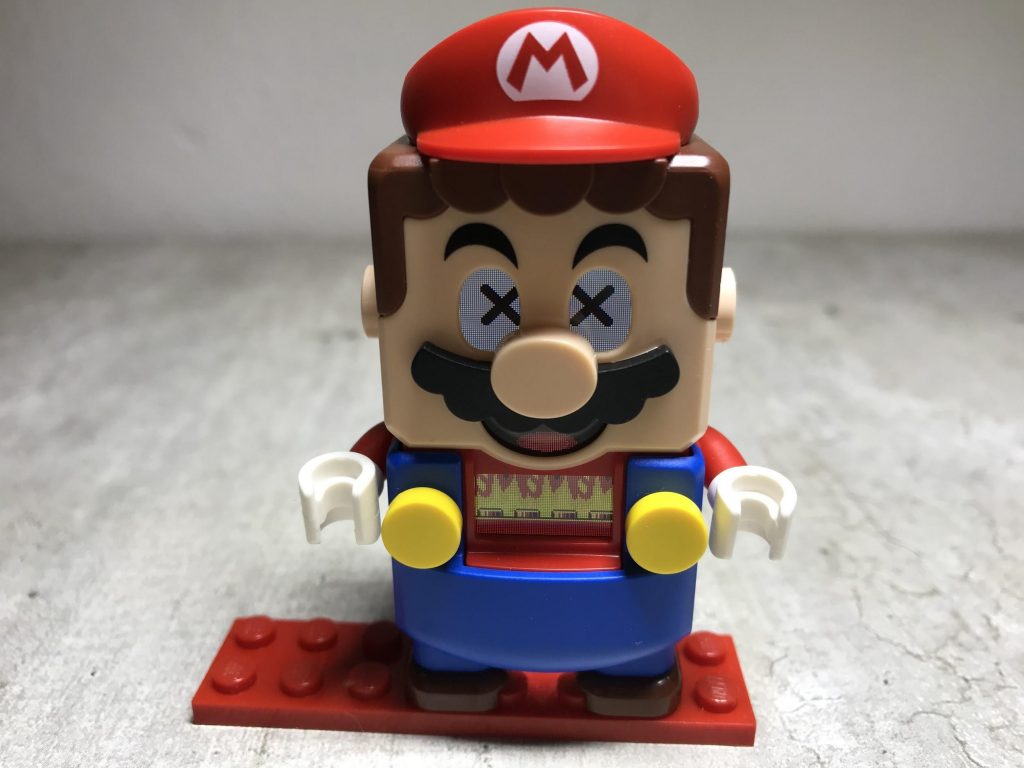
The technology and the figure:
So, LEGO has produced something entirely unique with this figure, making great use of the technology available and packed into a reasonably small and (thankfully) sturdy package. The main point of focus is on the screen behind the eyes, mouth, and chest, which has some great expressions and bring Mario to life in a fun way. There is also a speaker which projects Mario’s voice with notable quotes and reacts to various movements with nostalgic sound effects. Internally the figure comes equipped with an accelerometer and gyroscope which perform well in understanding the movement of the figure and gives precise integration with the sounds and expressions. The scanner is also spot on and interacts almost seamlessly with the different bar codes and colour plates.
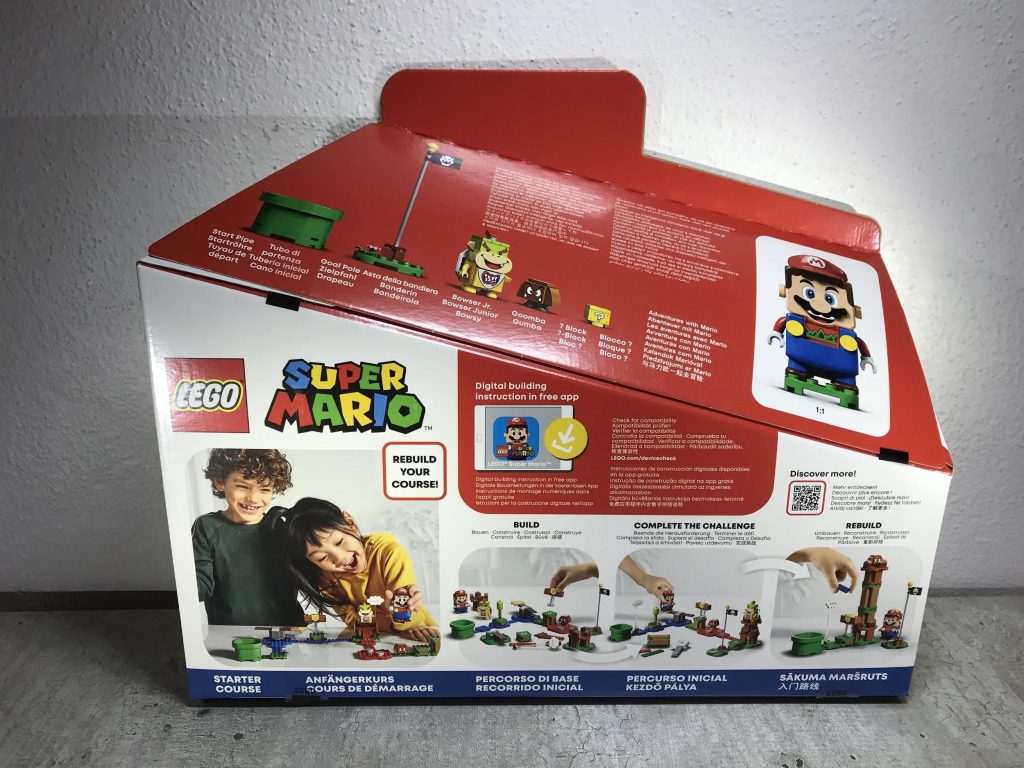
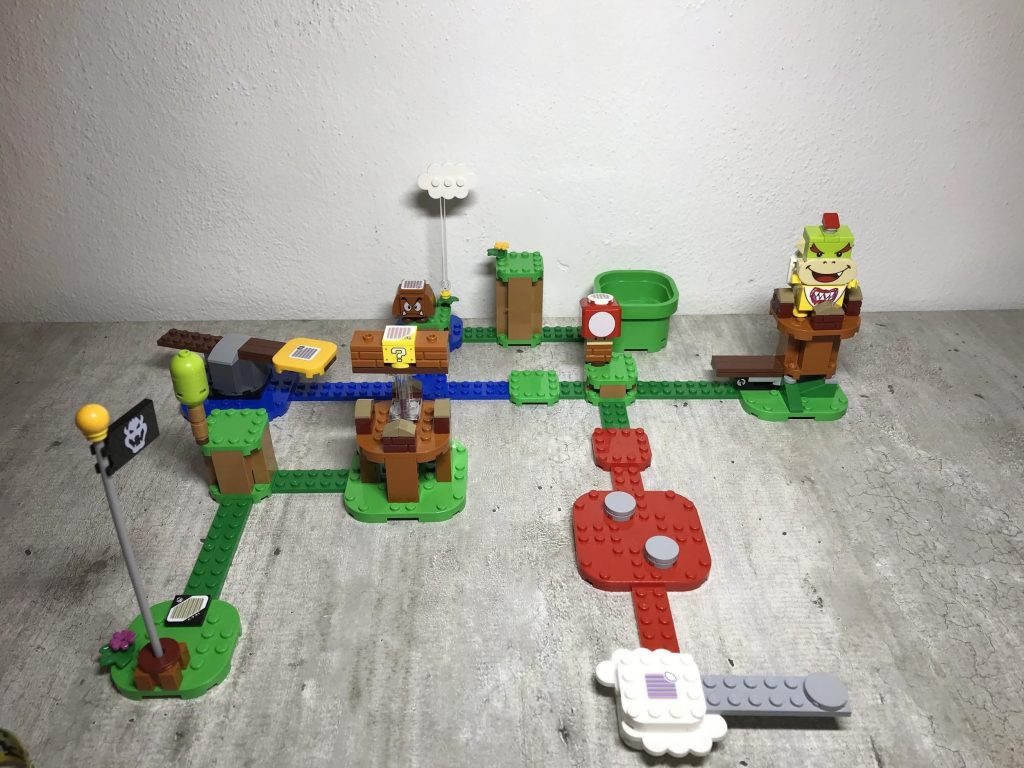
The concept:
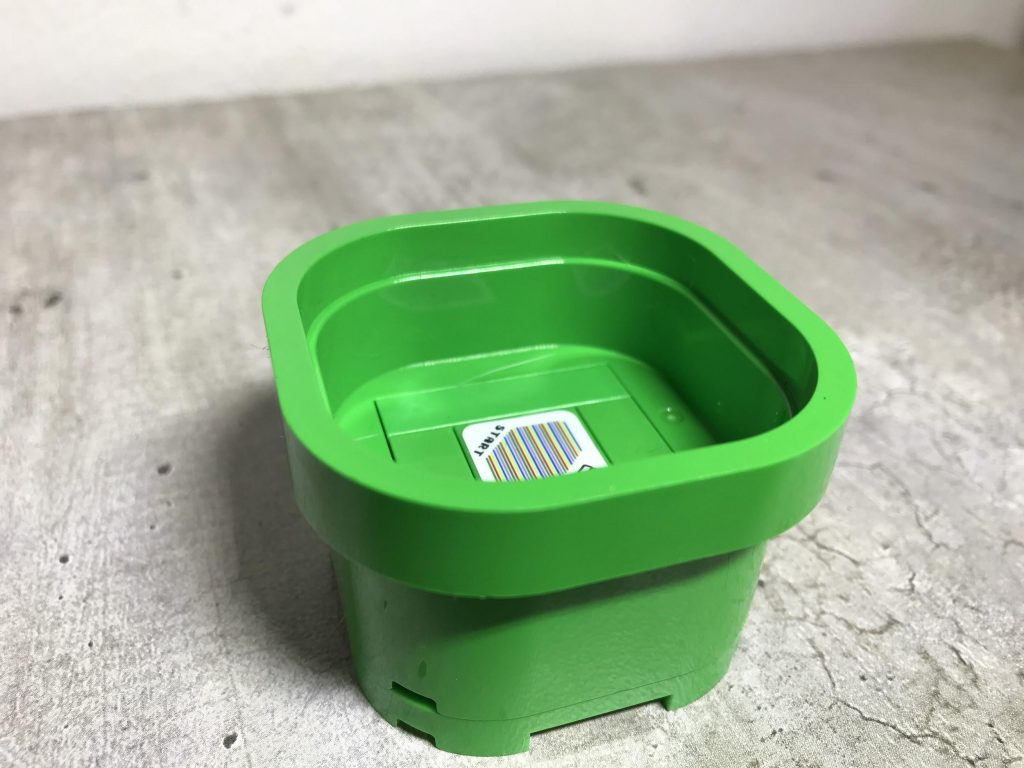
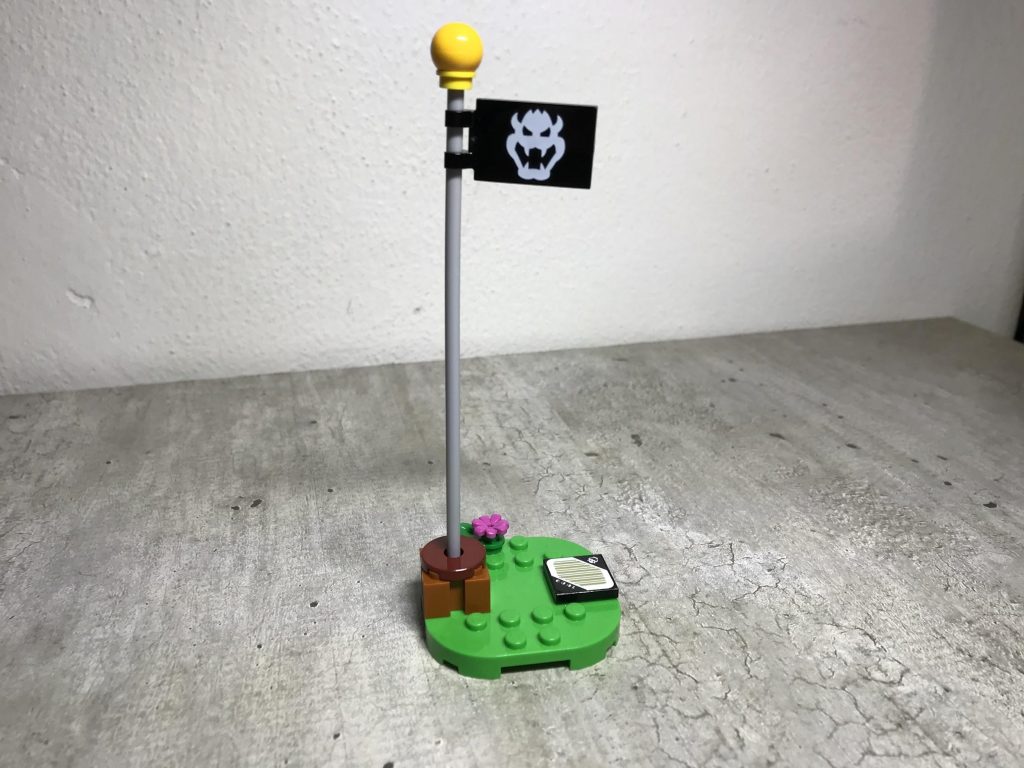
It is a really simple concept… build a course, laying
out various pieces provided, start using the start tile provided through
scanning it with your new LEGO Mario, finish using another tile, and during the
run, collect as many coins as you can.
Though a simple concept like this may seem arbitrary
and uninteresting, it allows for an imagination to take flight and basically go
anywhere it wants to. My son started changing up the course, adding plates to
extend the trail, and within a few hours we had played around 10 different
courses and he still had more ideas. I am pleased to say that I gave it a good
go and only narrowly lost in the coin count.
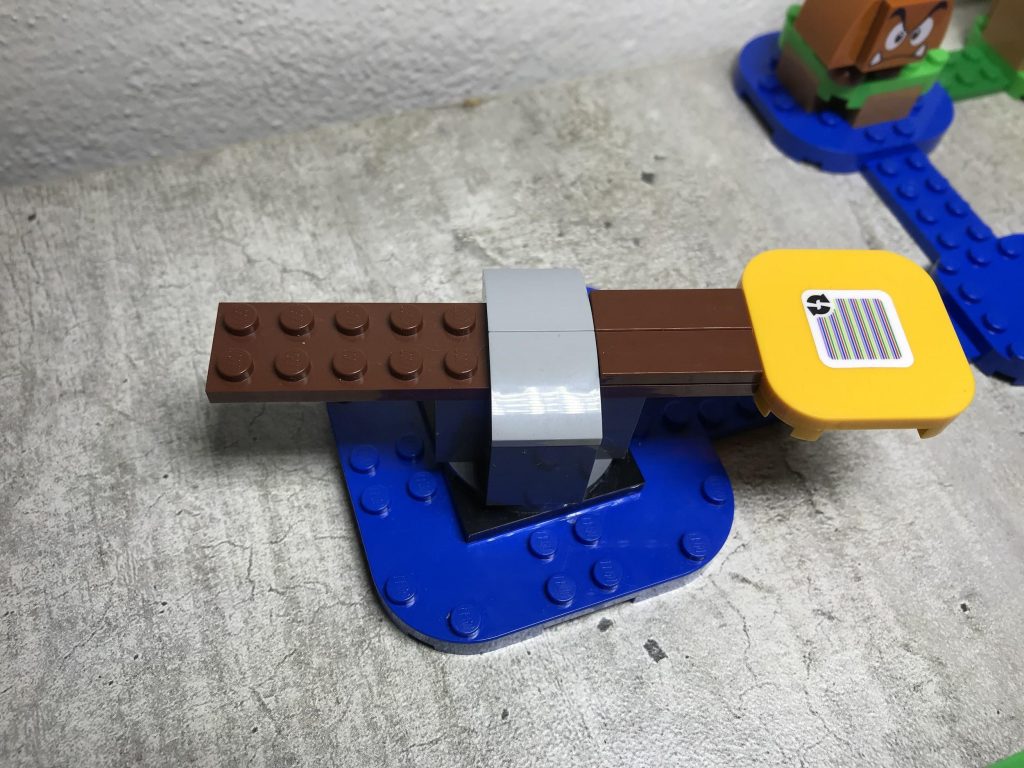
The build:
So the build is not complex and it is a bit annoying
that there are only digital instructions (there is a short booklet that
explains Mario himself, but from there you would need the app which is
available for your smart devices) or download the instructions from lego.com.
As an adult, I didn’t enjoy the app giving me not only build instructions, but
these are also in pieces and with some videos in between. I do understand the
need though as the videos act as tutorials which show kids how to use Mario and
interact with the different elements, and for a 6+ set, this is needed. The tutorials
will definitely help kids during their first couple of runs with Mario.
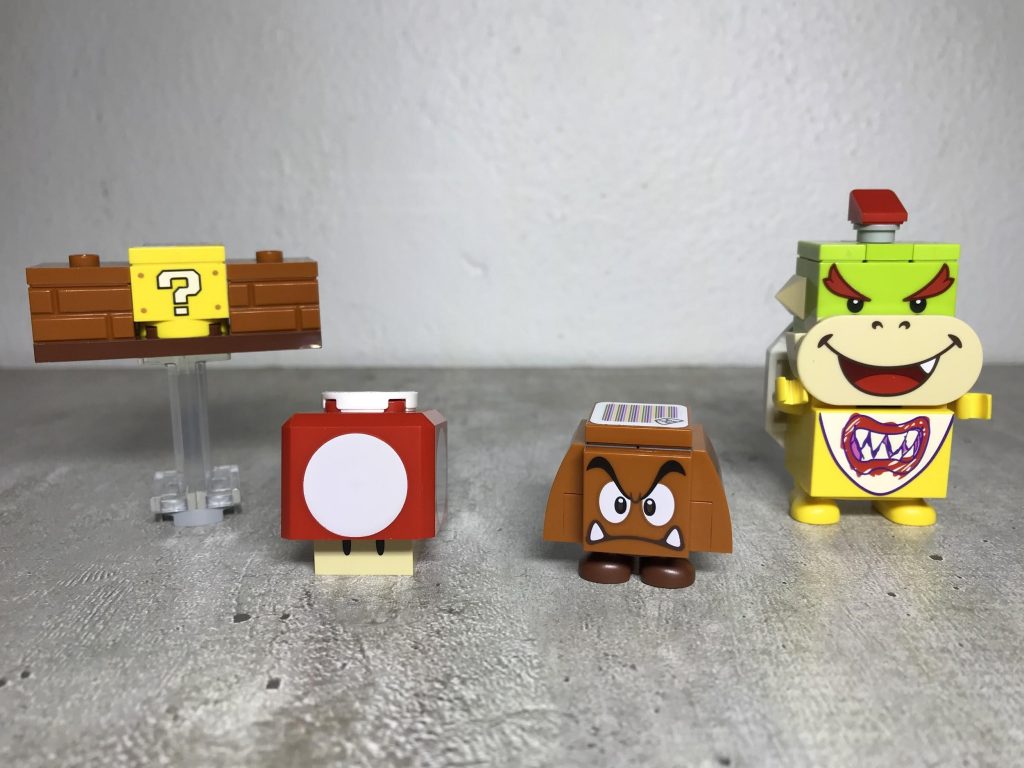
The new parts are appreciated and do aid in connecting the different sections with ease needed just simple 2x something plates to help structure your course layout. They even include a few extra plates to help get more combinations.
The game:
So as noted, the premise is to collect as many coins
as possible in 60 seconds. Now many will ask, “Why bother with the route, line
up all the barcoded tiles, stomp Mario down thereon and end it?”, and they may
have a point. But I could ask the same of other games such as snakes and
ladders. Why not just make the snakes pointless and just go through the game
without any hindrance? Well, it is because it is a board game and with any game,
there are rules whereby the players would decide on which to follow or how to
engage.
This new LEGO® theme pushes the same idea,
although imposes far fewer rules, with it pretty much being for you to start
and finish before time runs out. Fewer rules will allow kids to create their
own games with different challenges or mechanics. One course which I made was
that the end was at the other side of our lounge and you needed to travel by
the provided “cloud” to fly there, collecting coins along the way (but again,
you need to time your other actions to be able to make it). You can put all the
elements in or shorten the course, thereby also maximising or limiting the
amount of coins possible.
In effect, I equate this system to something akin to a board game, just with some impressive technology and almost boundless potential.
The
application:
Thankfully, Mario will work without the application
and will play just fine on the course itself, but to note that he does get
firmware updates through the application which may provide added functionality
later on. The application works just fine and also provides access to building
instructions and ways to share courses and scores with others. One nice feature
of the app is that it will give you a breakdown of where you earned coins if
you connect the figure to the app before starting a course run, which is very
handy to try and develop strategies towards maximising your coin haul.
The
expansions:
The starter course comes in at R999 retail price,
which I feel is warranted given the quality tech and workmanship within the
Mario figure and the elements provided give added value to a full experience
within the game itself. With that being said, there are also expansions
available to lengthen and add to the experience. Currently I do see these as
being over-priced though, even if I were to liken them to video game or board
game expansions. Having had limited time with the set so far, it would be
unfair of me to say that the expansions are not needed, but for now the starter
course really does provide a solid experience.
The
experience:
So it isn’t an attention seeking item that requires a
lot of your time but I have thoroughly enjoyed walking up to a course during a
break and giving it a go and 60 seconds later I have sometimes bettered my
prior score or found myself annoyed and wanting to try again. For me it has
given a nice breakaway from work and a nice interlude with my son when we just
need to do something. So, I am quite impressed with this.
I think a lot of my interaction comes from me being
into board games already and a fan of the Mario games. I can say then for
adults without the fanfare or who do not have kids, may find this set and the
premise difficult to digest. Nintendo has always been geared towards innovation
and providing a unique experience, and with LEGO® I believe that
they have brought something that truly follows this pattern and brings us an
entirely new and authentic experience.
The verdict:
Simply put, this is great for families, great for
kids. Adults who can see past the standard “LEGO® sets” will gain a
lot from this experience with the fun that can be had here, but I can say that
it probably isn’t for everyone.
Reviewed by Chris McGee (SAFOLs Member, jhbLUG Member)
Nostalgia in spades
So…
2020 has been an interesting year so far, and the world of LEGO® is
no exception. In fact, we have seen the campaign of adult targeted sets
dramatically increase and almost take away from the standard children’s set
dominance. Walking through our local LEGO® Certified Store these
days (with mask on and sanitiser at the ready) now looks like something
altogether different with a quarter (at least) of the store’s shelf space being
dedicated to the sets aimed at 16+ (includes Technic® and the
Architecture themes), the Ideas theme and the new line of 18+ sets. Including
not having space for other themed sets released only 6 months prior. It’s a
bold move for a company in the “toy” business, and the set in this review is
very much targeting the nostalgia factor of us big kids.
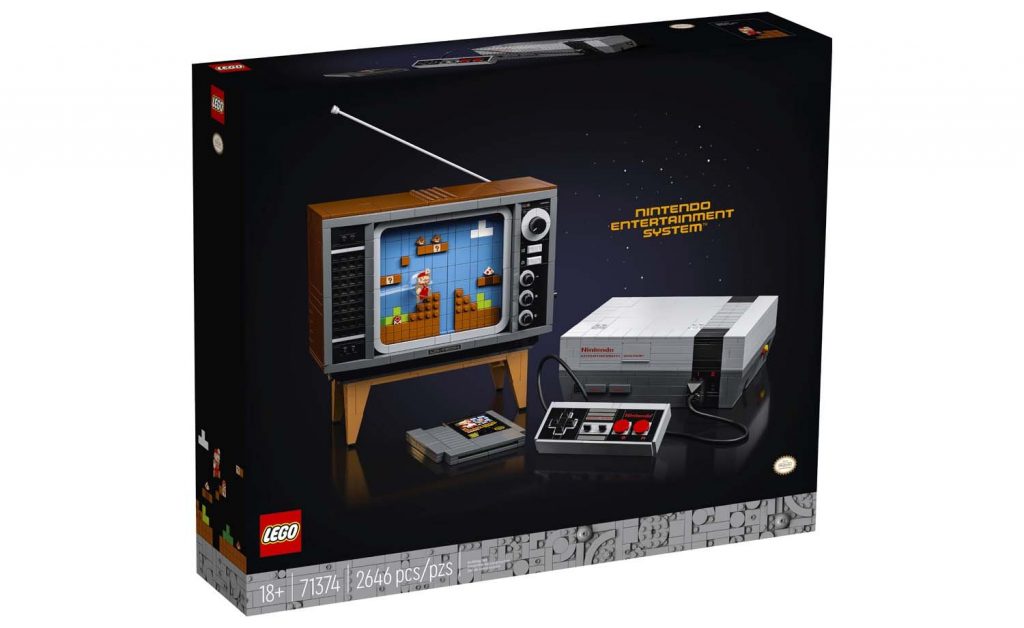
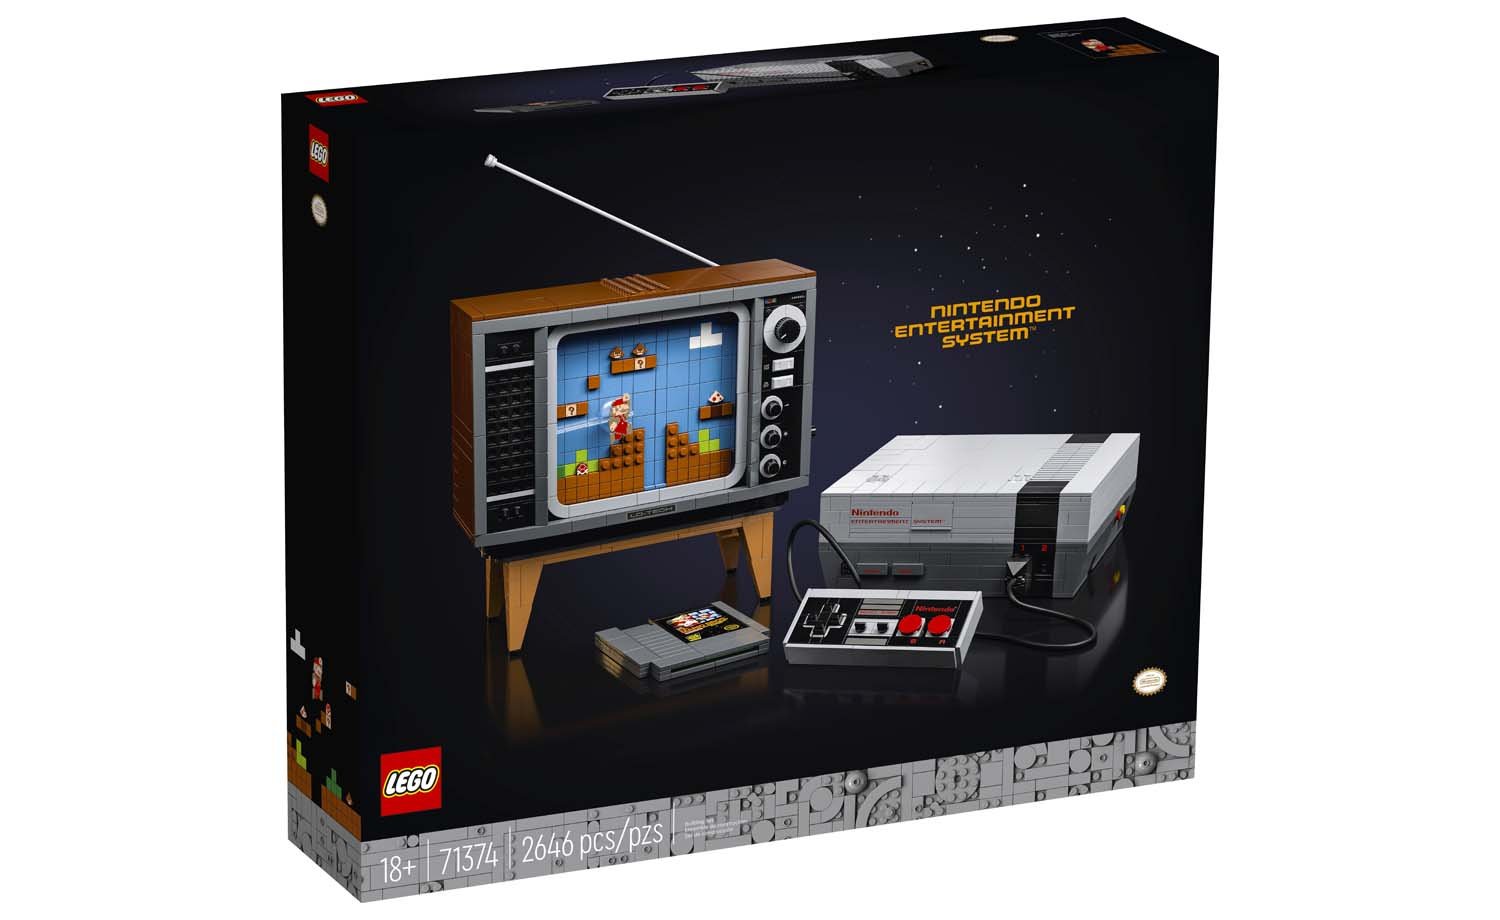
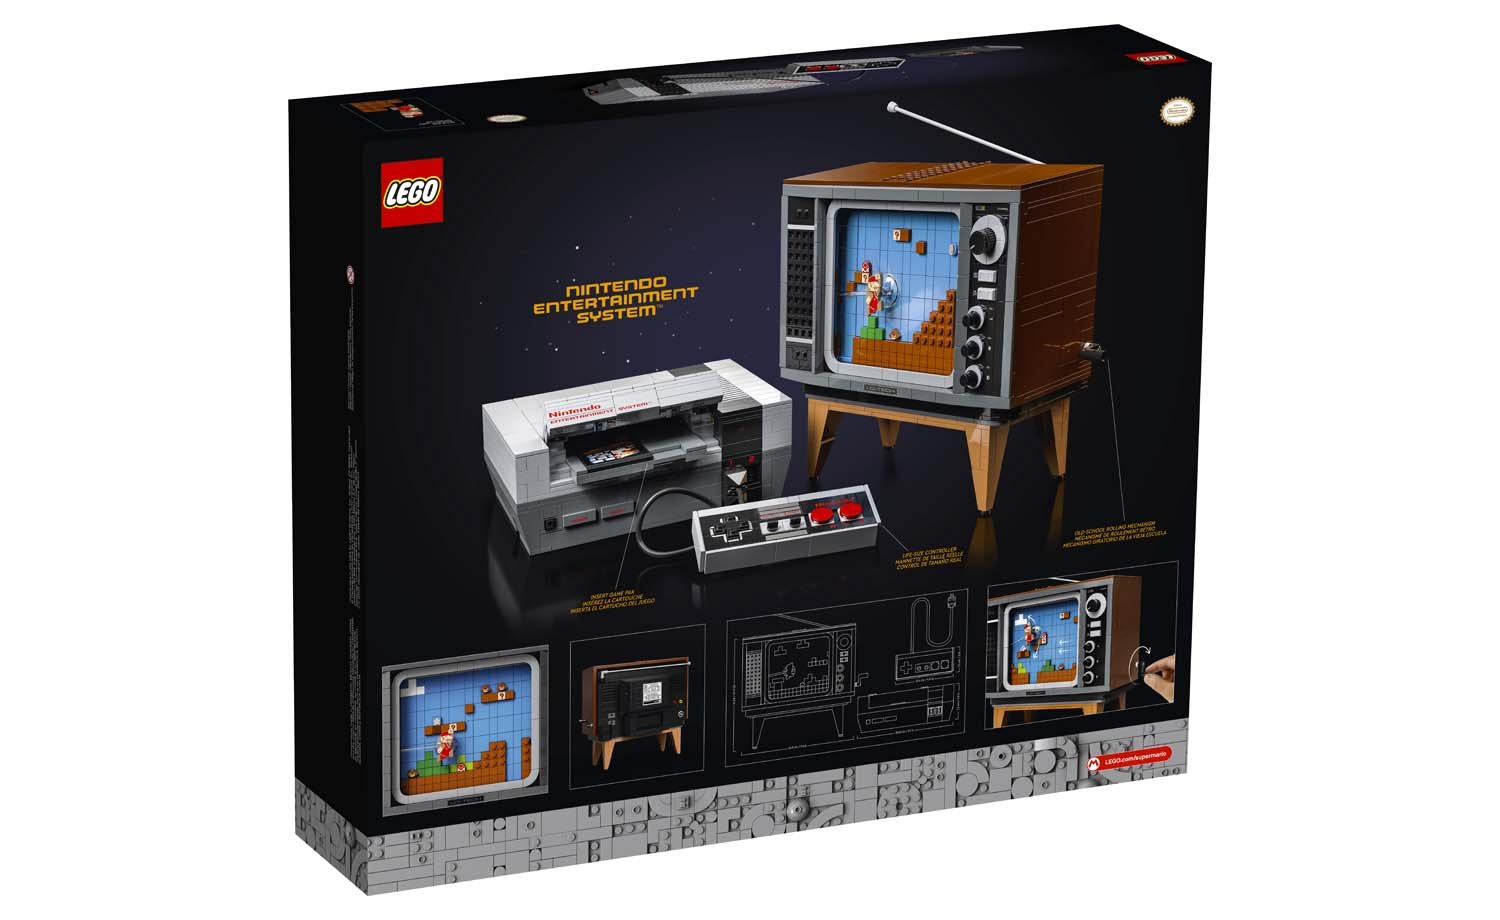
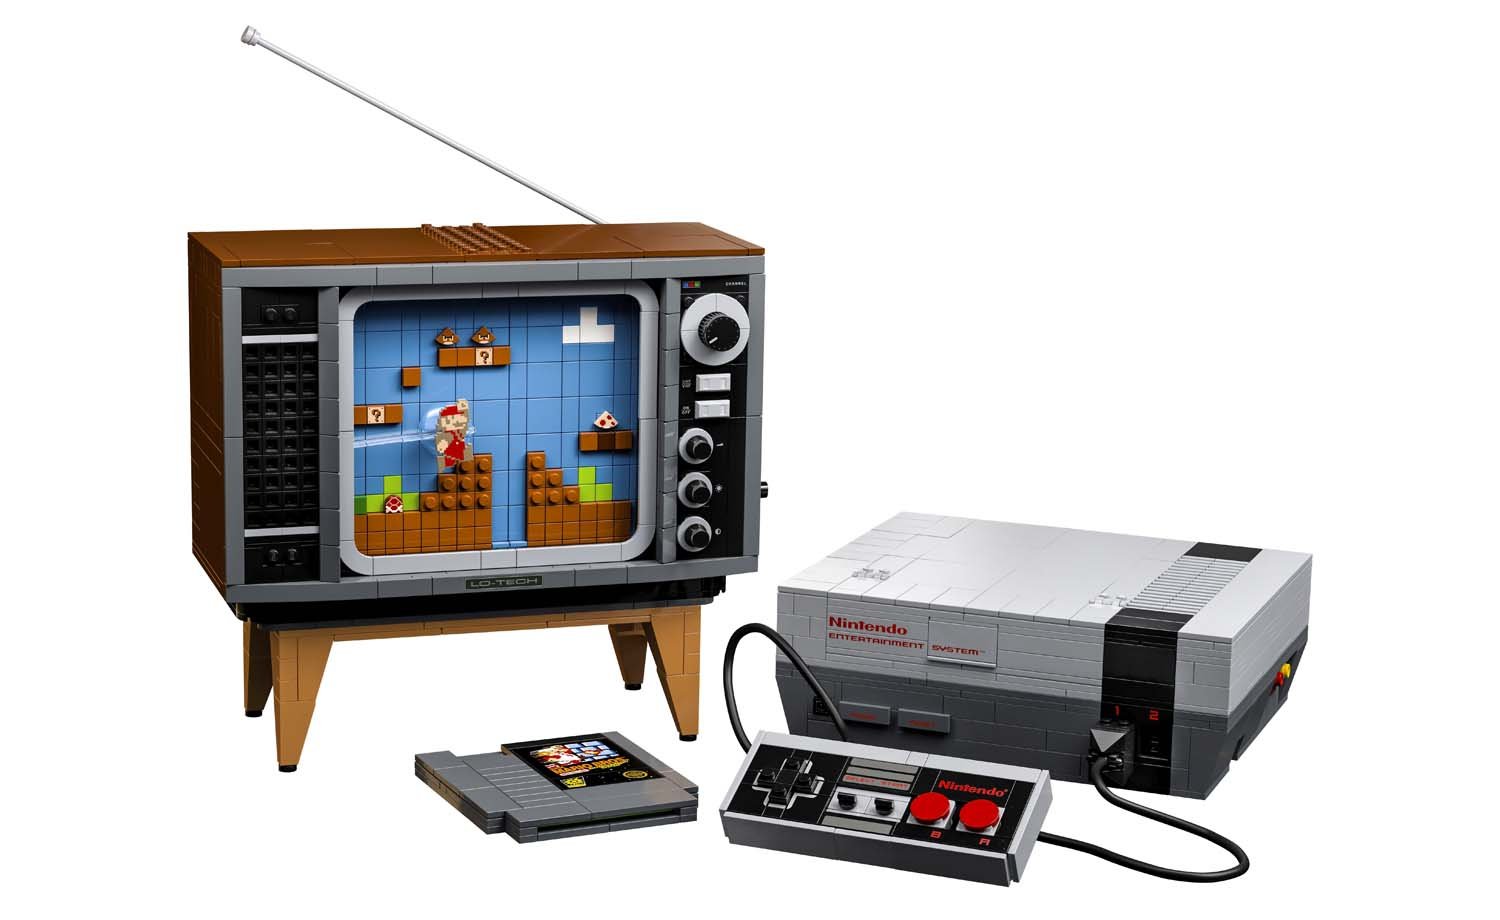
In the most positive form of critique from the release notes and set description, the 71374 LEGO® Nintendo Entertainment SystemTM (NES) is a set that will “trigger nostalgic memories”, and as a fan of video games of old and fond memories of those many hours (too many from my parents perspective), I really wanted to project myself back and experience the magic. Although I had the “Family Computer” variant of the console growing up and am not sure if we got this version of the NES into SA, I wanted to see if it still strikes home on the nostalgia front.
The
beginning:
The set contains 2646 pieces across numbered bags
(thank goodness), with the instructions split into two separate booklets, one
for the NES console and controller and the other for the retro TV, so can be a
build for a couple of family members. The instructions also have some handy
facts about the history of the console, the games thereon, and some facts about
the set design and the team behind it. I can really appreciate this focus on
the designers and set design as it adds more to the effort and love given
towards the development process.
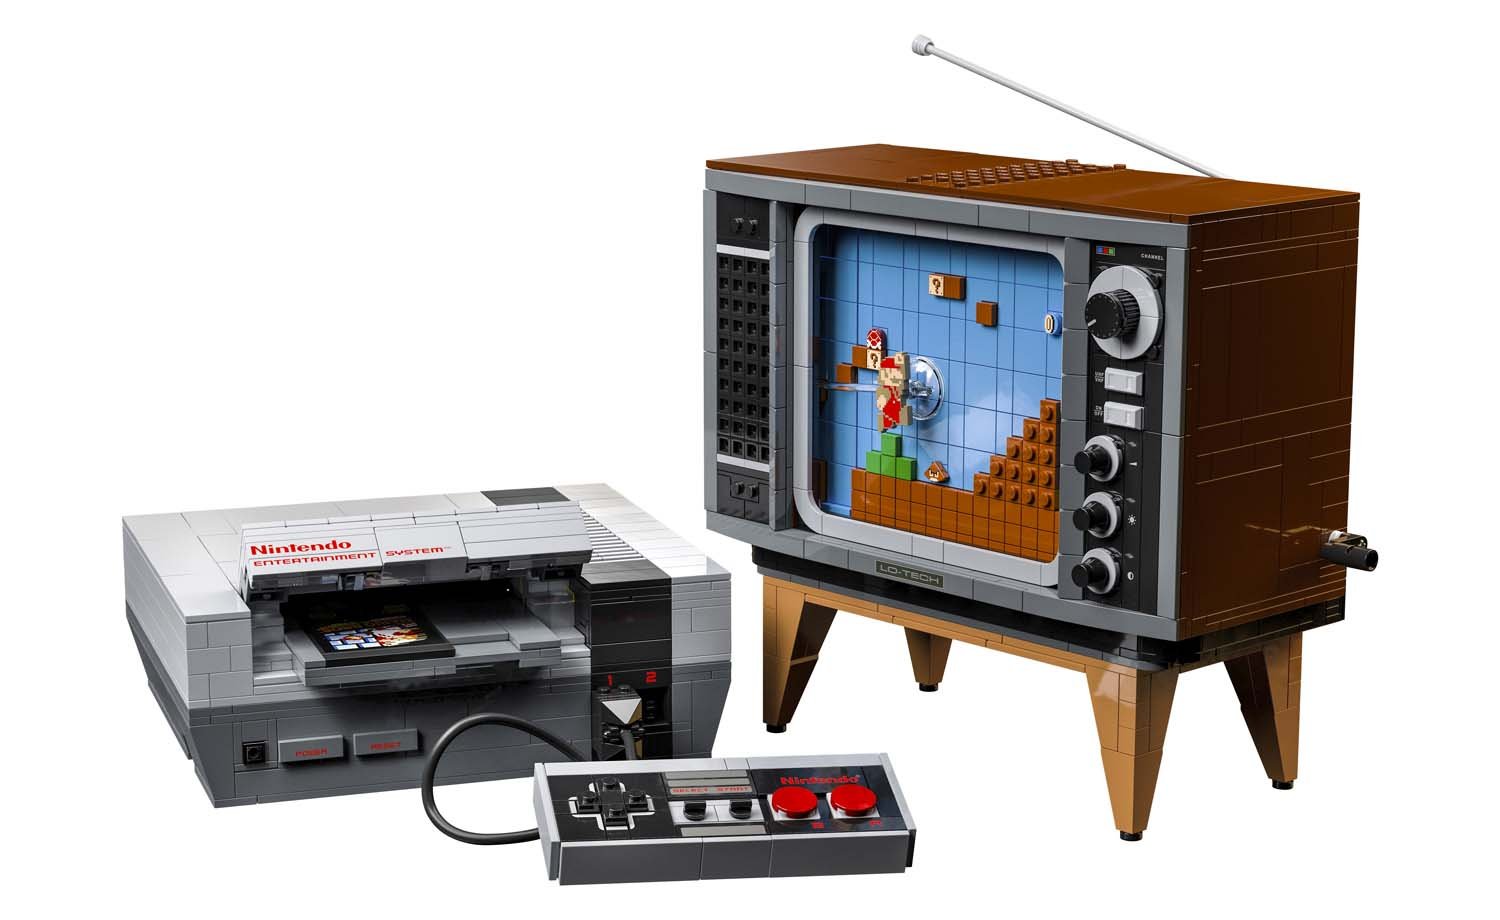
The
console:
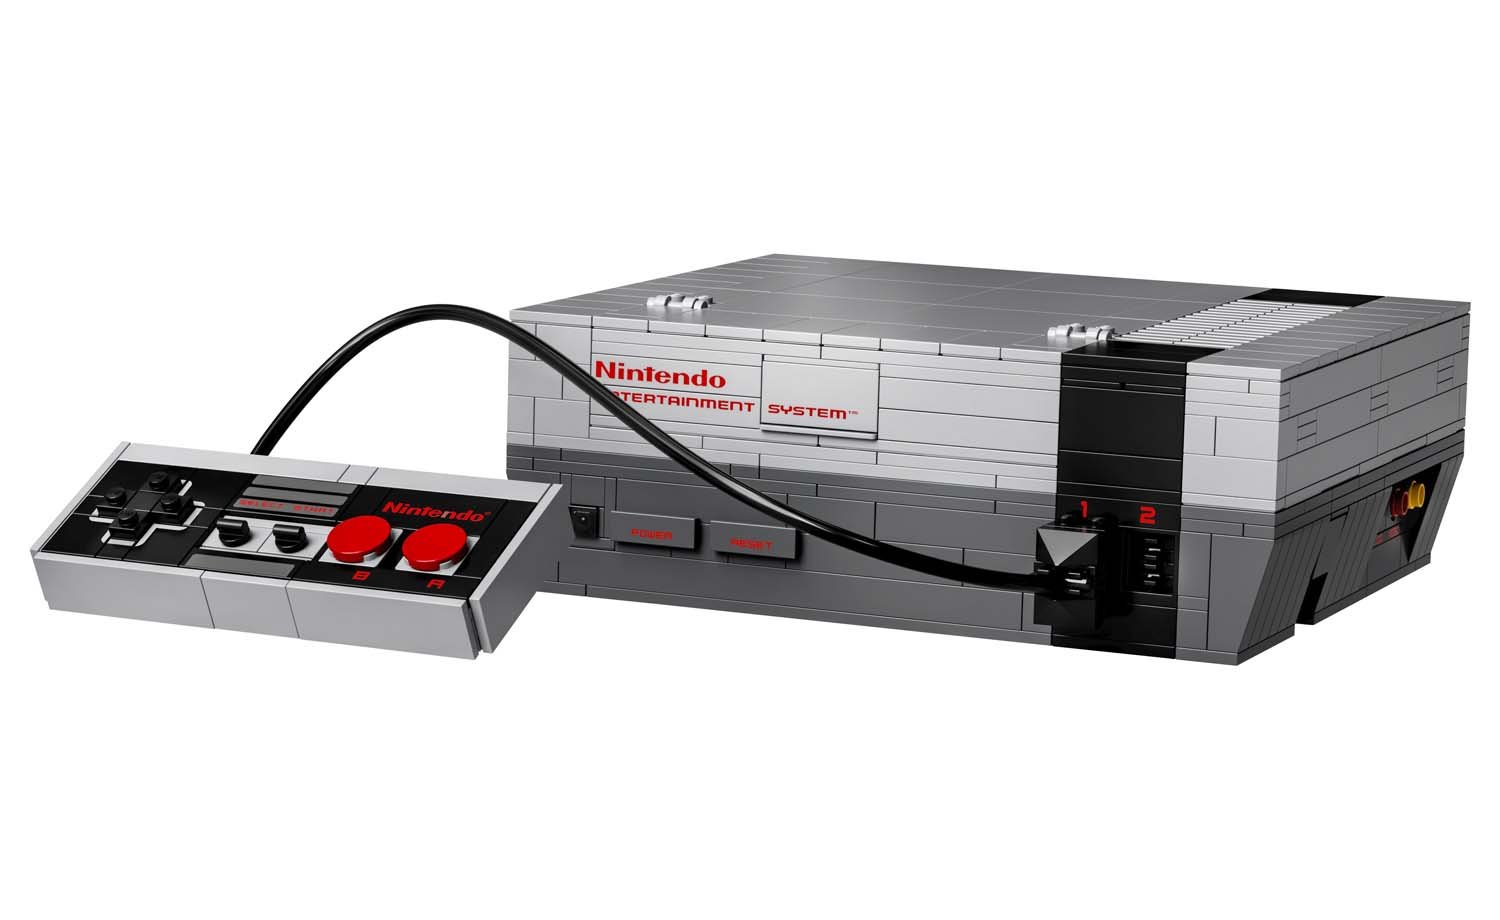
So, the partnership with NintendoTM has
apparently been on the go for the past 4 years, which makes me wonder if this
was originally on the cards or something that came later. But one thing is for
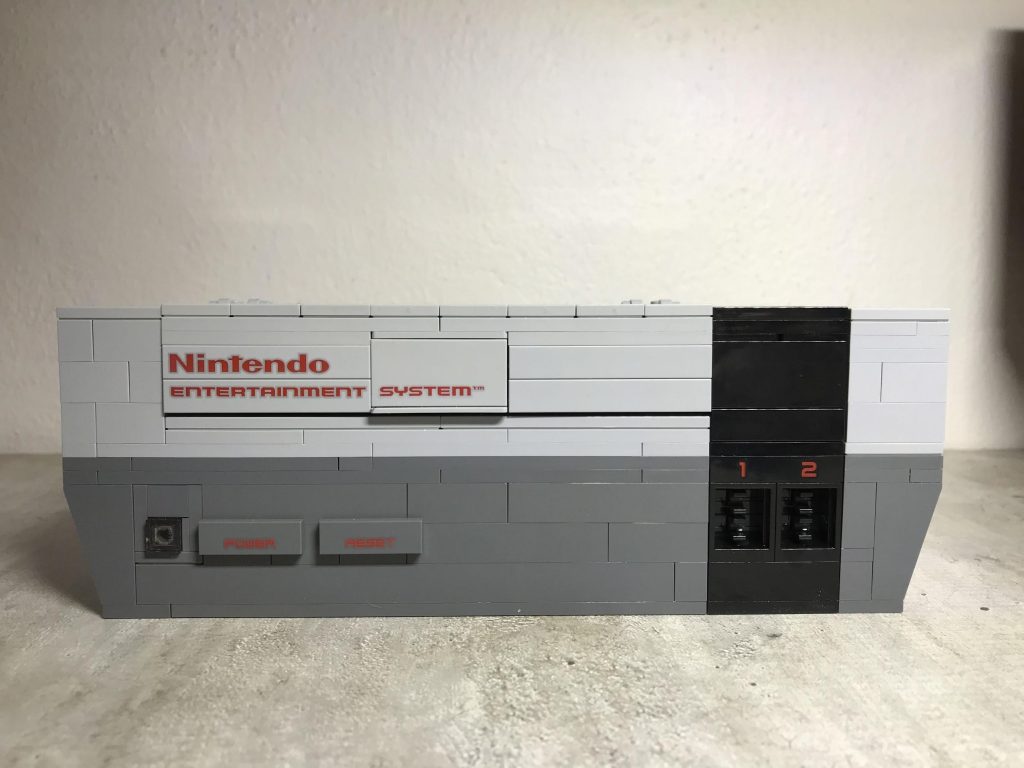
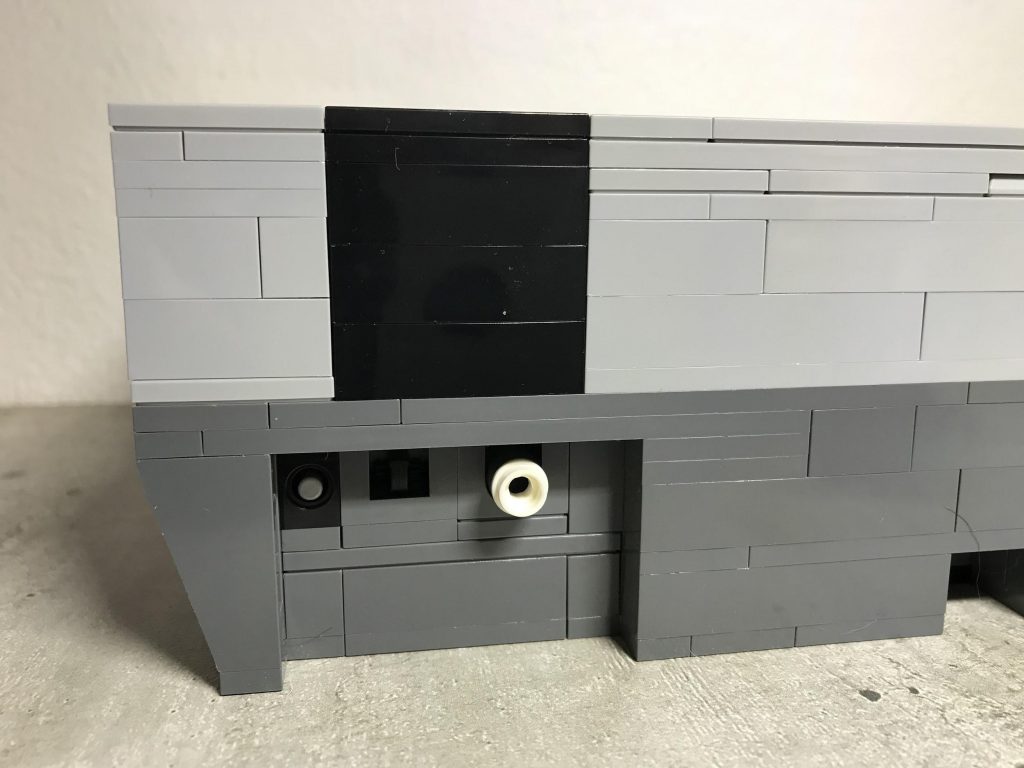
sure, they really went to town on getting the accuracy factor there. The
shaping and details around the outer casing is near identical to the original
console, including printed parts for the specific written components. I love
that they even bothered to make the plug receivers for the controllers and the
connections through to the television (and with some nice techniques to boot).
The consistent finishing using tiling for the edges and some nice building of
the cartridge loading cover make for a product that brings the device to be the
blocky heart of the set.
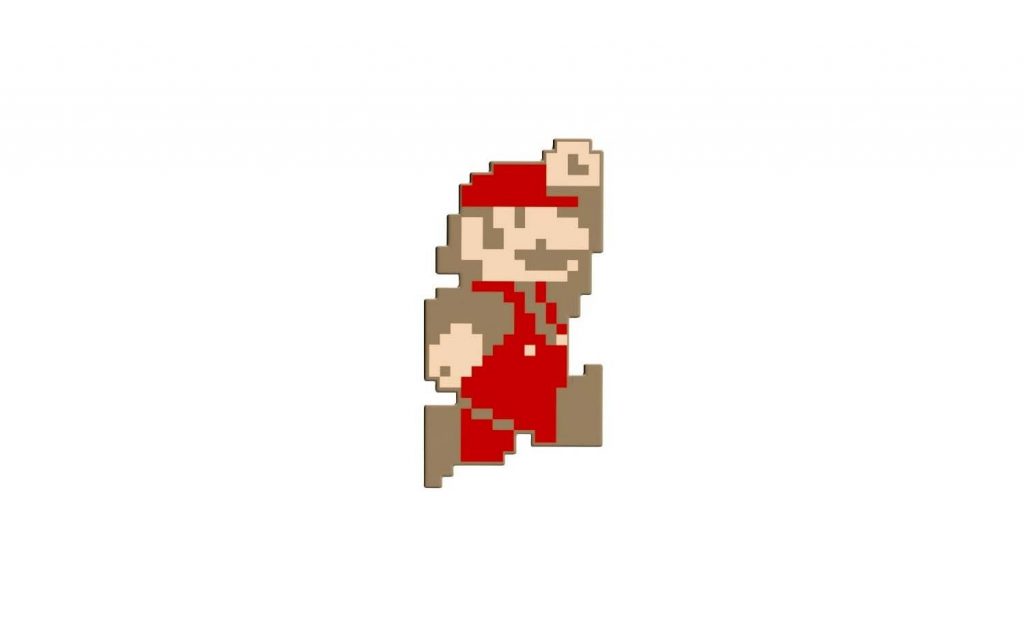
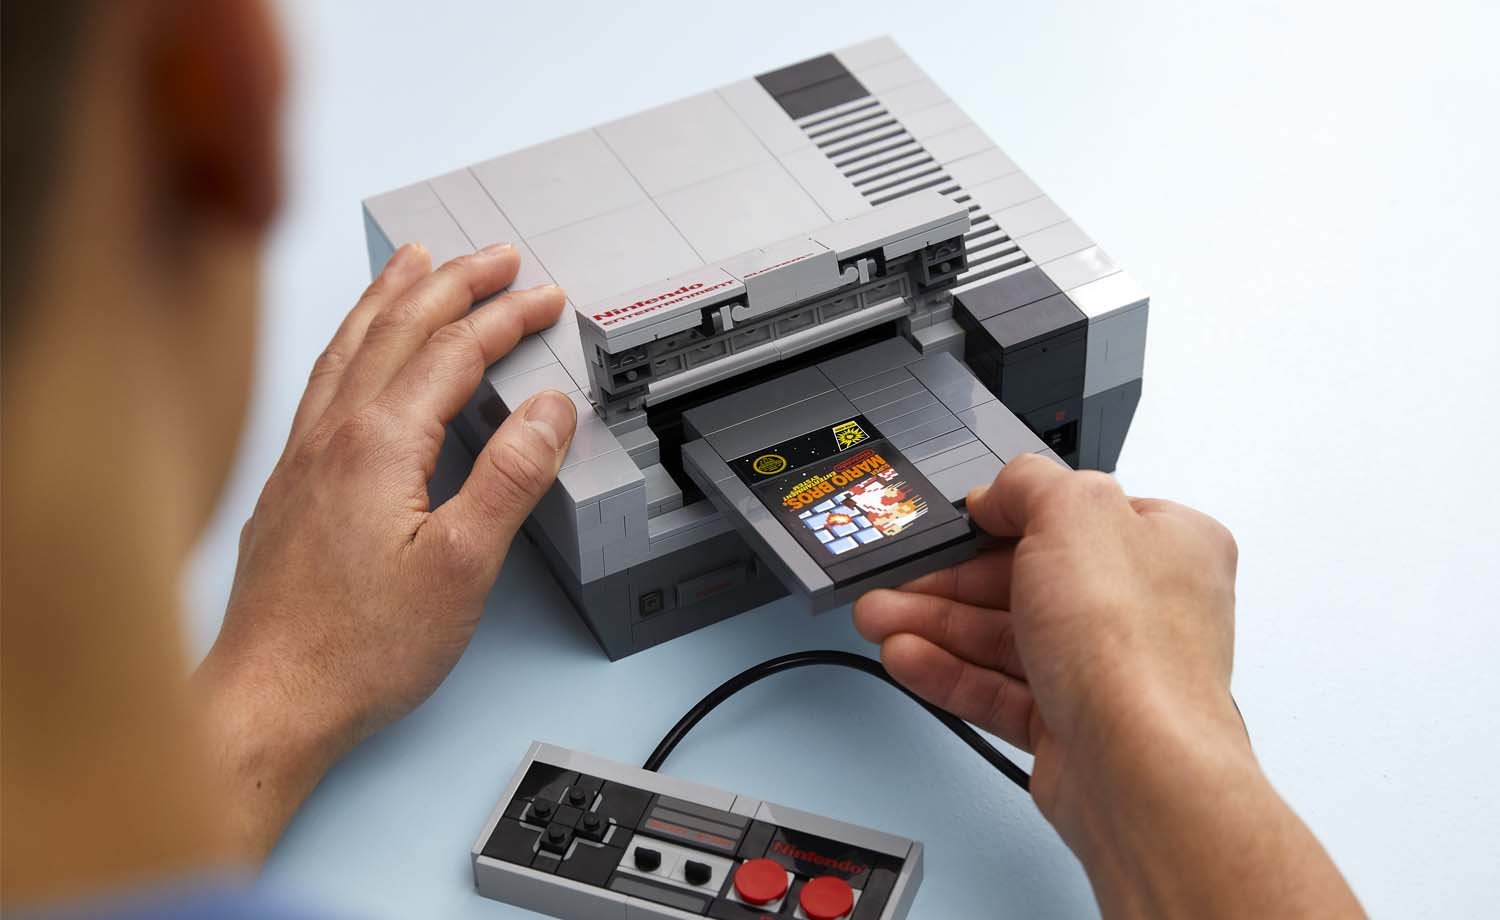
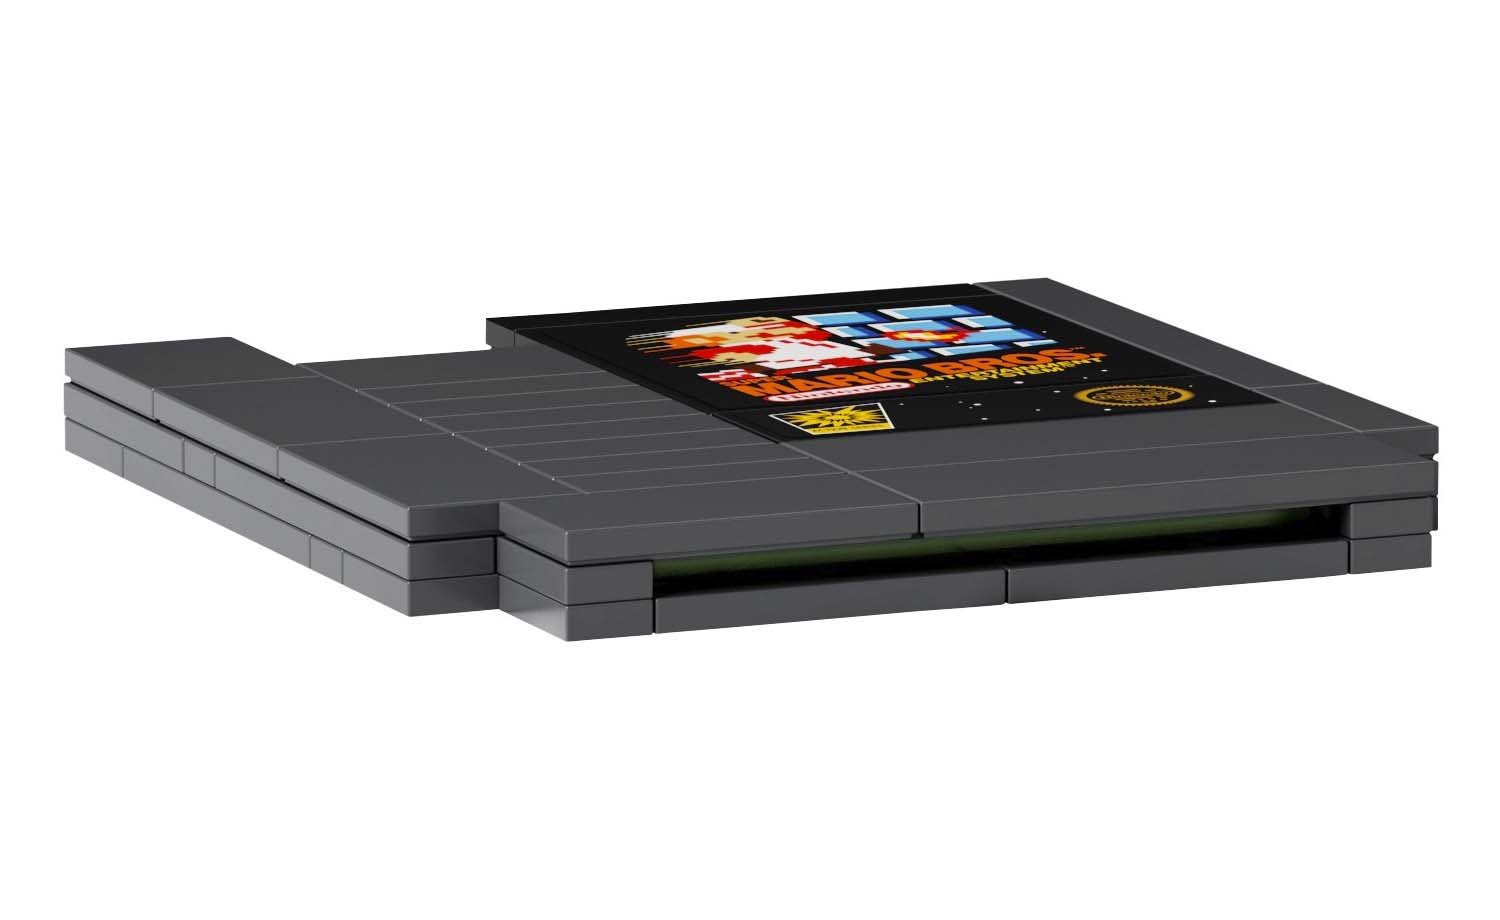
The console is accompanied by a single built up game
cartridge, obviously using the Super Mario Bros sticker of the first 8 bit game
variant as it’s label. This in itself would have been a great extra, but the
cartridge loader on the console actually works, including a locking in feature
of the loading which is amazing in how it is built. There is even a hidden
easter egg built into the side of the console for those who dared venture into
the warp zones. The simplicity and effectiveness of the mechanism is fantastic
and a highlight of the set.
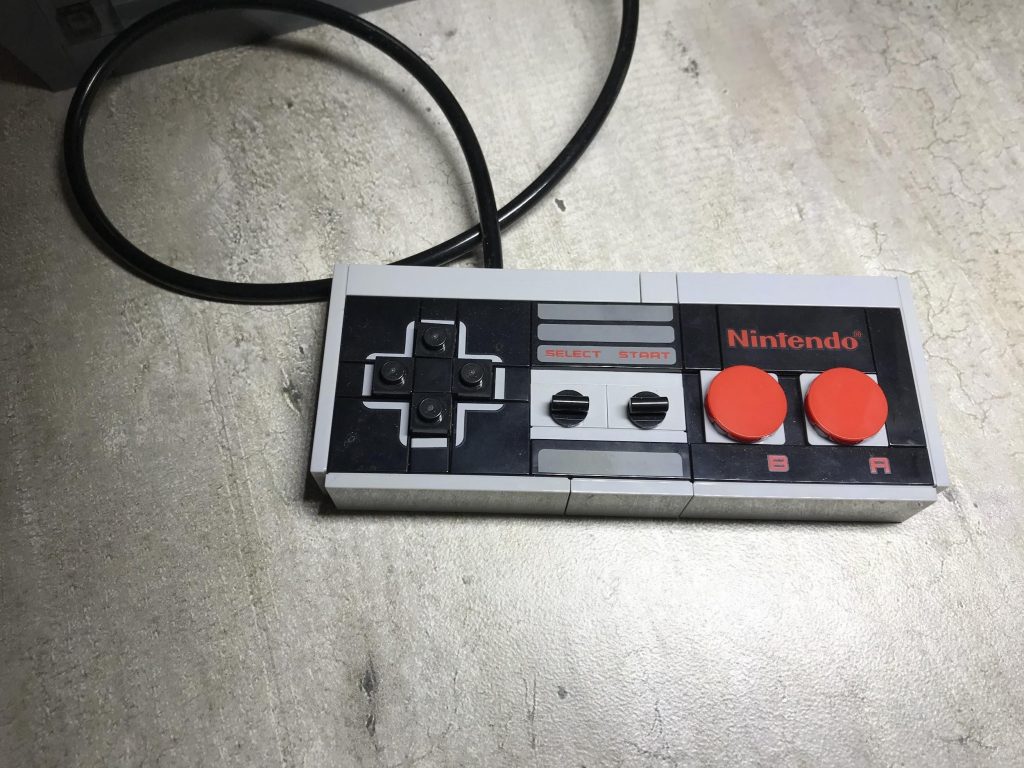
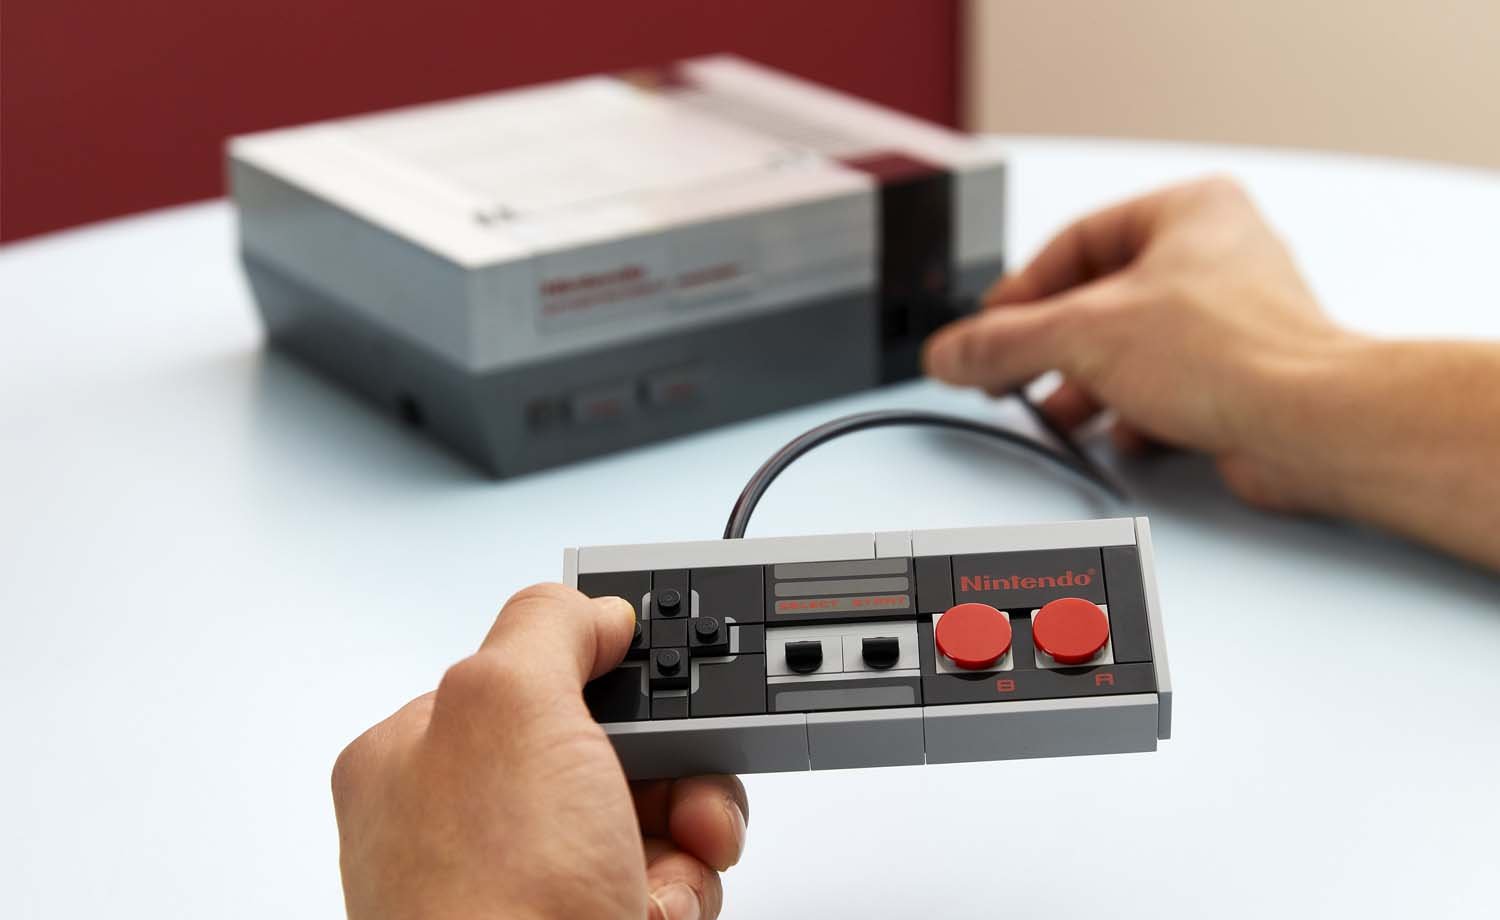
Moving on, you get the controller, which is also heavily decorated with printed parts giving that added grace to a device where your fingers begin to get some muscle memory thereon with the A and B, and directional buttons in place. This controller would drive forward generations to come for home gaming consoles, after the older consoles focusses on controllers like the arcade joysticks. The controller comes with a pneumatic pipe as its wired cable, and actually slots into the console port, and the connection friction is just right for easy removal and placing for a firm hold.
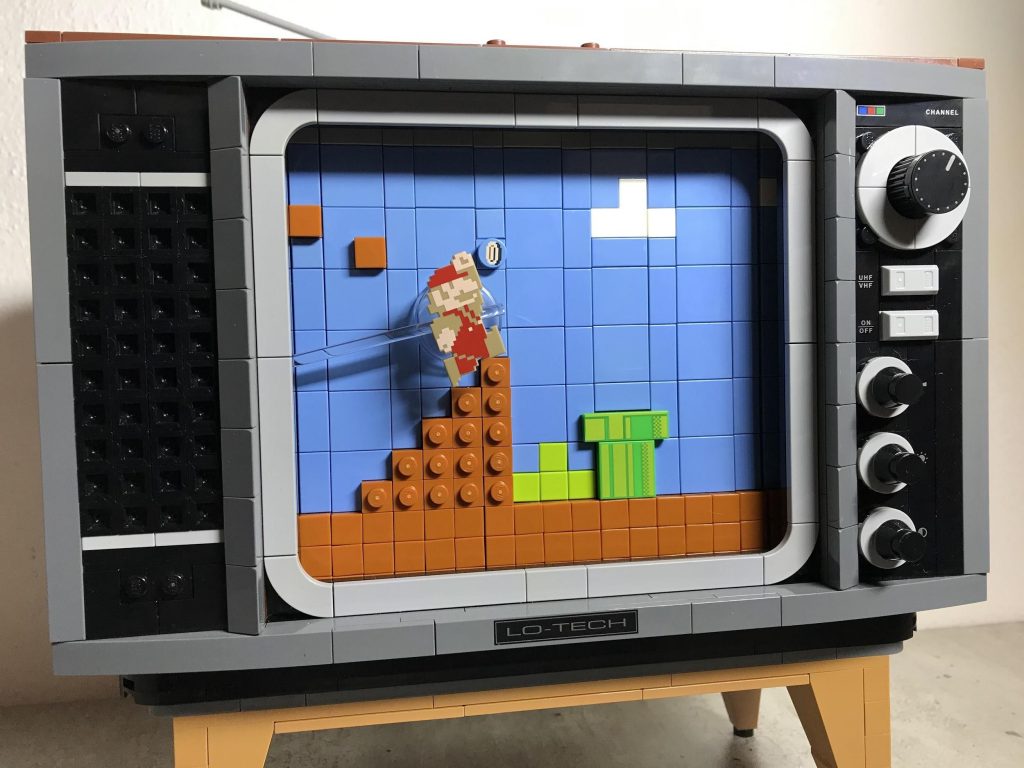
The
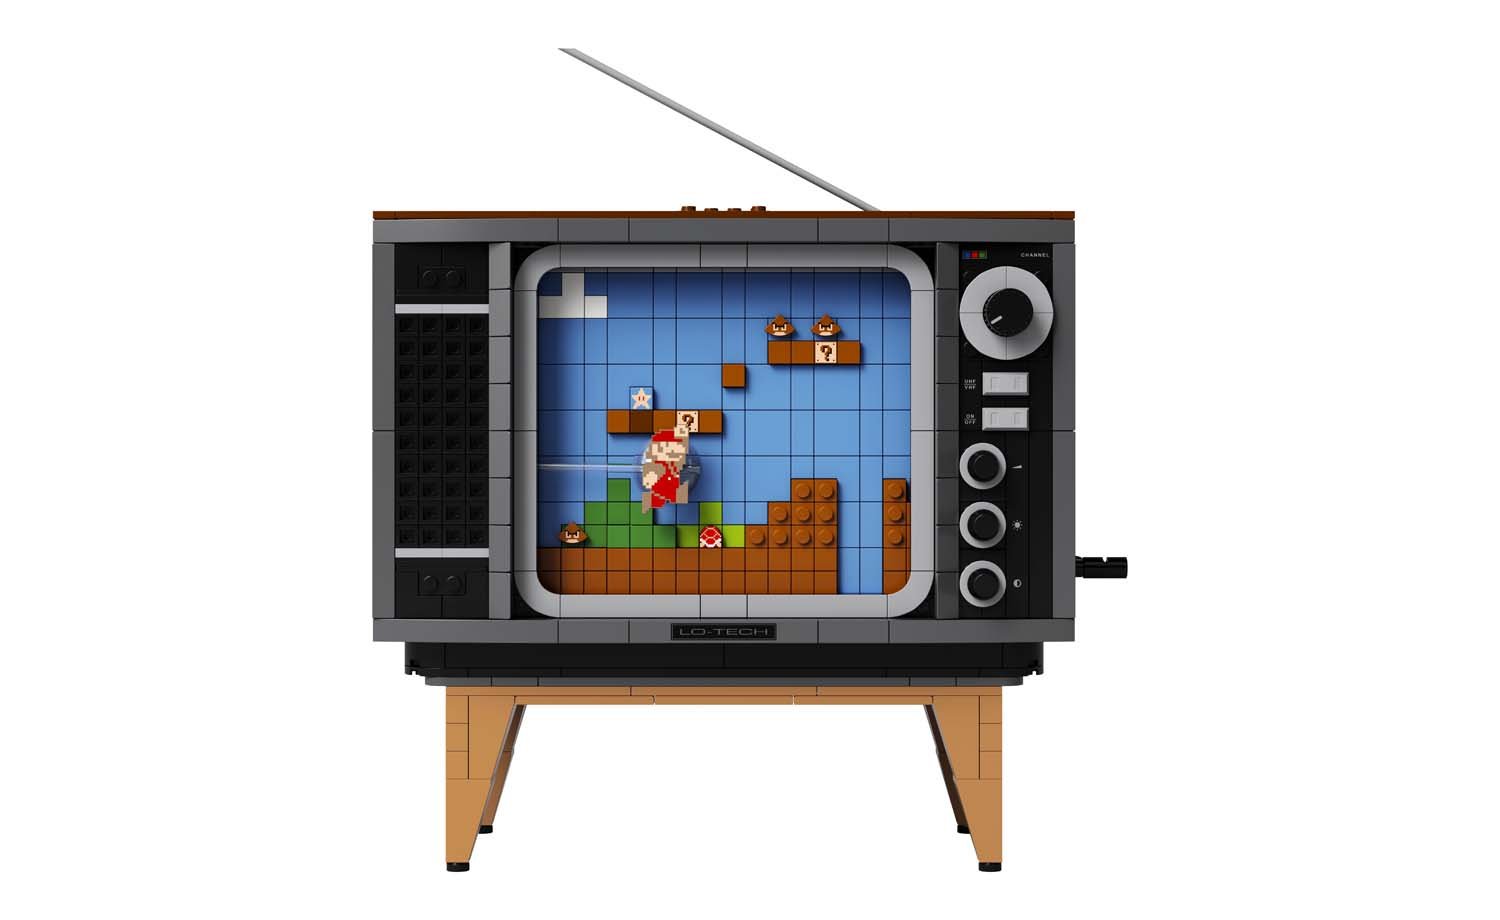
television:
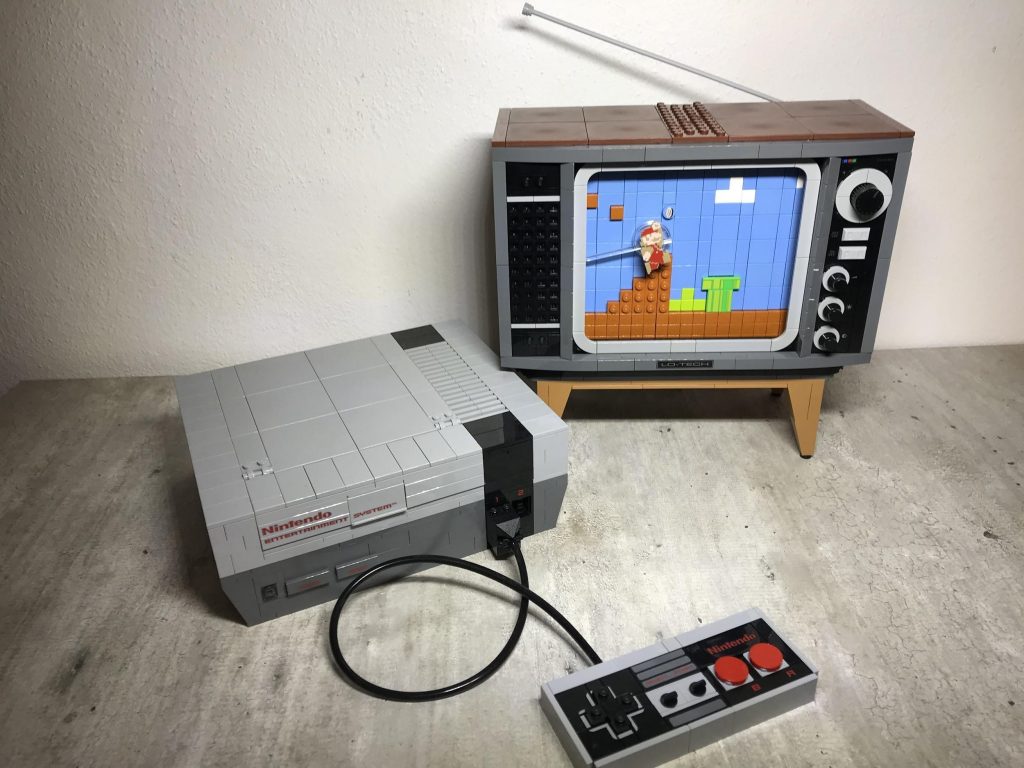
I can only guess, but my thought is that the console
was the first point of focus for the team since it is more directly linked with
the new Super MarioTM theme, so this makes the retro TV the “gravy”.
So much so that it could easily be seen as the star of the dish, giving the
flavour and energy needed for the set.
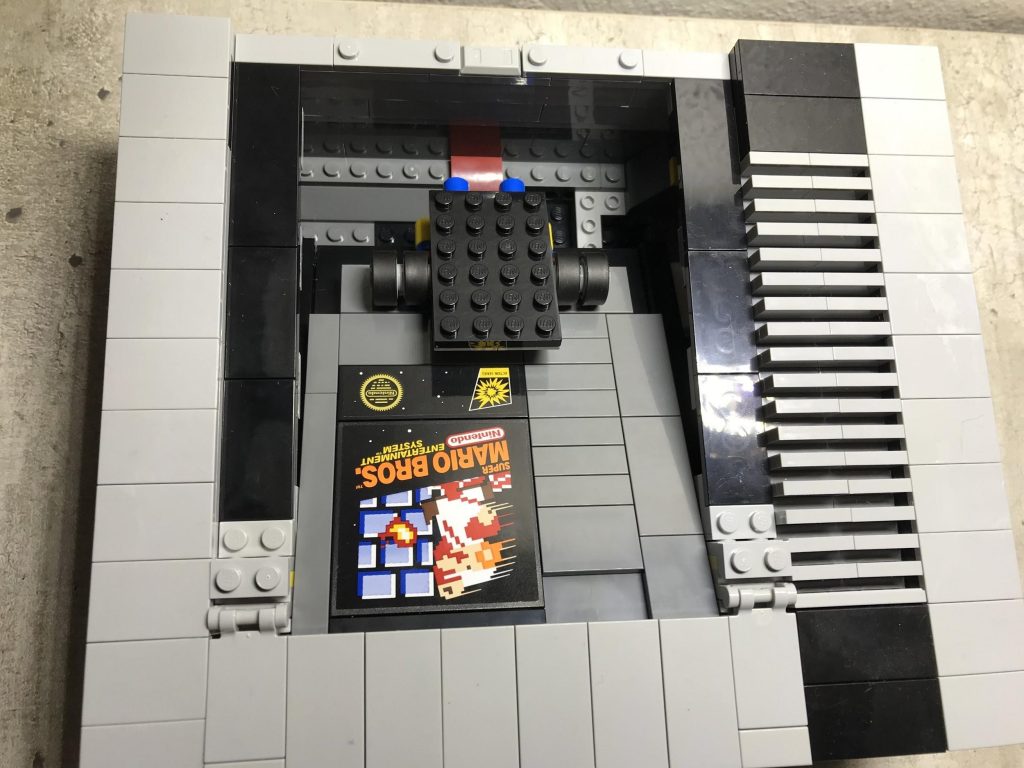
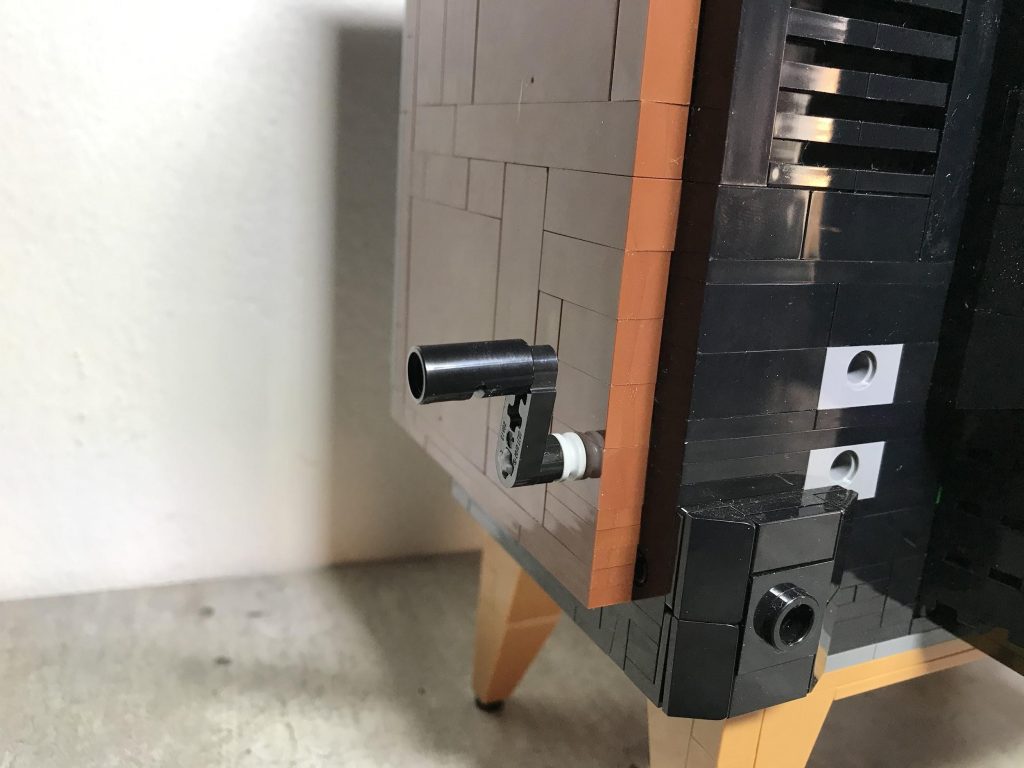
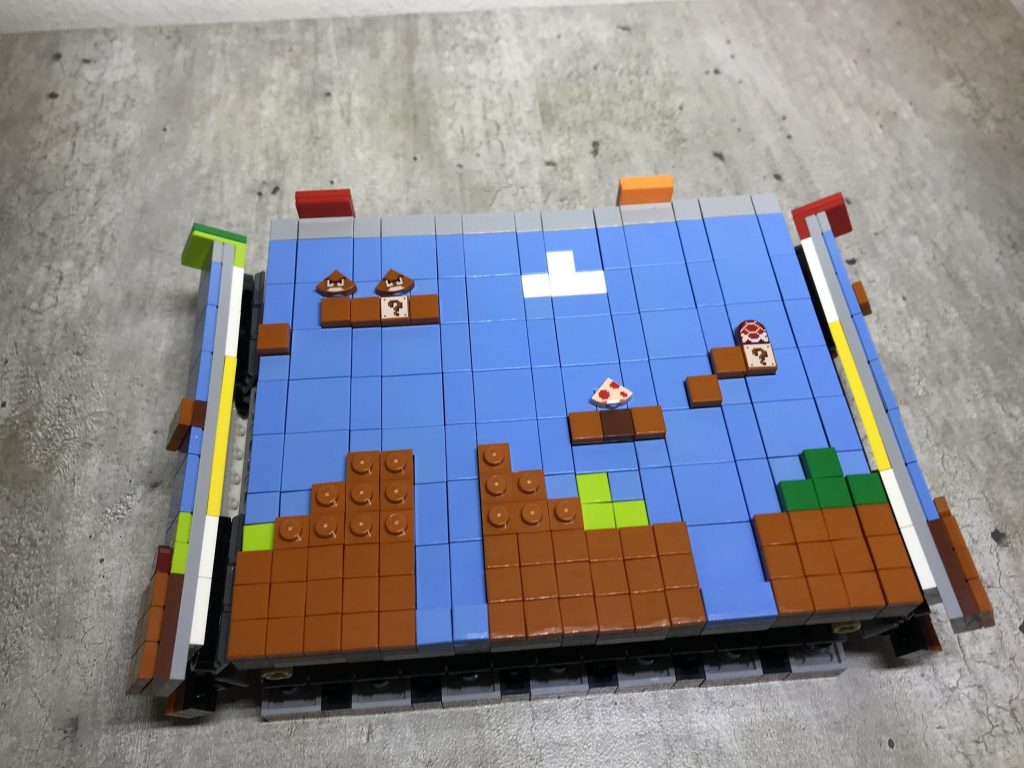
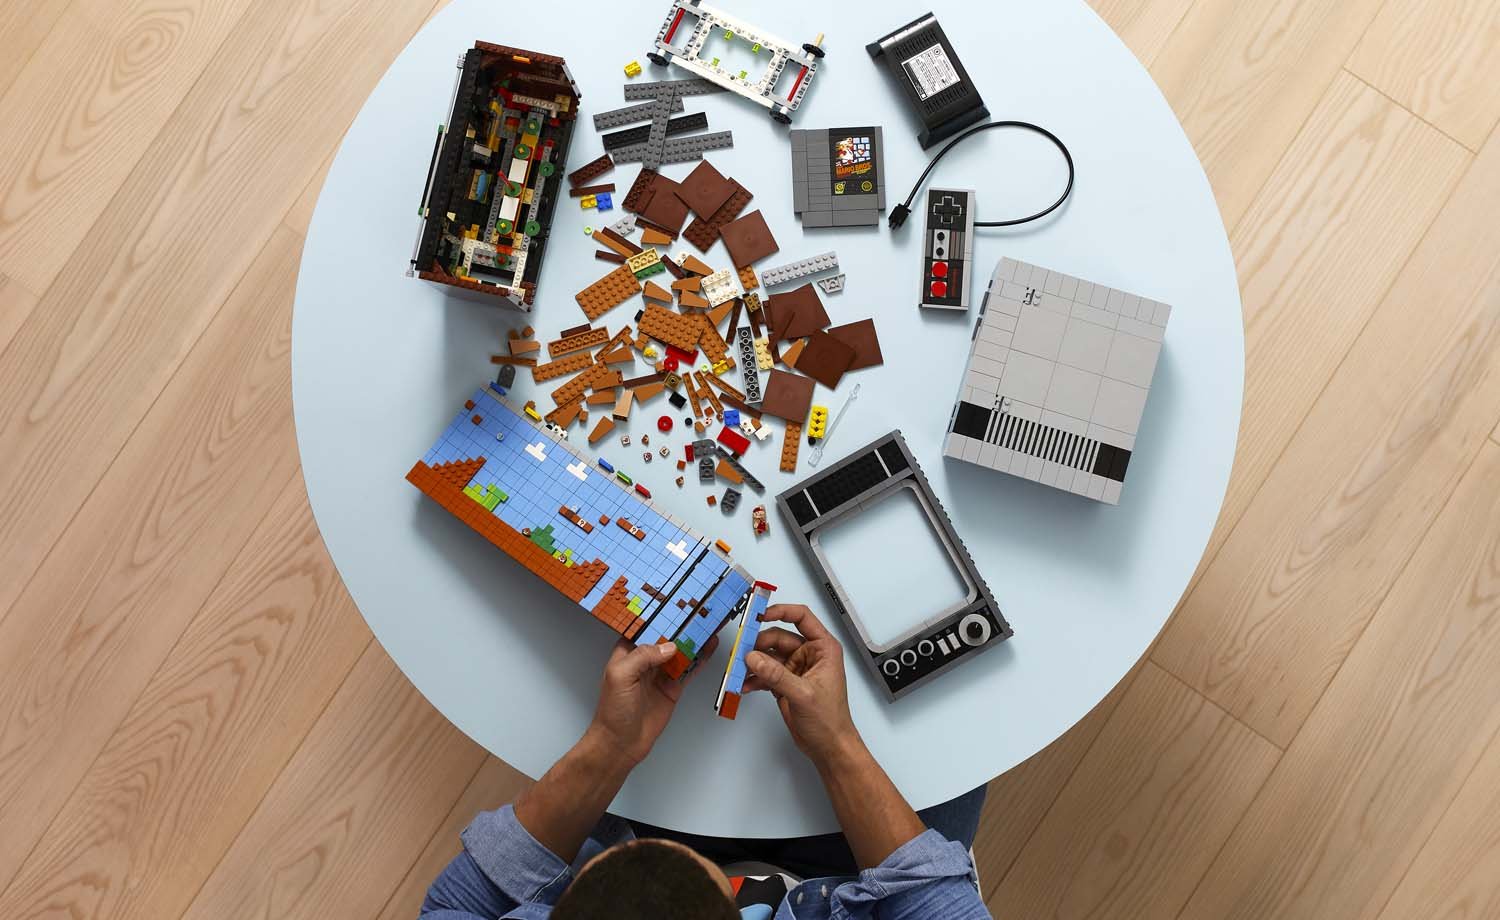
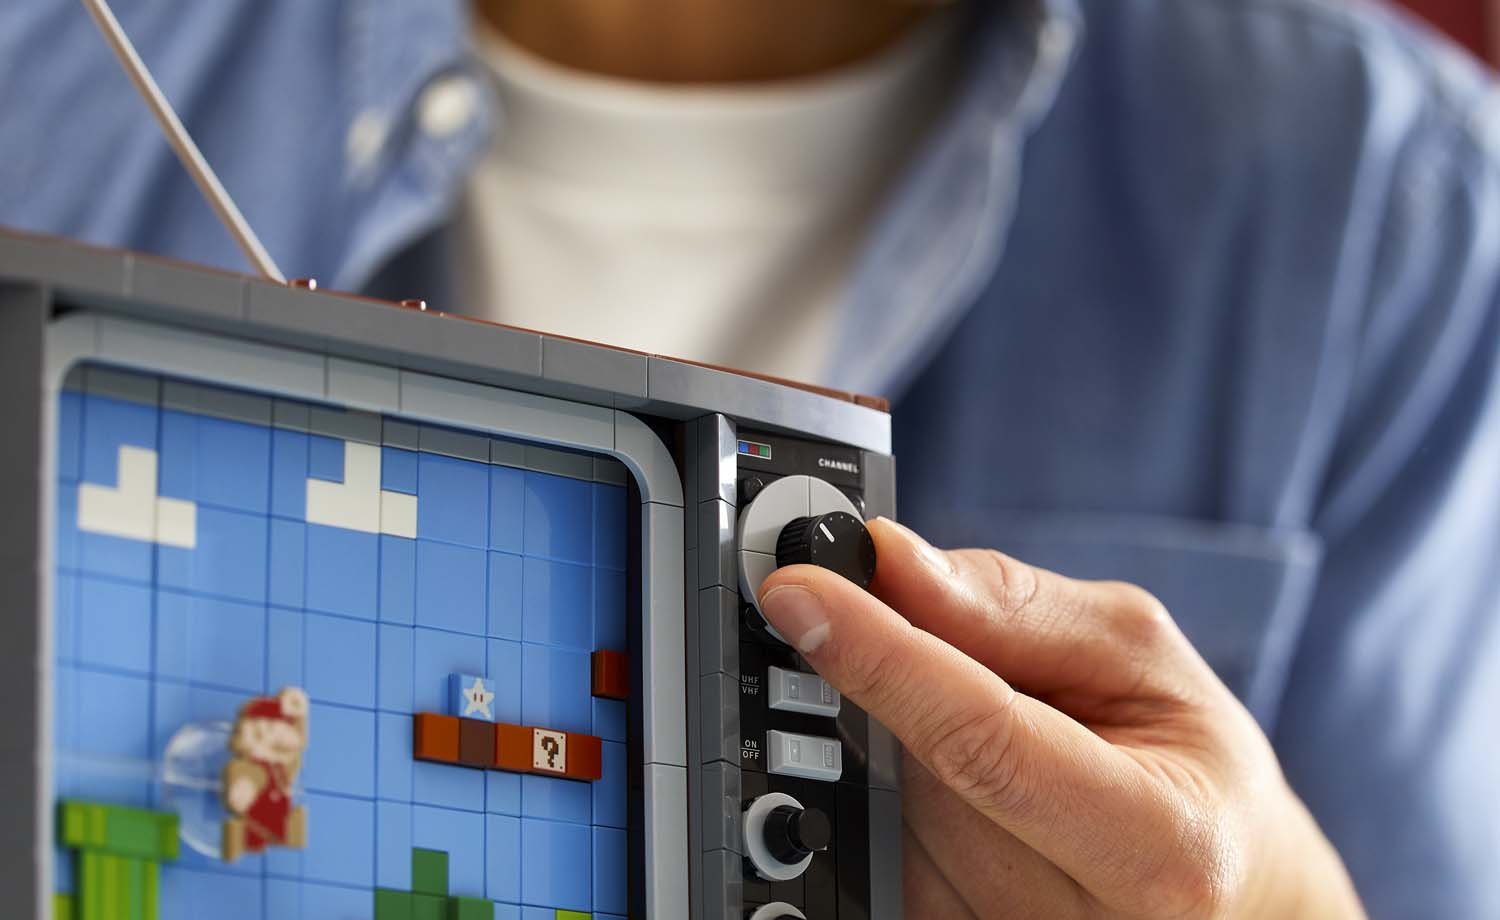
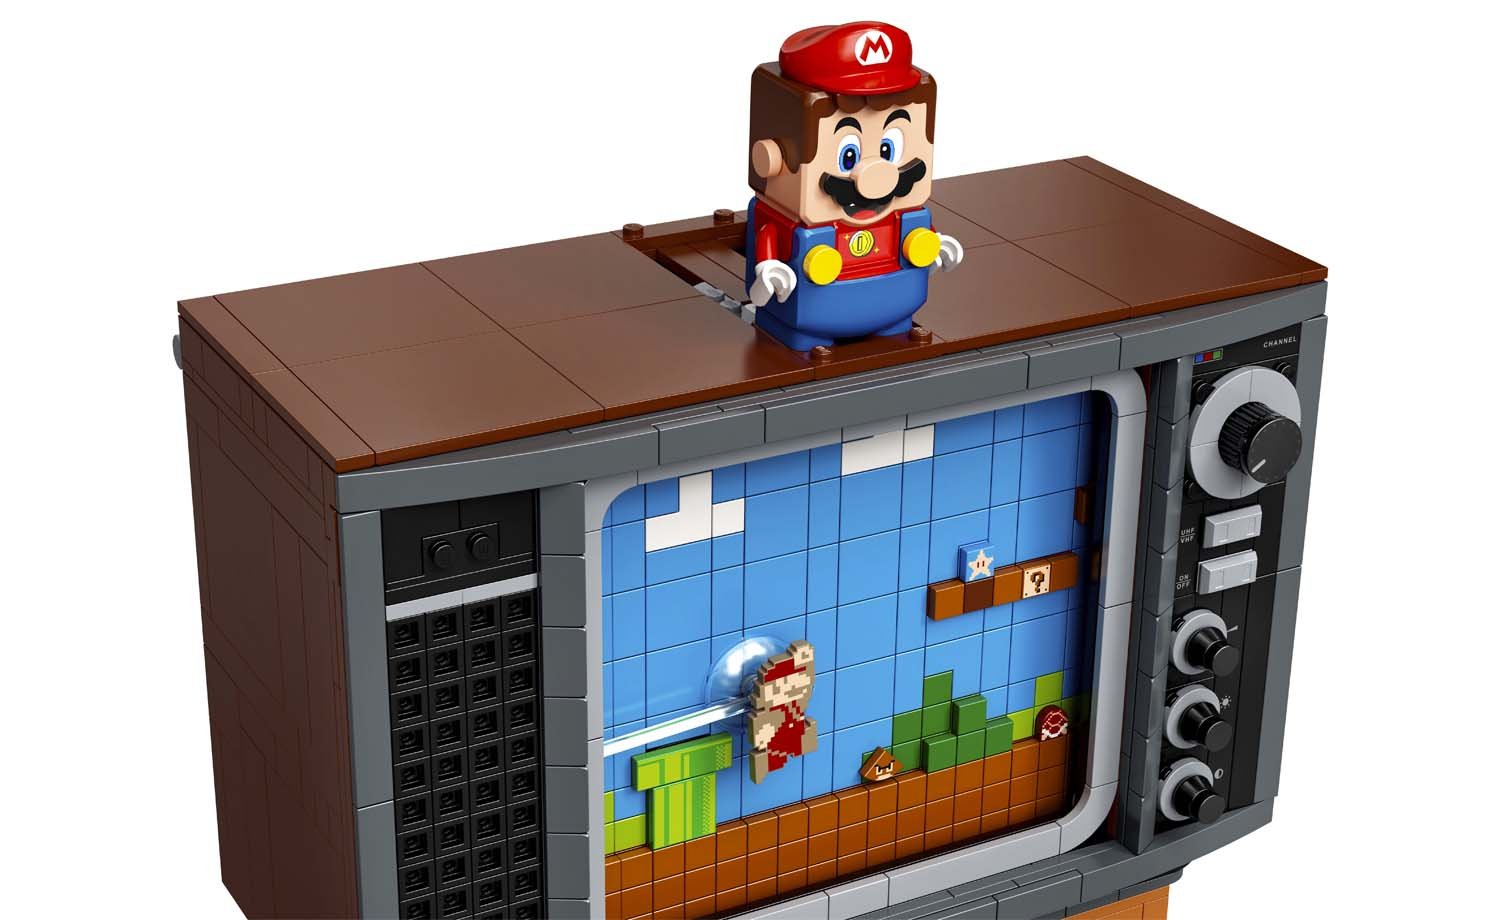
Built into it is a lovely screen rotation of a section
of the first level of the Super Mario Bros 8-bit game. Needless to say, I spent
a lot of time on this level growing up, but I think it is the right choice for
all, being recognisable to all who have any knowledge of the game. The actual
method used in scrolling the level, is done using the larger track pieces in 2
levels connected through long plates and then finished with tiles and some
plates. There is a lever to the right of the television which is used to rotate
the tracks. The special prints stand on different 1×1 shaped parts on top and
provide character to the environment in the form of the gumba, koopa shell,
star, question mark block and coin. You also get an extra of each of the
printed elements.
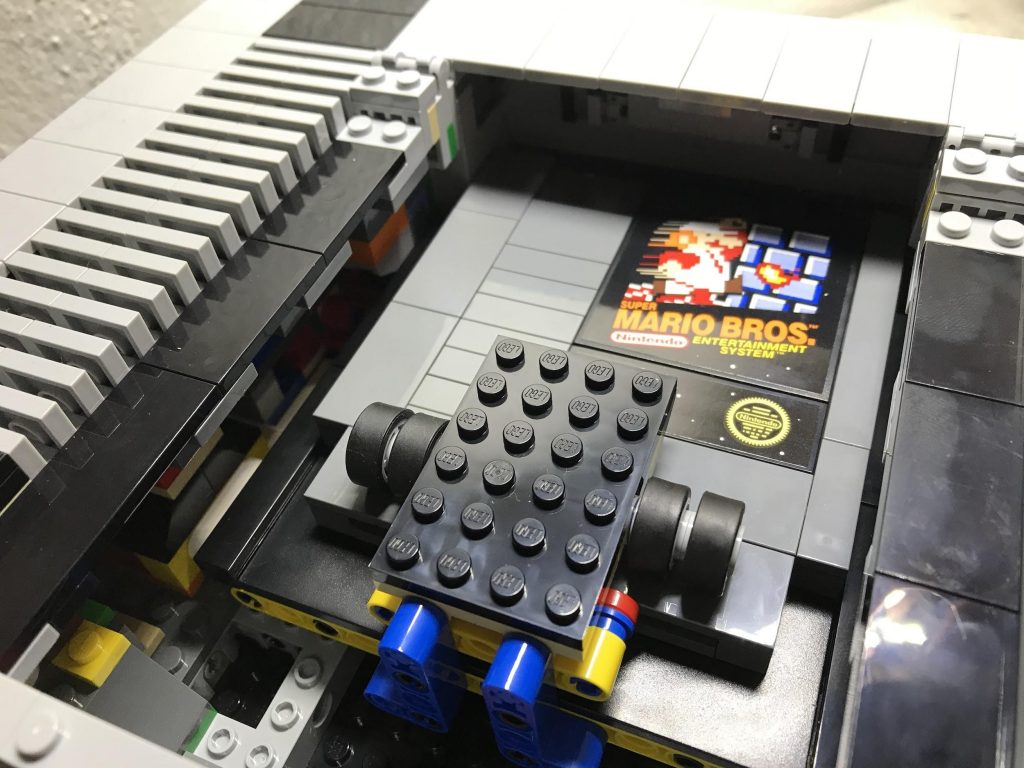
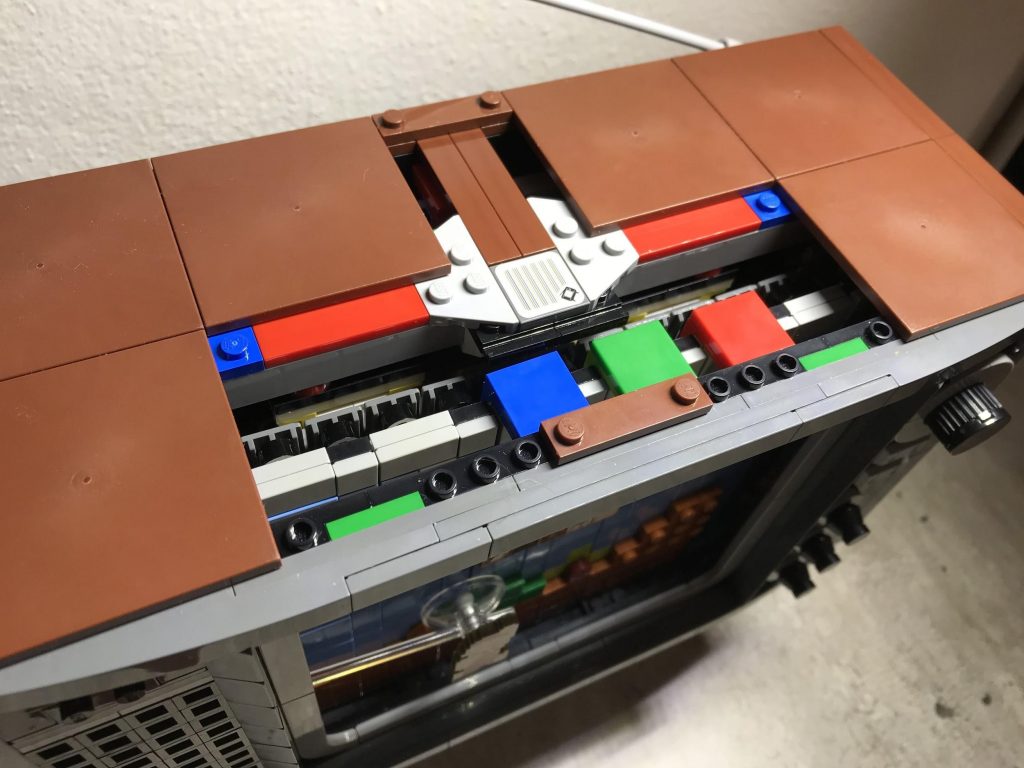
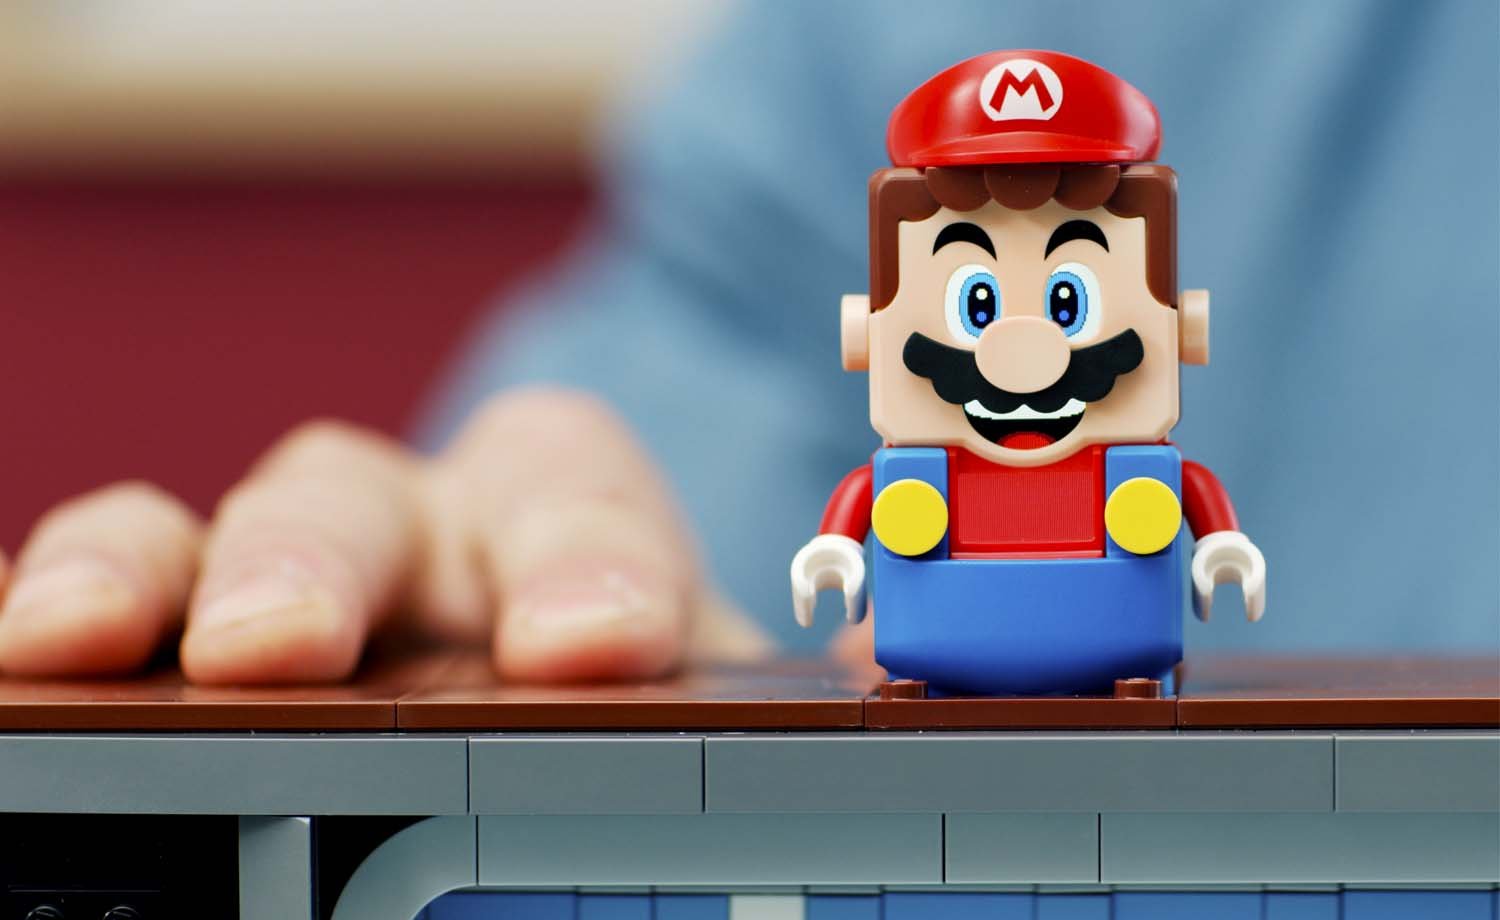
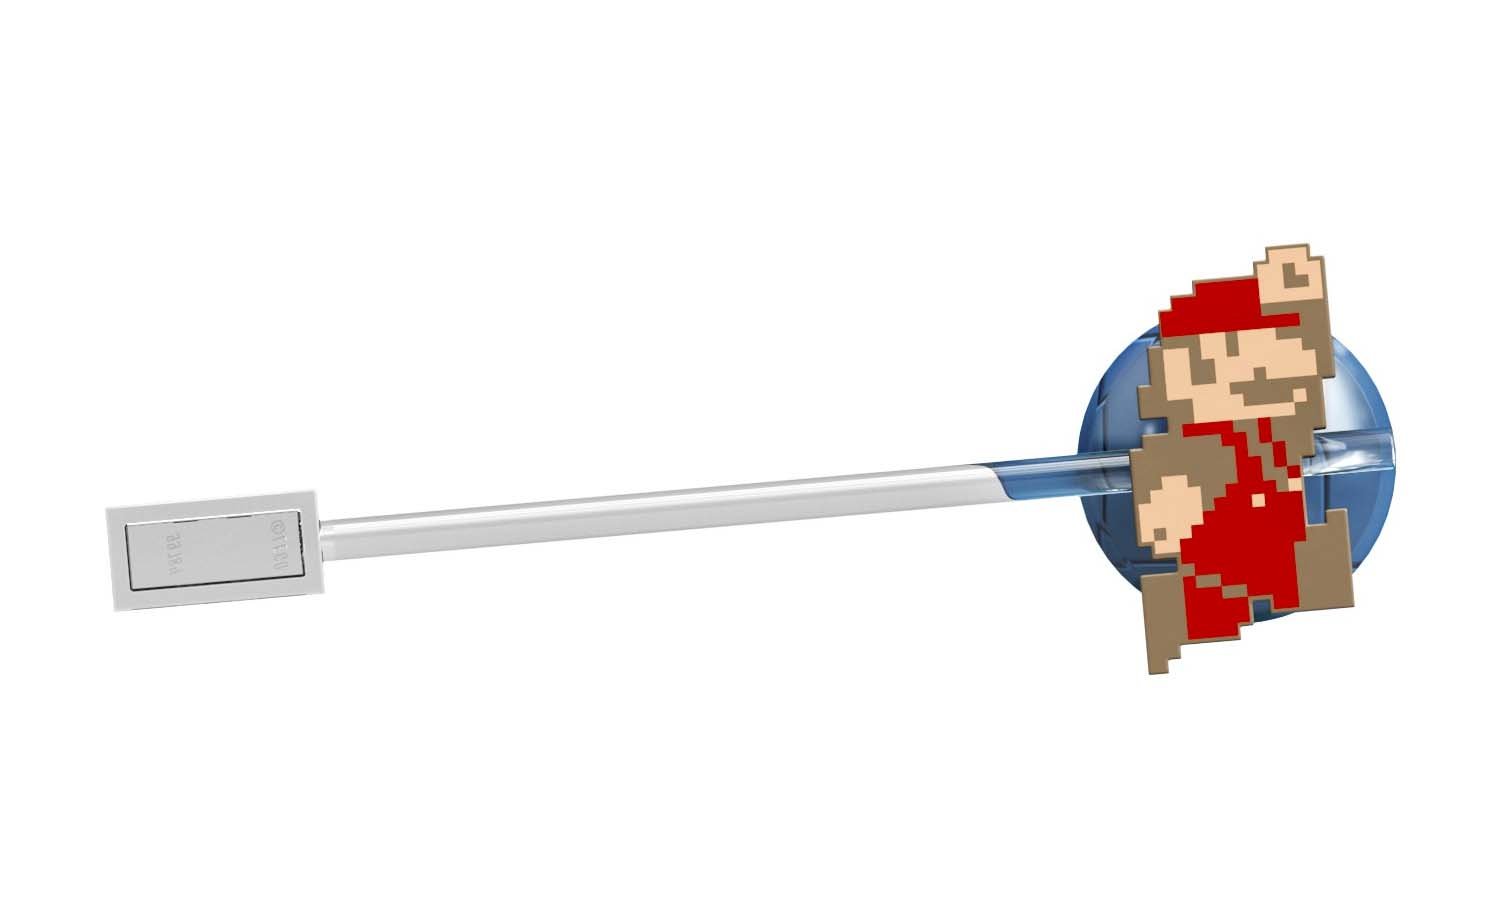
Then comes the specialised Mario modified plate. This
is a unique part both in the print and it’s construction, able to connect on an
anti-stud to the bar and trans-clear dish piece which helps guide Mario in
navigating the level as the screen scrolls across. A key to this is the use of
a microphone piece just providing less friction for easy movement. Handy hint:
don’t push the dish piece too close to the tiles as it tends to get stuck
easily on the plates on the screen.
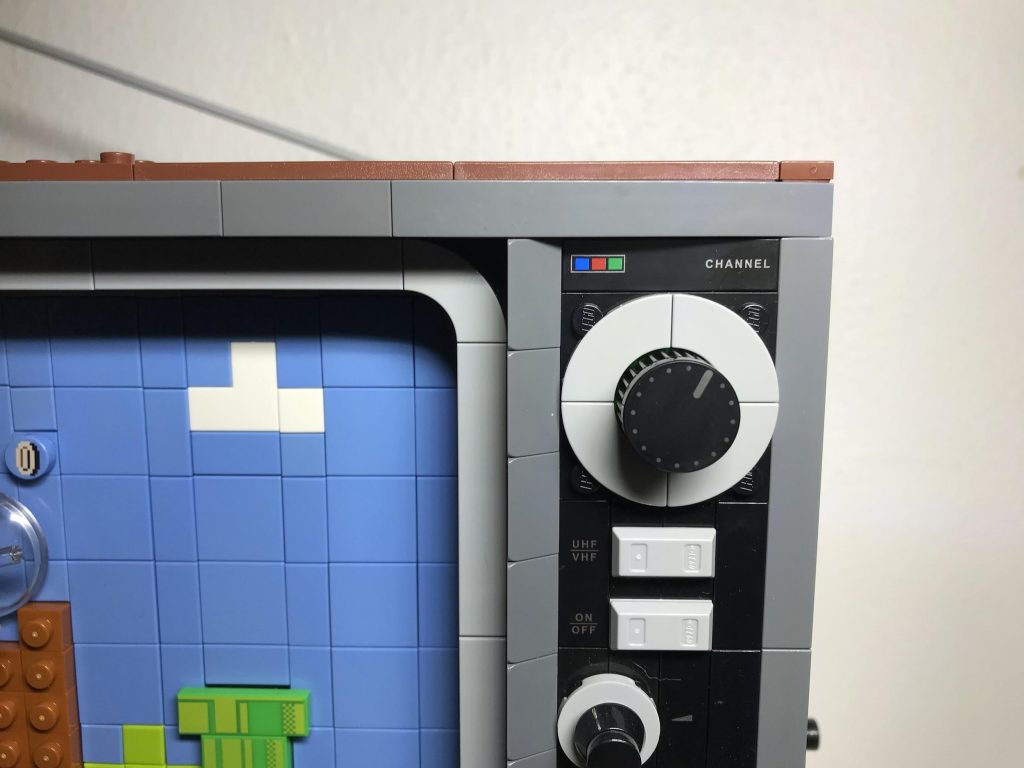
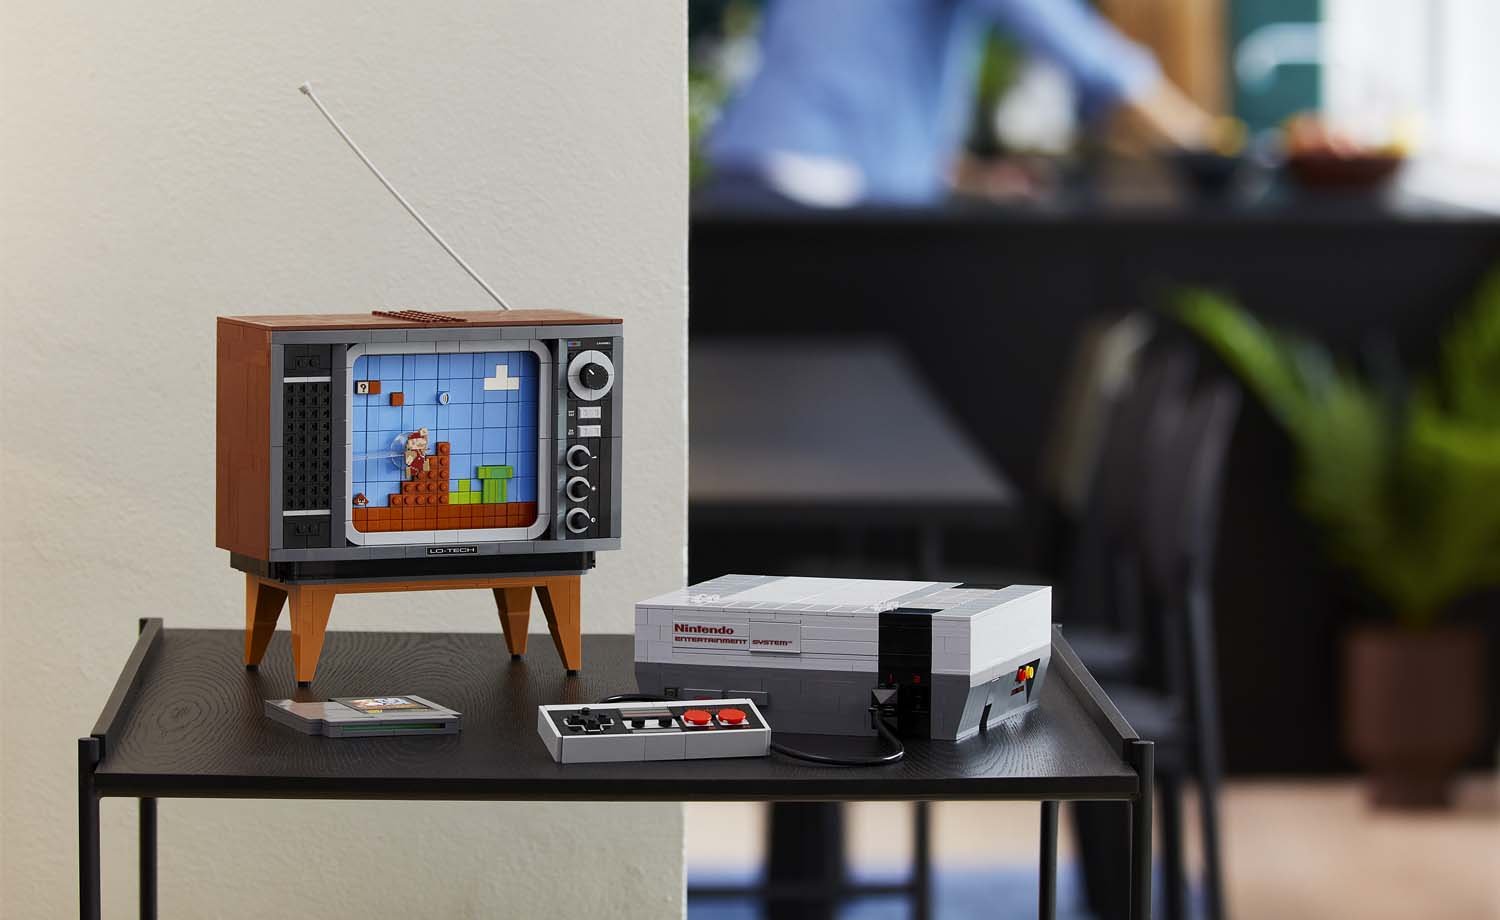
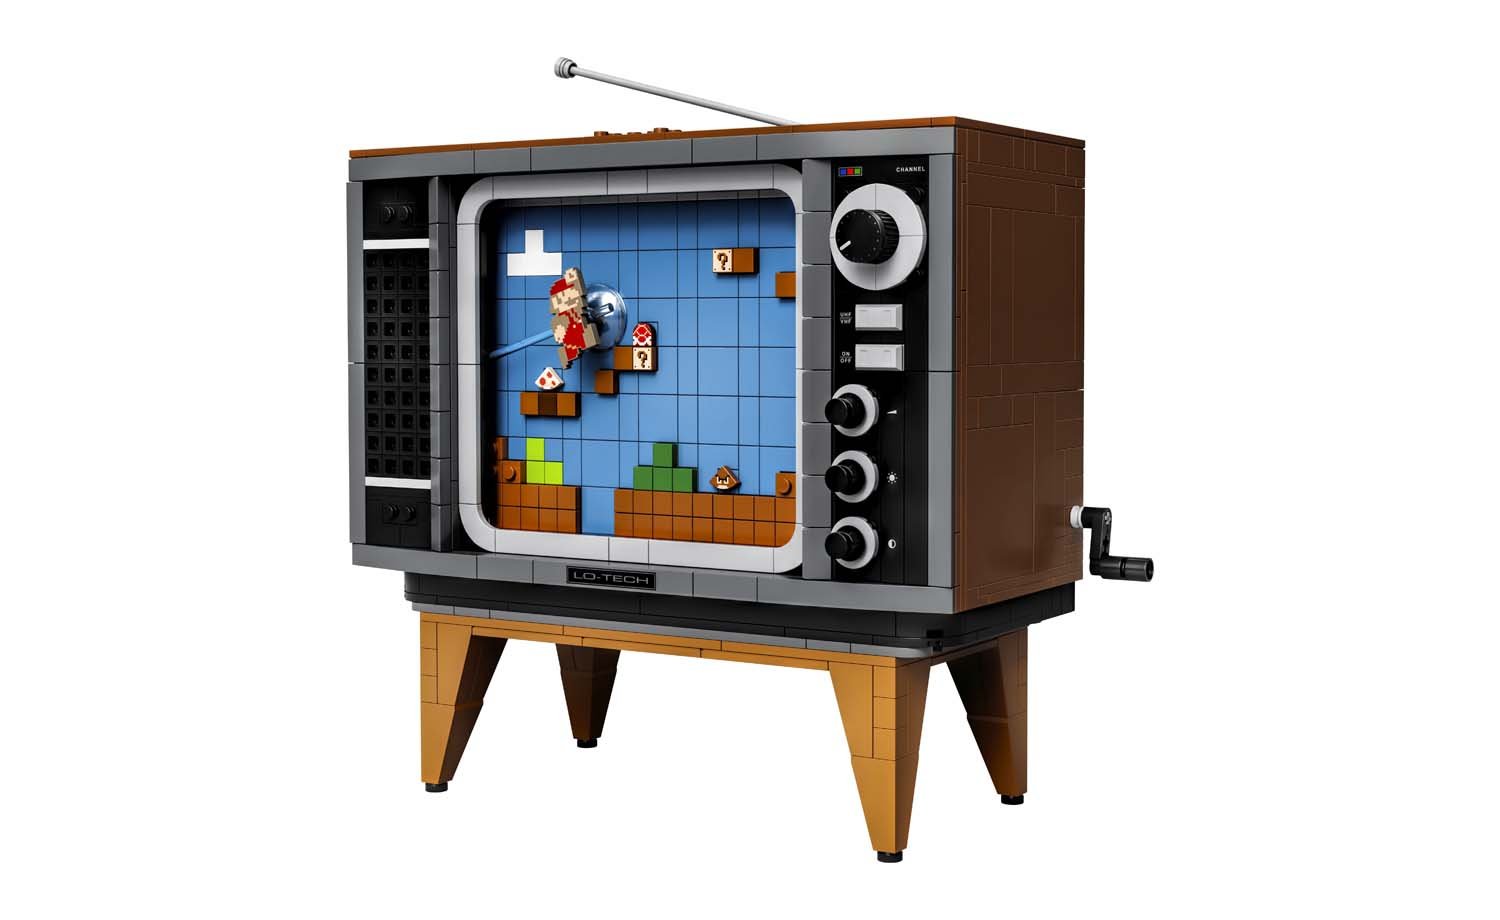
All this in an amazingly detailed adaptation of an
older television, complete will stand. The channel changing dial, volume and
display settings all represented with prints and the channel dial having a cool
mechanism to add a resistance and clicking noise to the experience. Even the panel
to the left of the screen comes with some building for the speaker cover with
the receiving studs showing to lovely effect.
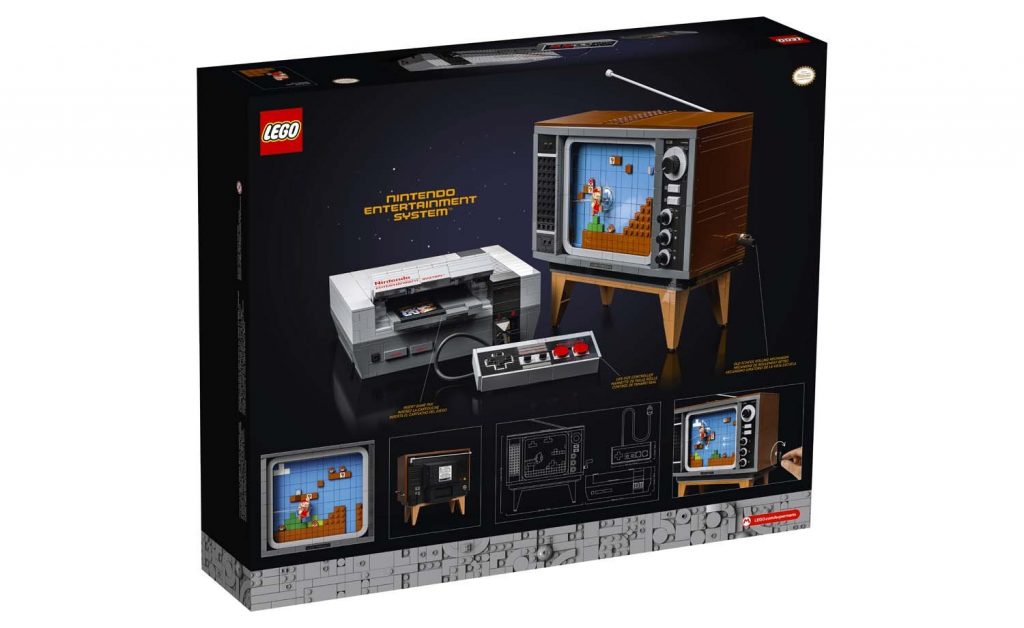
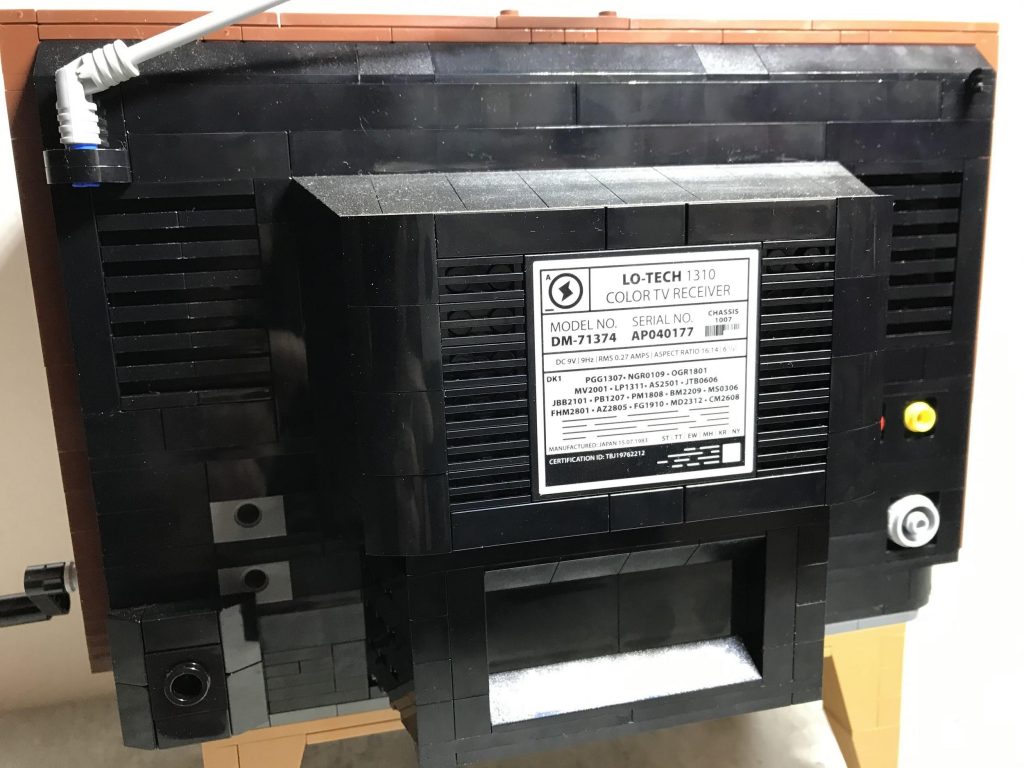
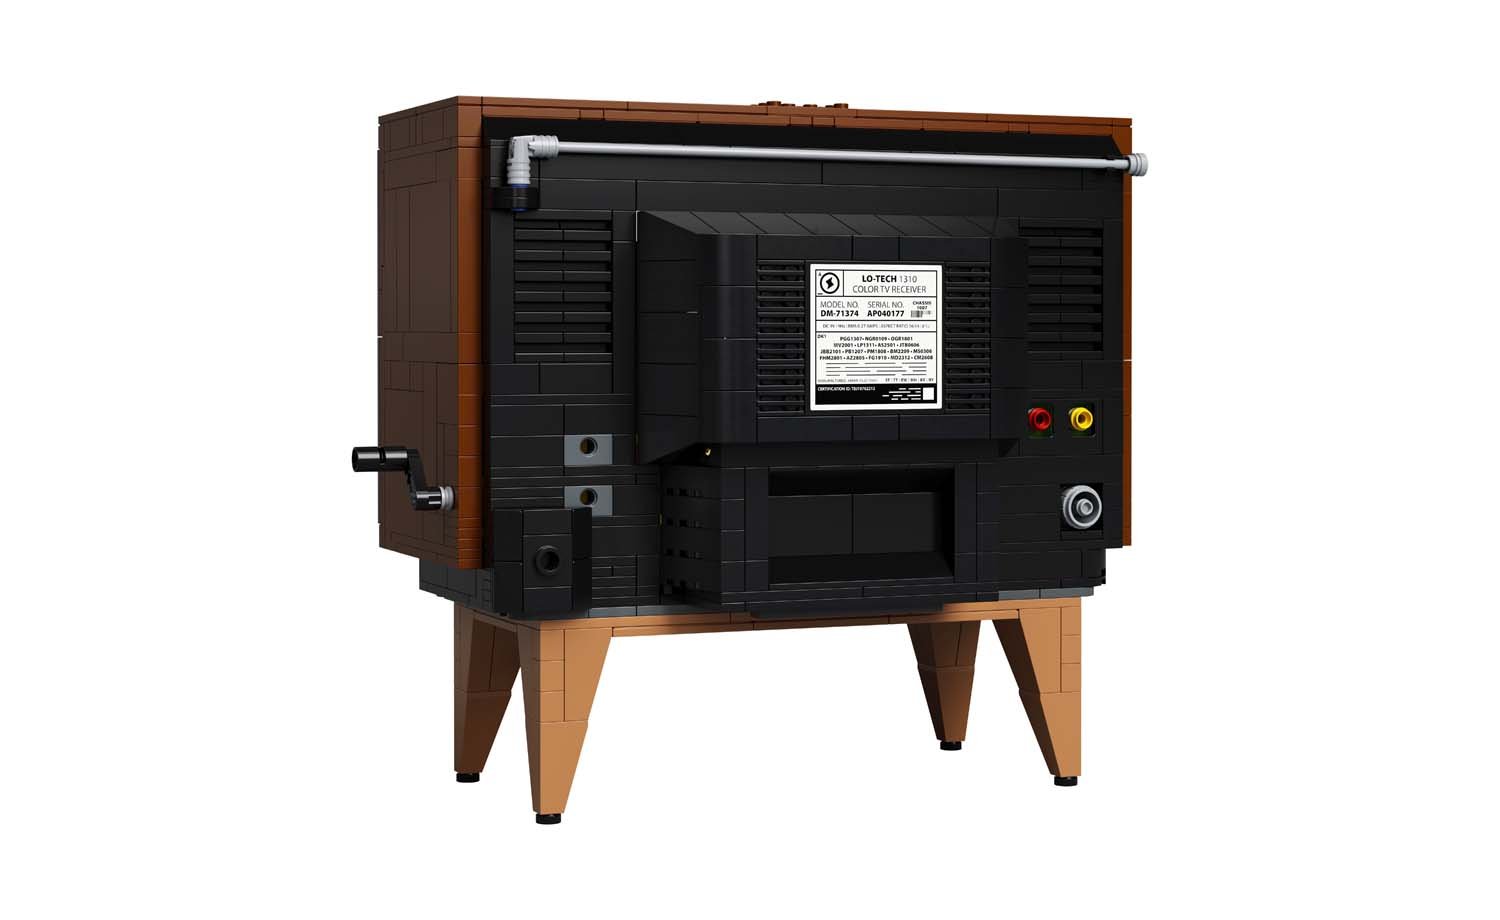
To the back of the television and we get only our third sticker for a neat and tidy finish for the back of the television providing the actual specifications. A fun little easter egg comes through now as the specifications thereon are actually for the set build itself. Considering that this section would normally not be seen on display, it is great that they finished it so well, giving the right shape and smooth design. To top it off, a small arial can be clipped down or set up to display.
The other function:
So once finished building, scrolling and admiring the
set, there is another option available, although a critical component does not
come with the set itself, and that is interaction with the LEGO® MarioTM from the upcoming Starter
Course set (71360). It allows you to play the famous music and sound effects
triggered by coloured tiles within the colour sensor of the Mario figure. All
this comes from simply scanning the provided coded tile. Now initially when I
received the set, I didn’t have the LEGO® MarioTM but I was still able to
get what I wanted from the interaction of scrolling the screen around and
watching the jumping and general interaction (all the while having the music
play through my head).
I did receive my pre-order a bit earlier than expected
and so then tried out the new Mario figure and the interaction it provides, and
yes, having the music and sound effects did add to the experience.
I do feel that this is more of an enhanced inclusion rather than a necessity, but can understand why people would be upset at not having a “complete” set when this inclusion is offered but you need to have a key device to effectively use it. That and the set would cost you an extra thousand rand over and above the current price tag for this set.
The final
product:
This set is perhaps a great indicator of what can
expect from LEGO® going forward – sets targeting a growing market of
adults wanting a combination of build and display value. And what a way to do
it.
It rings all the right bells for me with regards to
nostalgia, build quality and experience, and really does look phenomenal when
displayed. A must I would say for big Nintendo fans, a great display piece for
those wanting that point of focus. The mechanisms used for the play features
are well thought out and well-built to give an experienced builder some fun and
these are a fair accompaniment to the set.
On a price point, at R3,799.99 (recommended retail),
the set may be bordering the higher price point, and we can probably get an
actual NES for half the price, and play it (didn’t check but I doubt it would
scale up to this price). But honestly, this is meant to be built and compared
with LEGO sets, and in that, I feel that the price is fair for what comes out
and the experience with the building, considering the new moulds and great
prints we also get.
The added feature with the integration of the starter
course set is nice to have and add some pep but is not necessary if you would
rather not get the starter course (price or otherwise), and I don’t believe
have added to the price point given that the price to part ratio is still quite
low.
Overall, a great set, and I hope the partnership with Nintendo does continue as I know many are looking for those elusive minifigure based sets.
By Bianca Preusker (SAFOLs Memeber. CapeLUG Member)
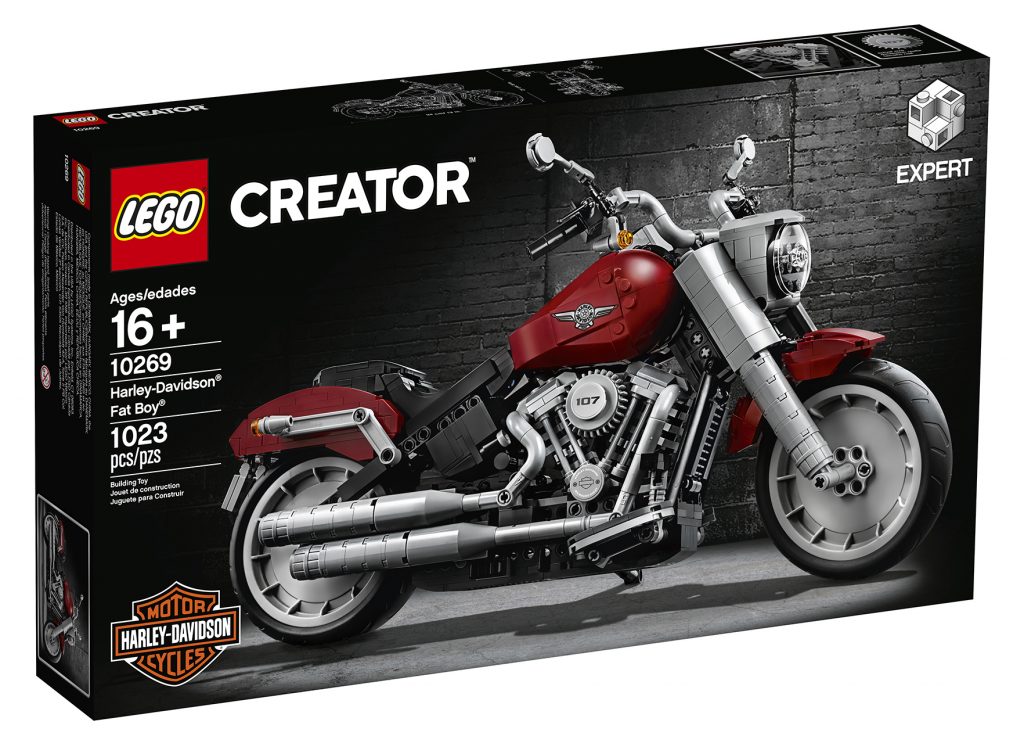
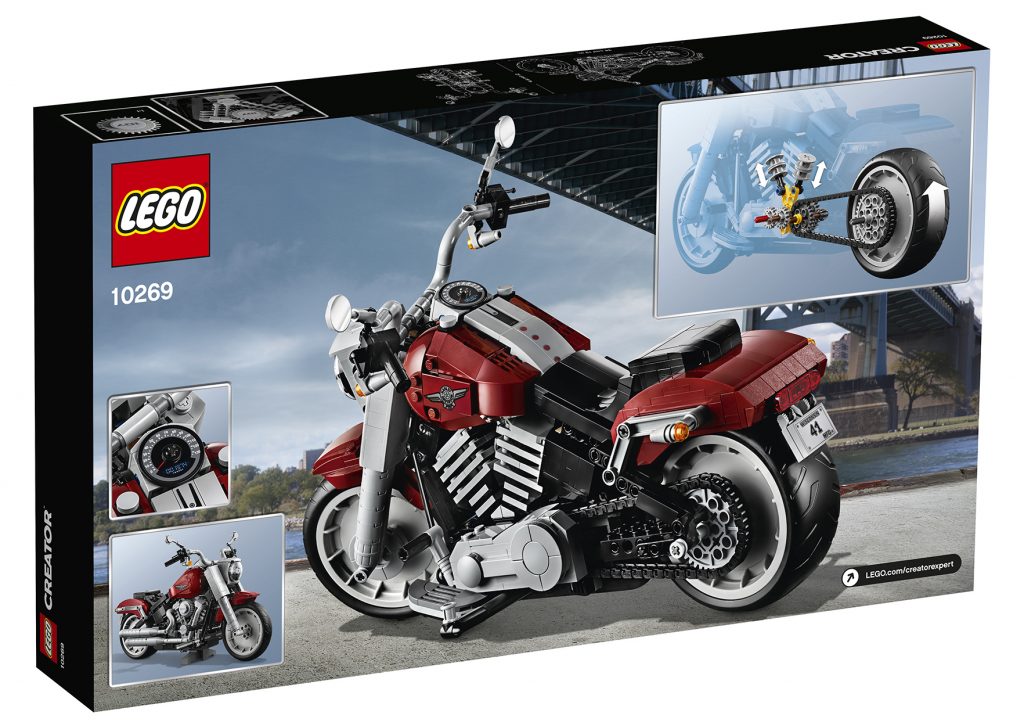
An unexpected delight
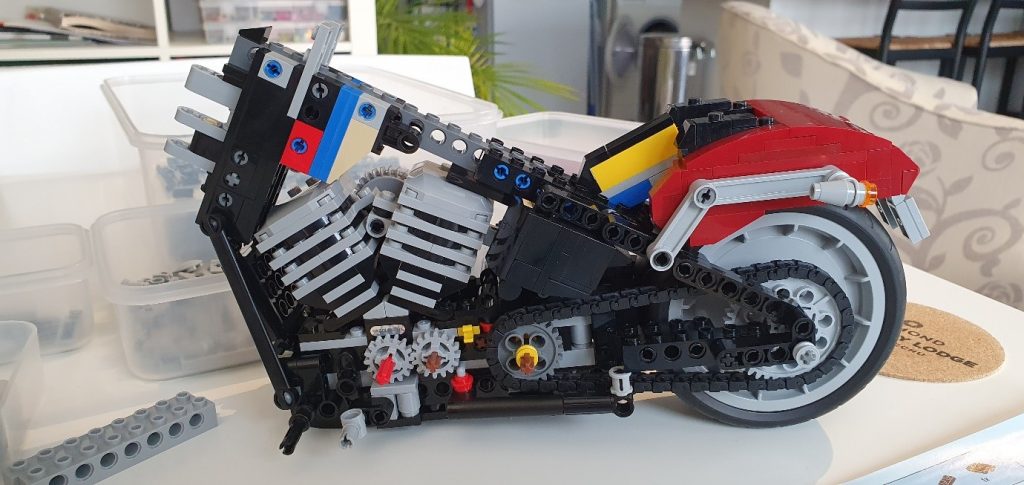
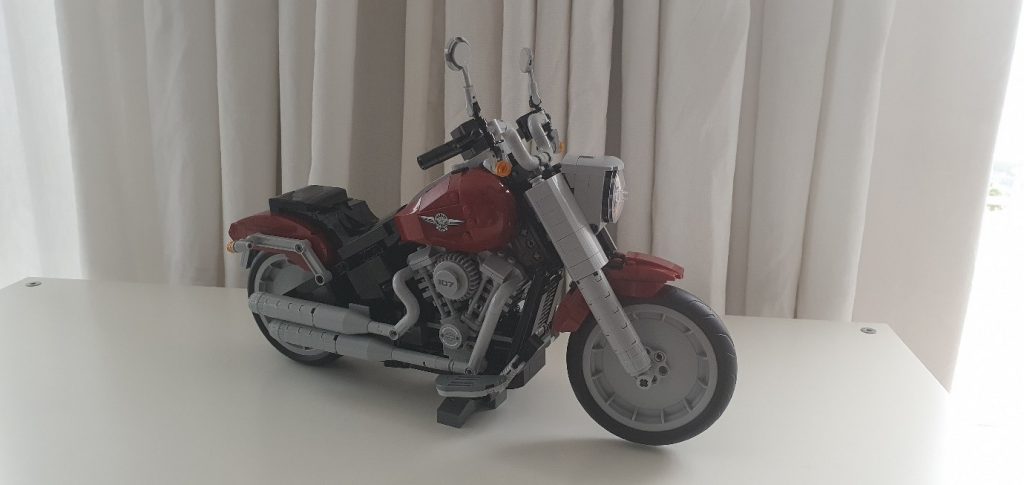
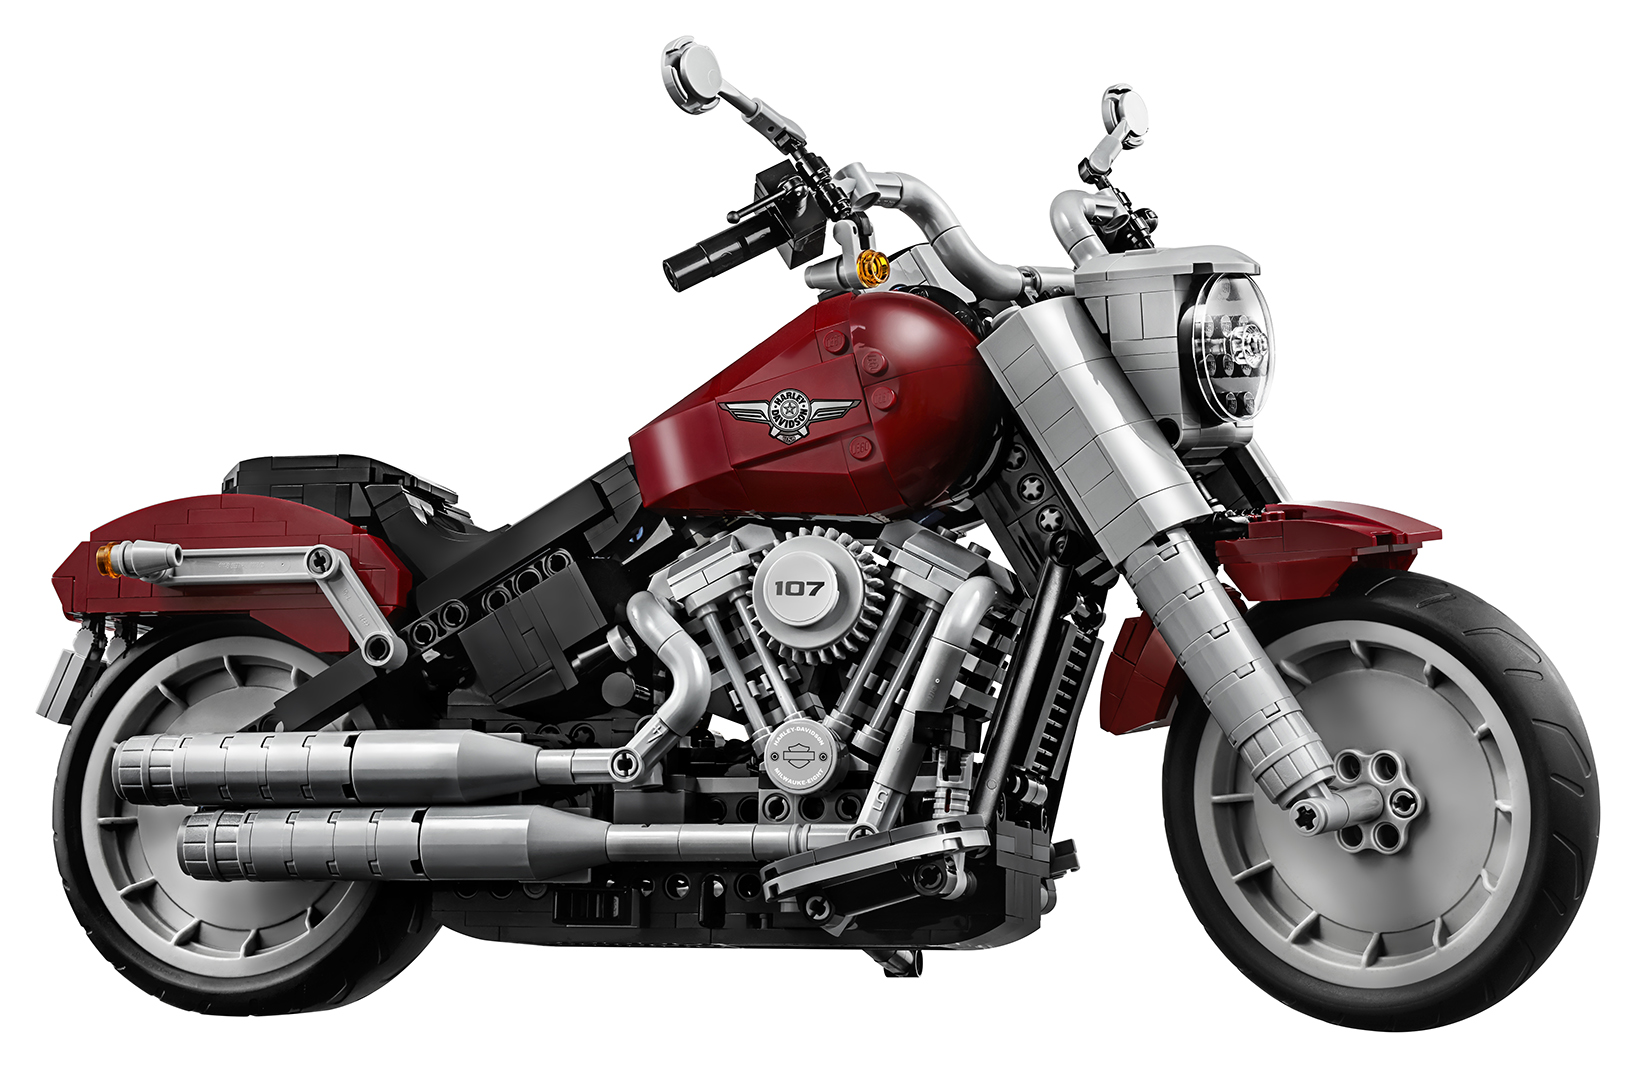
I am no motorbike fan. So, I admit a certain amount of surprise at just how much fun I had with this build. I particularly enjoyed the mix of Technic and system techniques. The high reliance on system bricks made the start a little fiddly, and bits seemed to keep coming apart from a hard stare to start with. After a while everything came together in the most surprising ways and the final product was sturdy and robust. It is not only an iconic display piece, but also delightfully playable. The word swooshable springs to mind.
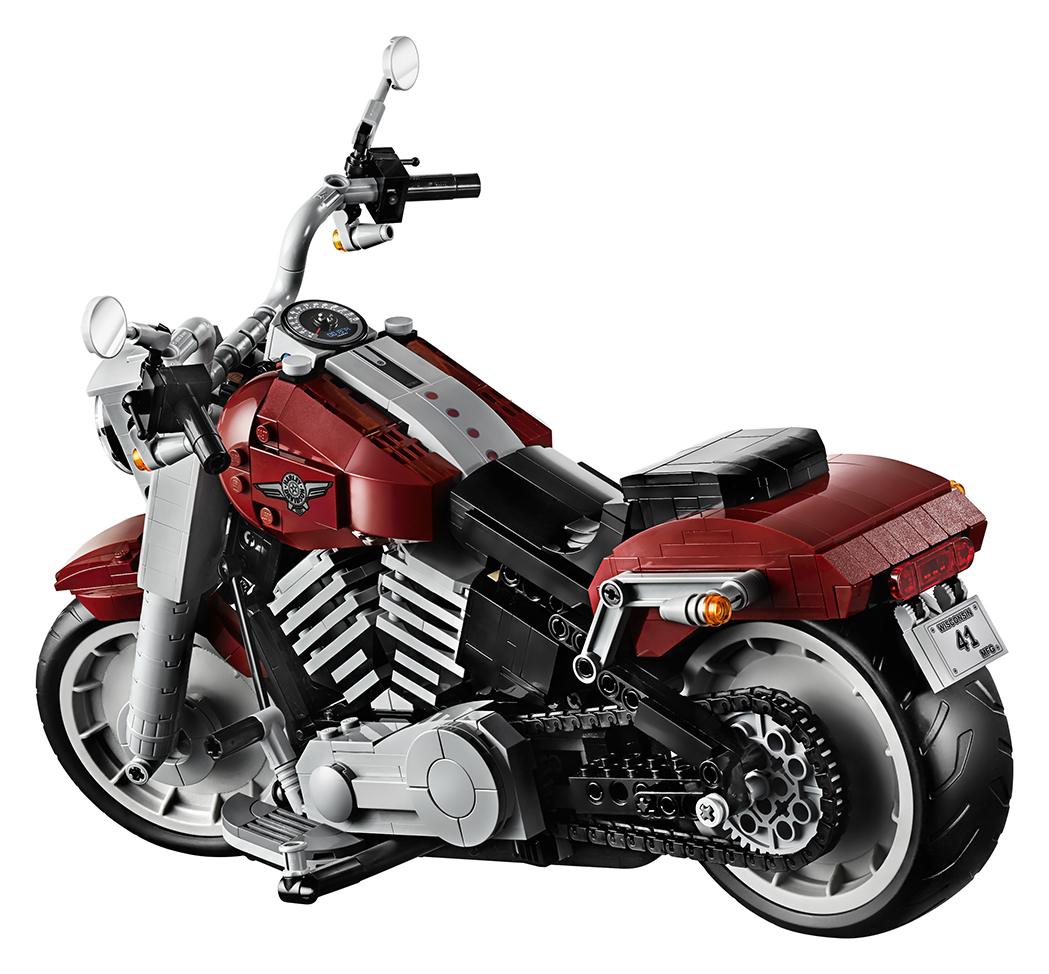
LEGO® designer Mike Priaki made magic happen, with mostly conventional parts put together in some innovative ways to create the unique and instantly recognisable shape of the Harley. I like the simple design, not too cluttered with unneeded greebling and, being a bike, a lot of the beautiful engine design is visible in the final product.
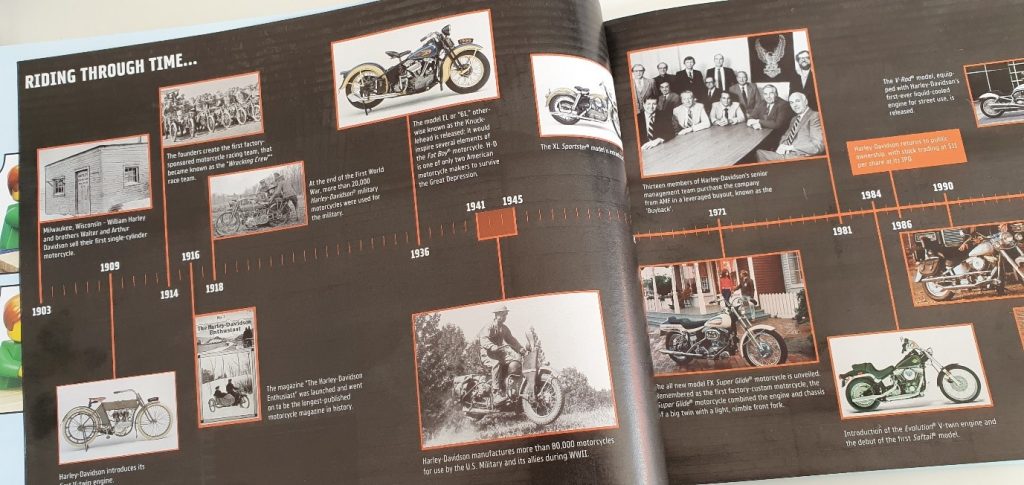
As an AFOL I was especially interested in the instruction booklet, which contained an interview with Mike Priaki. It is fantastic to read a little more about the process of making a design like this one. The timeline of the company also made for interesting reading.
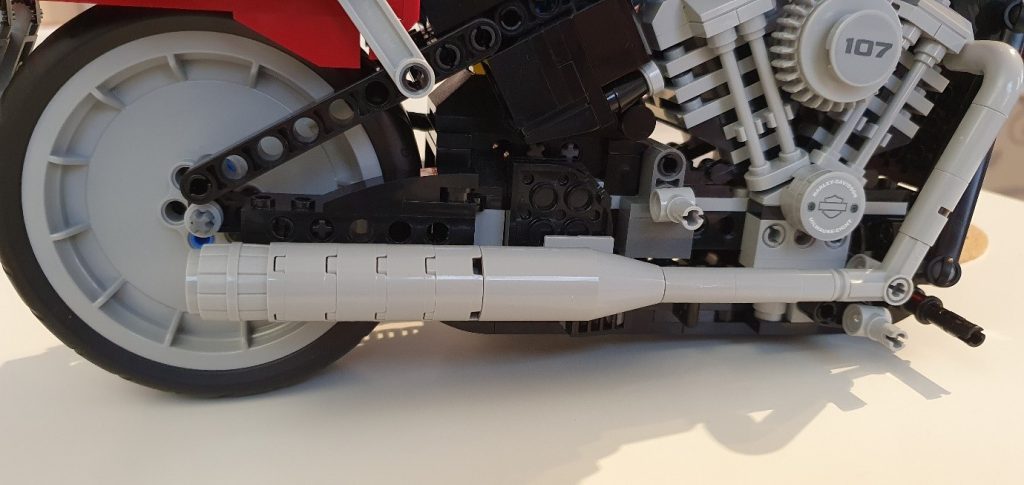
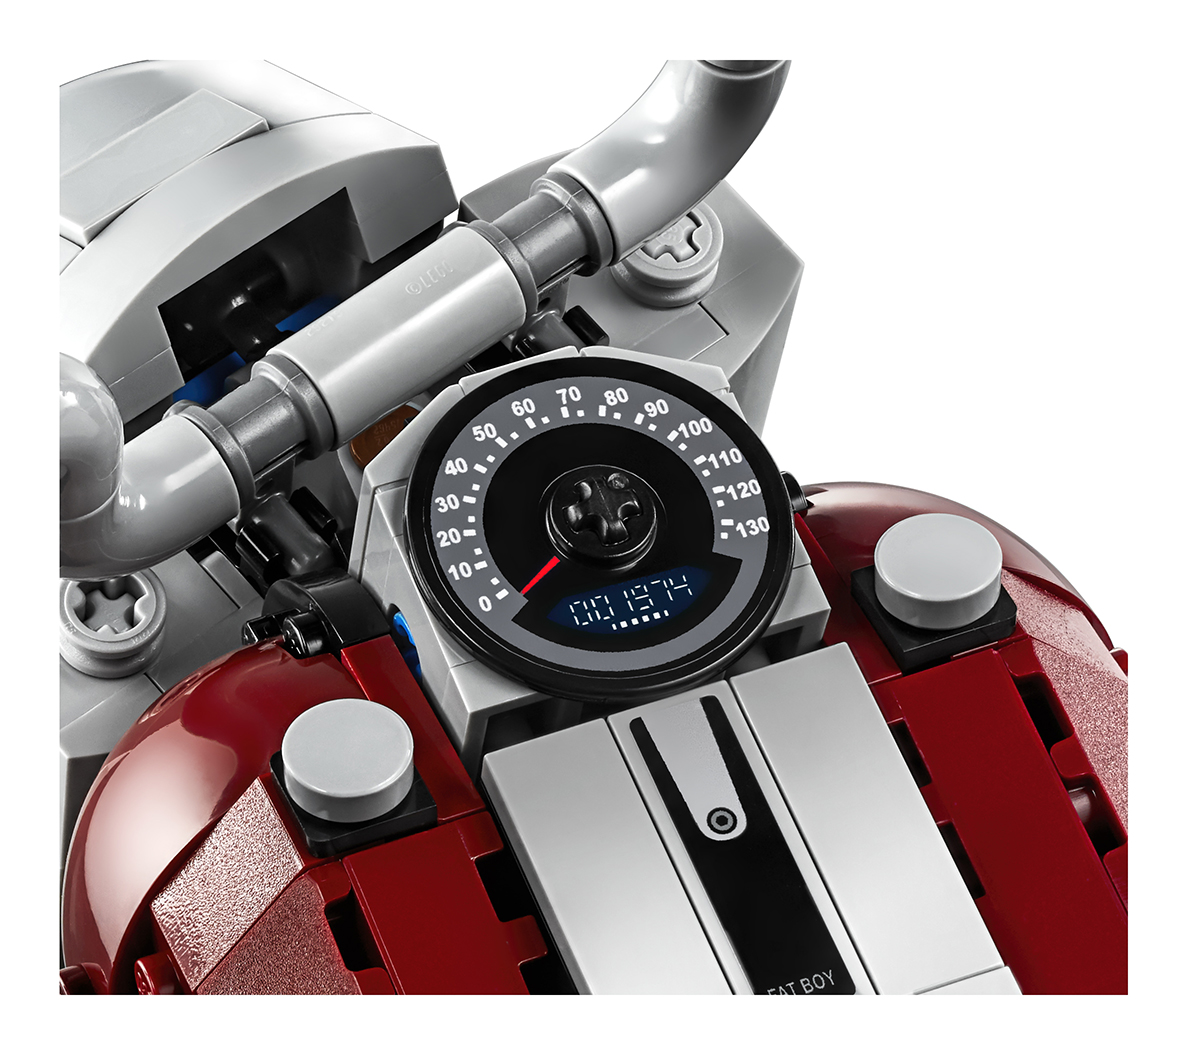
One of my favourite aspects of the build was the use of the light
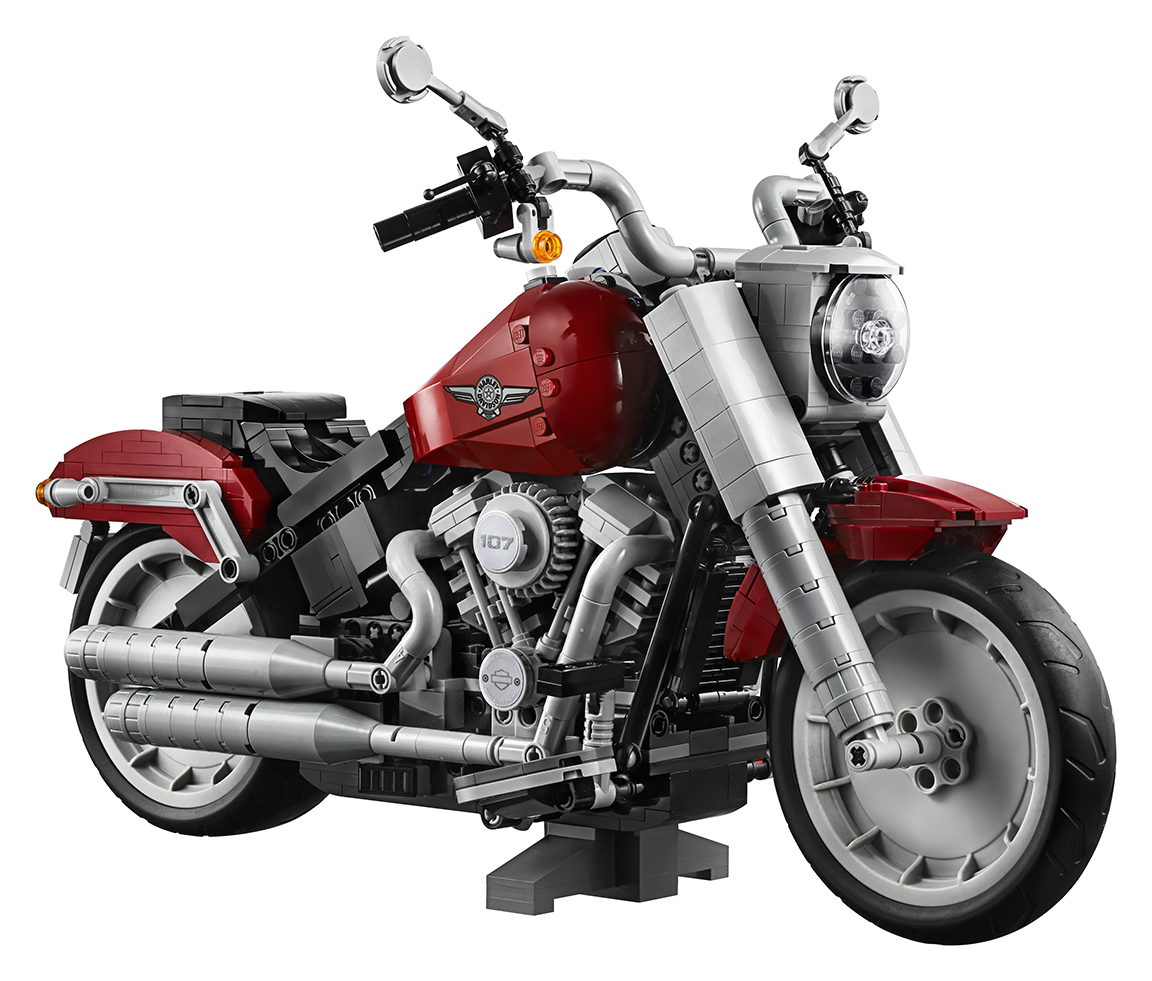
blueish grey barrels in the exhaust. Brilliant! And the wheels… The tyres and
the rims were especially designed for this set, and really look great.
Pros
Creative parts use
Beautiful eye-catching design
Interesting Instruction Book
Cons
Bit fiddly in some stages
“only” 1023pc – I would have enjoyed a slightly
longer build
In summary: I really enjoyed building the Harley. The techniques were interesting and varied and the final result is a beautiful rendition of an absolute icon. I highly recommend it.
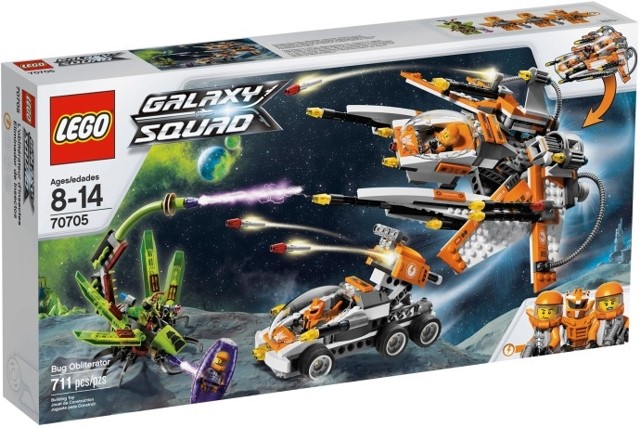
After building my first Galaxy Squad set (70702 – Warp Stinger), I immediately went looking for my second (and third and fourth…) sets. I managed to find the Bug Obliterator (70705) released in 2013. For those unfamiliar with the theme, it is centered on humans and robotic sidekicks that are protecting worlds against an invasion by an alien insect-like race. The humans are divided into four teams, each with a unique colour (red, blue, green and orange) and speciality. The humans have various vehicles designed to survive in outer space. The vehicles of the aliens look like animal hybrids.
The set’s name is derived from the large human vehicle which makes up the bulk of the set and belongs to the Orange Team. The main strength of the Orange Team is their fire power and this is certainly the case with this vehicle. The aliens have a small vehicle, who in all honesty will be completely obliterated should they go head to head with the aptly named Bug Obliterator.
The Build
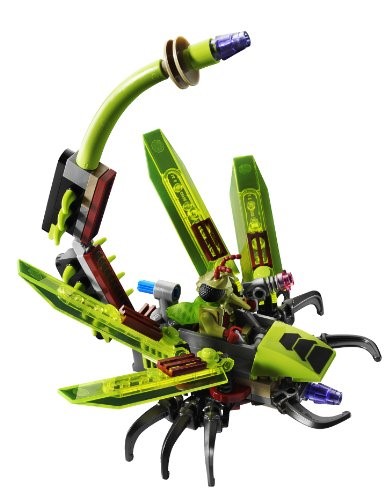
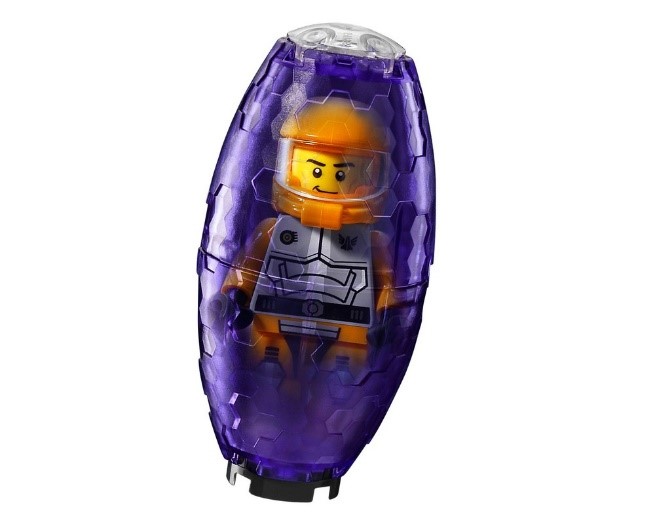
The build starts with the alien vehicle. Even though it is a relatively small build, the use of parts is creative and the trans-neon green, trans-purple, lime and dark red colours make for a very interesting and appealing colour combination. The trans-purple cocoon attaches to the back of the alien vehicle and is used to trap members of the human teams.
Figure 1: The Alien Vehicle
The human vehicle is made up of two parts, a land vehicle and a space
vehicle, which combines into one larger vehicle. It is a fun build that makes
use of a lot of interesting building techniques.
Figure 2: Combined Human Vehicle
Figure 3: Separation of the Land Vehicle from the Space Craft
Figure 4: Land Vehicle using the Missile Torrent
The Minifigures
The set comes with four minifigures. The first is Jack Fireblade. He comes with a nice torso print (front and back). I appreciated that all the human figures have an alternate face with what looks like an oxygen mask.
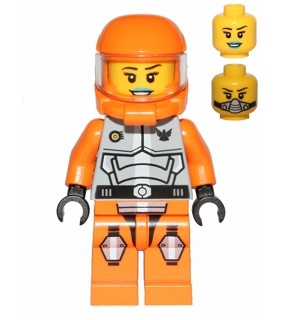
The second minifigure is Ashlee Starstrider. I am glad to see a female member of the Orange Team and she is exclusive to this set. I am however disappointed that she has the same torso and legs and that she did not get a unique print. Although I understand this was either a cost saving decision or it was decided that all space suits would look the same as in real life, irrespective of gender. She does have a nice blue lip print.
The third minifigure is a orange robot sidekick. The minifigure does not have a traditional face, but rather the helmet serves as the head. The head of the robot sidekick is different to each team, giving some variety to the look and feel of the sidekick.
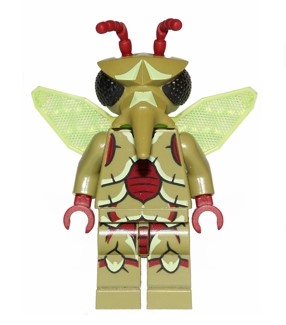
The fourth and last minifigure is the winged mosquitoid. The mosquitoid is dark red and olive green. The trans-bright green wing accessory creates the look and feel of real wings. The dark red antenna is separate to the head and requires fine motor skills to insert as it is extremely fine.
Conclusion
What stands out for me about this set (and other sets in this theme) is
the attention to detail and the interlocking design of the various elements and
vehicles to create larger vehicles. This is something I have not seen in any
other theme. Overall it is a fun and interesting build.
By Barry Kay (SAFOLs Brick Boss, CapeLUG EXCO, Batman … Ssshhhh!)
Once again LEGO® has brought
out a new range of wonderful Harry Potter sets, which allow children and adults
alike to build, recreate and relive treasured scenes from the Harry Potter
books and movies.
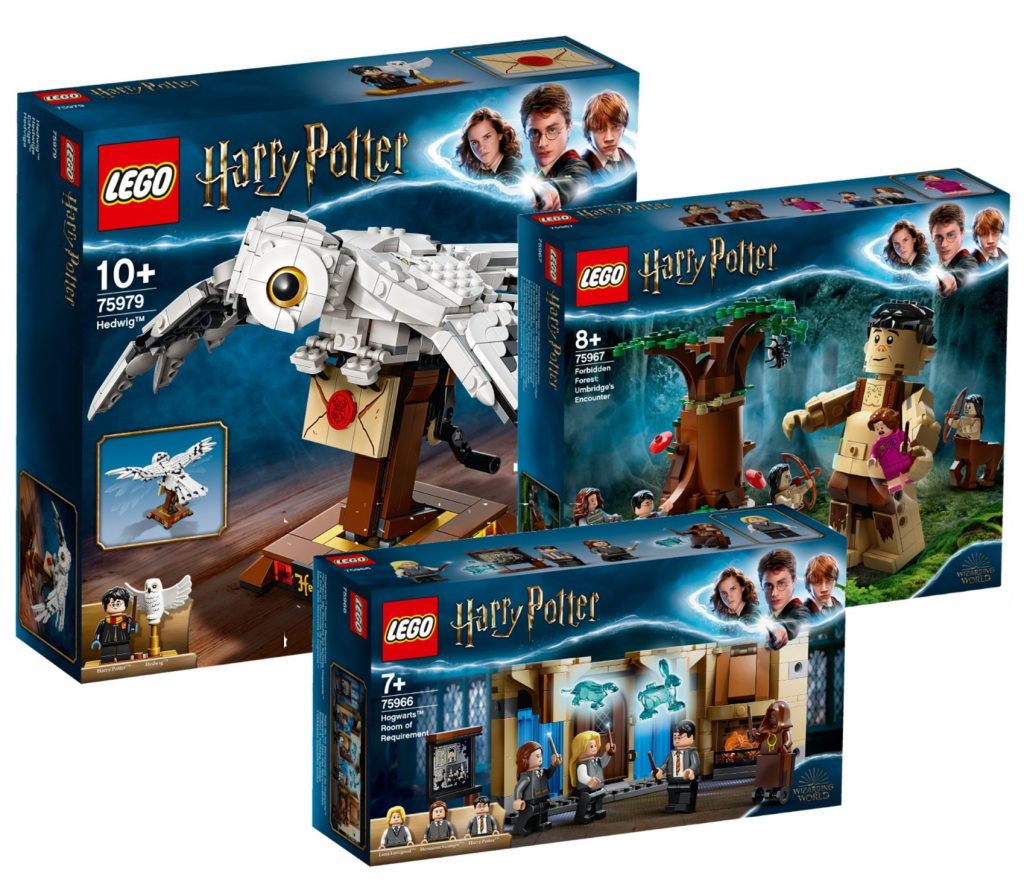
This review introduces three
of the smaller, but no less enjoyable sets, that have been released in the
second half of 2020.
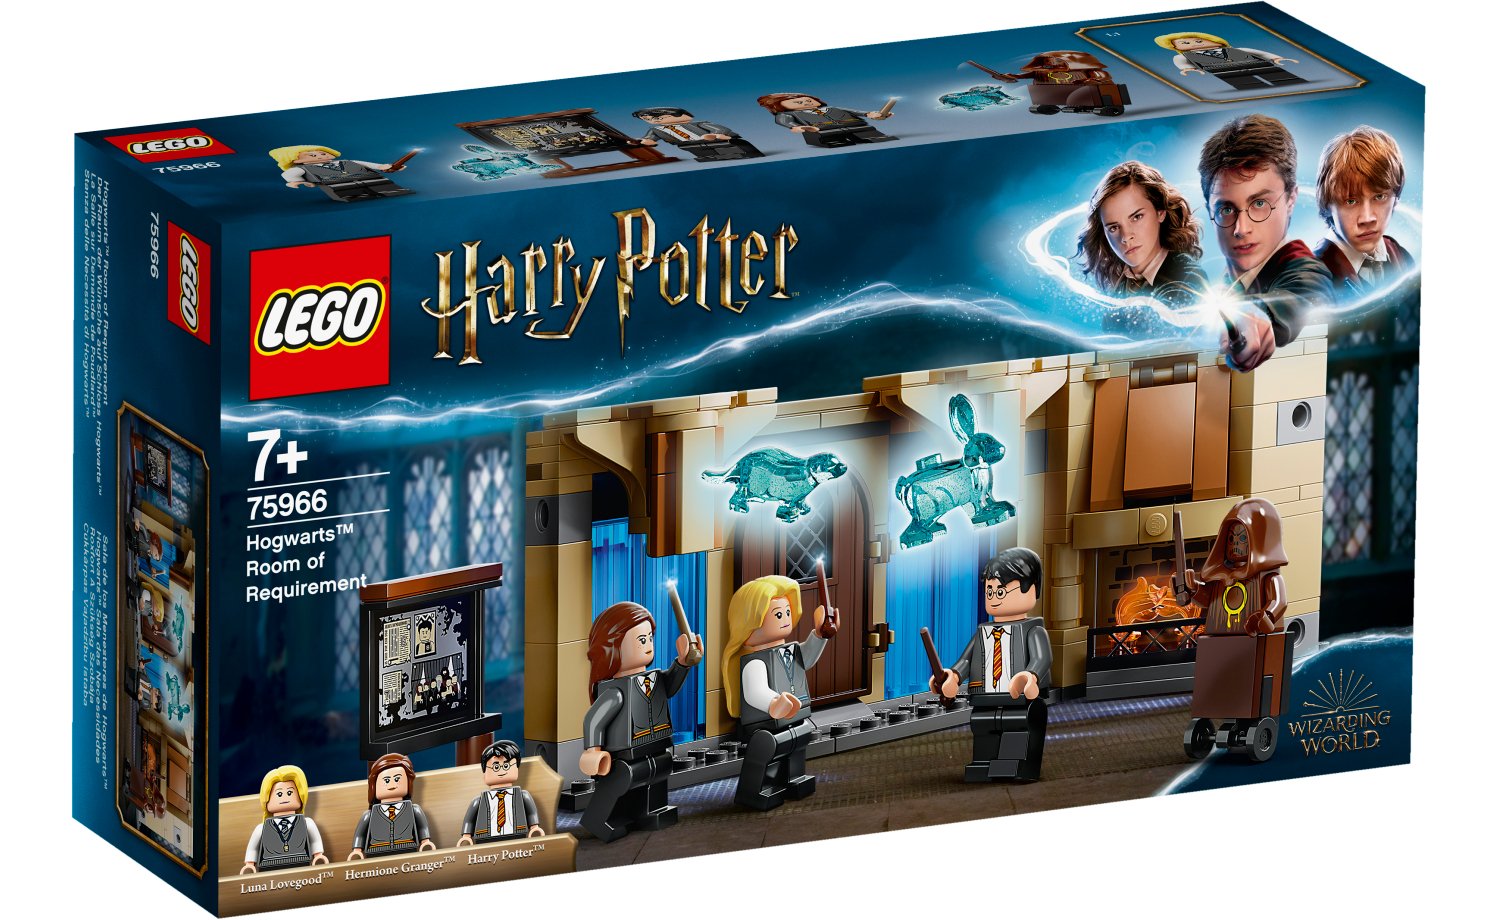
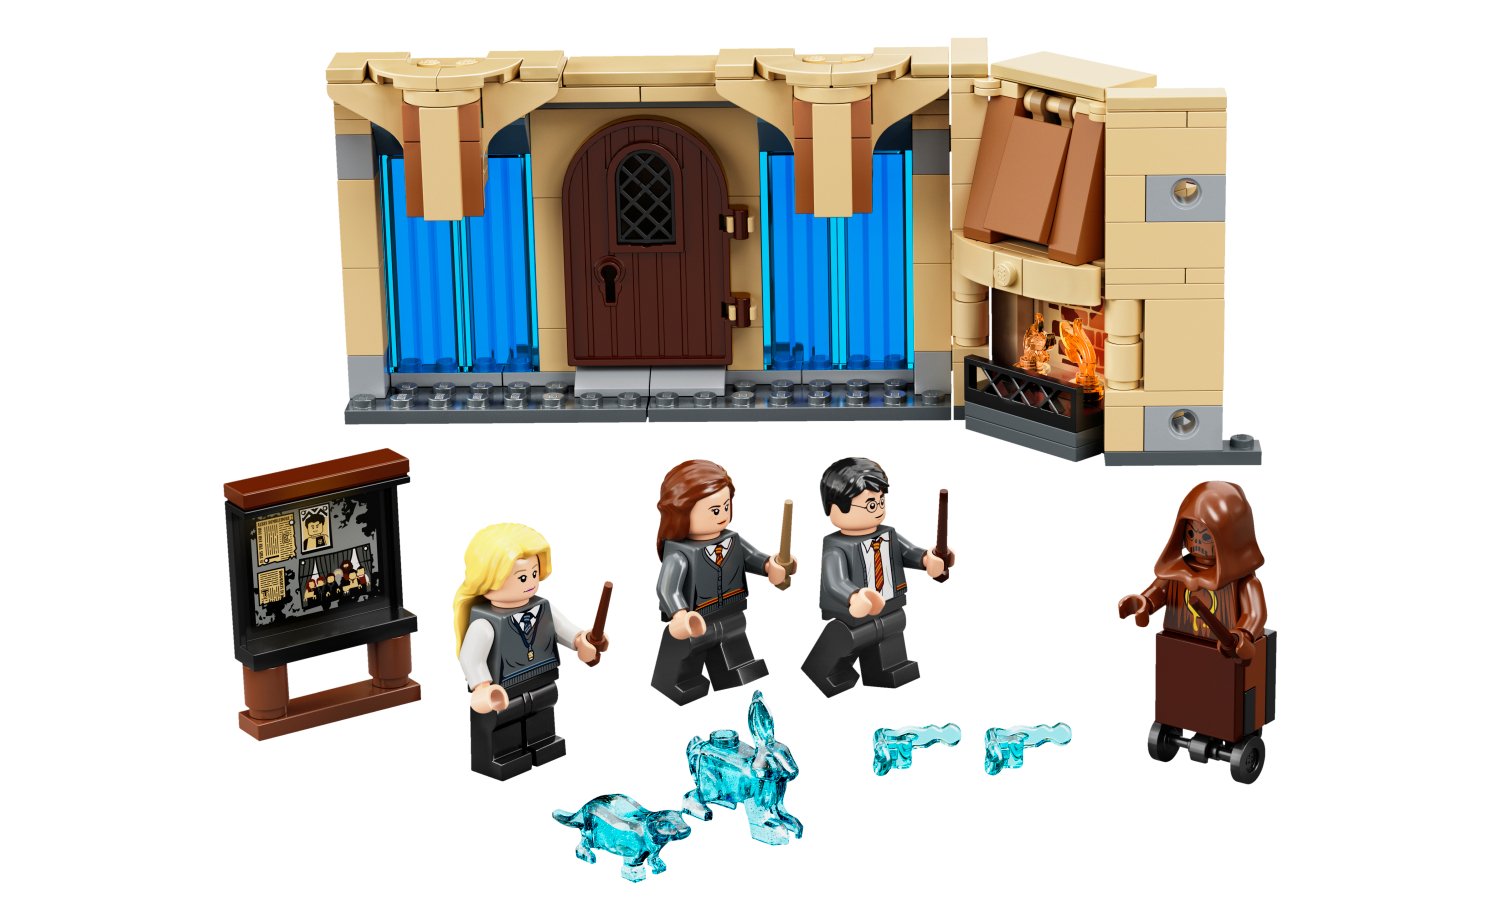
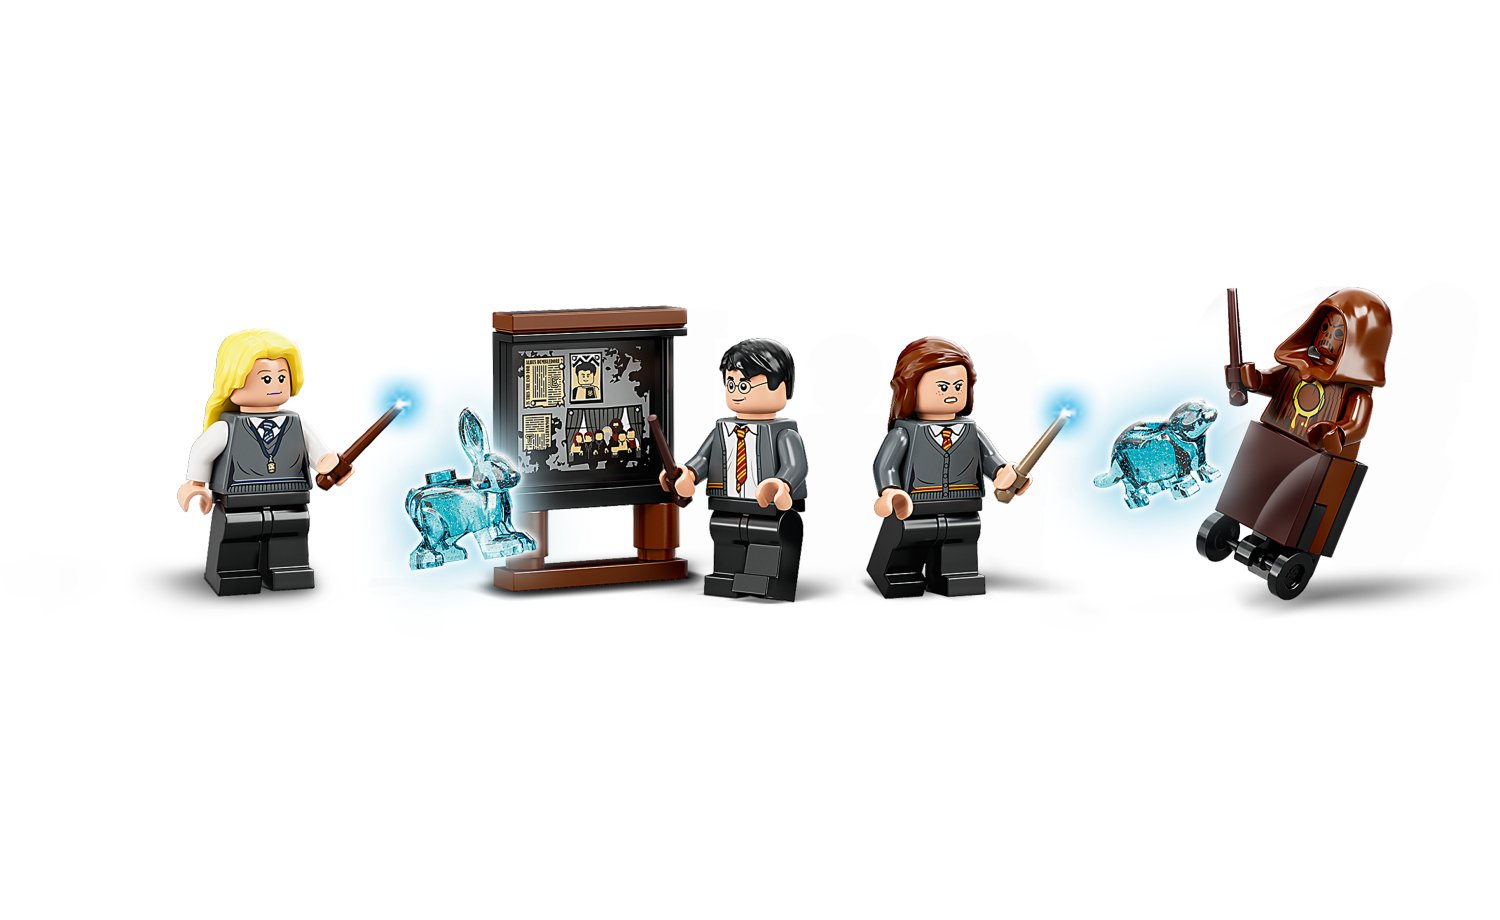
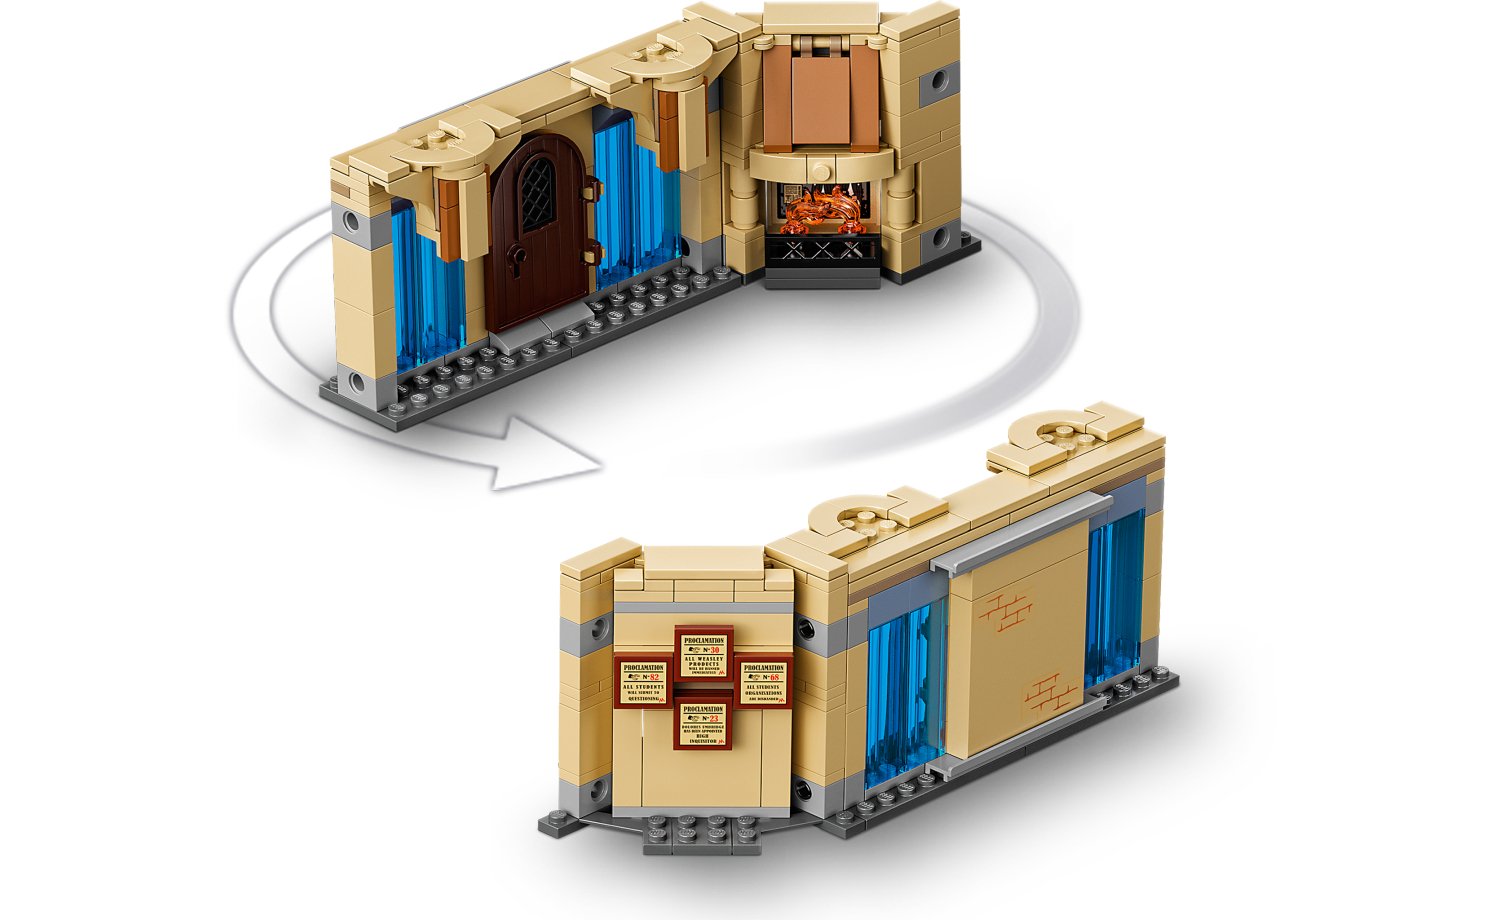
Hogwarts™ Room of Requirement (75966)
– 193 pcs / R349.99
Help Harry teach Hermione and
Luna the charm to conjure their Patronus, in order to defeat the dark
Dementors.
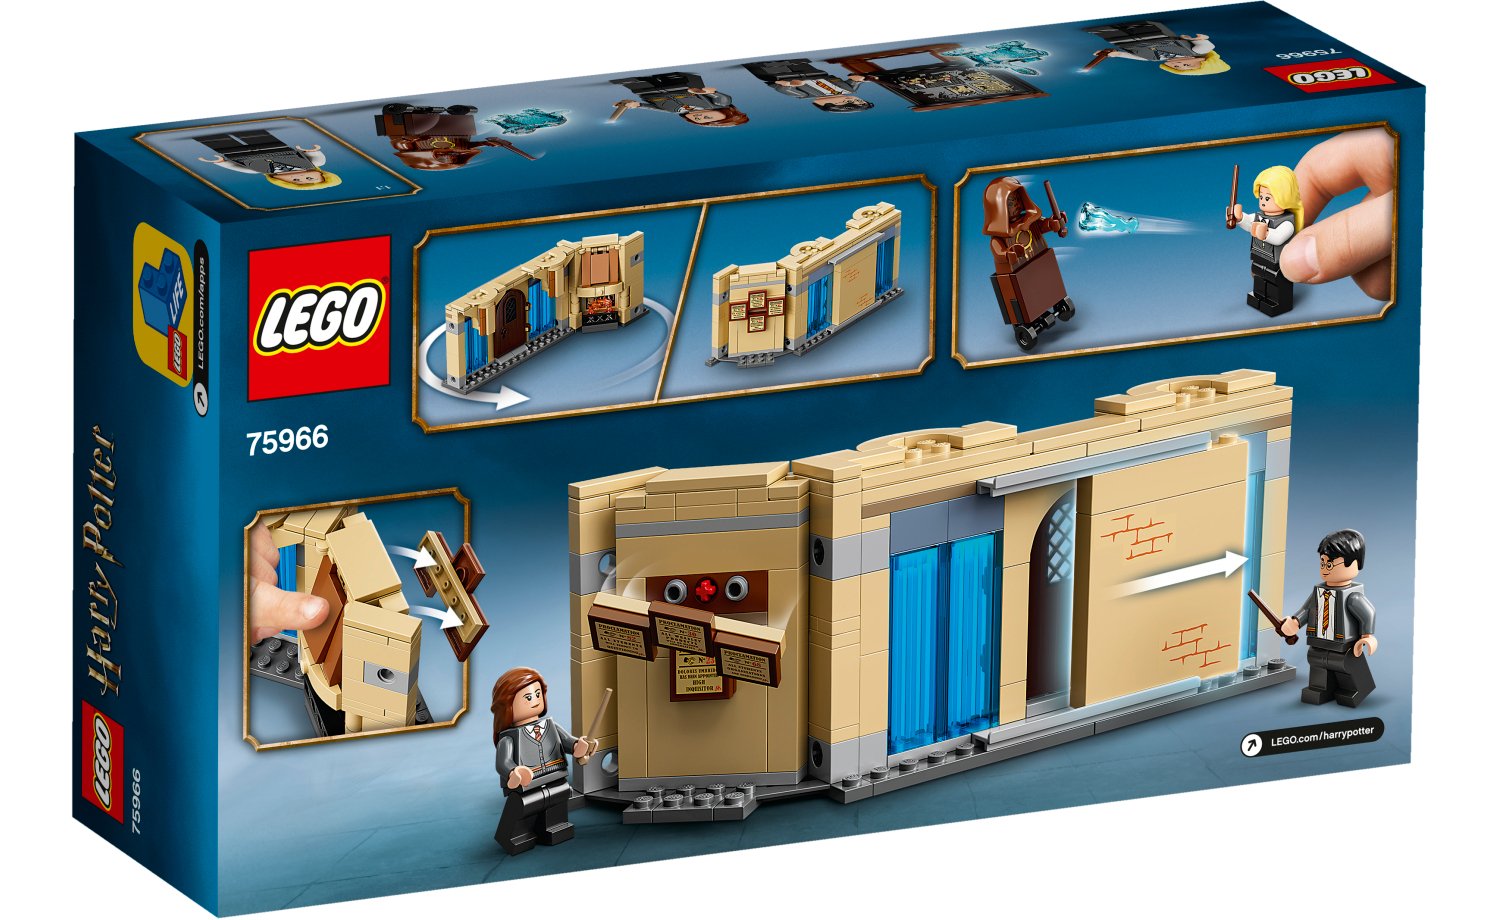
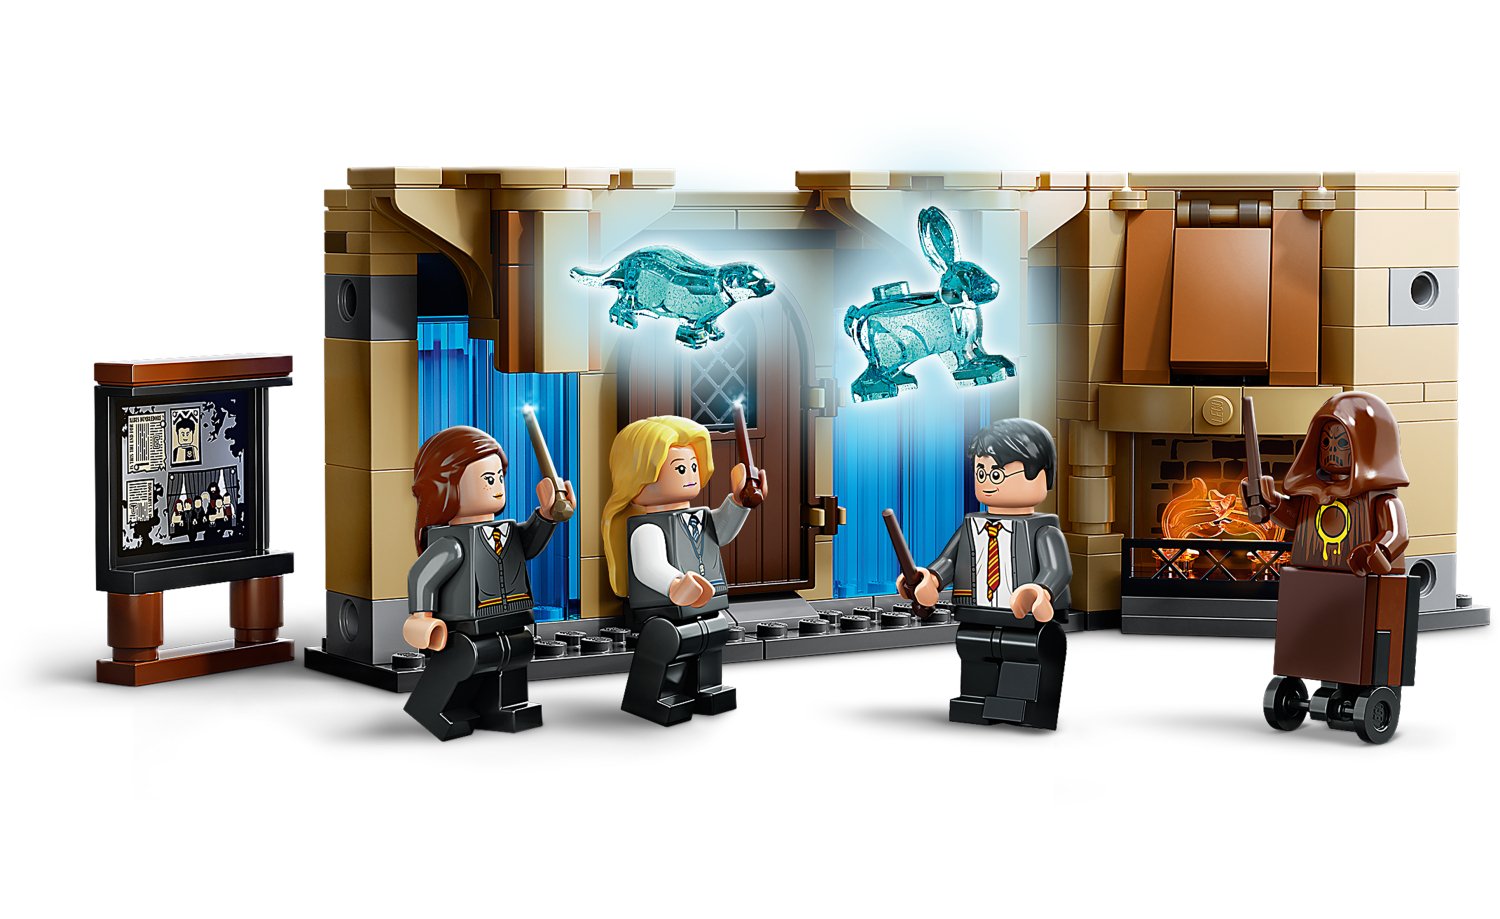
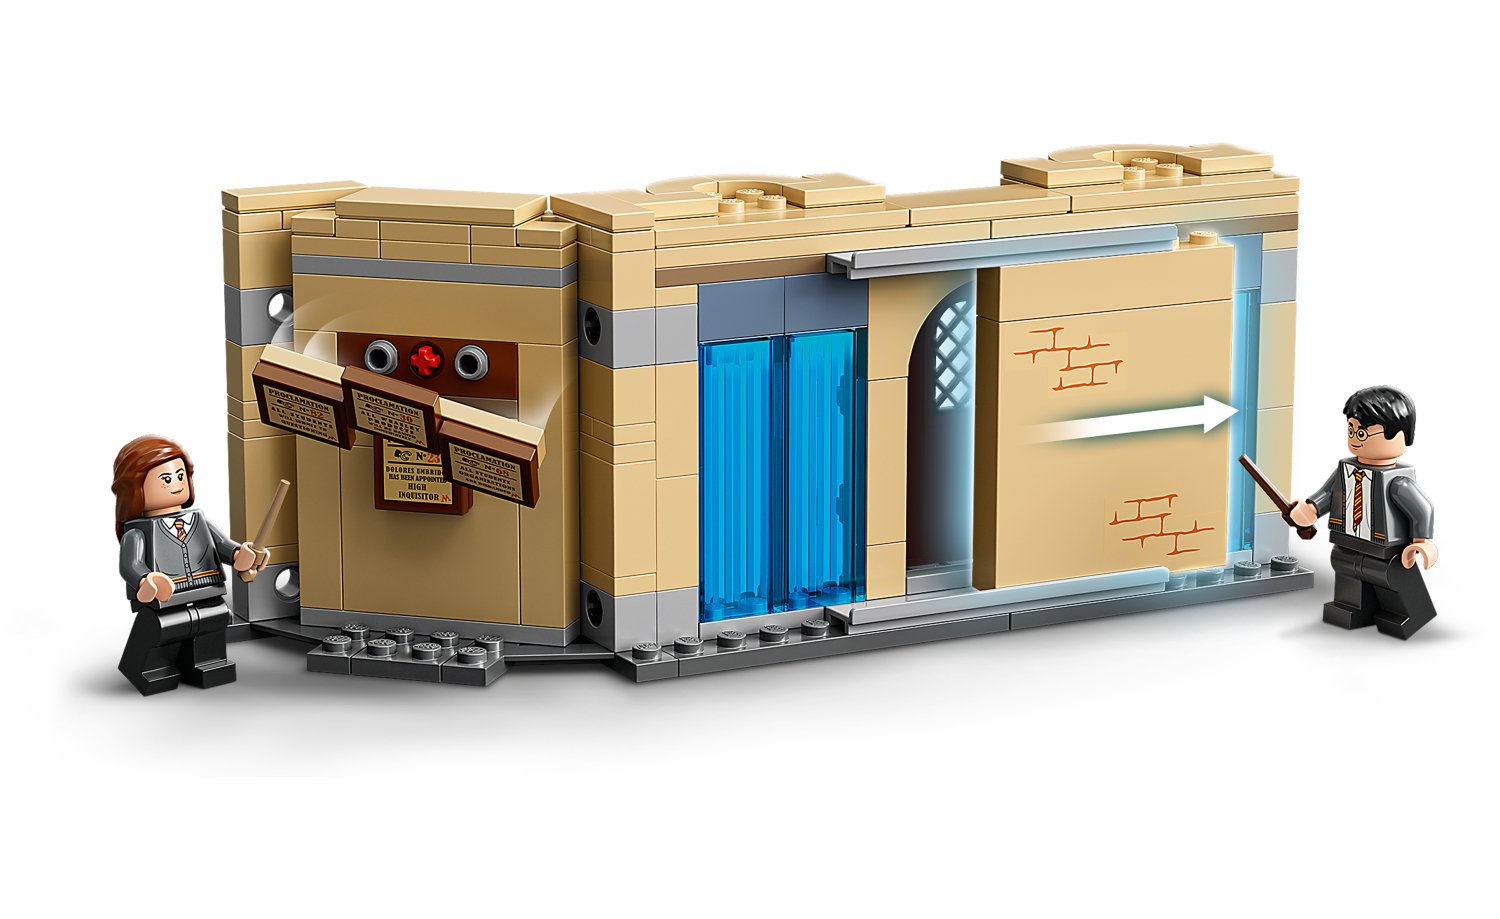
This set features the entrance
wall to the room with a sliding wall panel that reveals the door. Turn the wall
around and you are inside the room with a warm fire raging in the fireplace.
The minifigures included are Harry Potter, Hermione Granger, Luna Lovegood, all
with dual face prints to change the mood of each character. There is also a Dementor
practice dummy.
Some great new parts in this
set are the glittery Trans-light blue hare and otter with are the Patronus
forms for Luna and Heroine. You can add Harry’s stag to the mix that was bought
out previously in the Expecto Patronum set.
The set doesn’t have printed
tiles but does come with a sticker sheet. One sticker being the noticeboard
with a photo of the original members who formed the Order of the Phoenix and
another photo of “remember Diggory”.
The set is fun and easy to build with great play-ability. It is also built to be able to connect and integrate onto other sets to form part of the greater Hogwarts Castle.
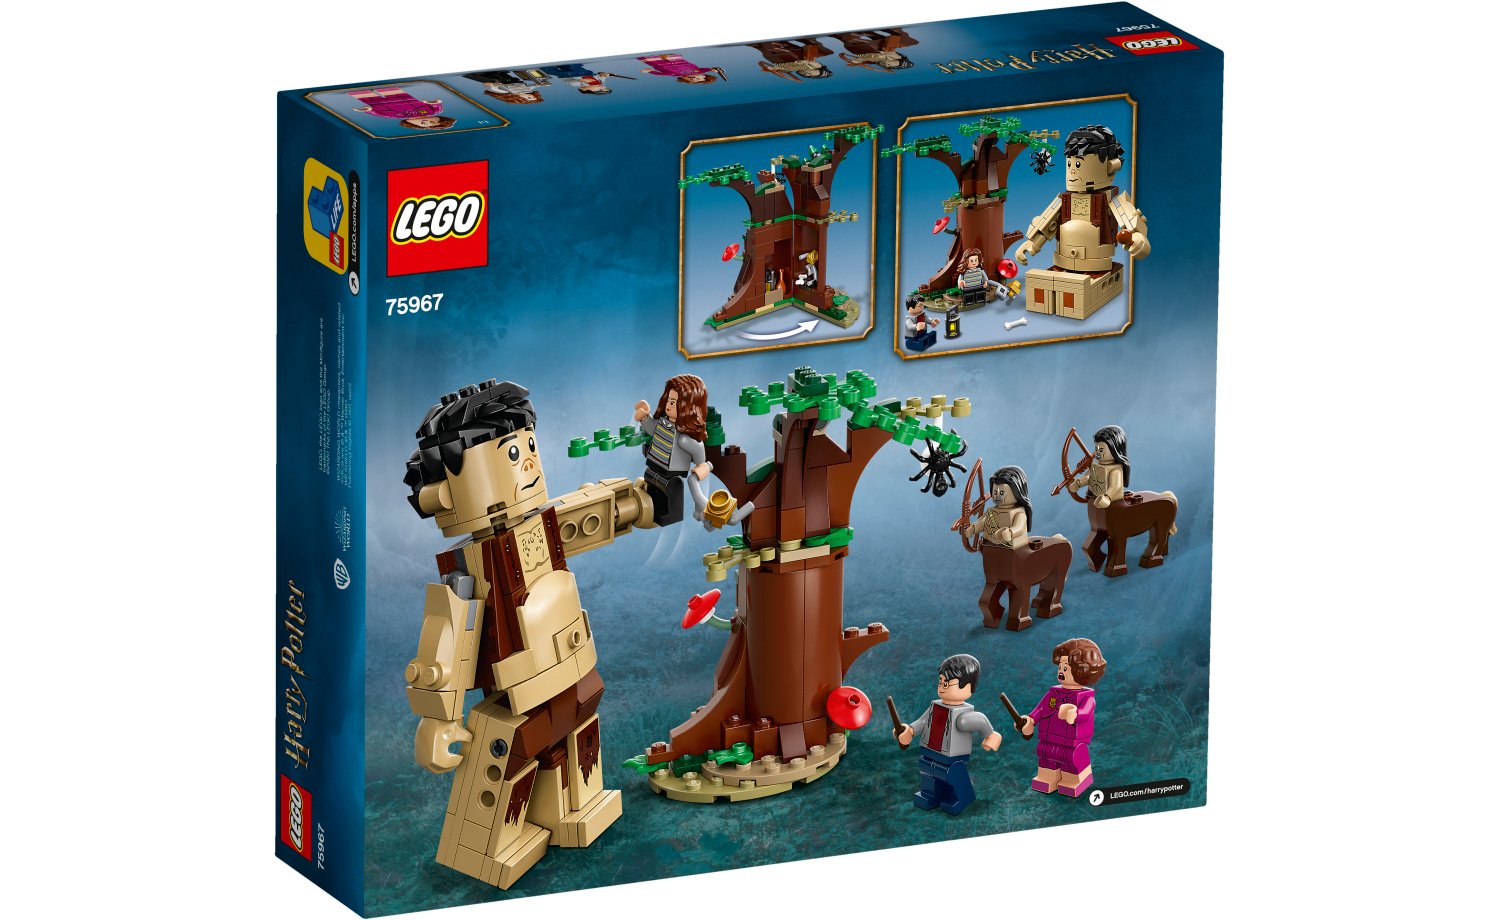
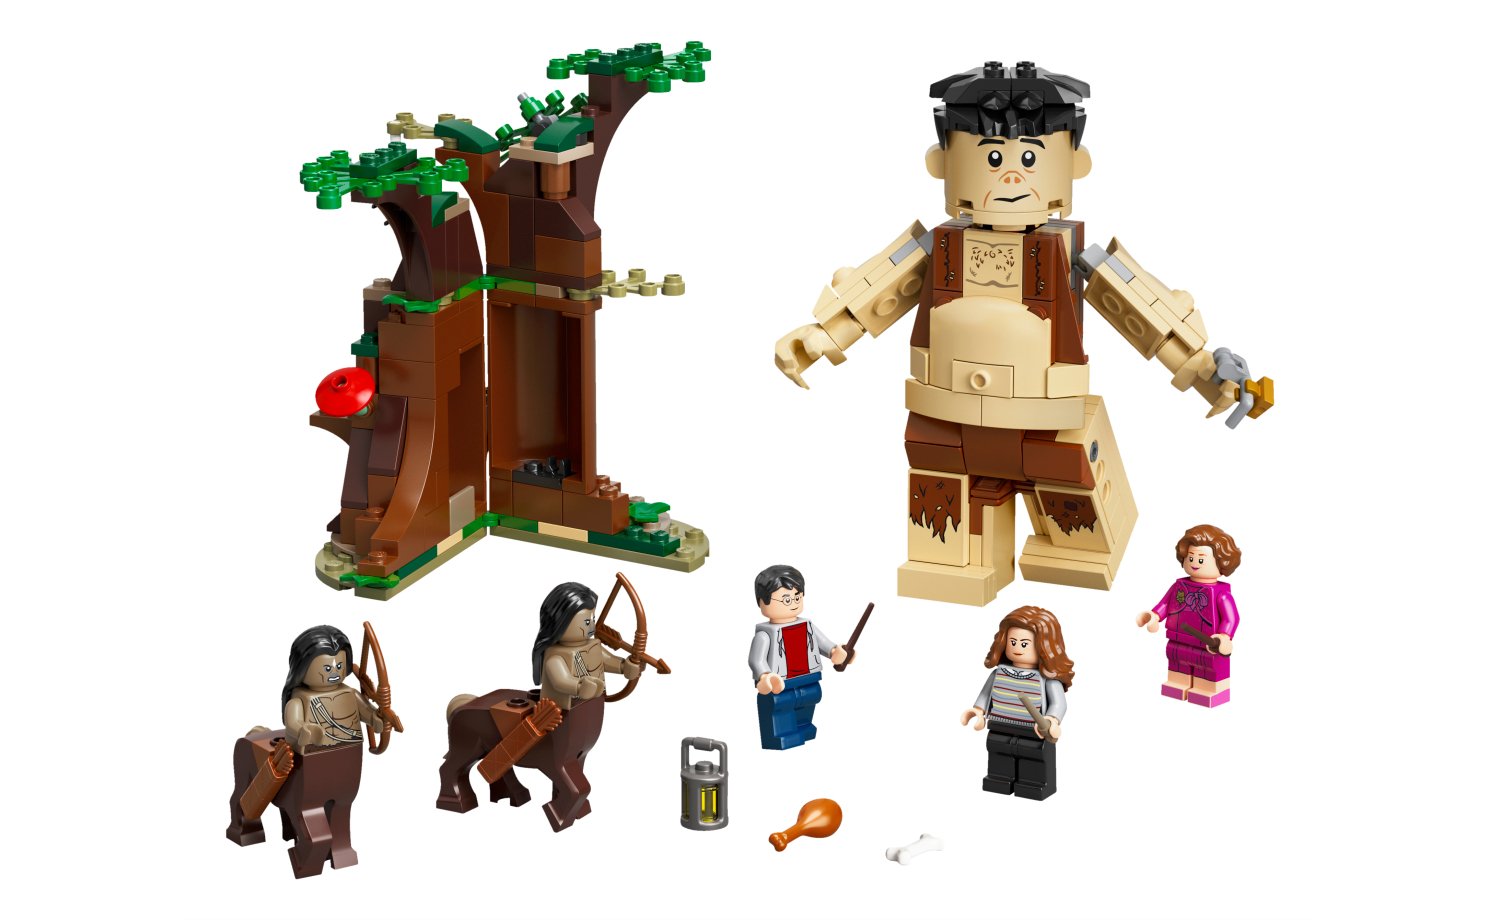
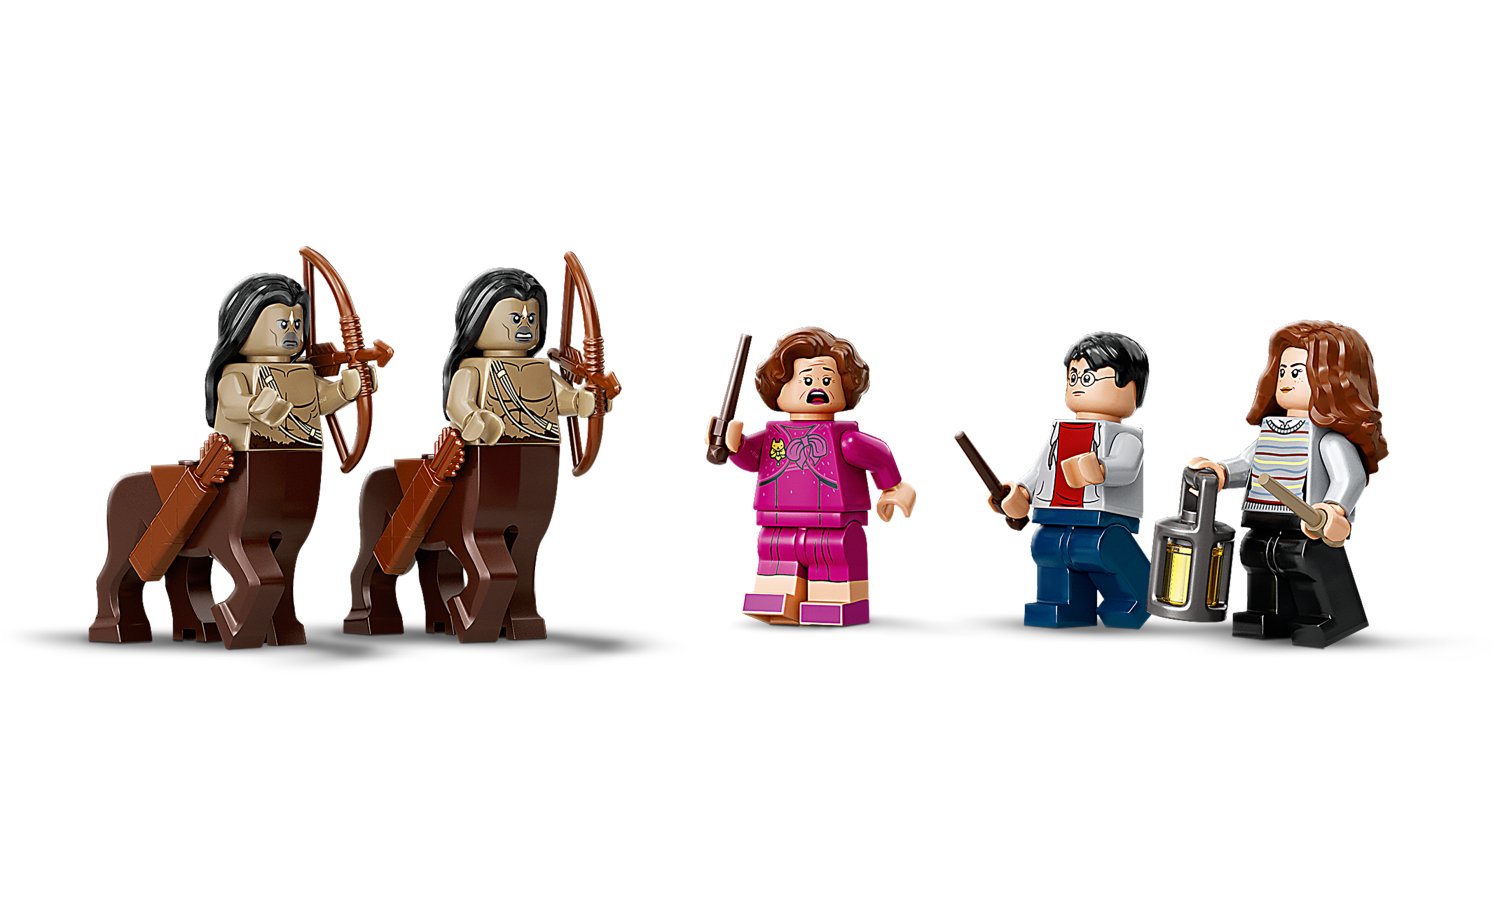
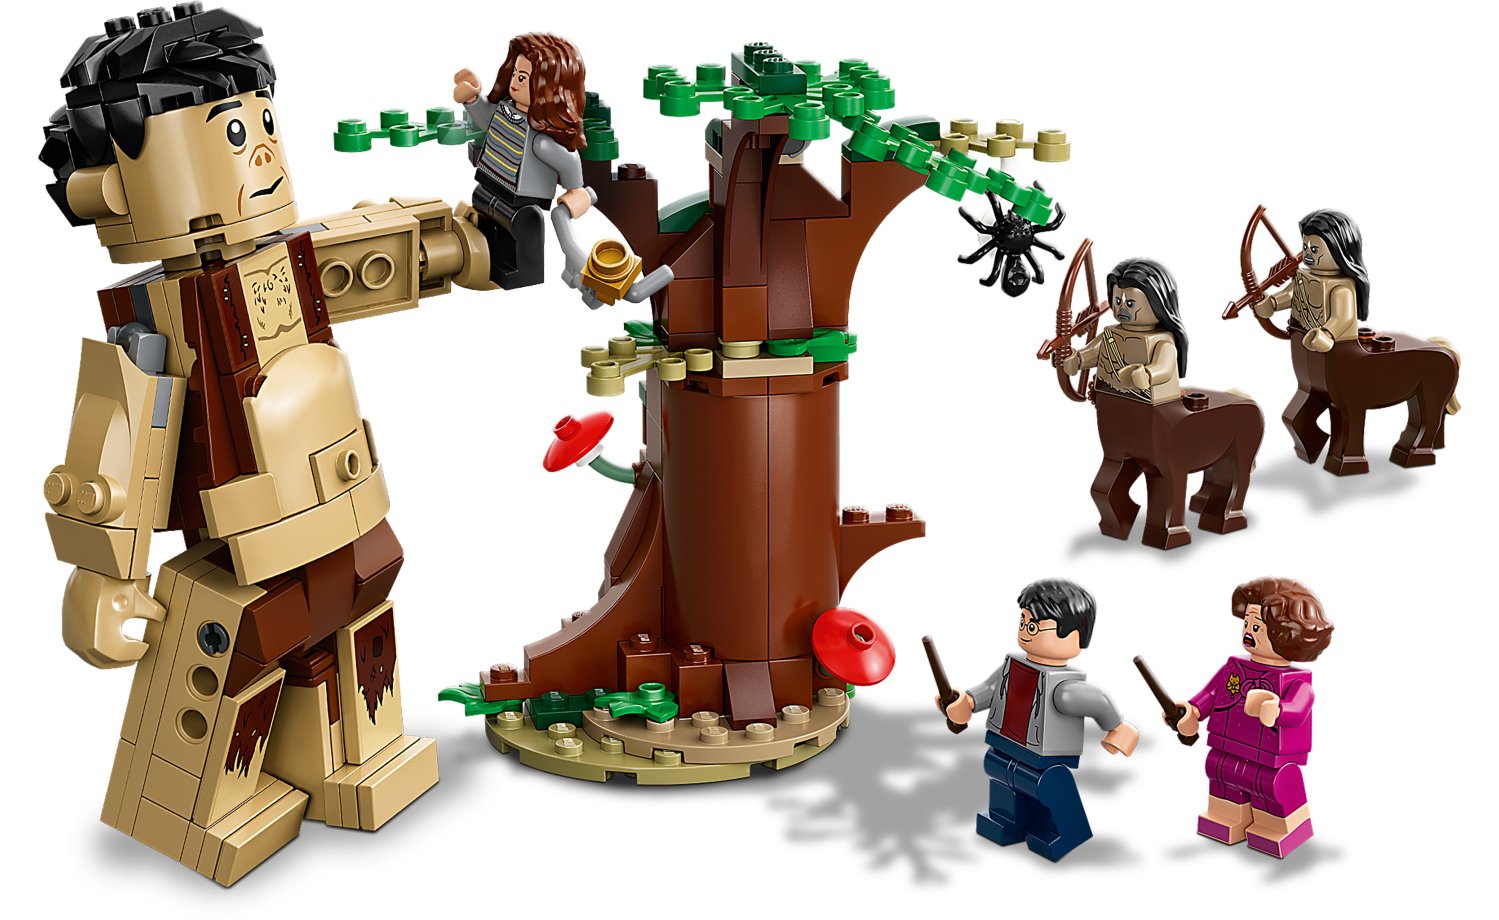
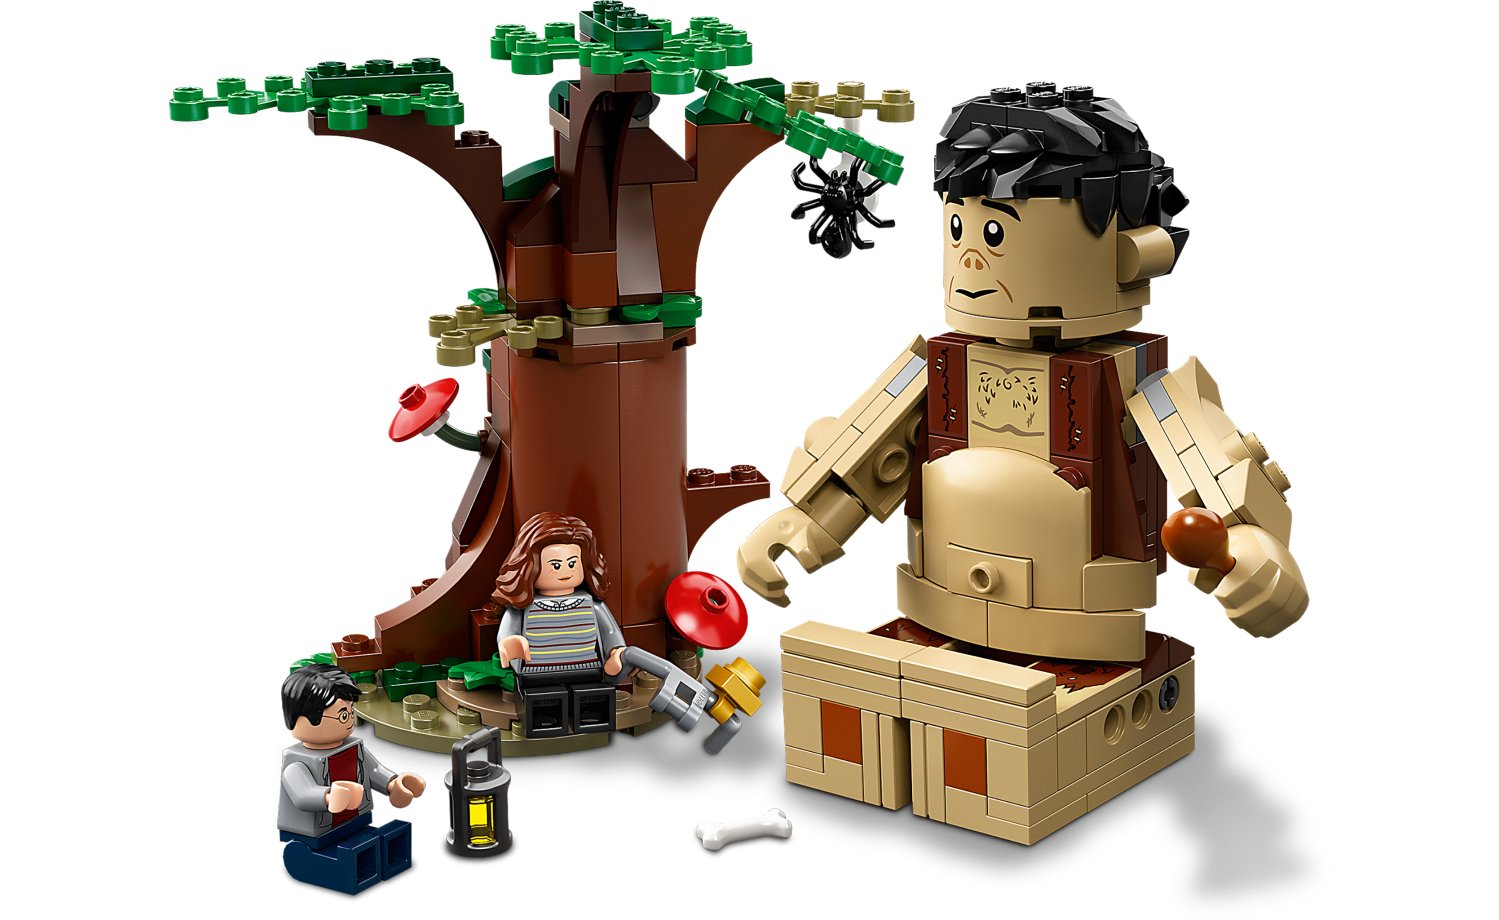
Have your revenge on Delores
Umbridge in yet another set featuring a scene in the Forbidden Forest. The
minifigures include Harry, Hermione and Professor Umbridge (dressed in her out
of place shocking pink dress suit). All three have dual printed faces. We also
see the introduction of two Centaurs. Both with exactly the same face and torso
prints with bow and arrow. The new horse body torso is a great addition not
only for this set, but for any fantasy MOC builder who would like to create
their own Centaur variations.
We have built “BigFigs” in
other LEGO® sets before and we get to do it again. Hagrid’s giant half-brother
Grawp is a nice little build. Designed to function the same as a standard
minifigure, the only difference is that his arms can move forward, backward, up
and down. A particularly nice touch is the use of a 1×2 jumper plate as his
belly button.
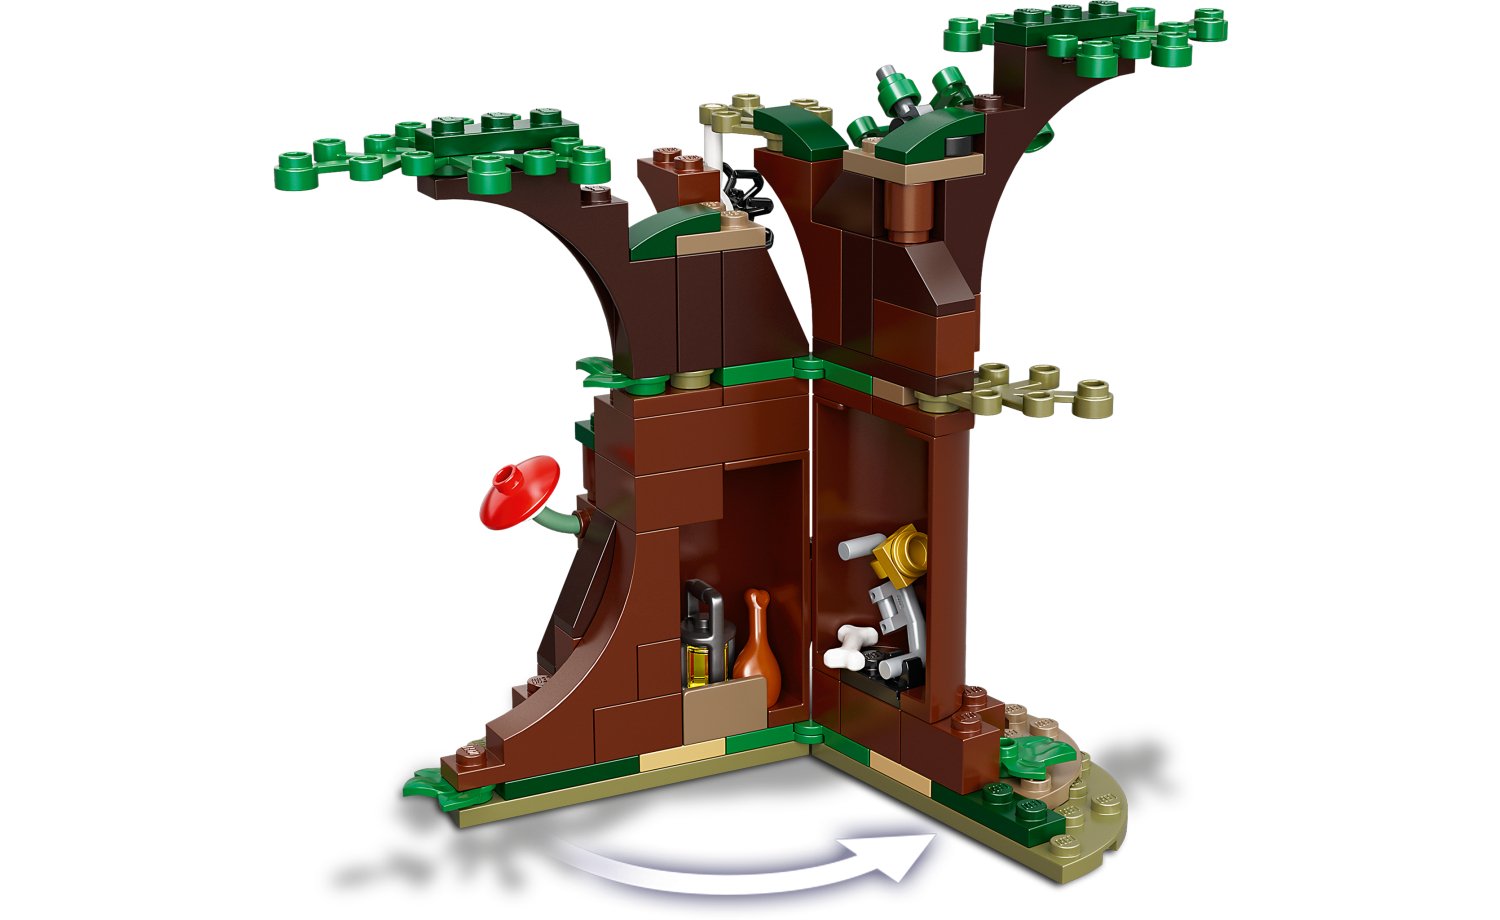
We get to build another sturdy
tree similar to the one we built in Aragog’s lair, but this one is bigger and
not only half the tree. The tree opens up to reveal Grawp’s hidden stash of items
he has collected.
The set has lots of playability with the changing faces of the minifigures and the fact that you can use Grawp to catch, bash and throw the awful Umbridge.
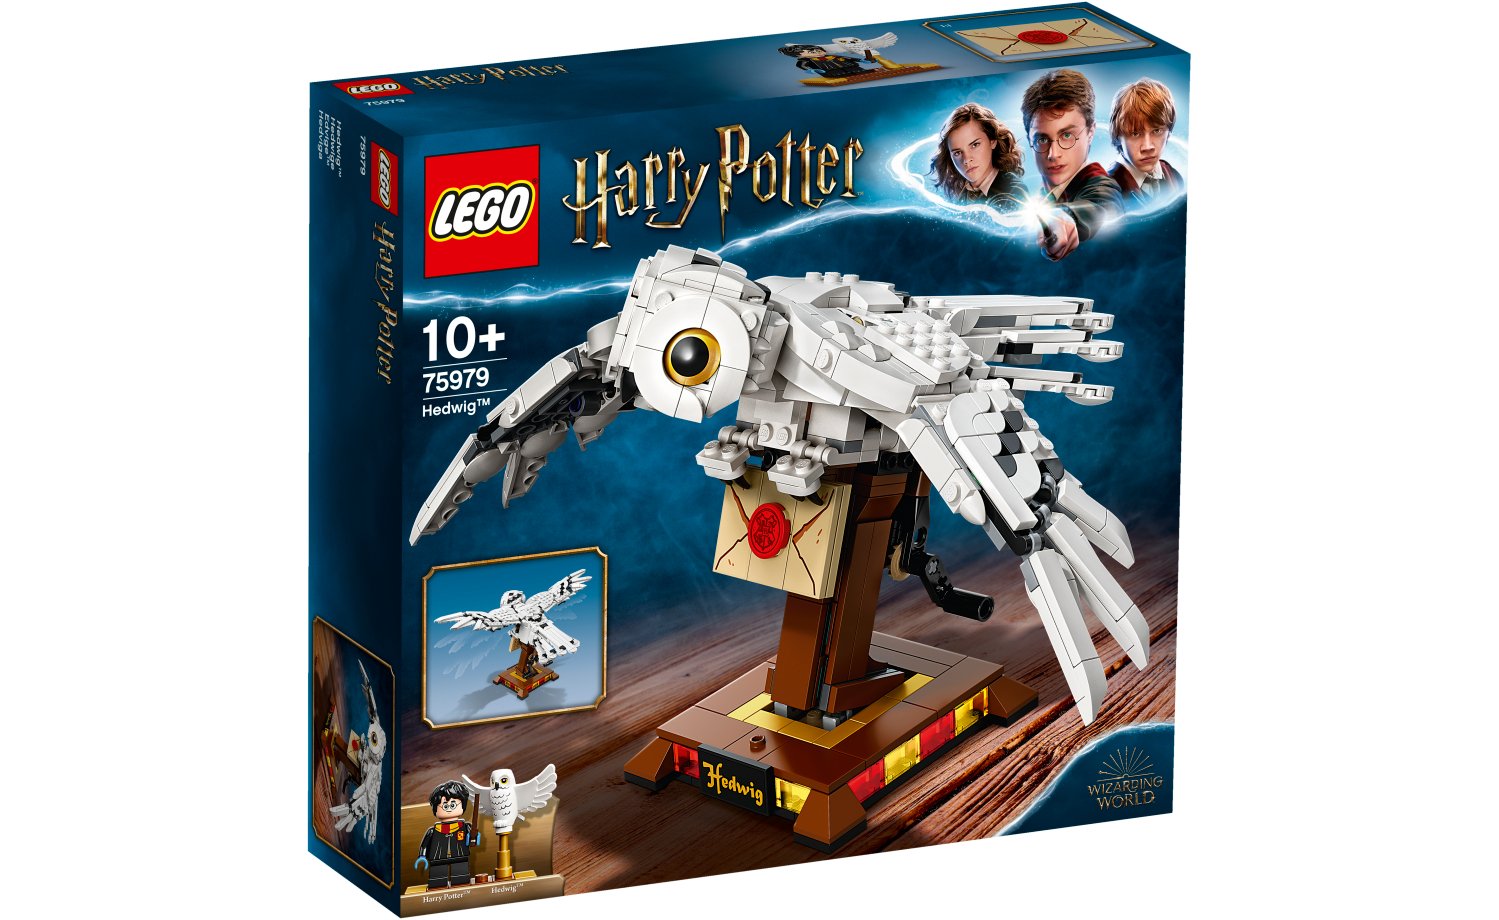
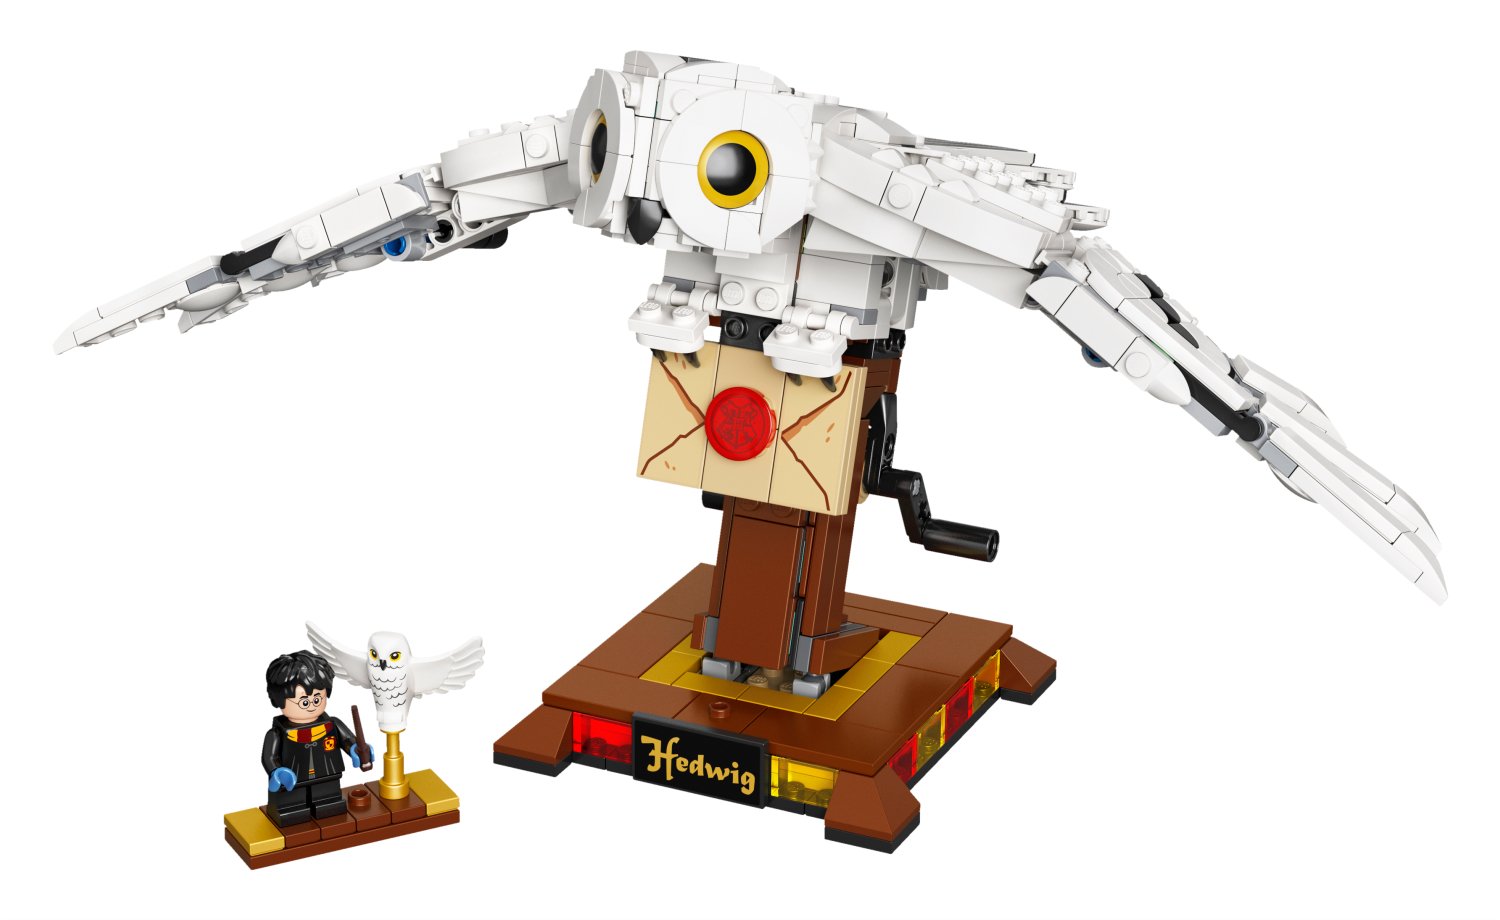
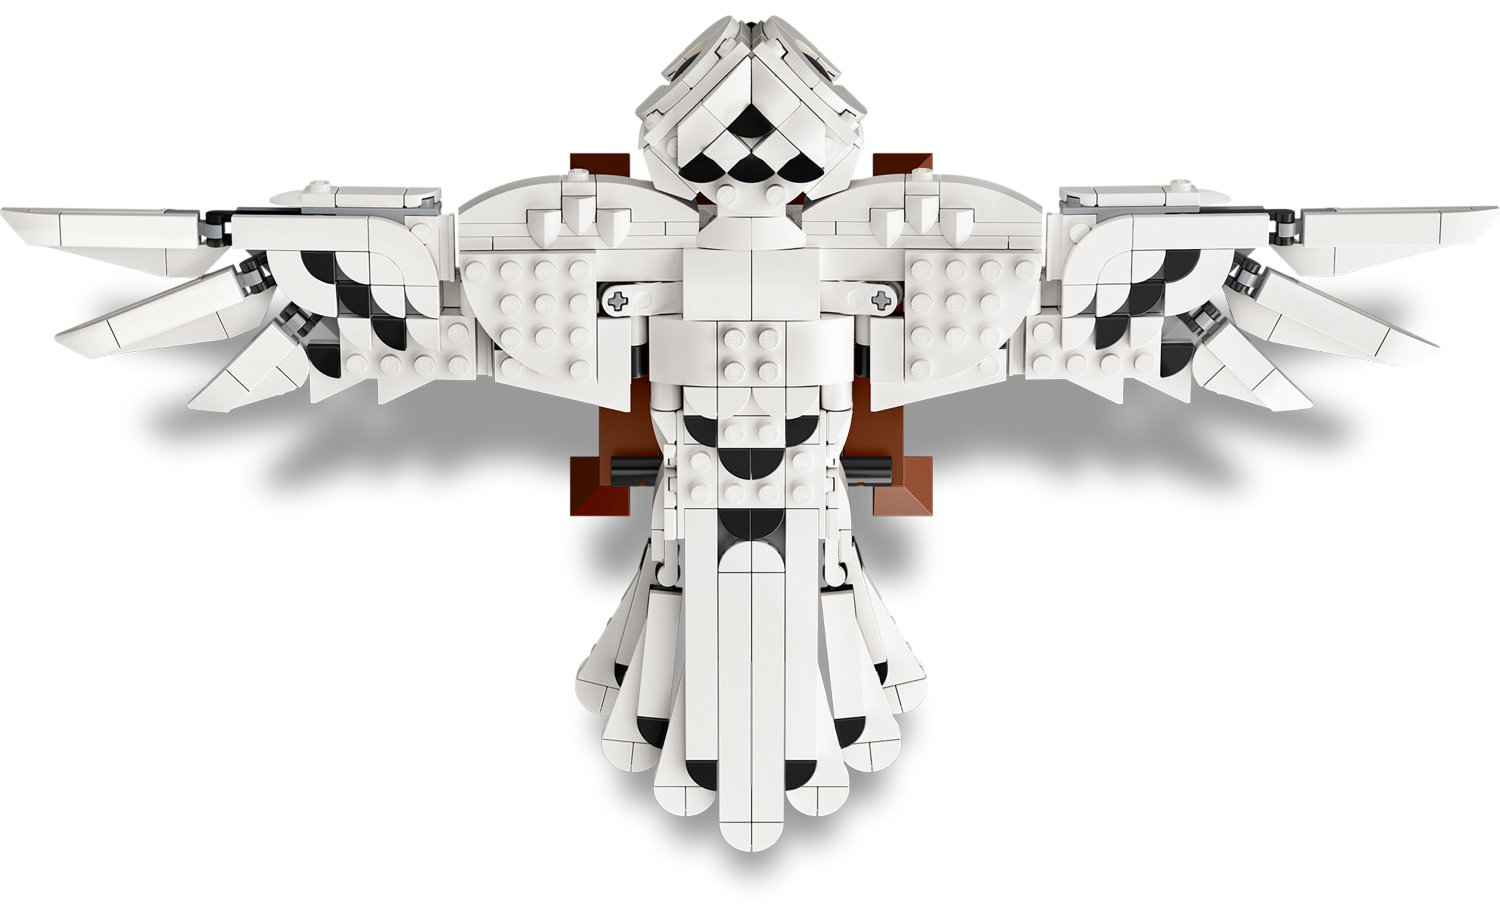
Hedwig™ (75979) – 630 pcs / R699.99
LEGO® has given us a different
Harry Potter set compared to all the other scene recreations sets. We get to
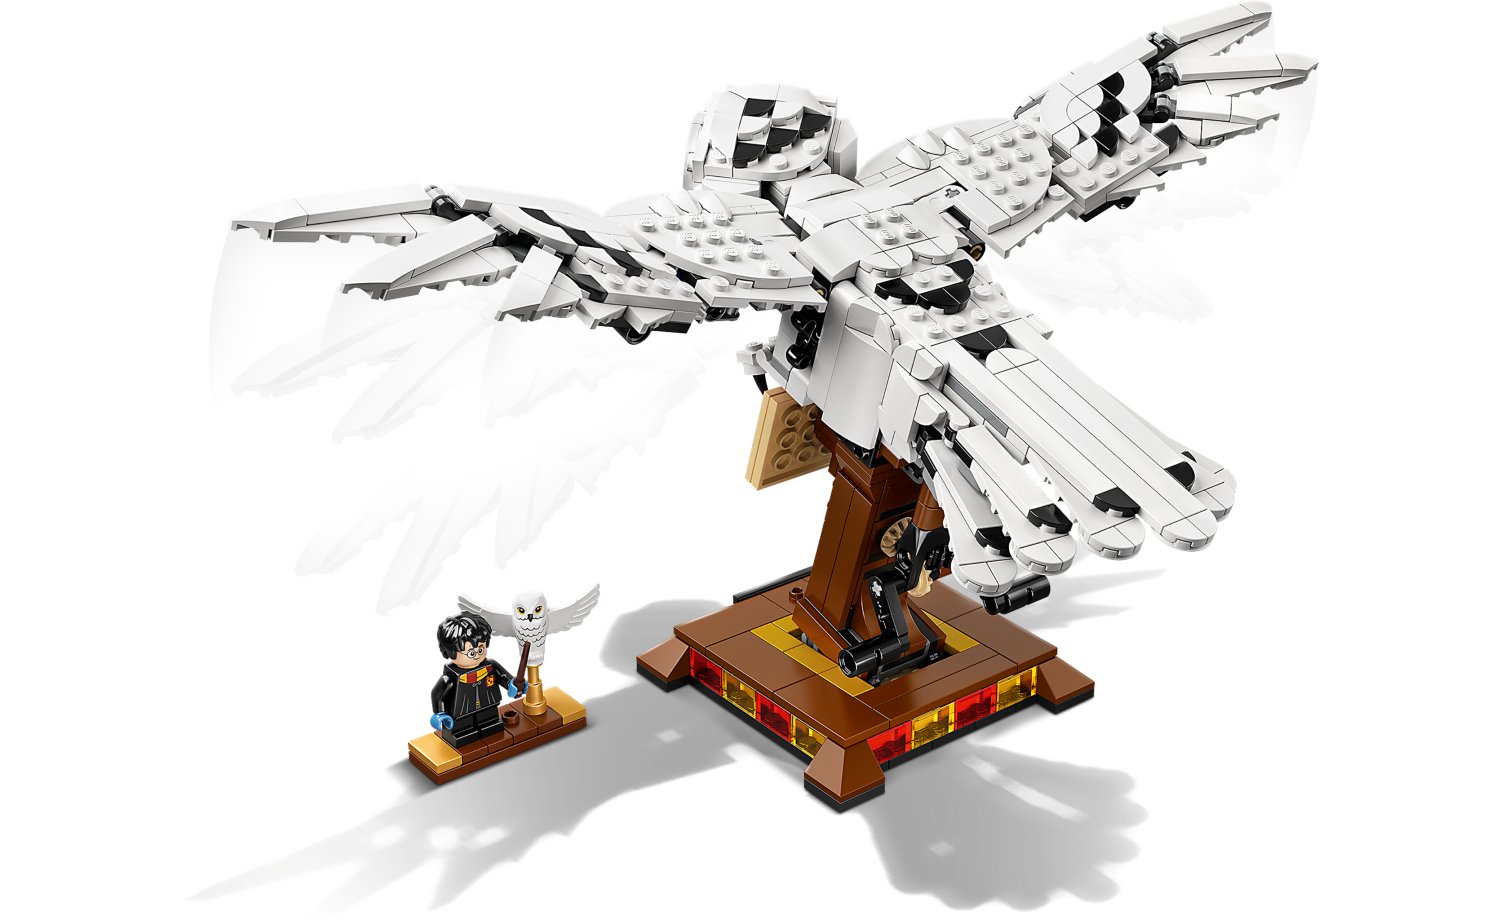
build a sculpture of Harry’s beloved Snowy Owl, Hedwig. Not only is this a wonderful
display piece, it is also a kinetic model with wings that gracefully flap up
and down by turning a crank at the bottom of the perch.
We start with building the
stand and perch which is quite a sturdy design, considering it needs to hold
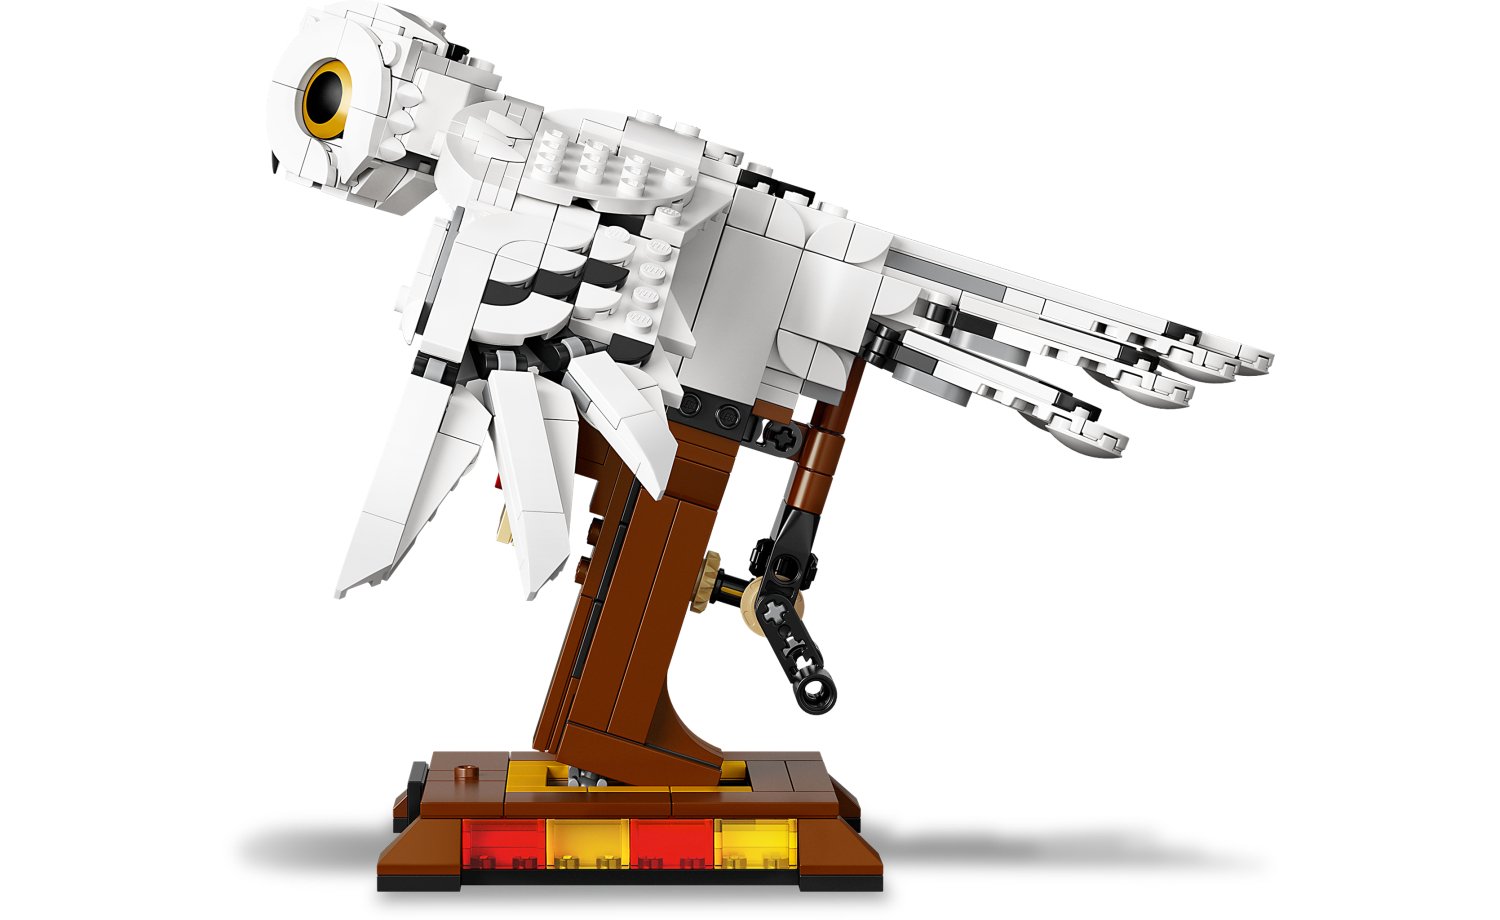
the owl in place while the wings are flapping up and down. The perch is cleverly
angled to give the model the look that Hedwig is taking flight.
The mechanisms inside have
also been very well thought out in order to reproduce the fluid motion of a bird’s
wings. You need to turn the crank slowly for better fluidity. Turning it too fast
causes the wing to flop down fast due to the weight, so if you are going to use
power functions to automate the movement, make sure you run it slowly or you
could cause the mechanics to dislodge if you go too fast. It is very interesting
to see how it all fits together and watch the motion while still a skeletal construction.
The wings are well detailed,
and the separate parts are manoeuvrable to make the sculpture look like it is
in motion when being displayed as a static piece.
The head fits onto the body
with a Technic connector pin allowing you to turn it and give the owl a tiled
head look, which is rather quite cute.
Hedwig carries a letter with
the red Hogwarts seal. The letter folds and seal are stickers that come on a
sheet along with a Hedwig name sticker for a tile that fits on the base.
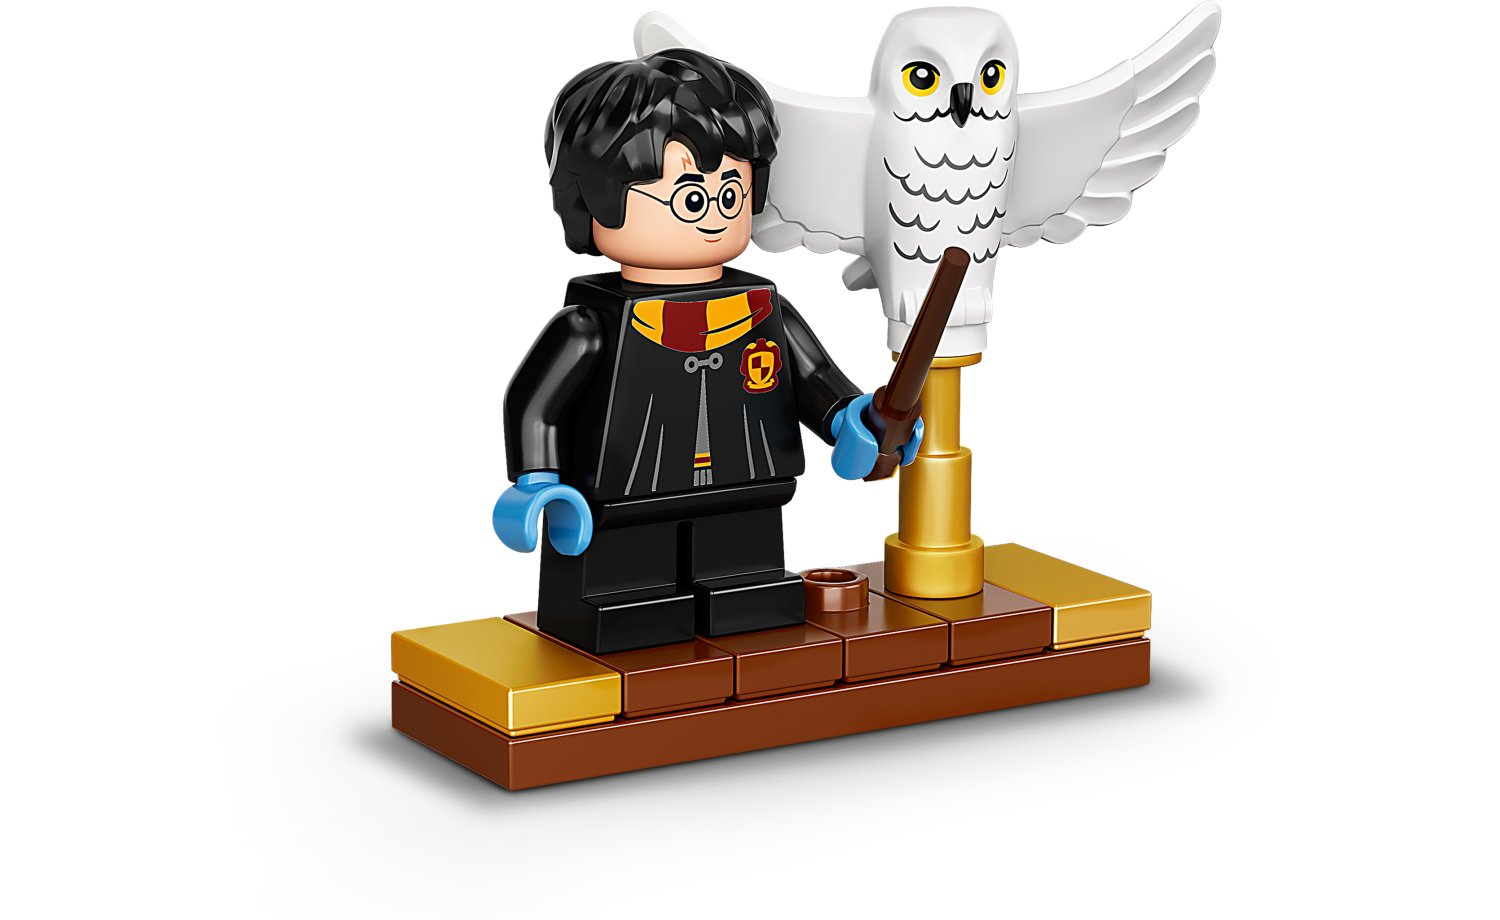
The set comes with one Minifigure of a young Harry Potter in uniform with a Gryffindor scarf that “wraps” around him with printing in the front and back of the torso. As with the other new sets, Harry has dual face printing for happy and scared. There is also a new mini Hedwig Owl with wings outstretched. They can both be placed on a small stand with Hedwig on a pearl gold telescope as a perch. This stand can be placed either next to the sculpture or clipped onto the 2×2 jumper plate just behind the Hedwig name sign on the base. This is more of a display set than a playable one, apart from the mobility, but all in all, it is an amazing set and highly recommended.
Reviewed by Johan Kruger (SAFOLs Member, jhbLUG Member)
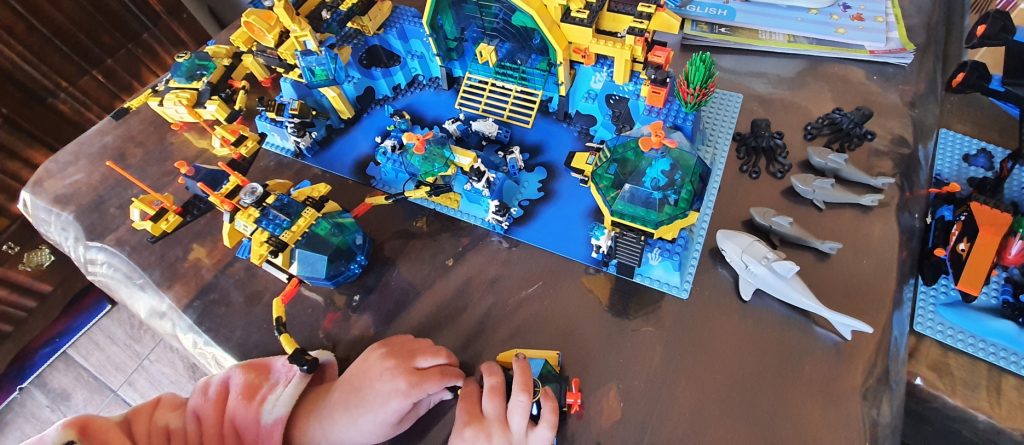
I fondly remember the year 1993 and 1995, because in my opinion, the two greatest LEGO® series came out and this is of course “Ice planet 2002” and the “Aquanauts Series”. Maybe it was the great colour pallet that was used, but they captured my imagination or sense of exploration.
This review will focus on the Aquazone series.
Firstly, there was a great TV advert, so for those who missed it here it is:
https://www.youtube.com/watch?v=HwprCD3lp1g
The first, and best wave of the Aquazone
theme had two faction competing in deep sea mining operations of so-called
Hydrolator Crystals. The Aquanauts were the good guys with yellow/black scheme,
transparent parts in dark blue. The bad guys were called the Aquasharks with
black/blue color scheme with transparent neon orange pieces with shark teeth
and eyes prints on them, this most likely the best part of the series.
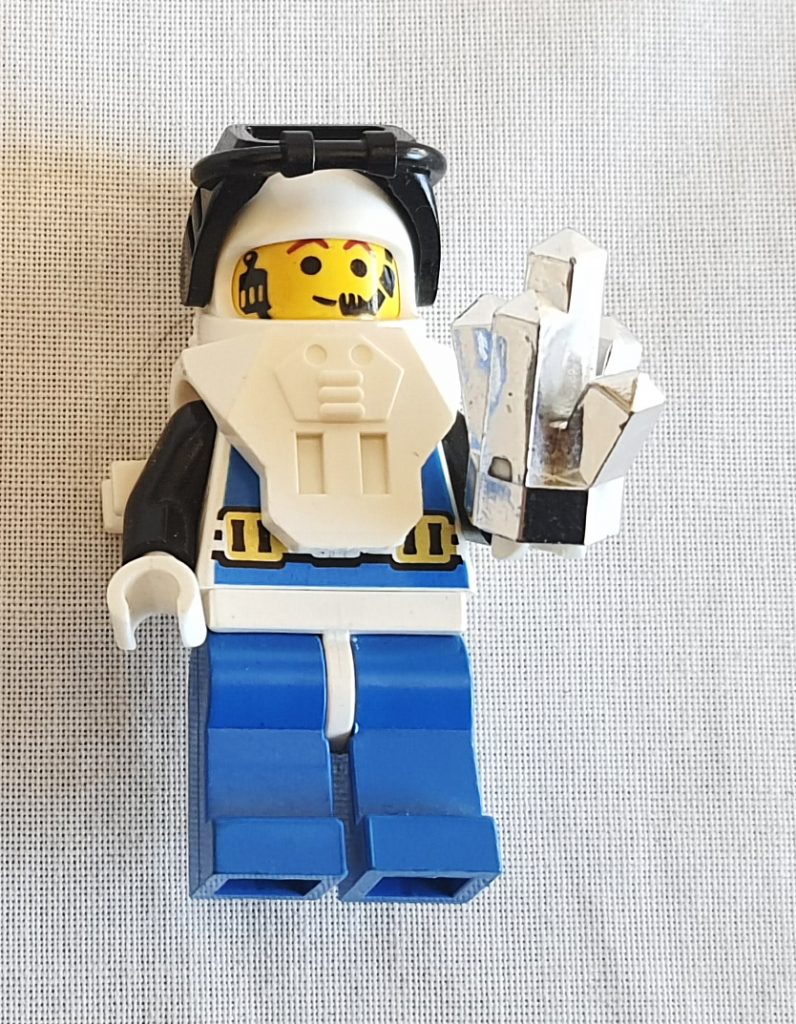
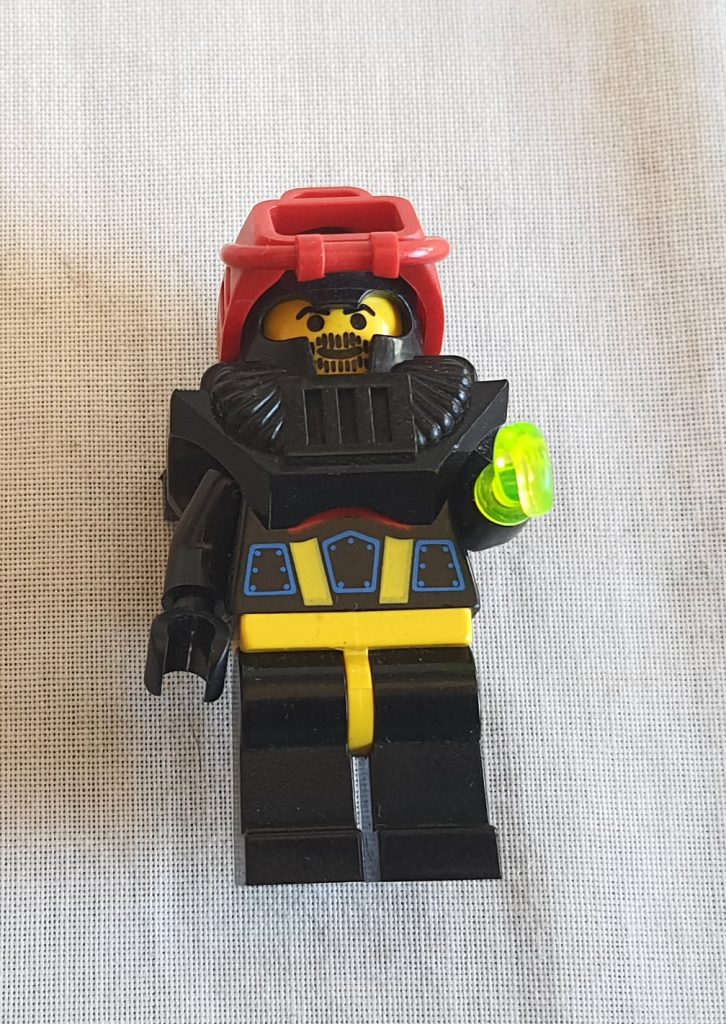
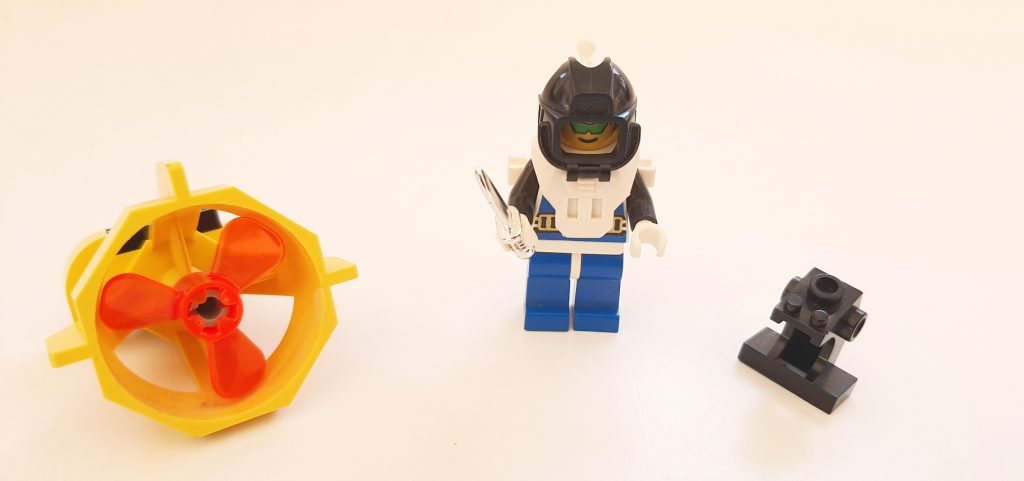
Minifigures
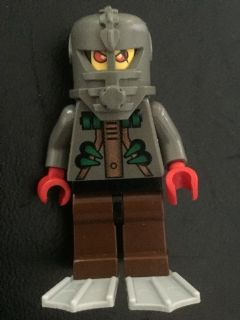
As far as minifigure design goes there were only 3 good guy variants and 2 bad guys. They did not have the best torso or face printing but could be equipped with scuba gear featuring two different face shield colors for the Aquanauts and red and black for the Aquasharks. They have great small details and a clip for the chromed knives or spears. The only one minifig with a name was the chief of the bad guys, Thresher with his hooked trans green arm. They also had diving fins in either blue or black
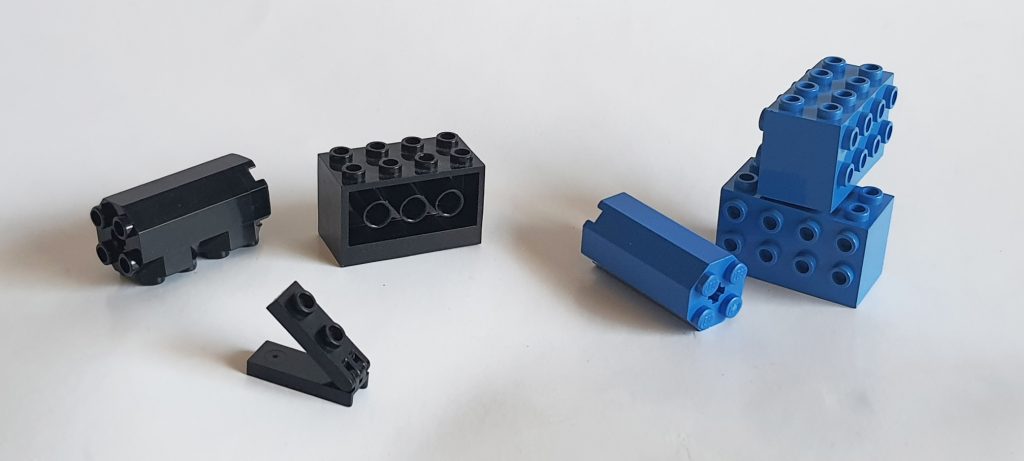
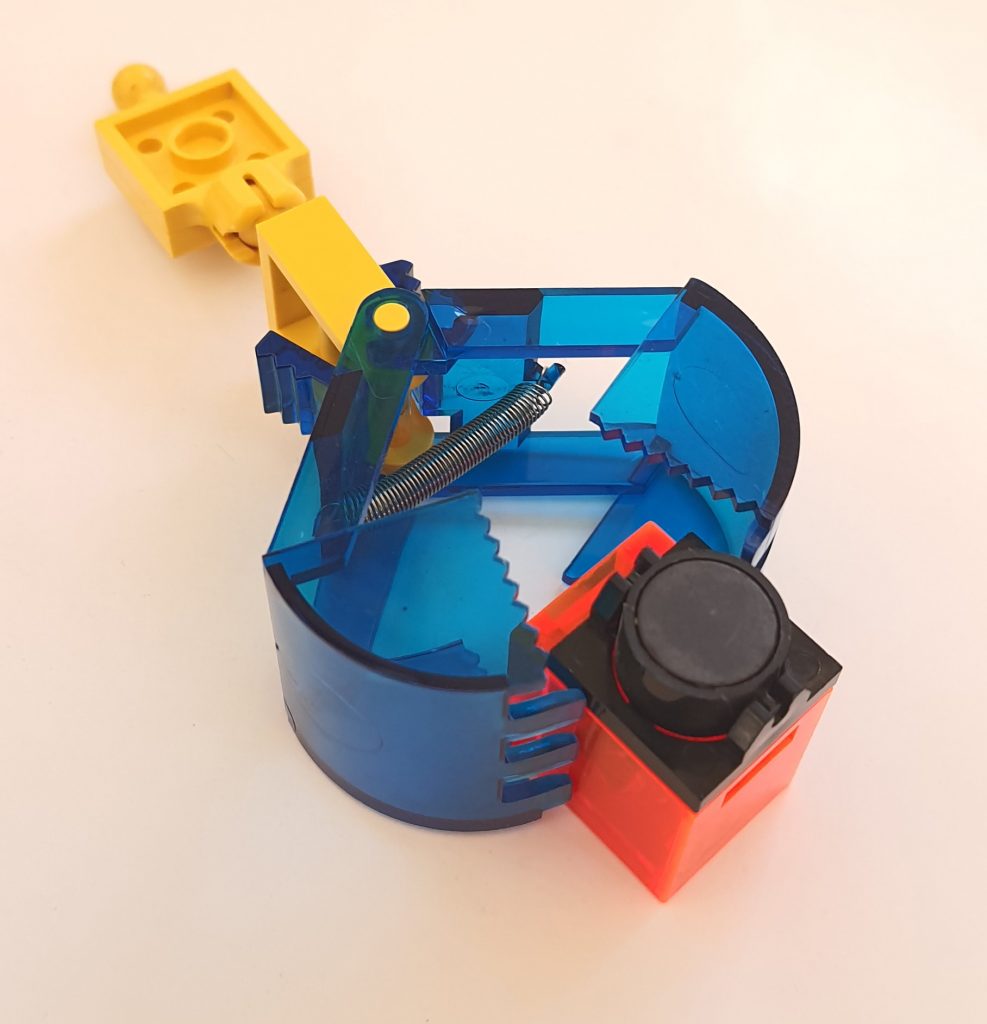
Parts use
Another stand out feature was the use of a real LEGO® compass and it does work mostly pointing in the right direction. This come in 3 of the bigger sets but just really reinforced the exploration sense of the series.
Now back to the rest of the LEGO® parts, for a start there is no stickers to be found anywhere, stickers used today can add a lot of details to a set but back then all the details had to be done with bricks and a small collection of printed parts. Outside the amazing printed trans clear orange parts there was also great flexible arms that could lift the crystal containment units using magnets similar to those used in earlier train sets to connect wagons. The crystals themselves were also chromed and this is such a great effect not used in today’s sets. The series had a number of very interesting parts including 2×4 Side SNOT bricks (6061) , hexagonal cylinders (6043,6037), with SNOT sides (6042), old style finger hinges(4275,4531), a small spring loaded Technic brick (2605c01), Modified Facet bricks in blue and yellow (2463), Hinge Window Frame 1 x 4 x 3 with Octagonal Panel (2443) and Propeller Housing (6040). Actually there is a lot more but can’t just talk about parts.
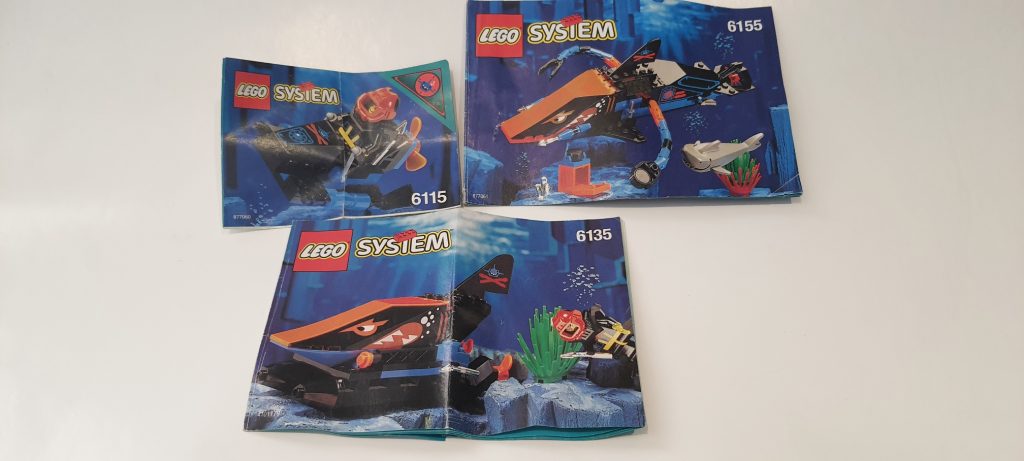
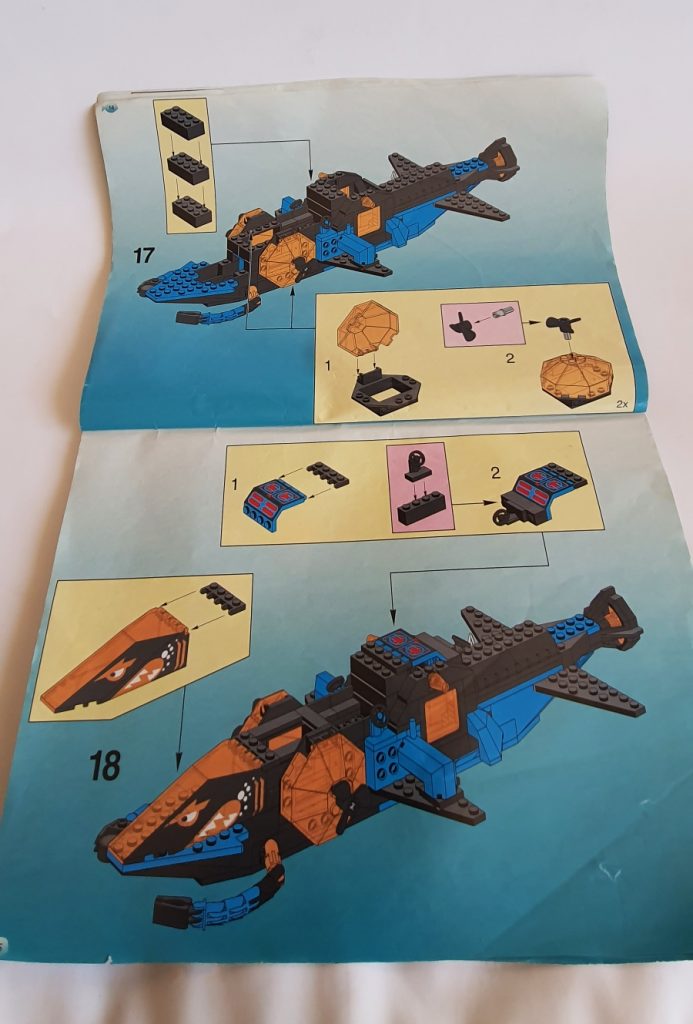
Instructions
The instructions for some was only one paper folded up but what made it cool was the back page full of Pirates or Castle sets that would lead to envy to own them as well.
The instructions for others has a few pages at least, but I just have to pause on the excellent cover page art. These feature hand drawn backdrops which just make you want to dig into the sets . For more reading on this, I found a small post by the art director of the series just called Faber (http://faberfiles.blogspot.com/2014/03/aquazone-my-art-direction-debut-on-LEGO®.html). The instructions were also not like today and did not really highlight what parts was needed for a step or what was added. A lot of time was spend playing spot the difference between the steps. This is something I do kind of miss and was part of the experience. No hand holding here…
SETS
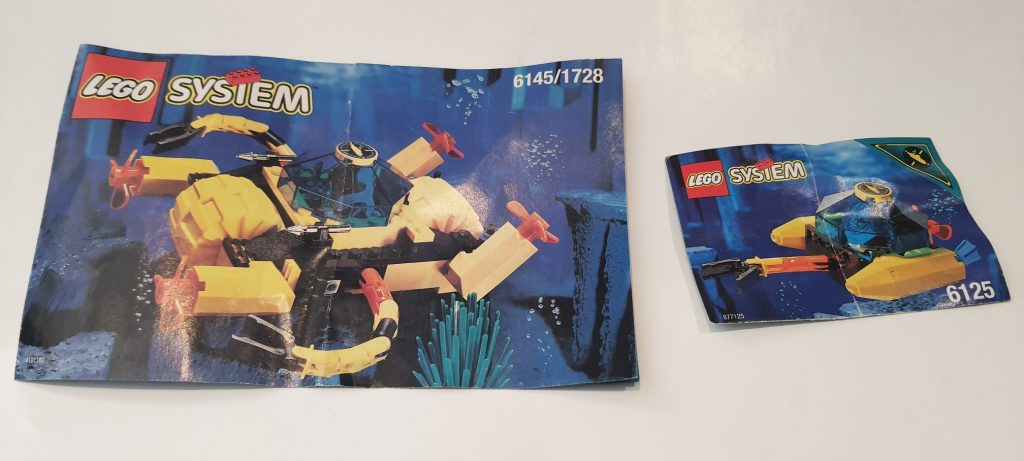
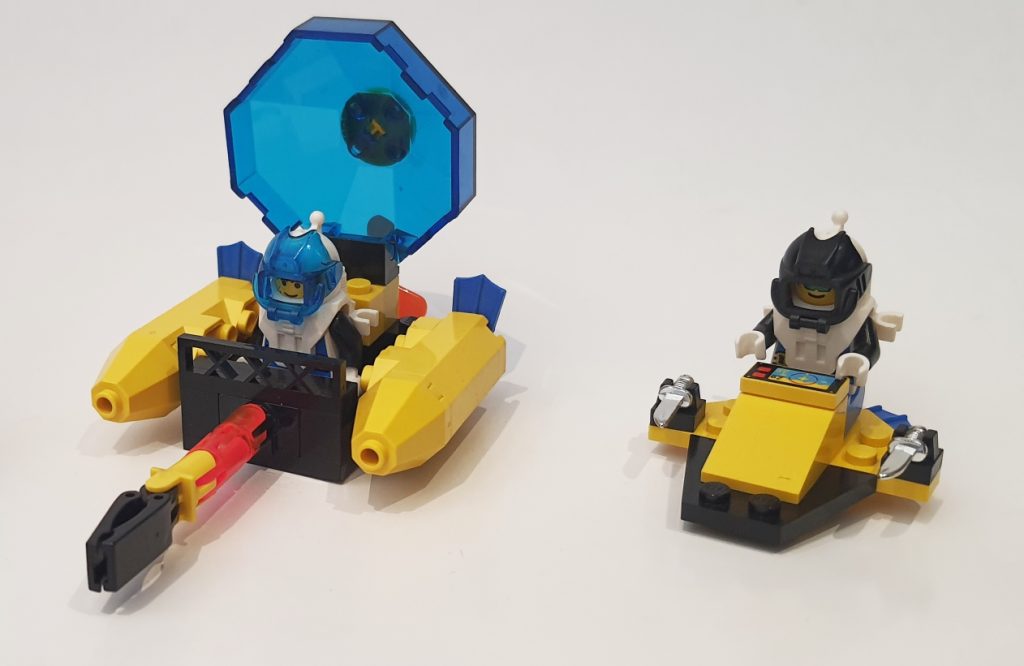
Small (1749,6125 and 6115)
Lets start with the smallest sets. The biggest only having 35 parts which is small by today’s standard of small sets, yet they still have character. All of them had one minifigure. The range was Shark Scout (6115), Paravane (1749) and Sea Sprint 9 (6125)
Medium (6135
and 6145)
These had up to 88 parts, which is still actually not that many, but with big wheels and the printed screens they do look a bit bigger. This range was Spy Shark (6135) and Crystal Crawler (6145 or 1728 who knows??) Again, both sets only had one minifigure and one small plant element. Set 6145 featured the great Technic mechanism(2605c01) to lock the arms in one of two positions
Large (6155,
6190, 6175,1822 and 6195)
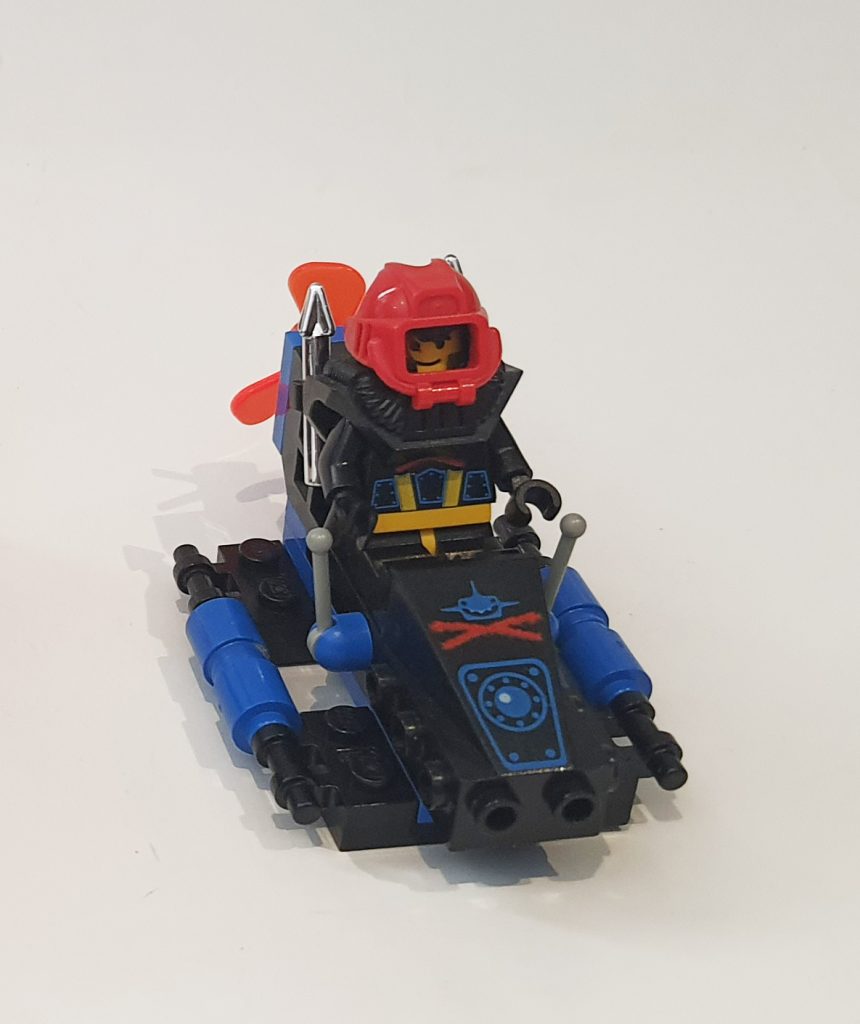
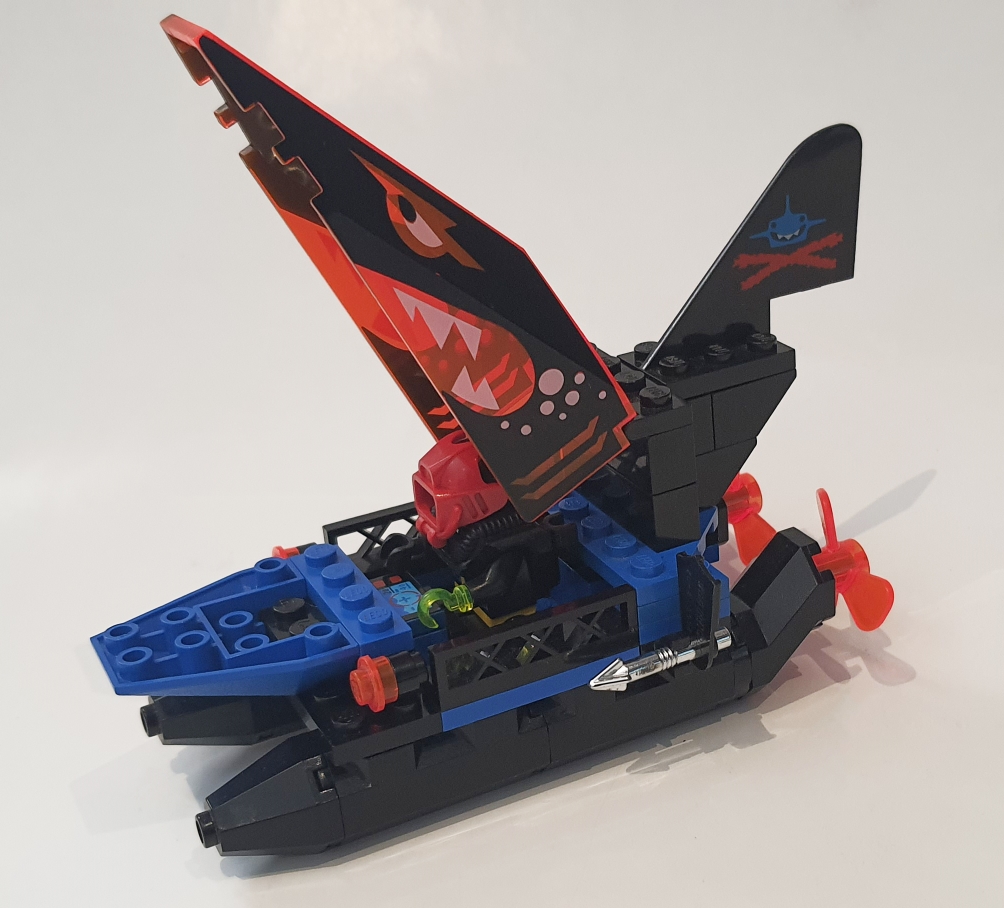
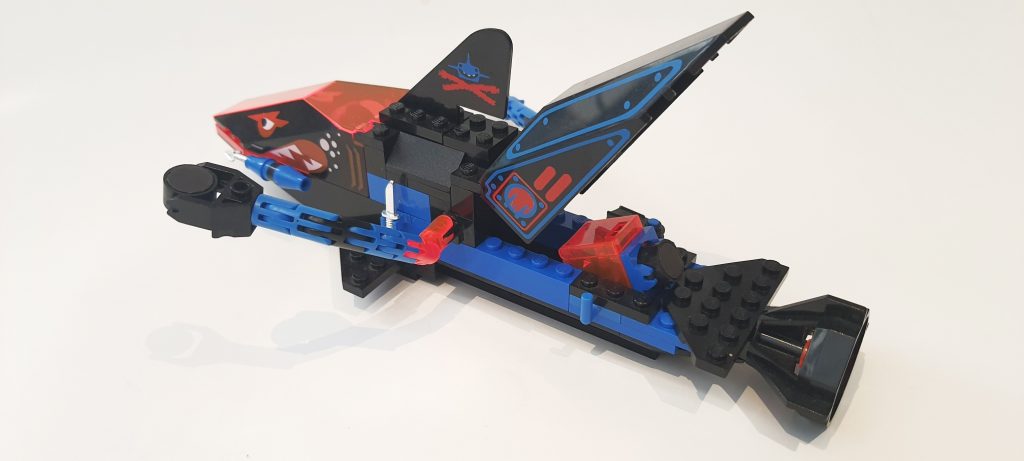
Deep Sea Predator (6155) is the smallest of the large sets. This set had one minifigure, one plant and one shark outside of the submarine. This was the most streamlined of the Aquasharks and really looked menacing. With both the front and rear printed parts, it looked like it could glide through the water at great speed (and steel all those crystals). The rear compartment also had place to store the container. Strange to think this set also still only had 95 parts.
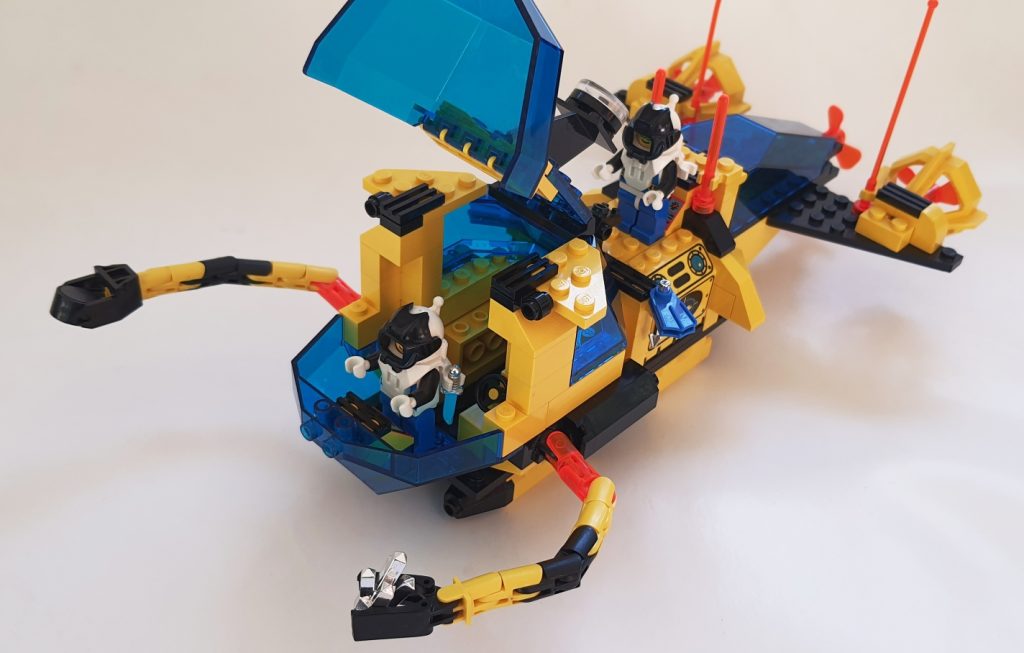
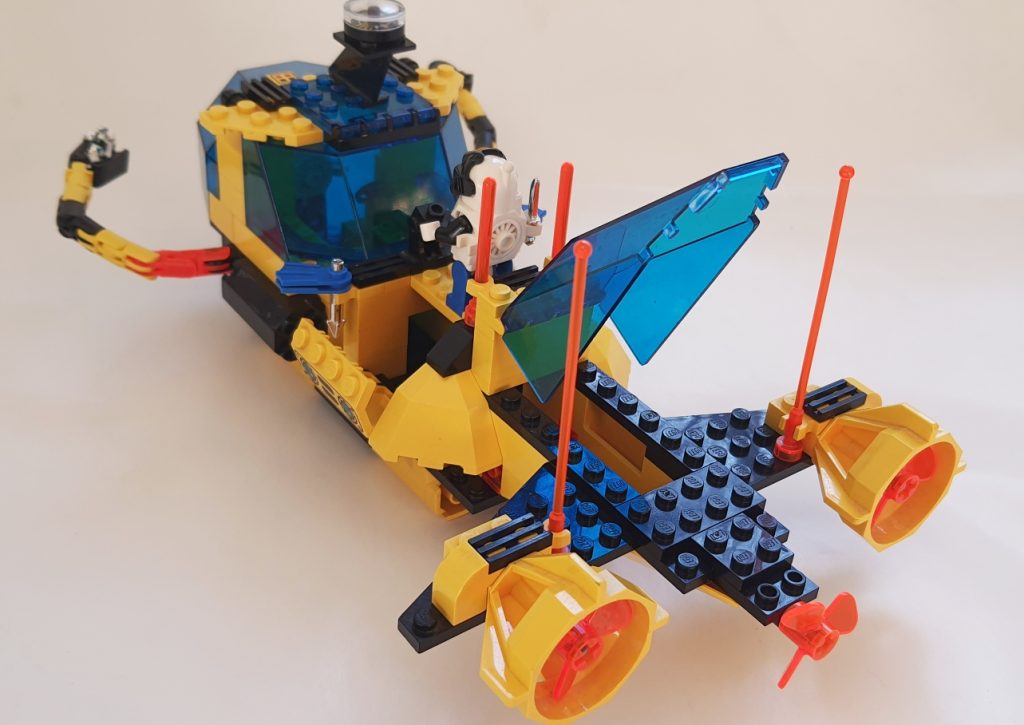
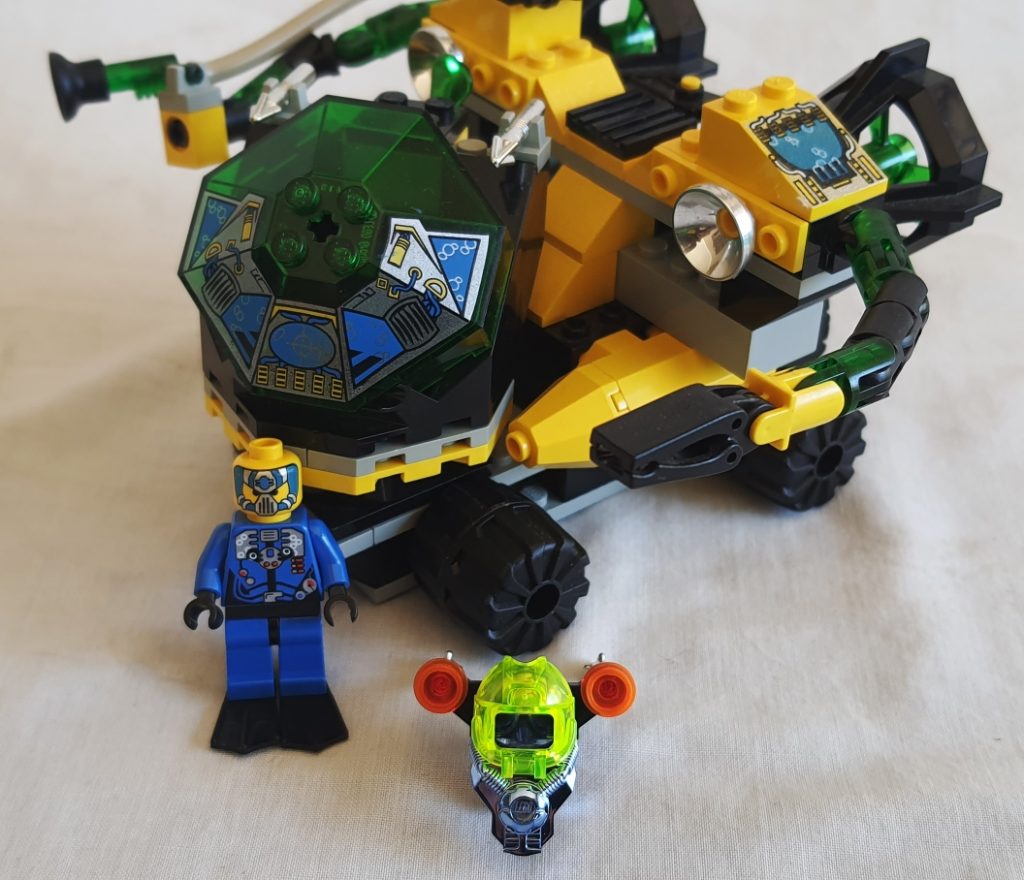
Crystal Explorer Sub (6175) was the biggest of the Aquanauts stand alone subs and as the name suggests, this was an explorer sub to look for crystals but also collect and bring them to the Neptune discovery lab. This set only featured the sub, two minifigures, one plant and a black octopus. It has 152 parts and featured a yellow and trans blue color scheme and looked exactly like something Jacques Cousteau would use to explore the sea. If you think of yellow research submarines, the earliest picture that comes to my mind is the yellow diving saucer used in documentaries by Jacques Cousteau. They were yellow as this color is clearly visible over great distance under water.
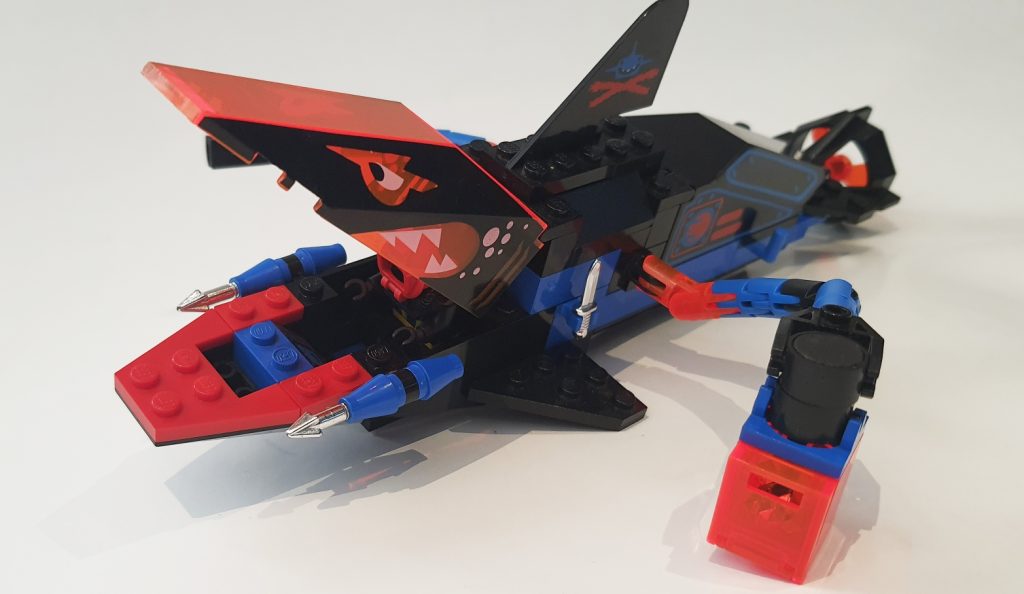
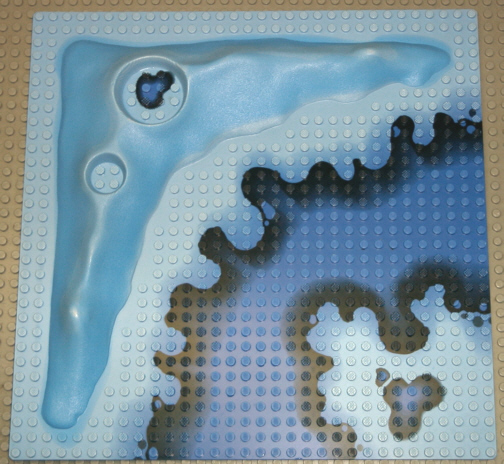
Shark’s Crystal Cave (6190) was the biggest of the Aquashark sets. This set features the base with shark cage and the big submarine. This sub had a smaller sea glider hidden within it as well as two minifigures, two plants and a shark. But one of the stand out features was a classic space crater baseplate but in the Aquanaut’s color scheme with craters but in black and dark blue print. The base has a place for the sub to launch from and this also doubles as a cage to keep sharks or good guy Aquanauts. The set has 244 parts and most of these goes into the submarine. The striking use of the trans clear orange, black and blue color create a beautiful looking set along with the brick fins it really drives the underwater theme home. Without asking it is clear this is the bad guy vehicle with one intent and that is to steal crystals.
Sea Claw 7 / Neptune III (1822) is the only set that I don’t own. It seems like it had late release and wasn’t part of the initial wave of sets. This set almost looks like it was designed by a different person. It features a large claw that uses a rubber band and also had a small deploy-able sea glider.
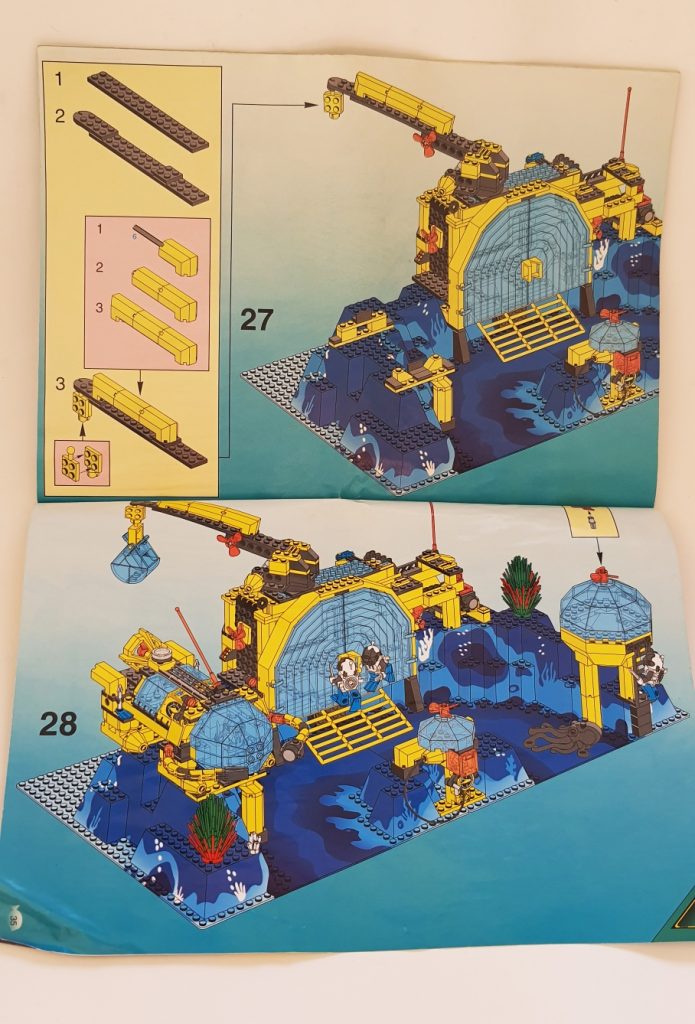
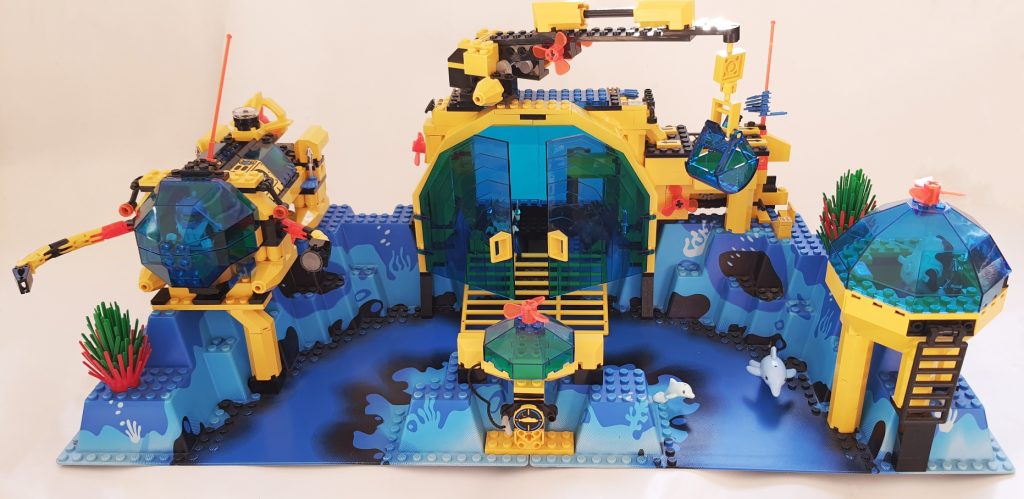
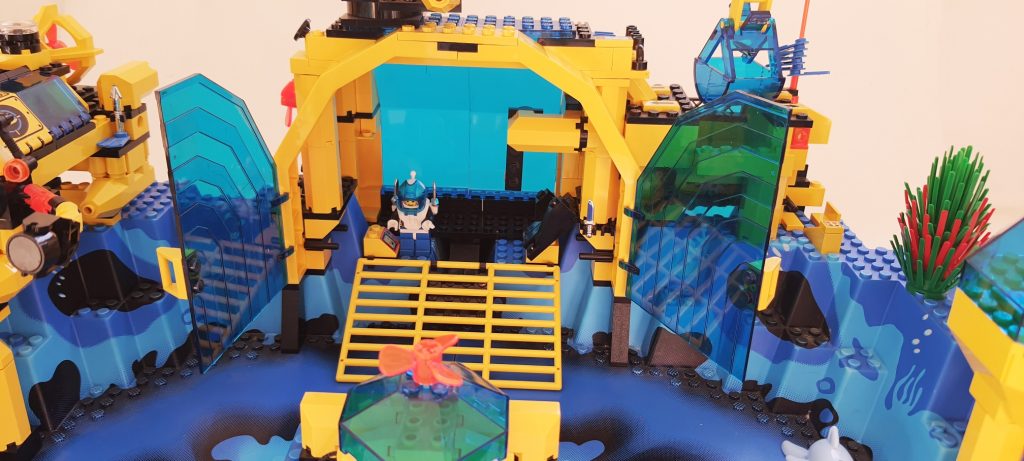
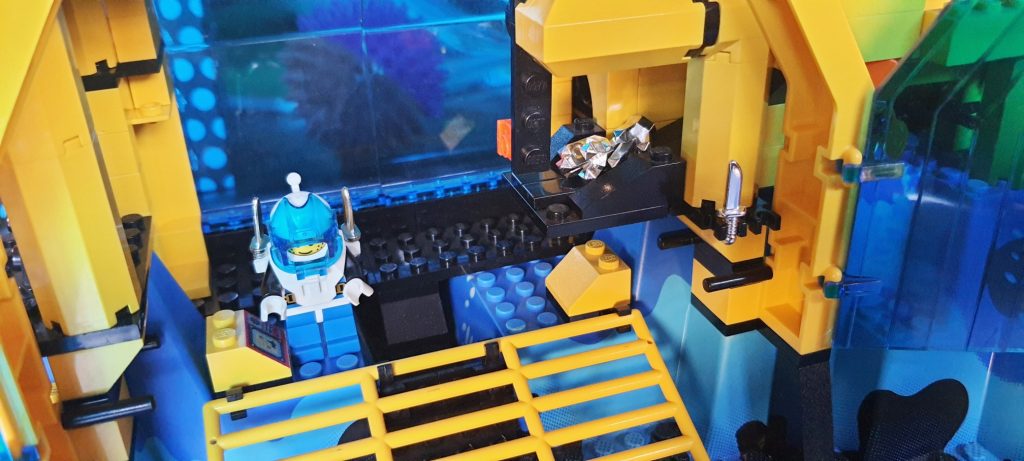
Neptune Discovery Lab (6195) was the biggest of the sets from this series with 480 parts and two big raised blue base plates. The set had three minifigures, a few plants, a black octopus, a small mobile sub and the big undersea base called the Neptune lab.
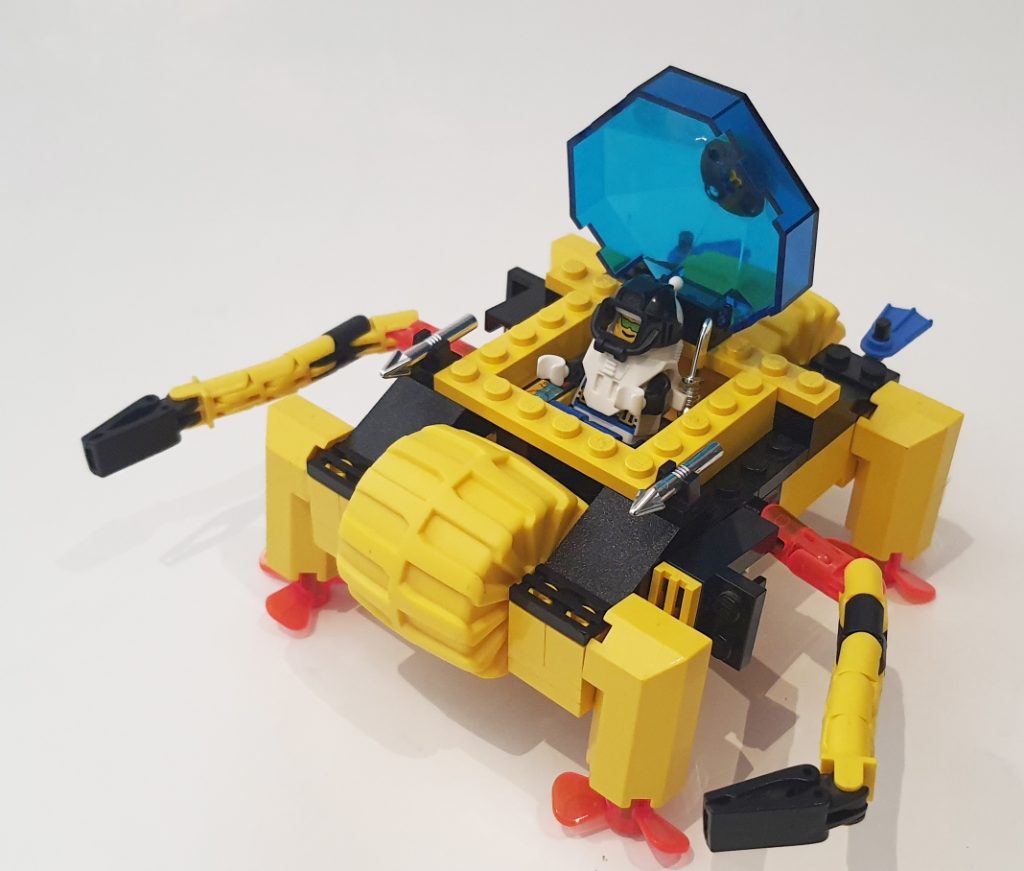
Let’s start with the small submarine. This again had the yellow and trans blue color scheme. It featured a big rear compartment to store all sorts of things. This could be a whole heap of containers with crystals or anything that the explorer finds under the sea. Again the sub had two mechanical arms one with a claw and one with a magnet attachment to pick up crystal containers.
The base itself has a truly impressive size. The raised printed baseplates are extremely well used here. With these types of baseplates now out of favor by LEGO® and mostly being replaced with brick-built landscapes, this one really has a soft spot in my heart. The prints really add to the character and with the addition of a few more plants this could maybe even in future find a place in one of my MOCs.
The base is made of 3 main parts.
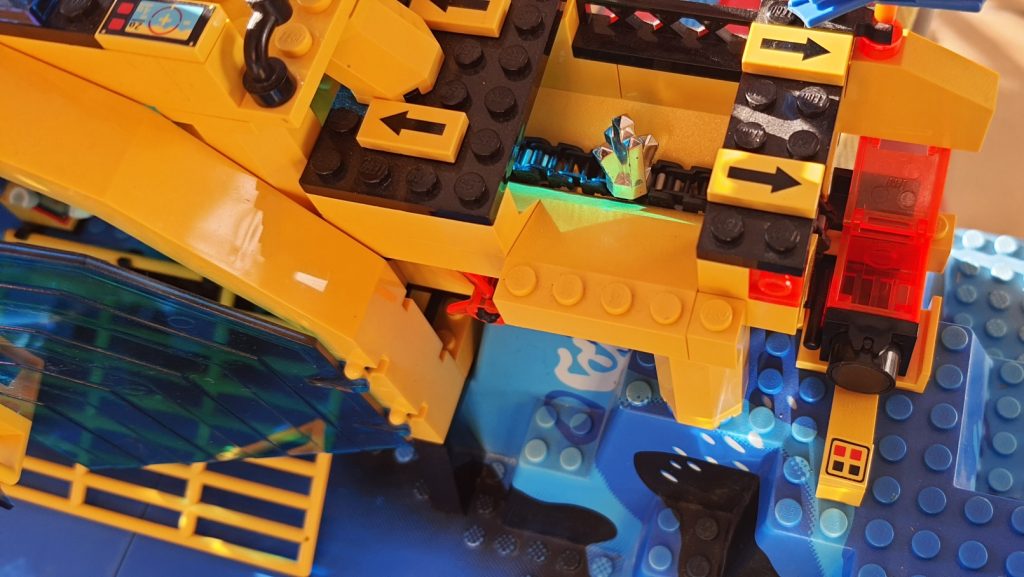
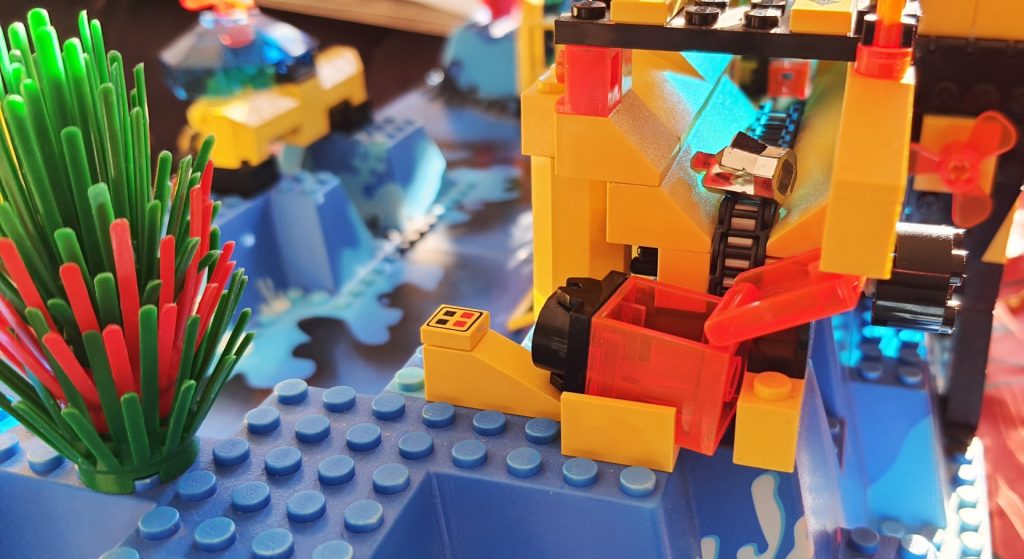
The front refueling skid, for oxygen or fuel. The main processing plant at the back and a small control tower to the right. The main base had a Technic mechanism with a chain belt to move crystals either to a container right or to the plant to the left. The chain was moved by a round knock at the back and really added to the play-ability of the set.
On top it featured a crane that can lift the crystals from submarines to the conveyor belt entrance. Moving them left they would go to a stop small collector bin on a 4×4 hinge plate. This can then be dropped to the small space behind the yellow bar grille. The rear of the base has two very large 10x6x11 trans dark blue panels that led light into the main building. This building is assessable via two smaller minifig size entrances at the side of the building with one even having a keypad to enter the right code to get in.
The front of the building also feature two big 1x9x11 trans dark blue doors that can open to reveal the inside of the base.
The huge box itself was also a marvel of that era, with a front cover that lifted to reveal key big parts from the set, including the base plates. The top panel had further pictures of the set to complement the front and rear of the box.
End
Note that some smaller modern sea creatures sneaked into the review and wasn’t part of the set. These were mostly thanks to my co-reviewer but these sets still capture the imagination of my six year old just proving how timeless the design is.
PS. There were other waves of aquanauts sets but they just lost the nostalgia and even color scheme of the first wave. There were also the semi OK Atlantis sets of 2010. But at least I think this series led to the excellent City diver’s series 1997 and the newest deep-sea explorers (2015 and 2020) although I do wish they would bring them back one day…..
By Barry Kay (SAFOLs Brick Boss, CapeLUG EXCO, Batman … Ssshhhh!)
I have
never really been into the Friends sets but have always like the parts and
animals that came with them. I was privileged to get my hands on some of the
summer 2020 range and have to say these builds have some great techniques and
part usage. The sets are also designed in such a way that they are very playable
and not only meant for display.
The
target audience is definitely young girls who love to play with a dolls house
type environment.
As
with the new City sets, we see some of the great collaboration between LEGO®
and National Geographic in this range.
Expert
from the LEGO® press release
“Billund, Denmark, 25 June 2020: Today, the
LEGO Group and National Geographic unveil their most recent partnership. New
LEGO® City and LEGO® Friends sets have been developed to create awareness about
exploration and the protection of endangered species in the world’s jungles and
oceans. To support the launch and engage children even further, a campaign has
been developed in collaboration with National Geographic to encourage children
to explore the world and maybe even develop their own creative ideas on solving
the real-life challenges our world is facing. The campaign site is now live in
English on LEGO.com/exploretheworld and will launch July 1st in additional
languages. The LEGO Group is also announcing a contribution towards the
National Geographic Society to fund grants in ocean exploration and species
conservation.”
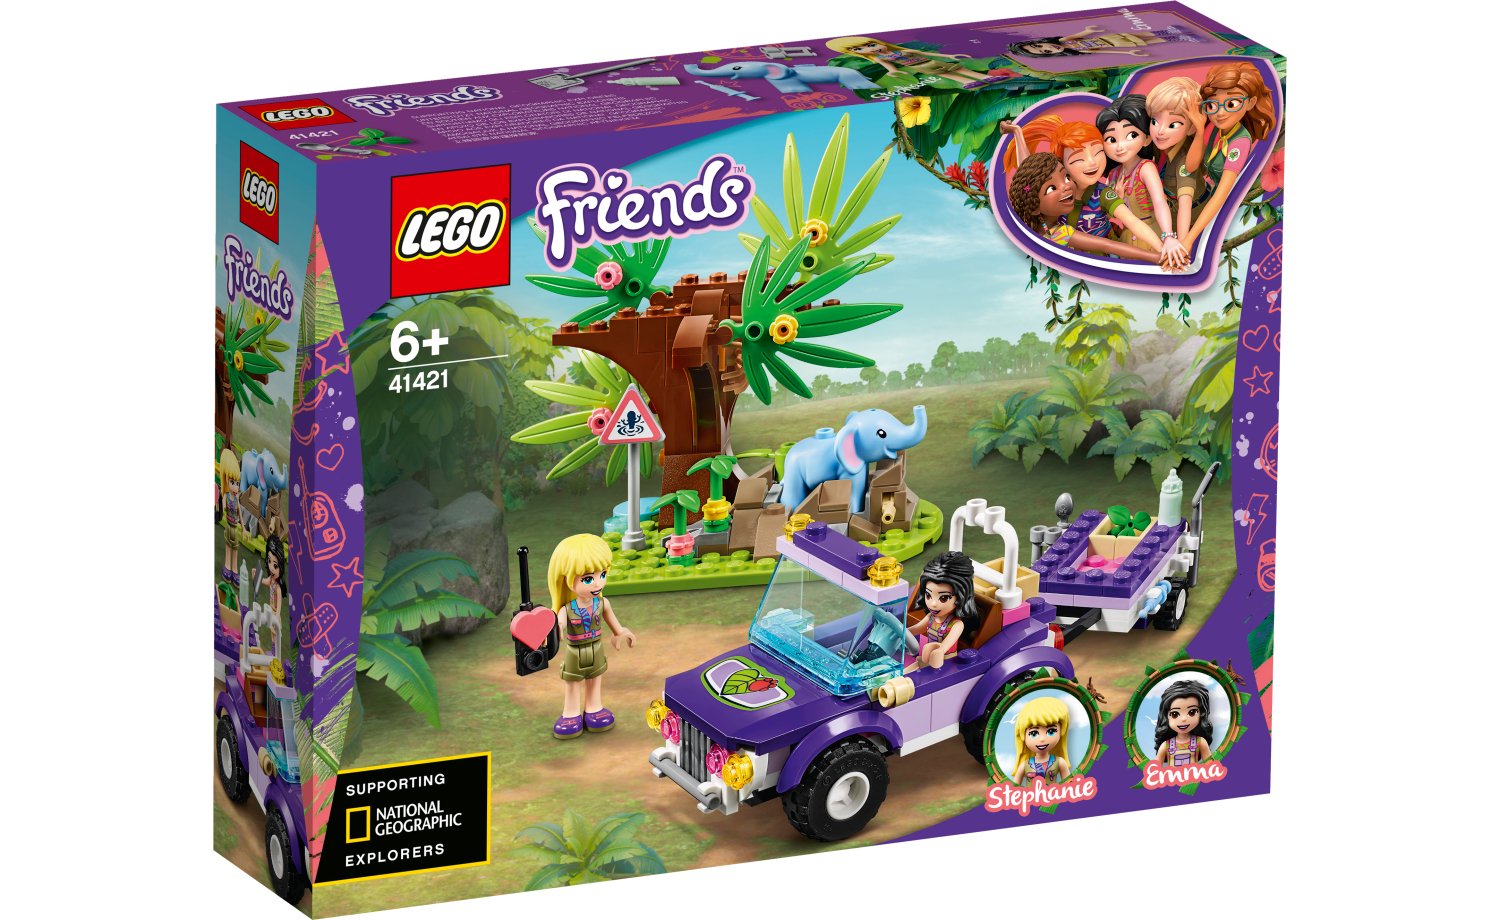
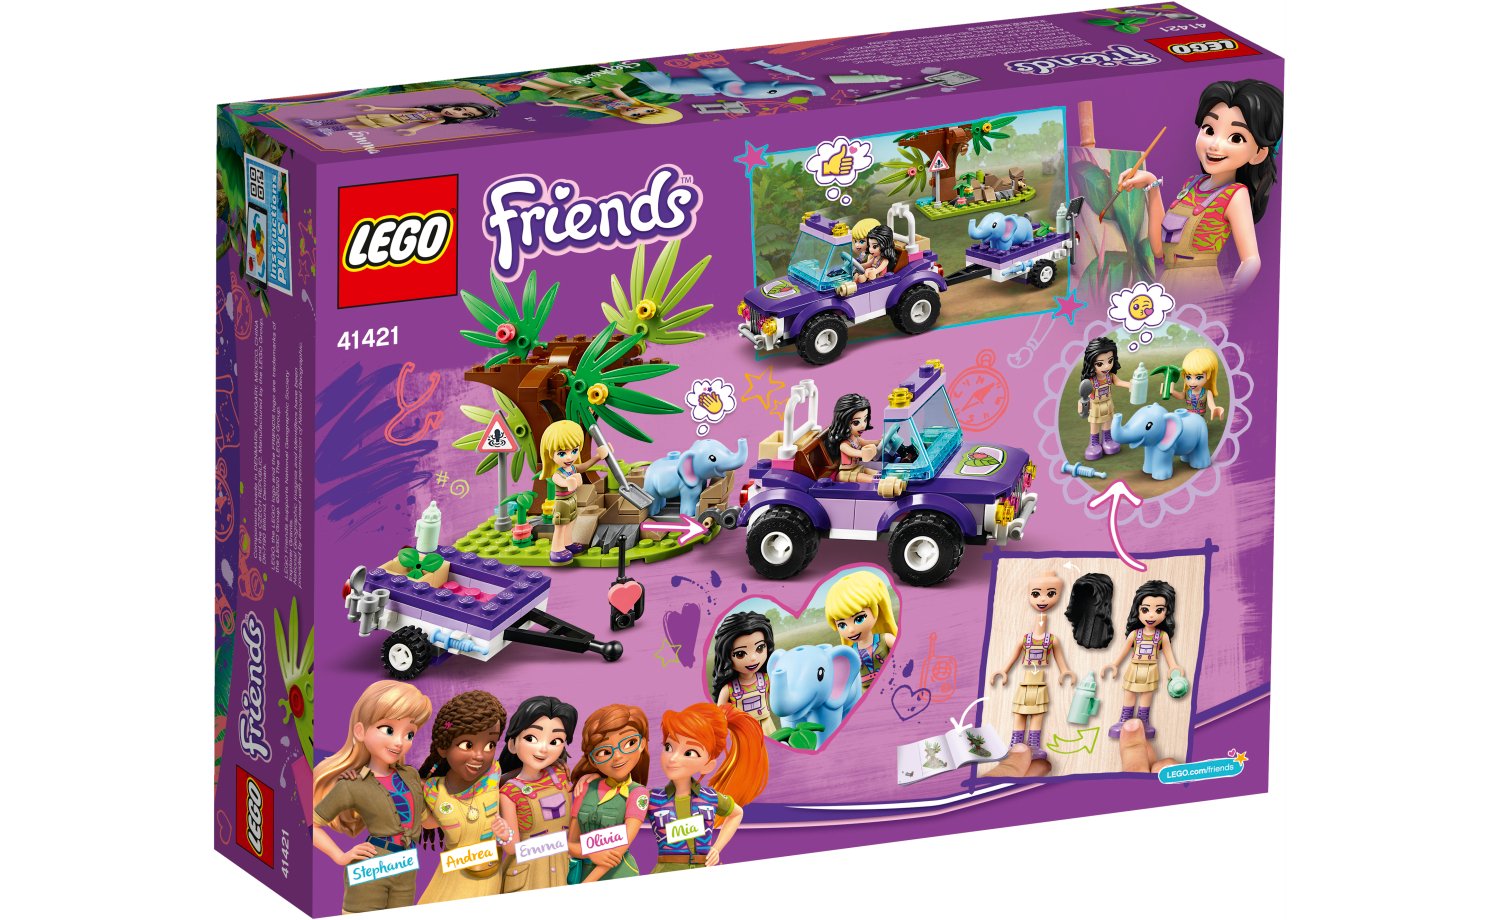
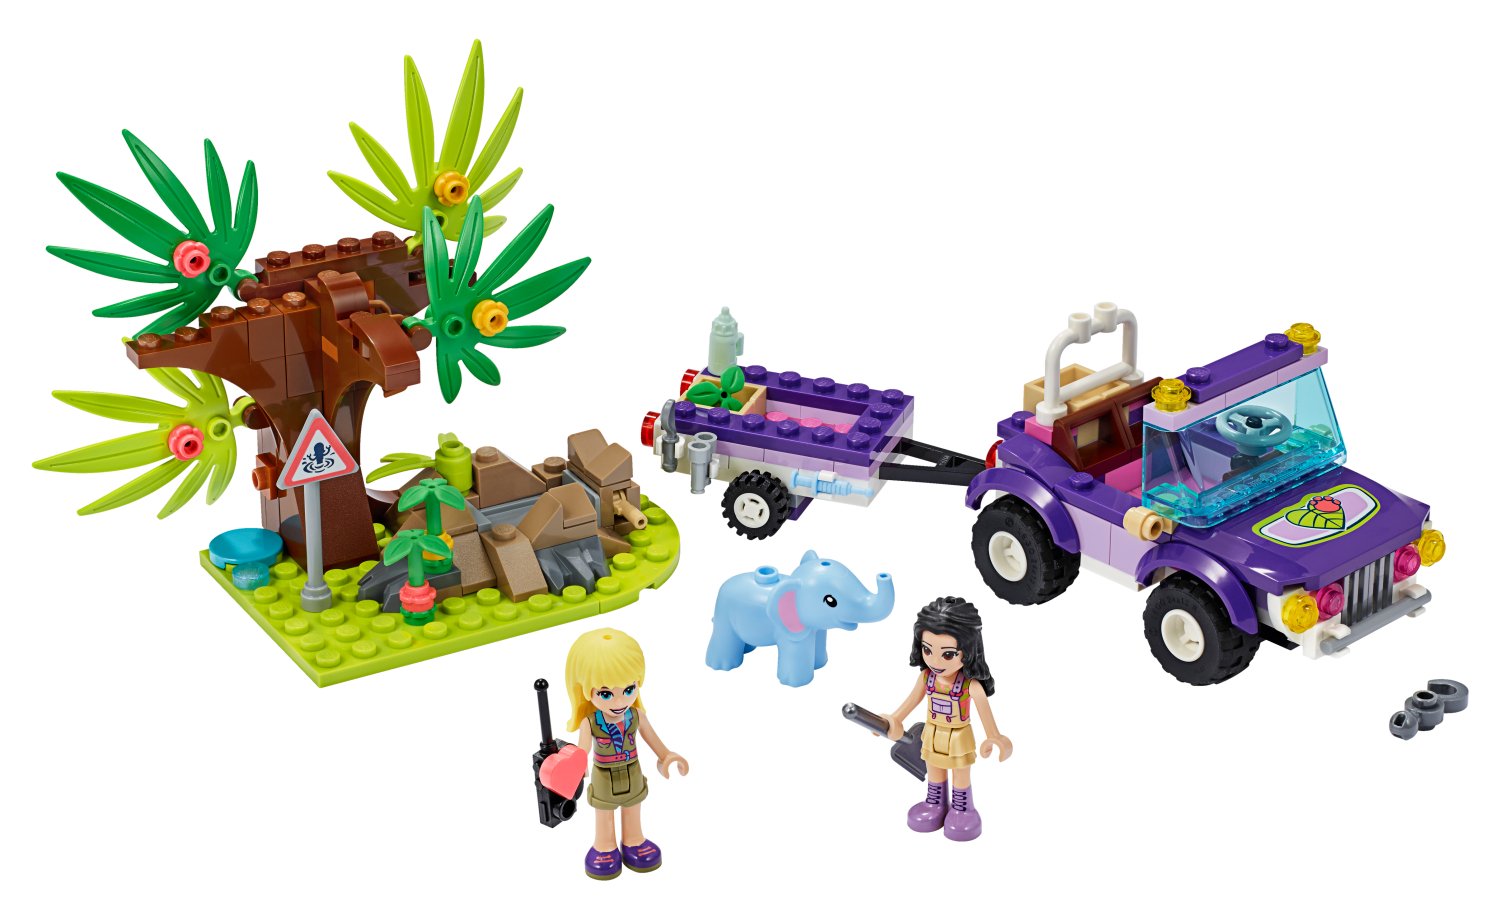
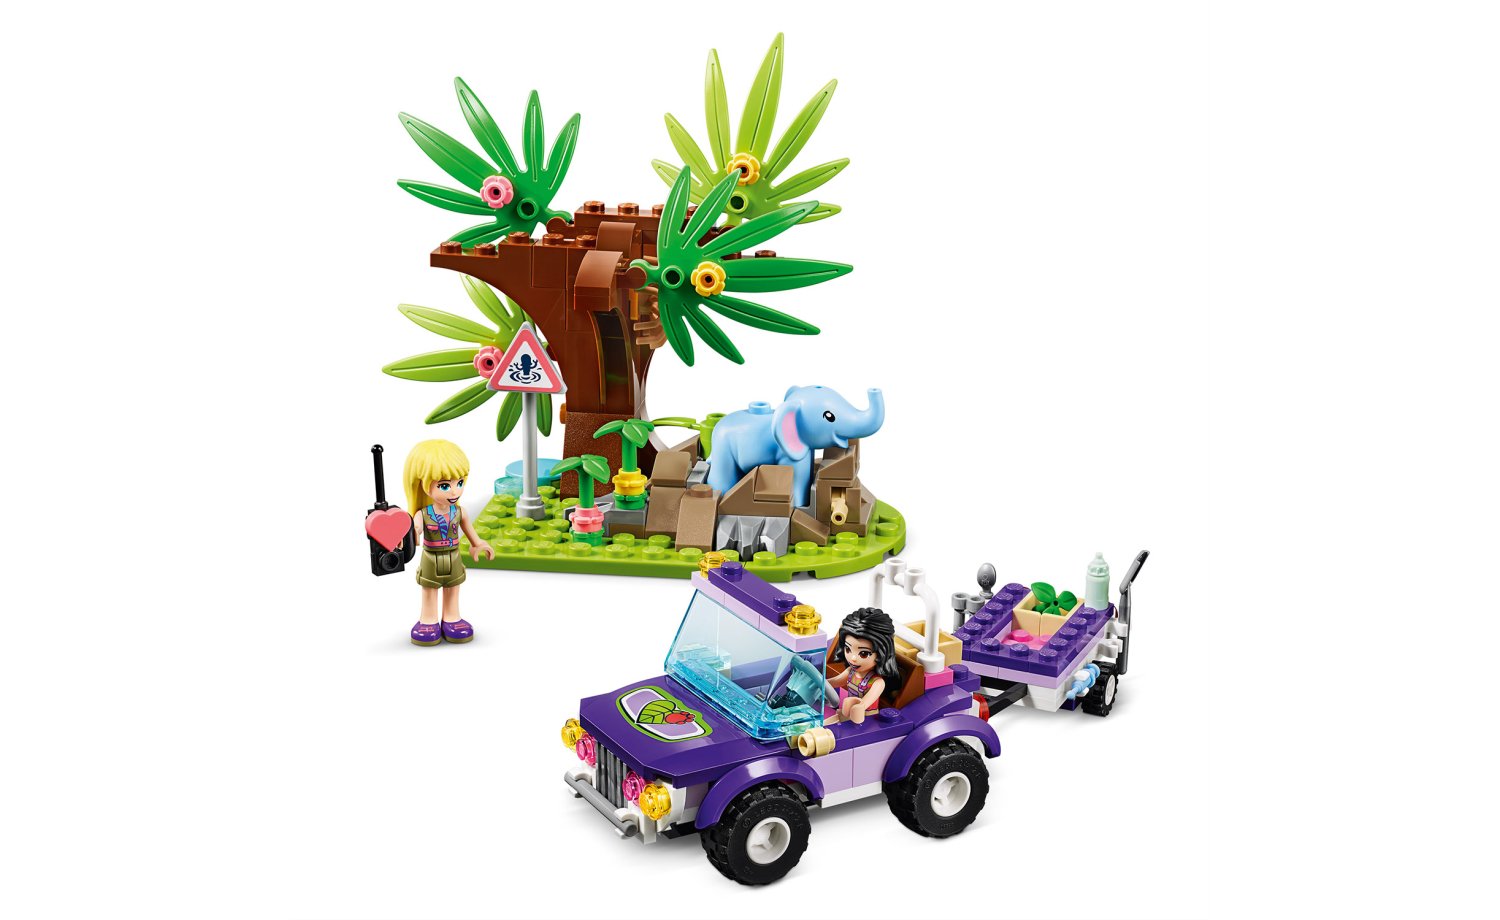
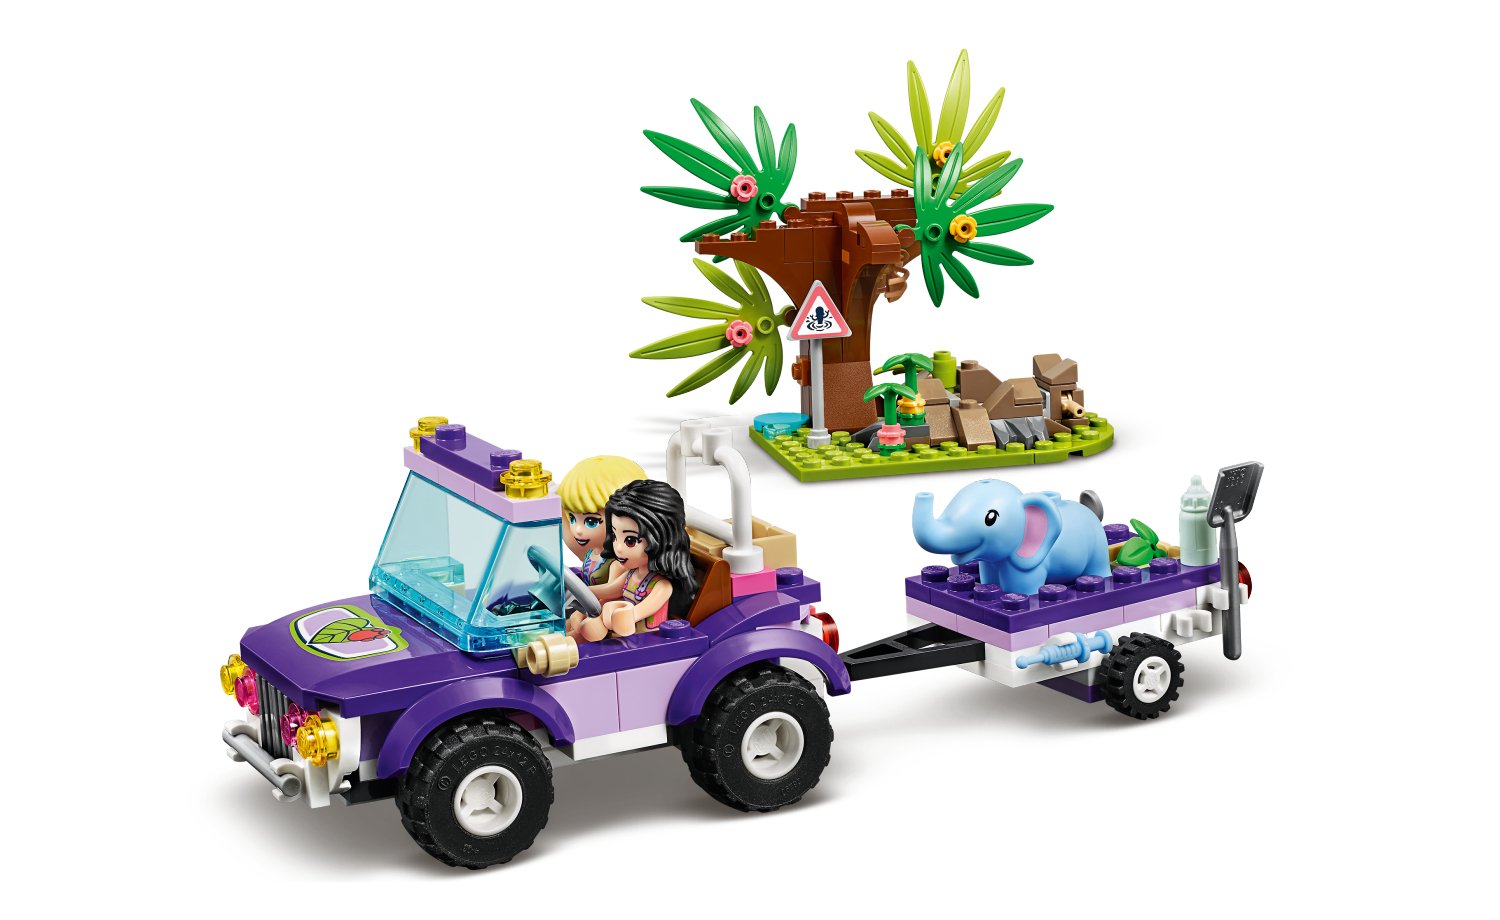
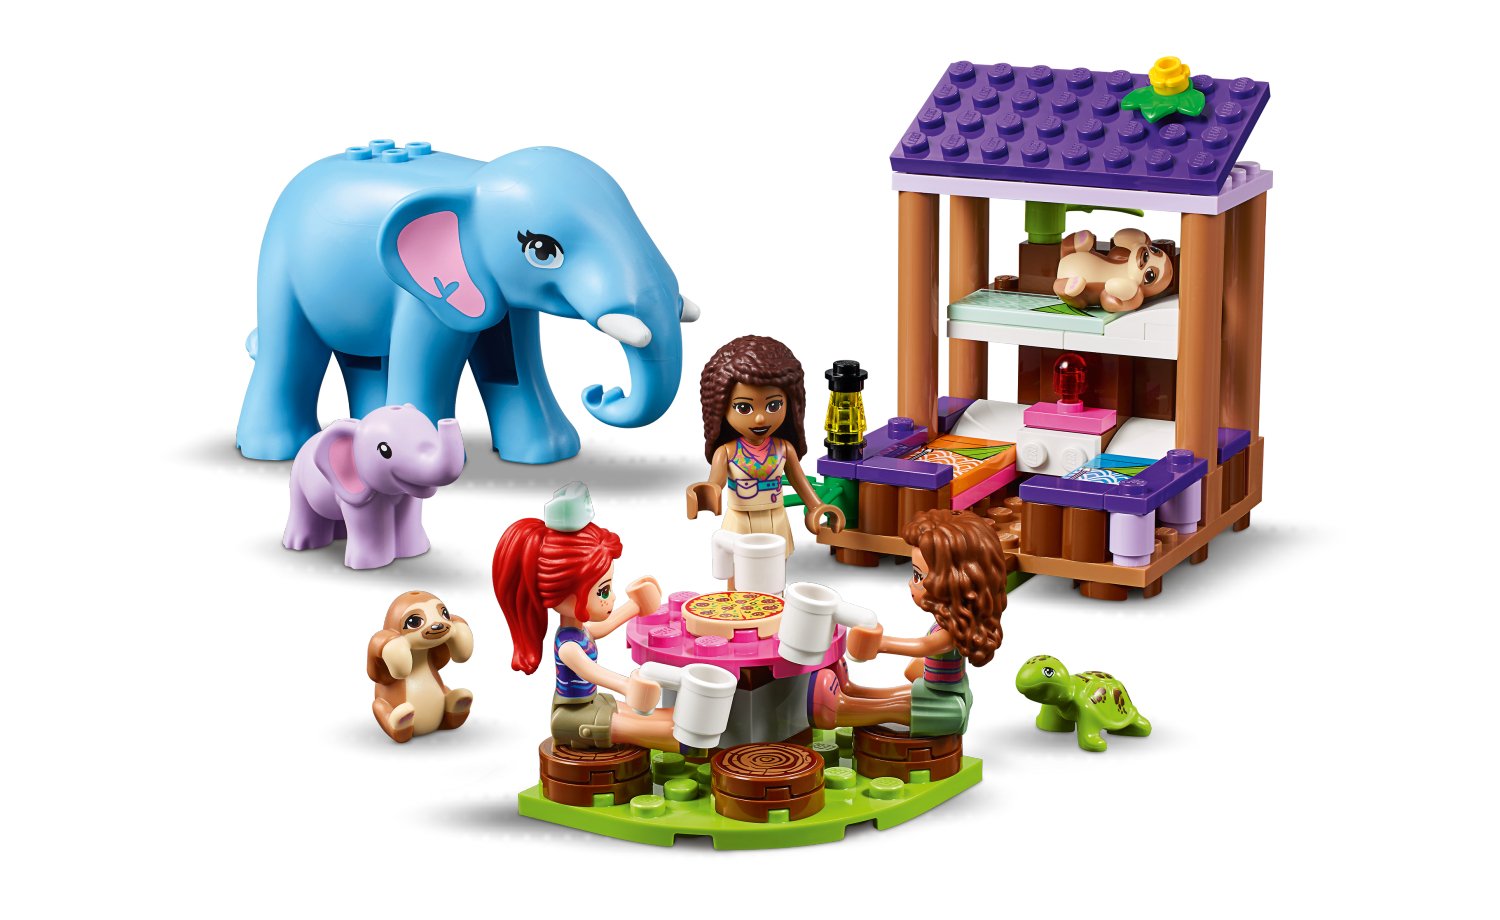
The
first of National Geographic sets in this range. In this set we have rangers
Stephanie and Emma who need to rescue a baby elephant trapped in some rocks.
The set has a charming little car and trailer that is nice and sturdy with great
play / driveability. The rock trap is designed to slide open and closed so that
the team can rescue the baby elephant. It is a fun and easy set to build.
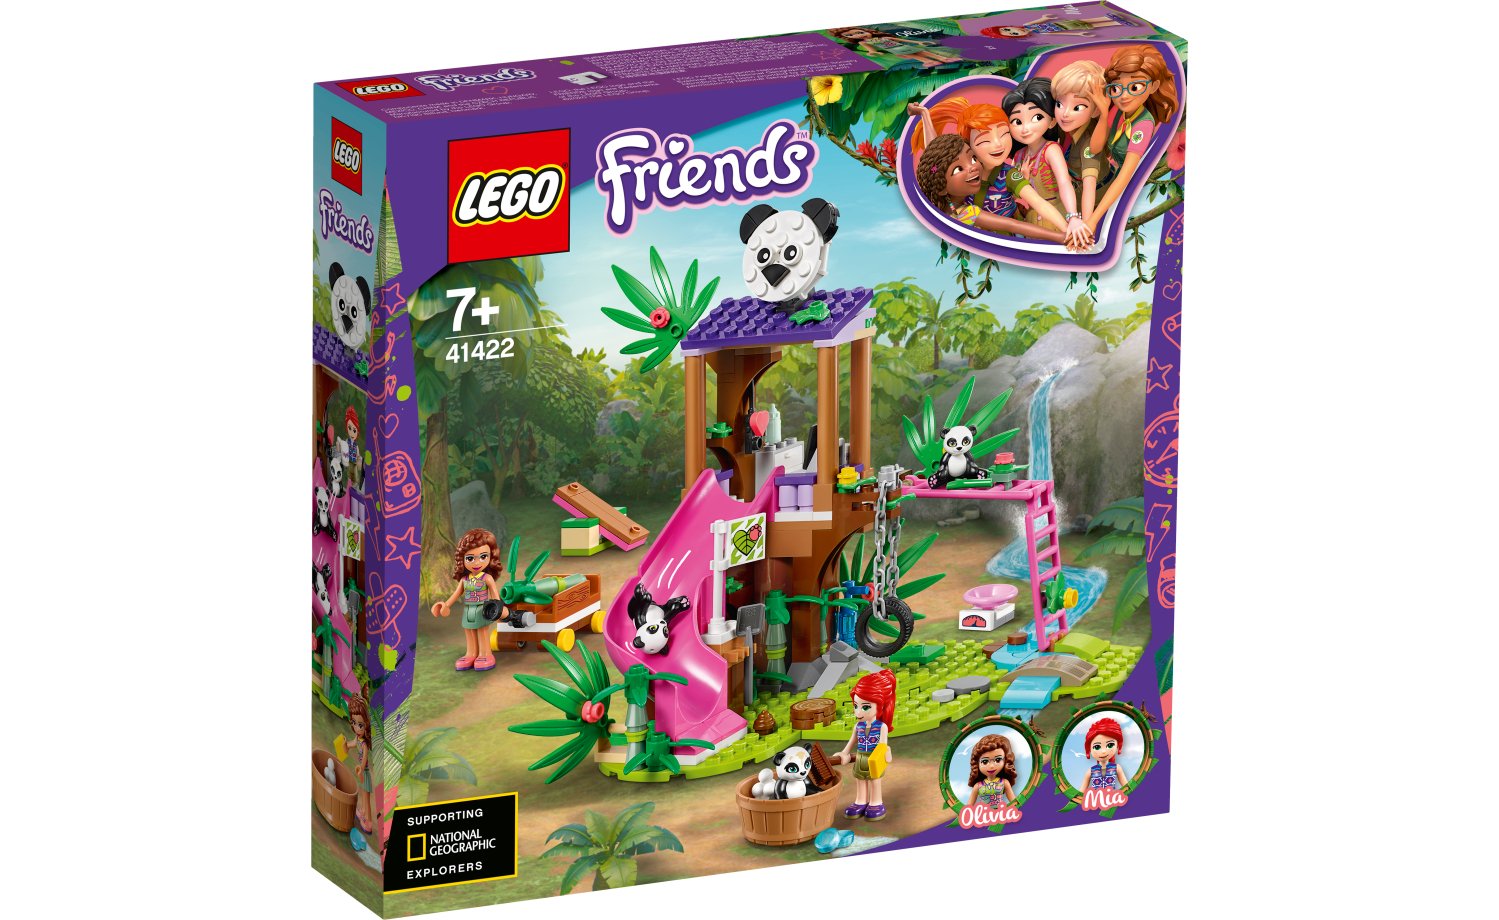
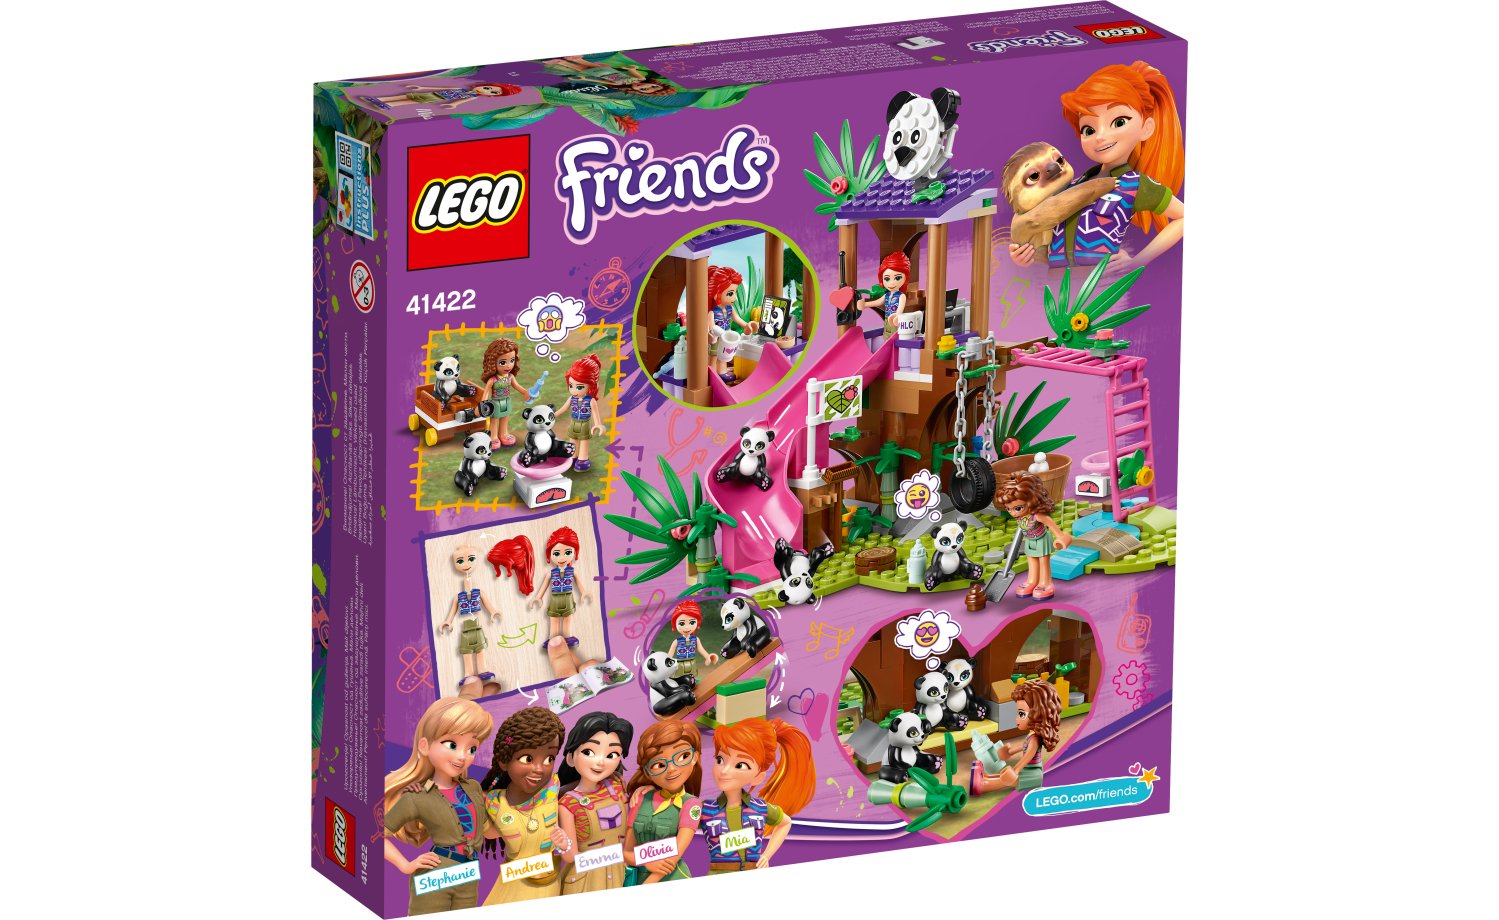
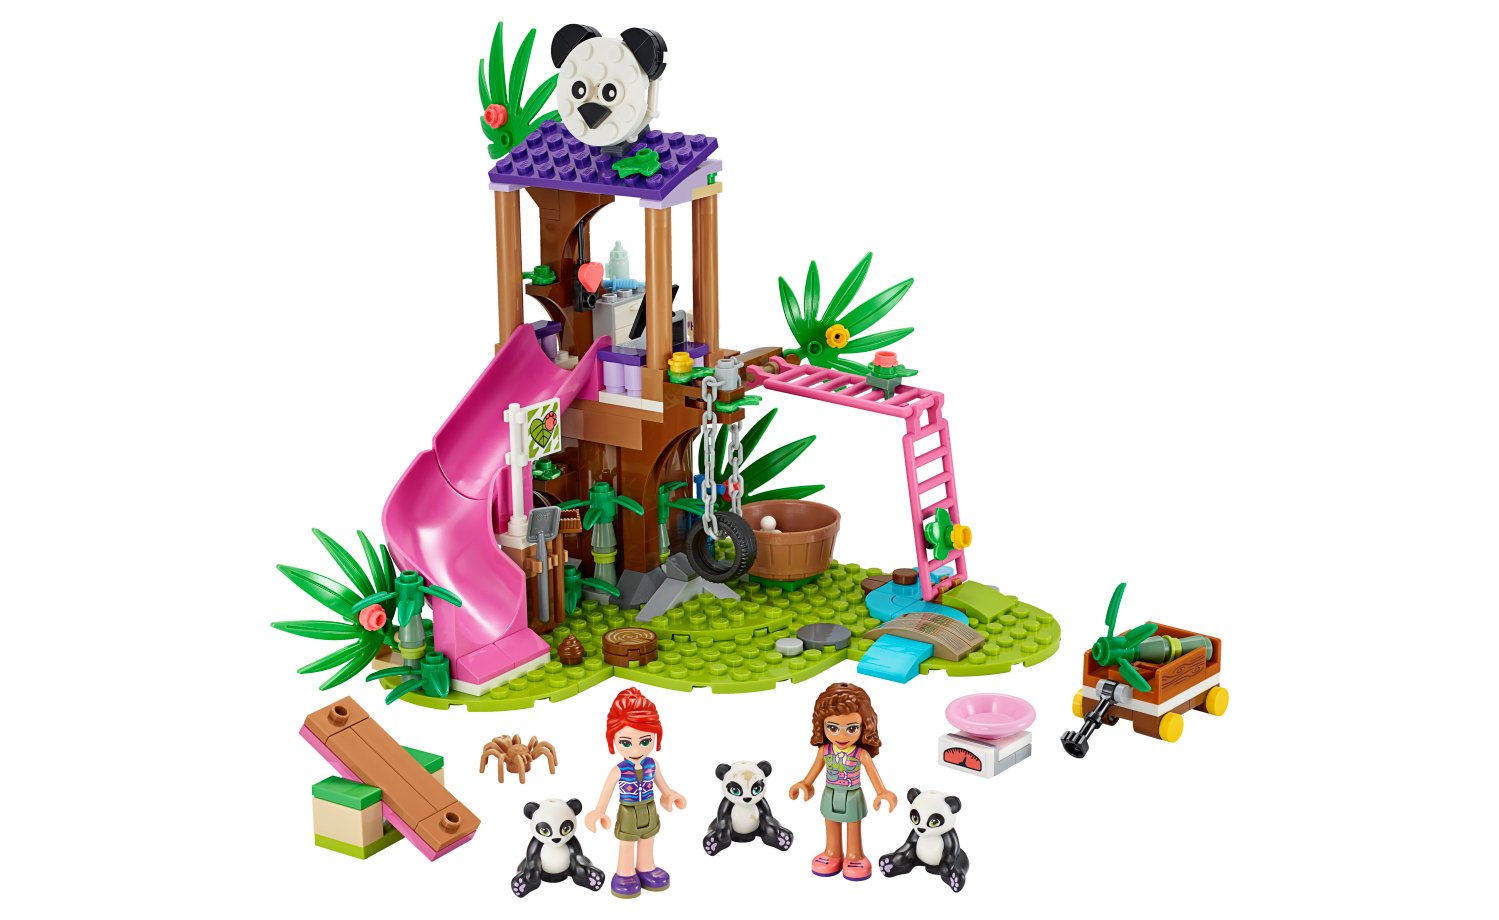
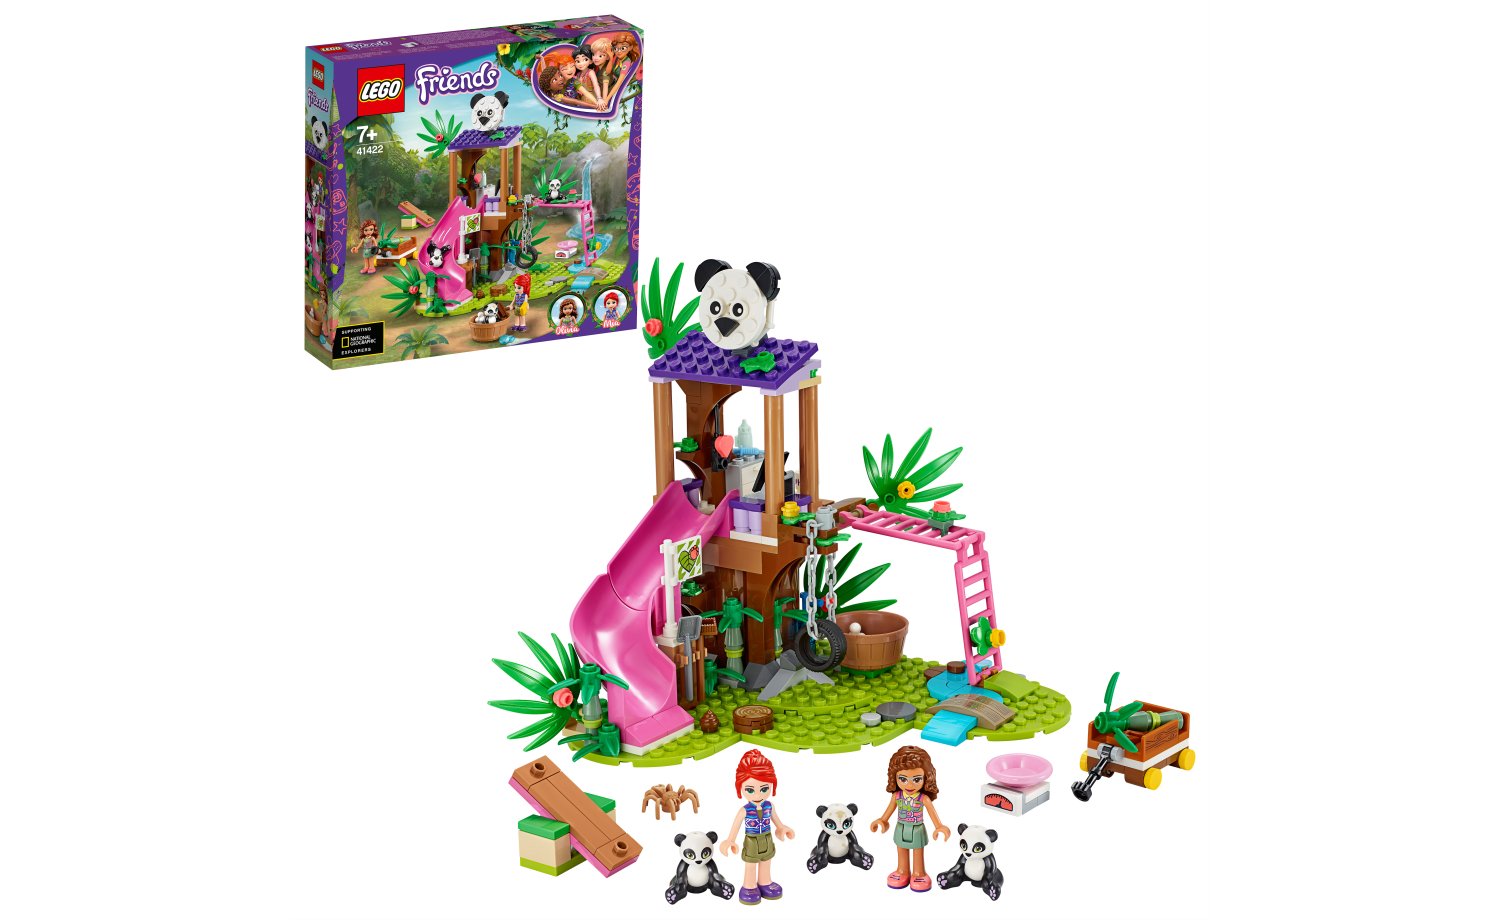
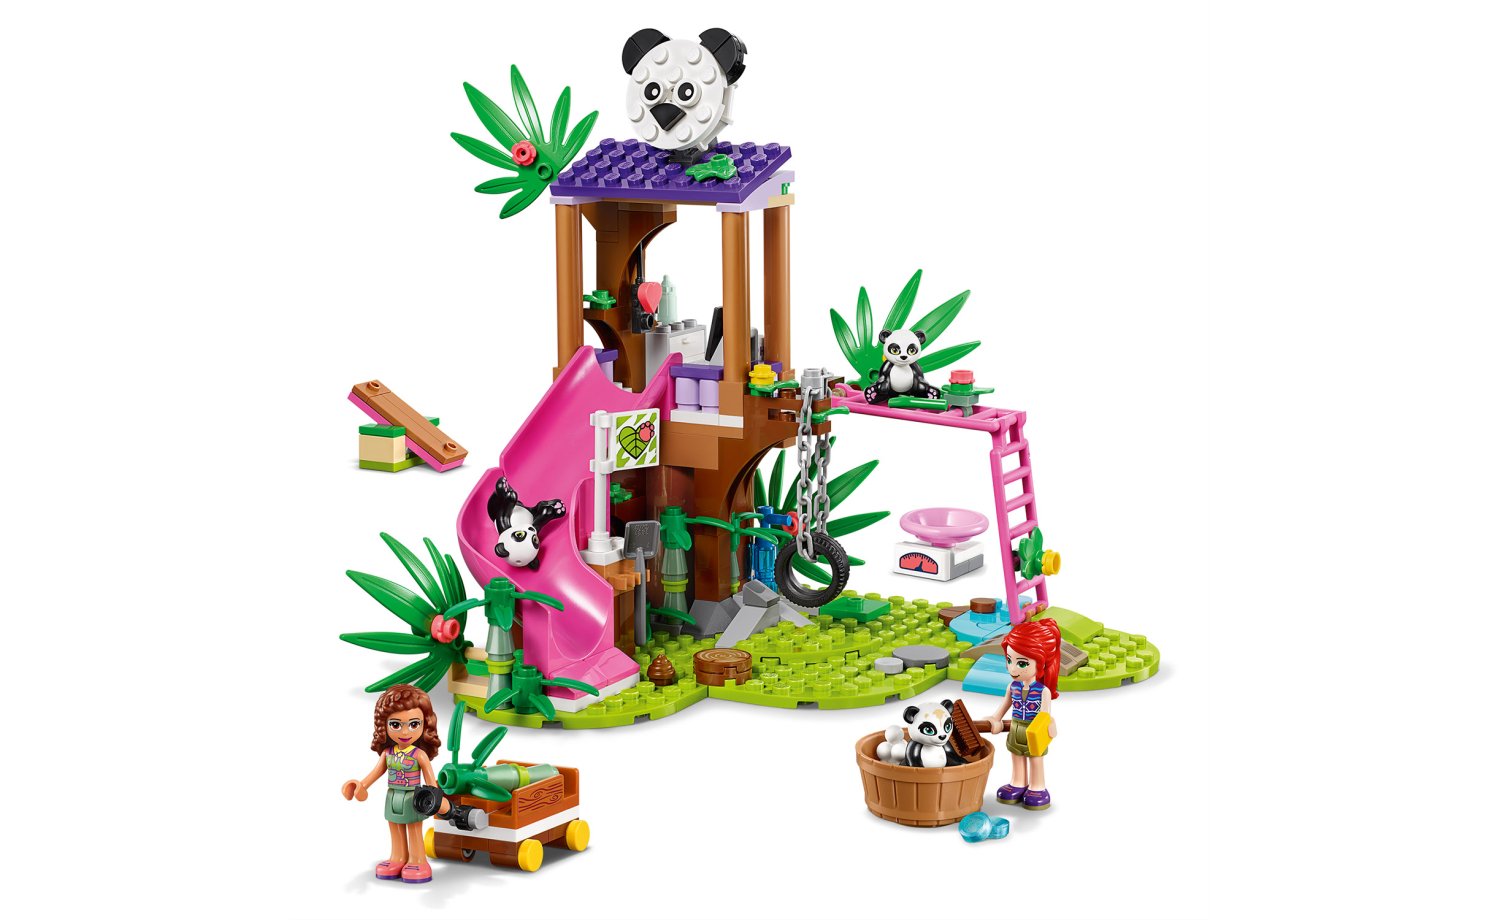
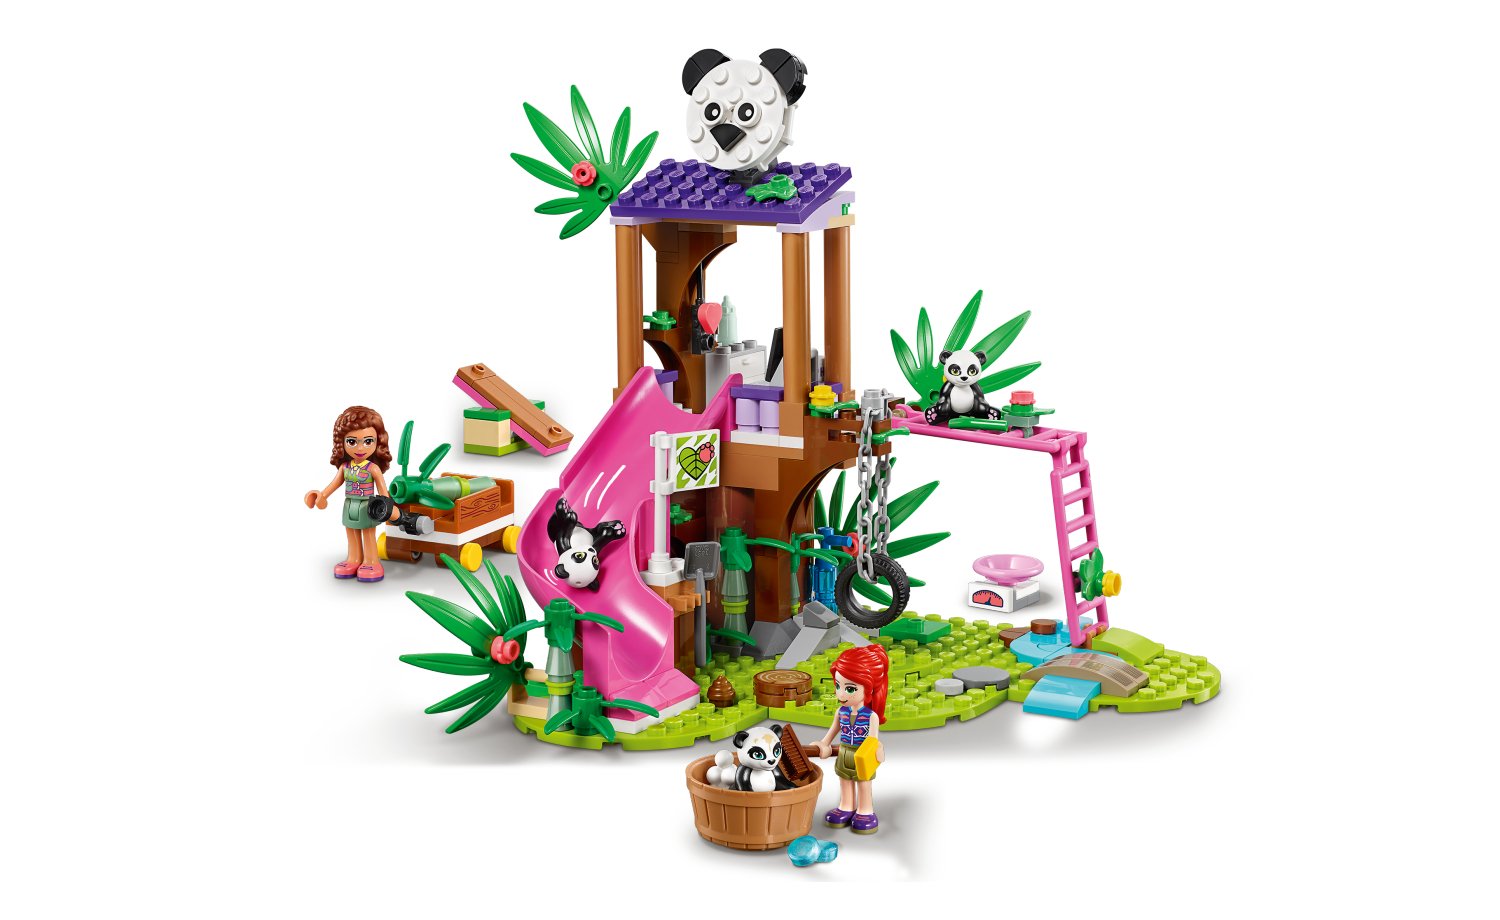
Panda Jungle Tree House (41422) – 265 pcs / R549.99
This NG
set features rangers Olivia and Mia and some really cute baby pandas. The tree
house is a solid enough build that a child can play with the characters in and
around it. They will have fun letting the pandas slide down the slide and
having the Mini-doll wash the dirty panda that is cleverly printed with muddy
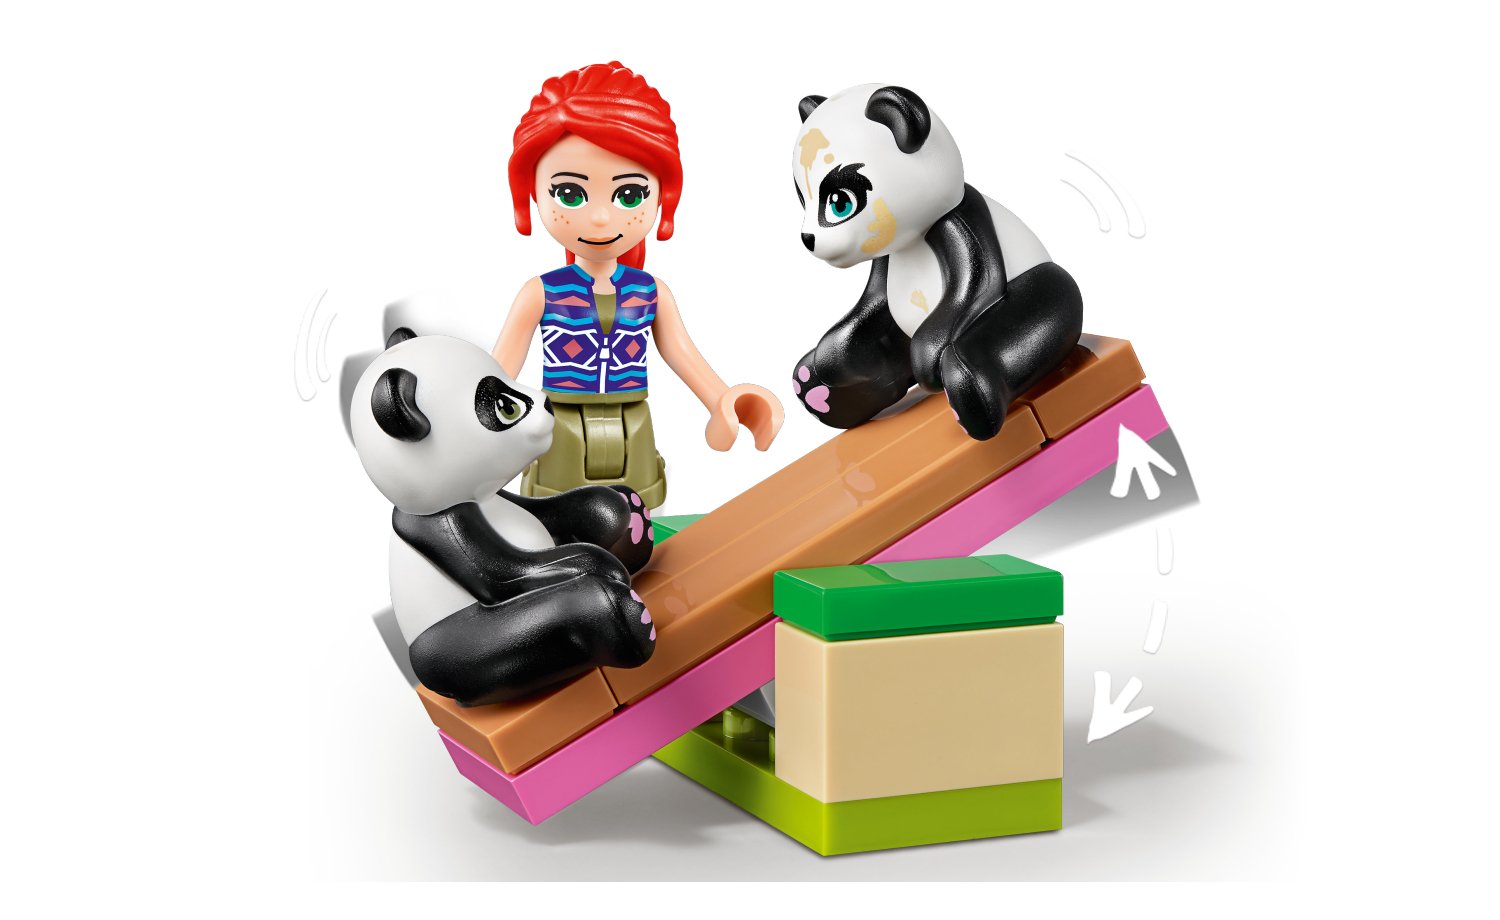
patches. There is also a little seesaw to build that works nicely for the pandas
to sit on and play. The set has some other clever details such as a pull cart,
chains holding a tyre swing and computer with tea station in the treehouse. All
in all another fun and very playable set.
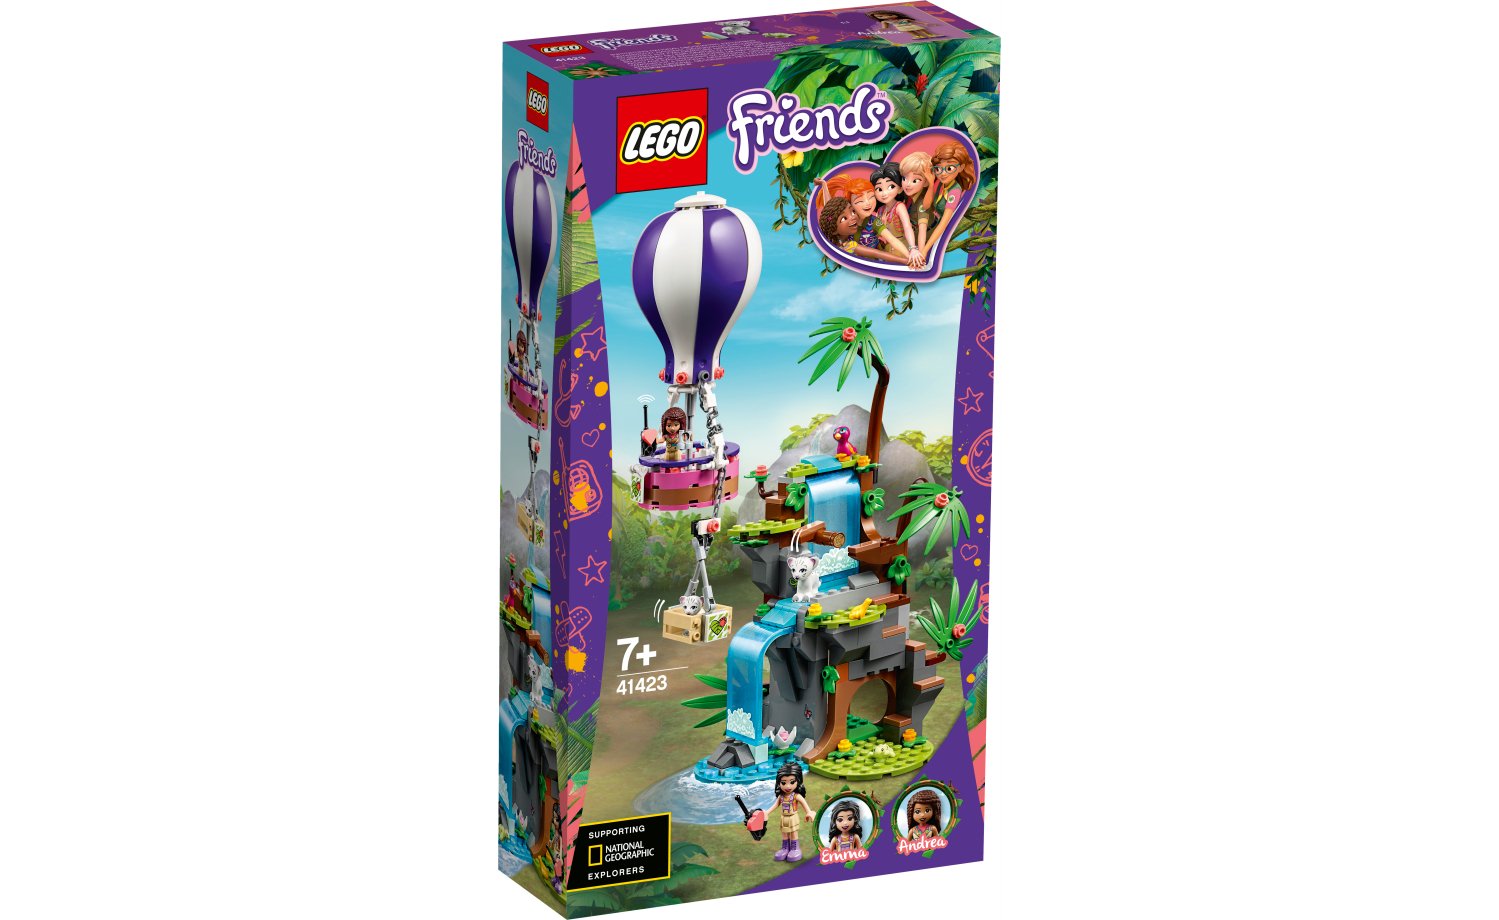
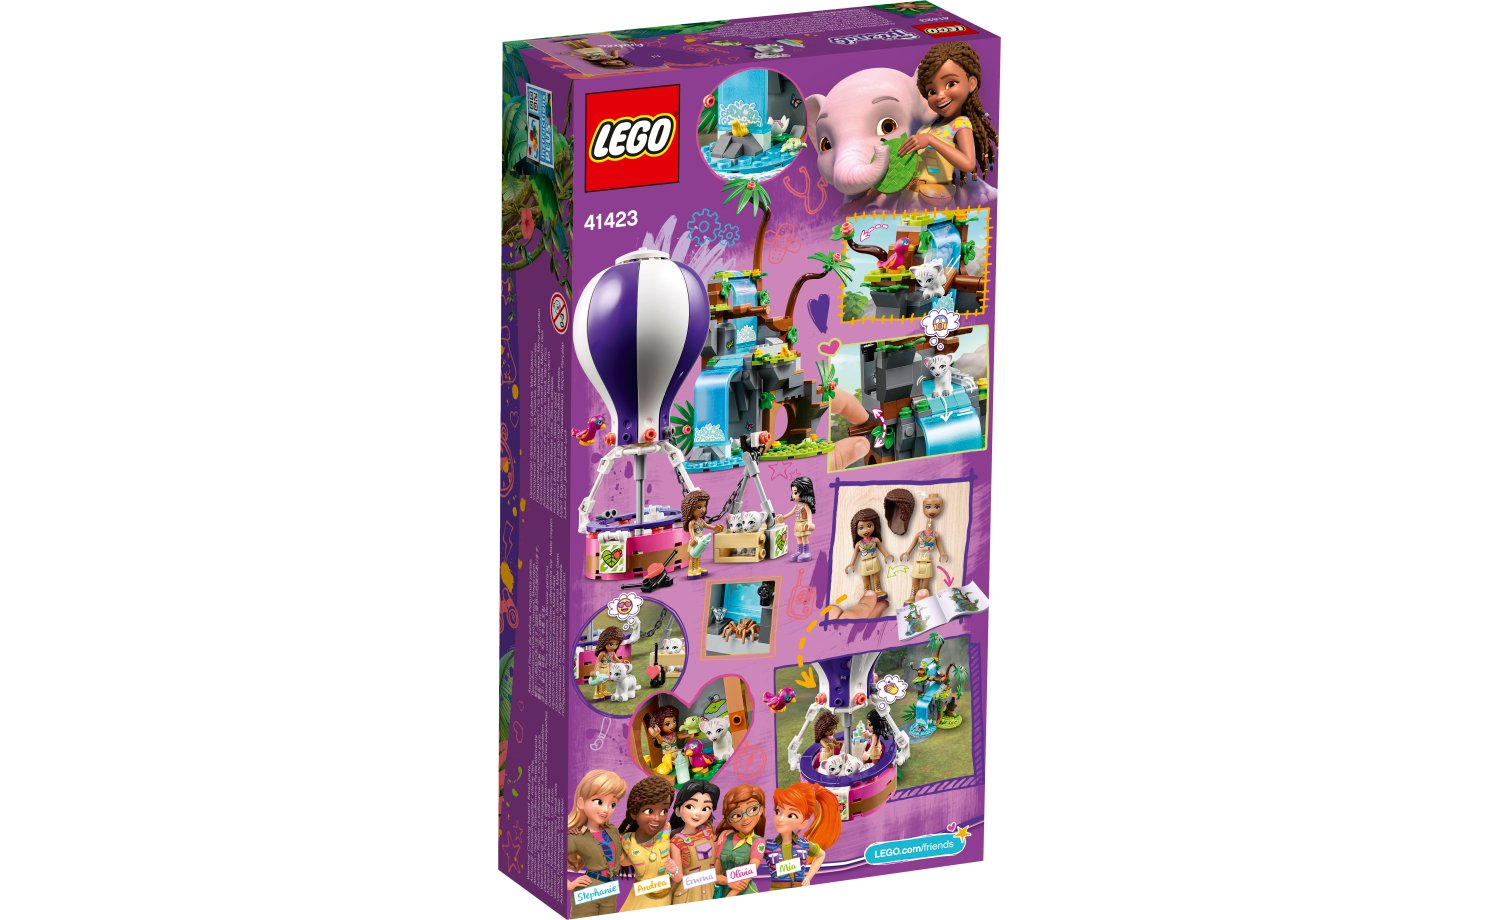
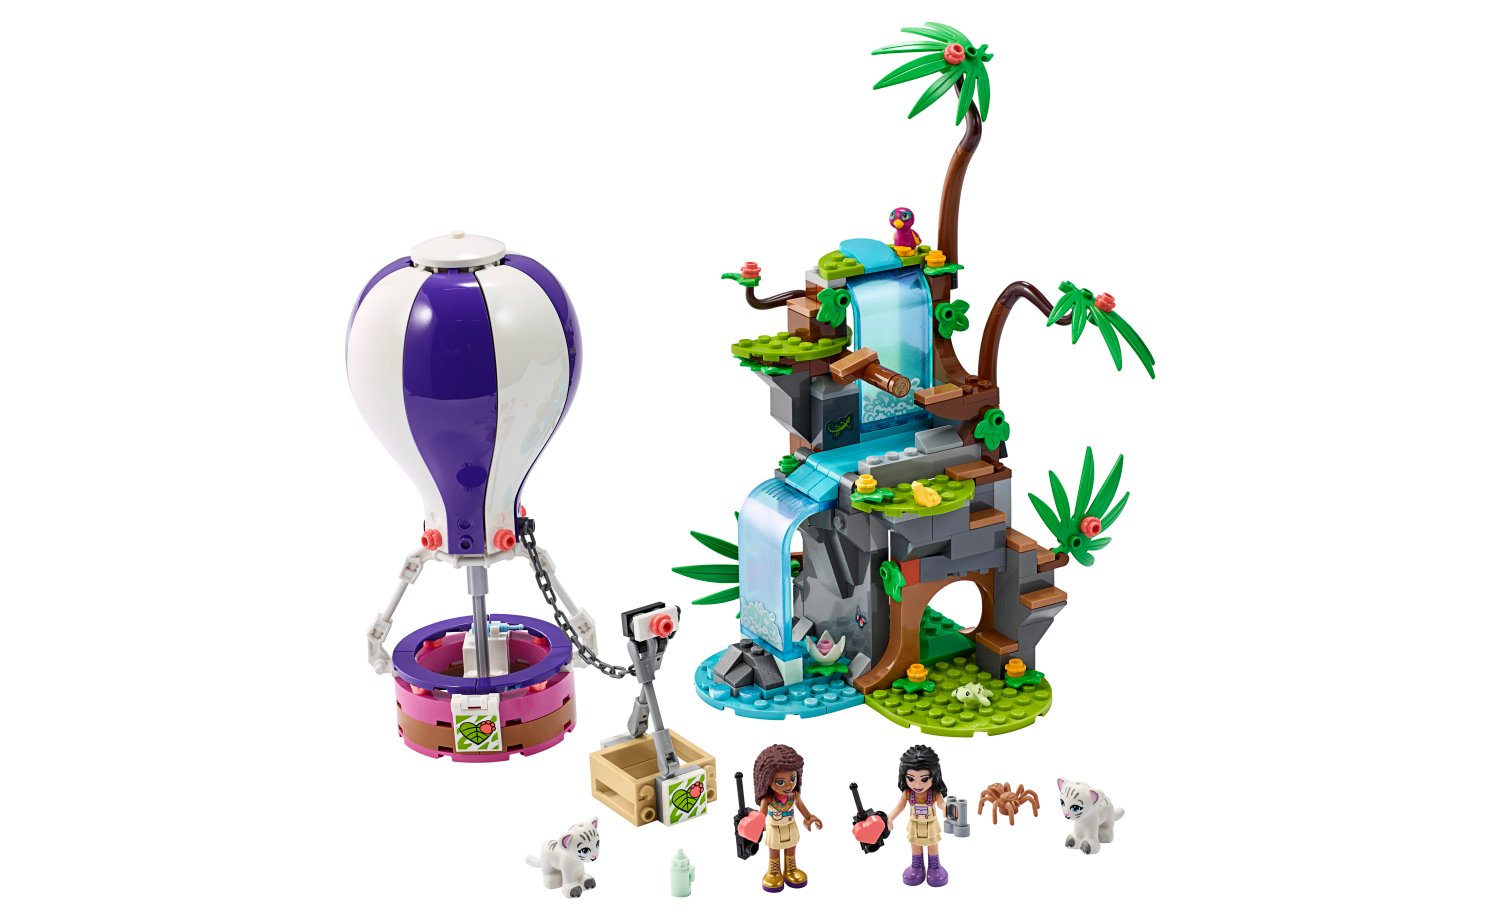
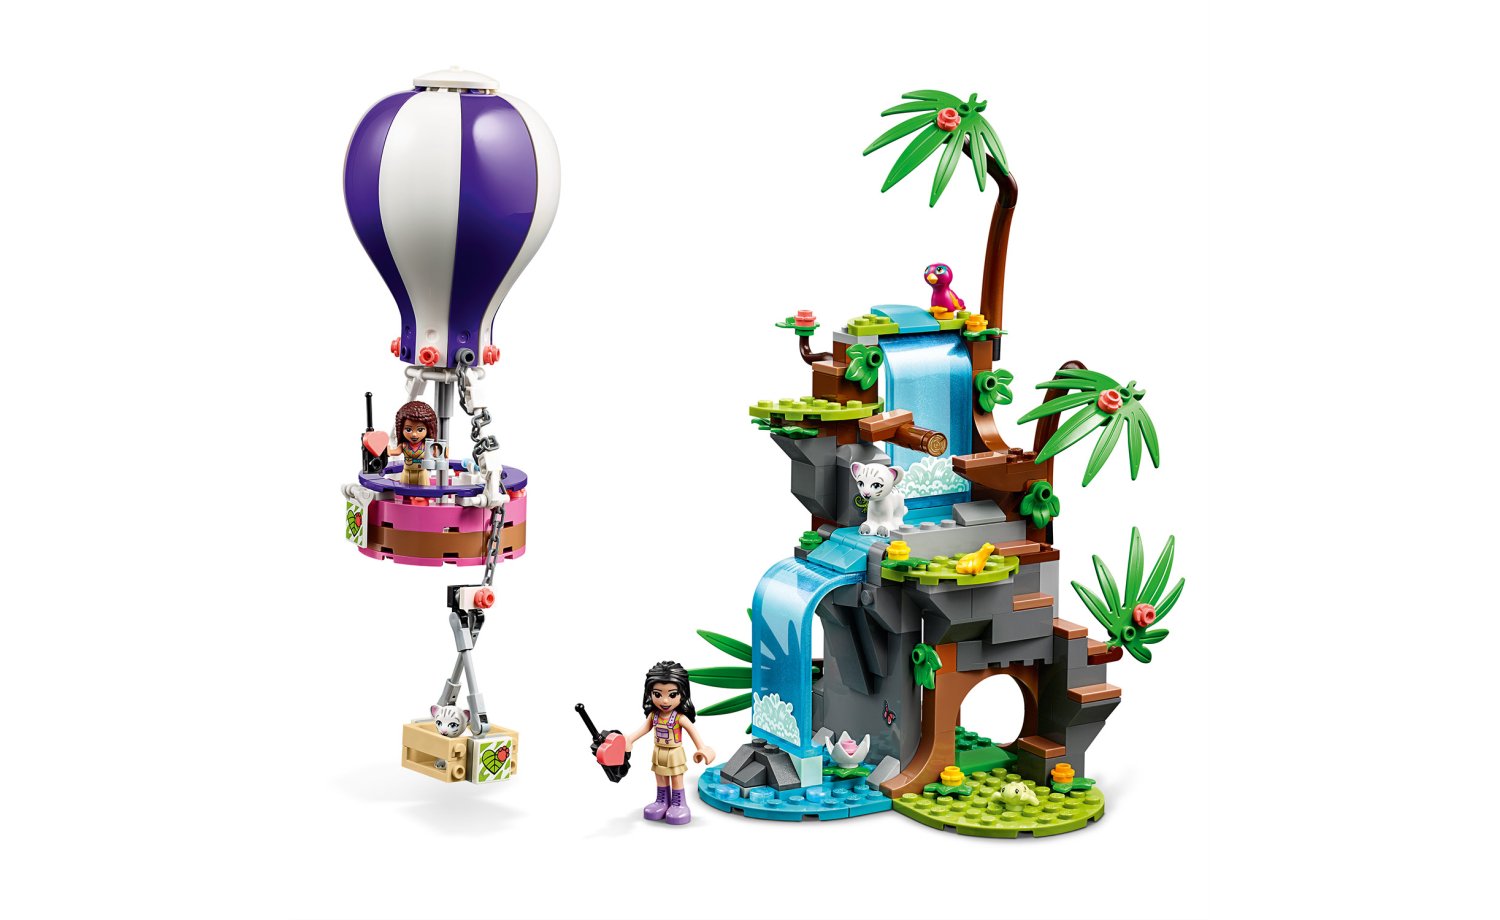
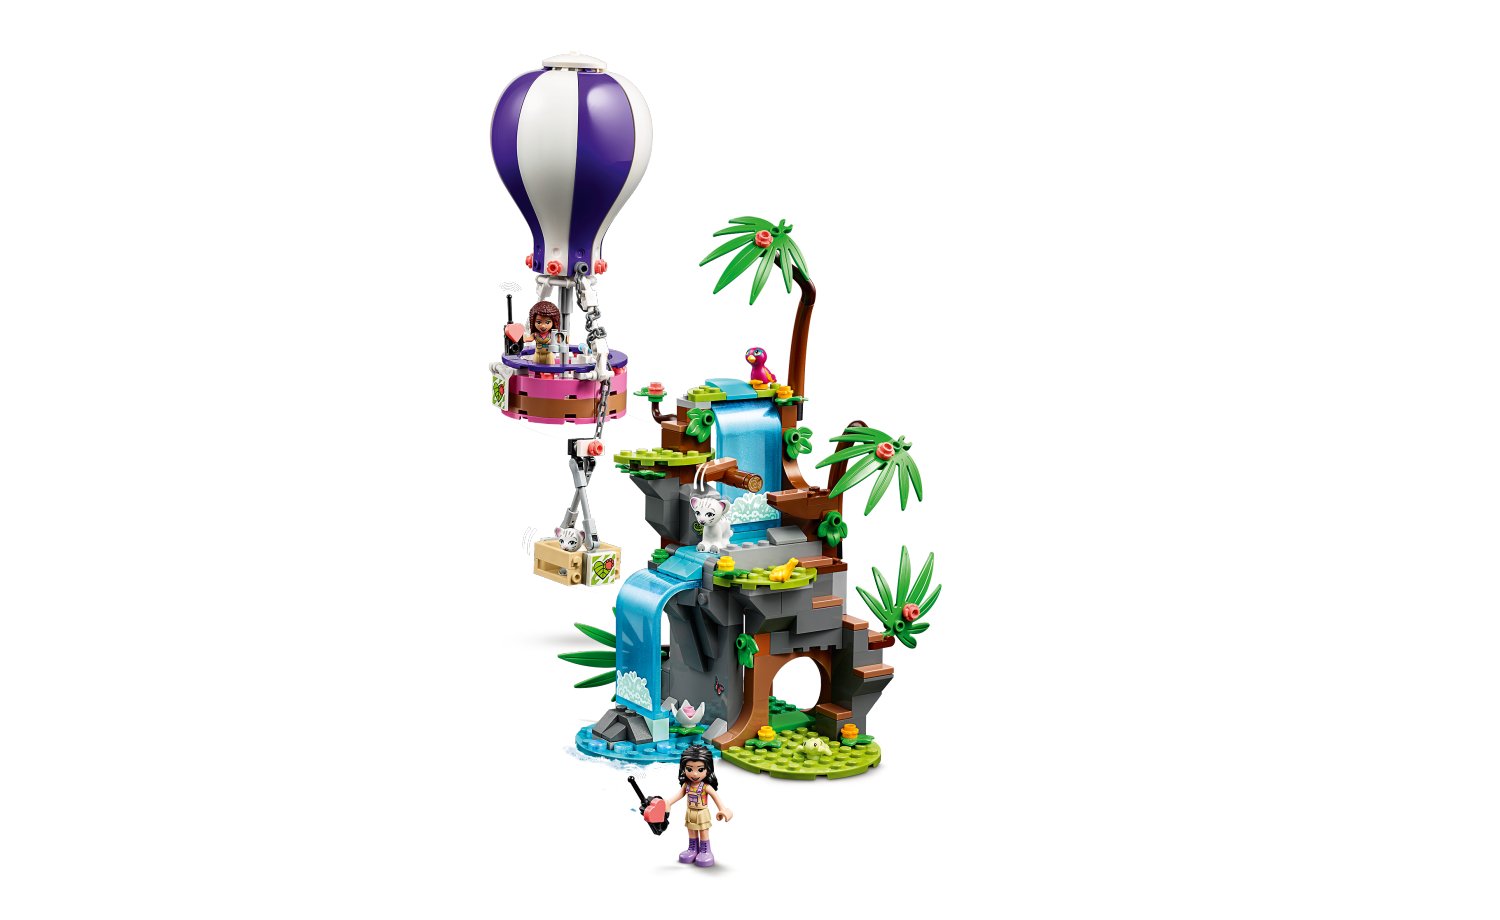
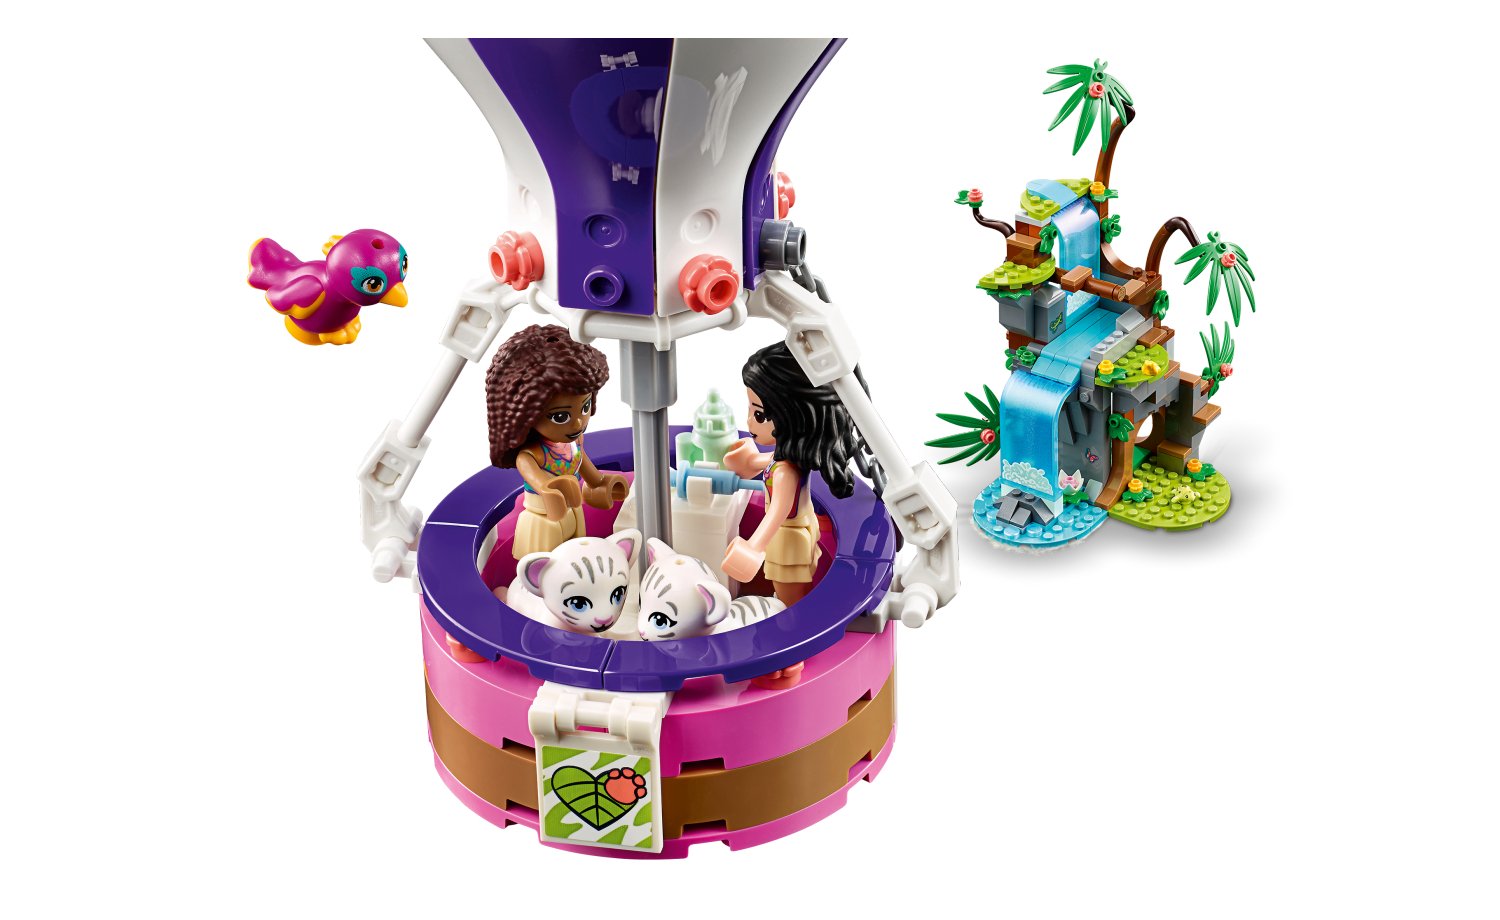
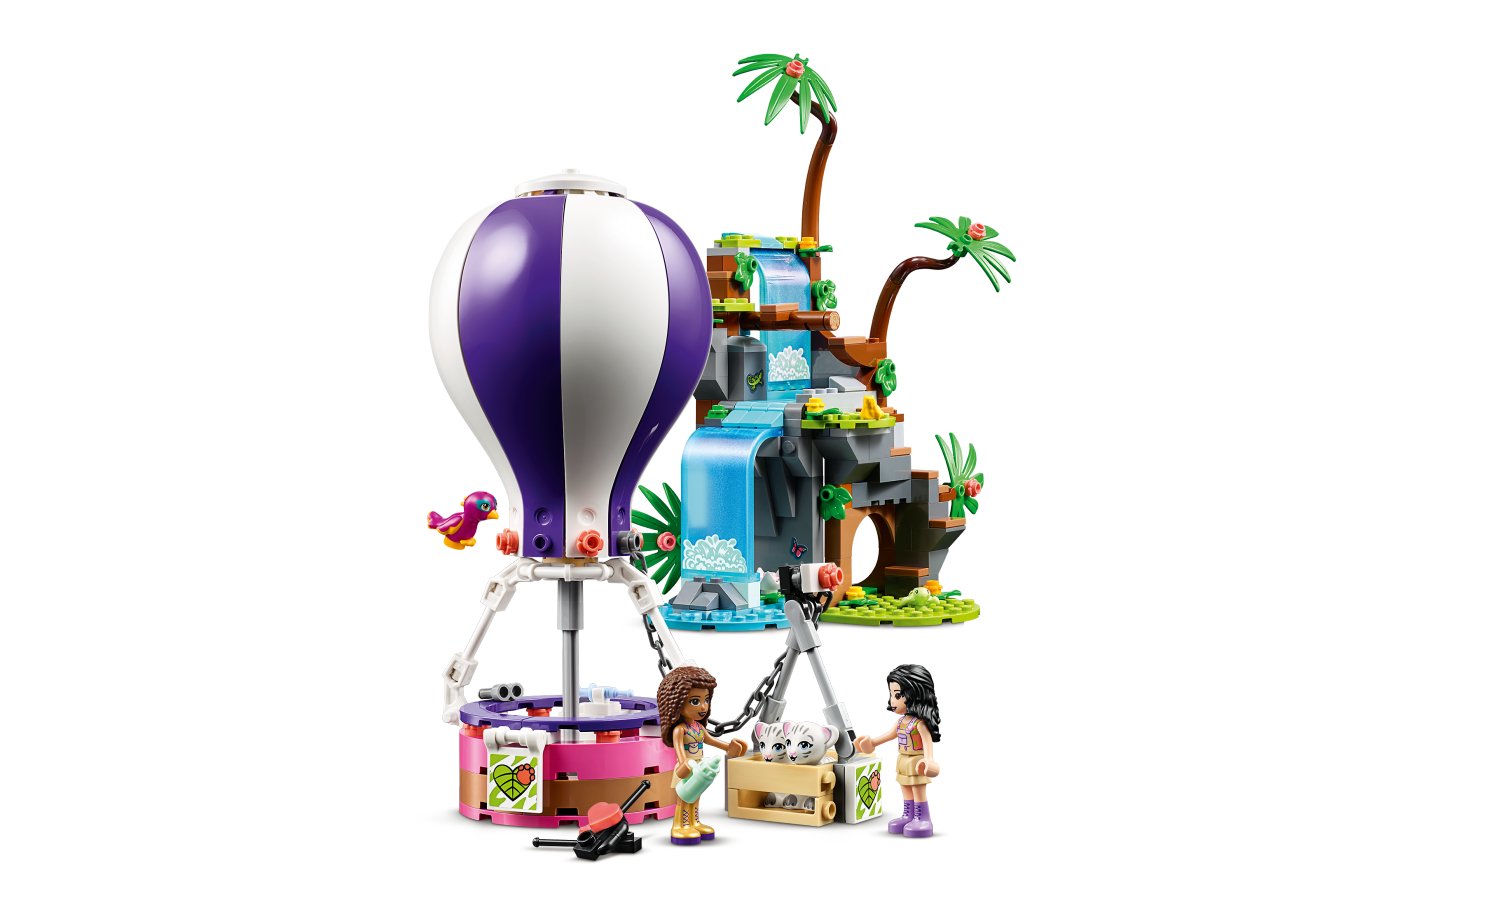
Tiger Hot Air Balloon Jungle Rescue (41423) – 302 pcs / R699.99
The next
set in the NG line has rangers Andrea and Emma rescuing white tiger cubs from a
waterfall in their hot air balloon. The waterfall build is simple and elegant but
still a solid play build. The curved trans-light blue parts give it a very unique
running water look and feel. The balloon is very much like other we have seen. Easy
build with a round basket and attachment box for the tigers being rescued one
at a time.
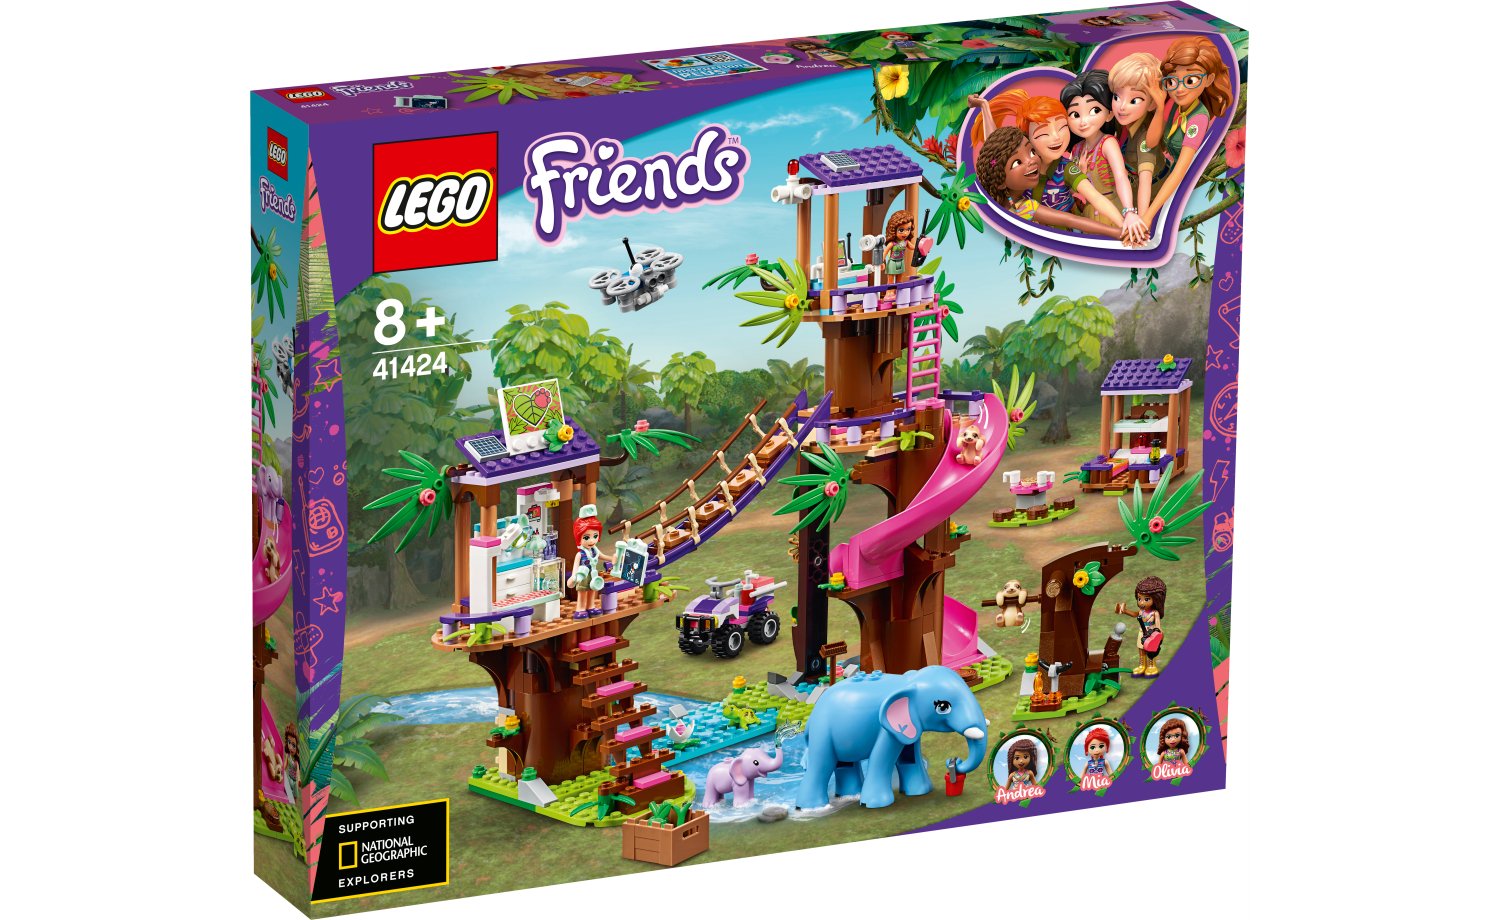
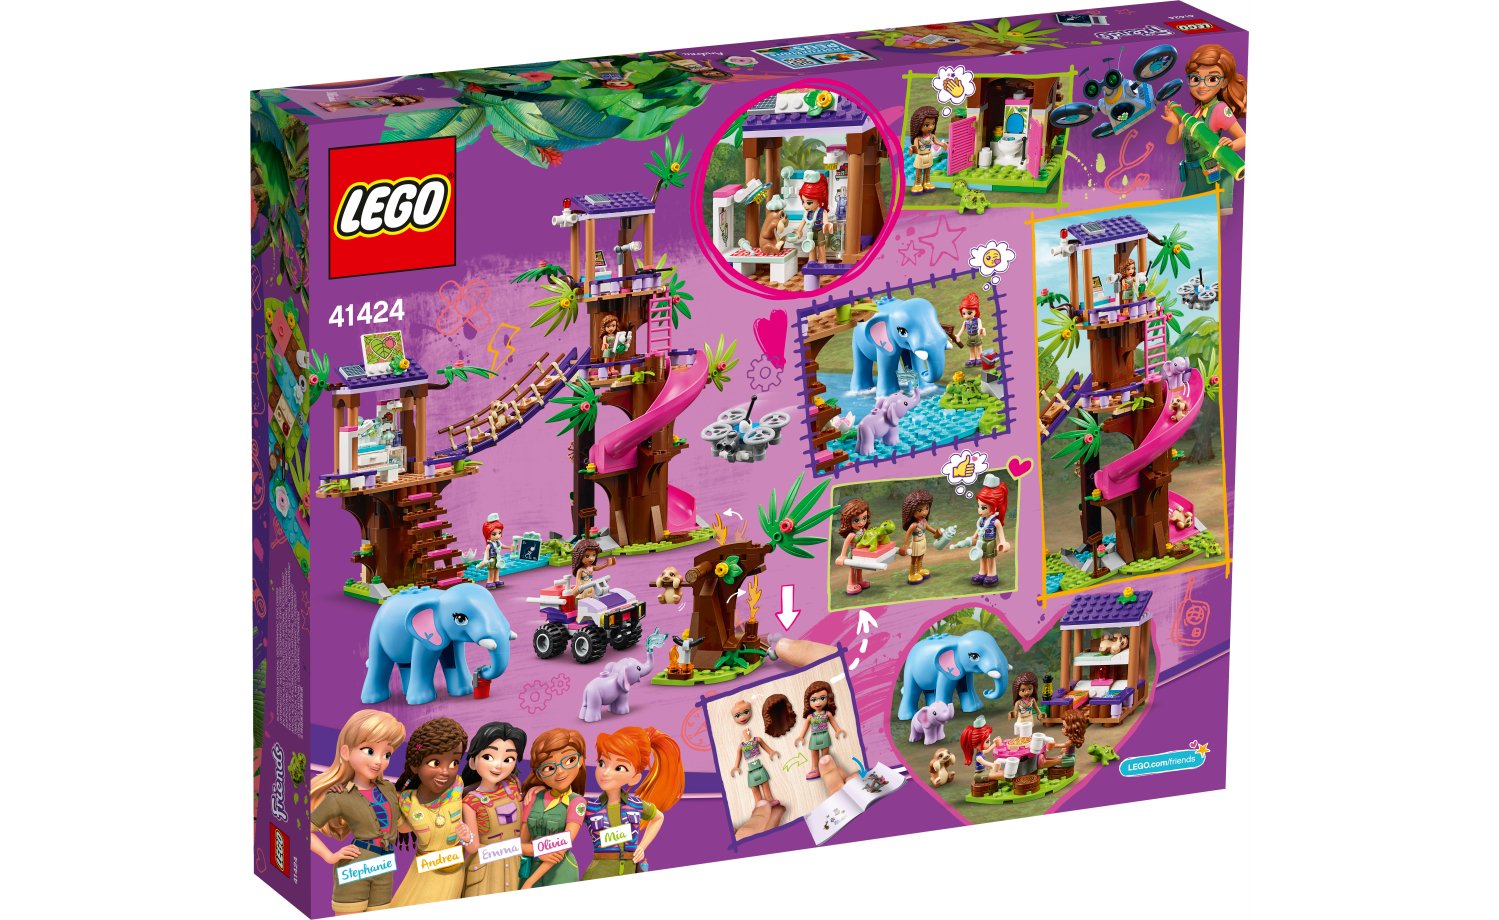
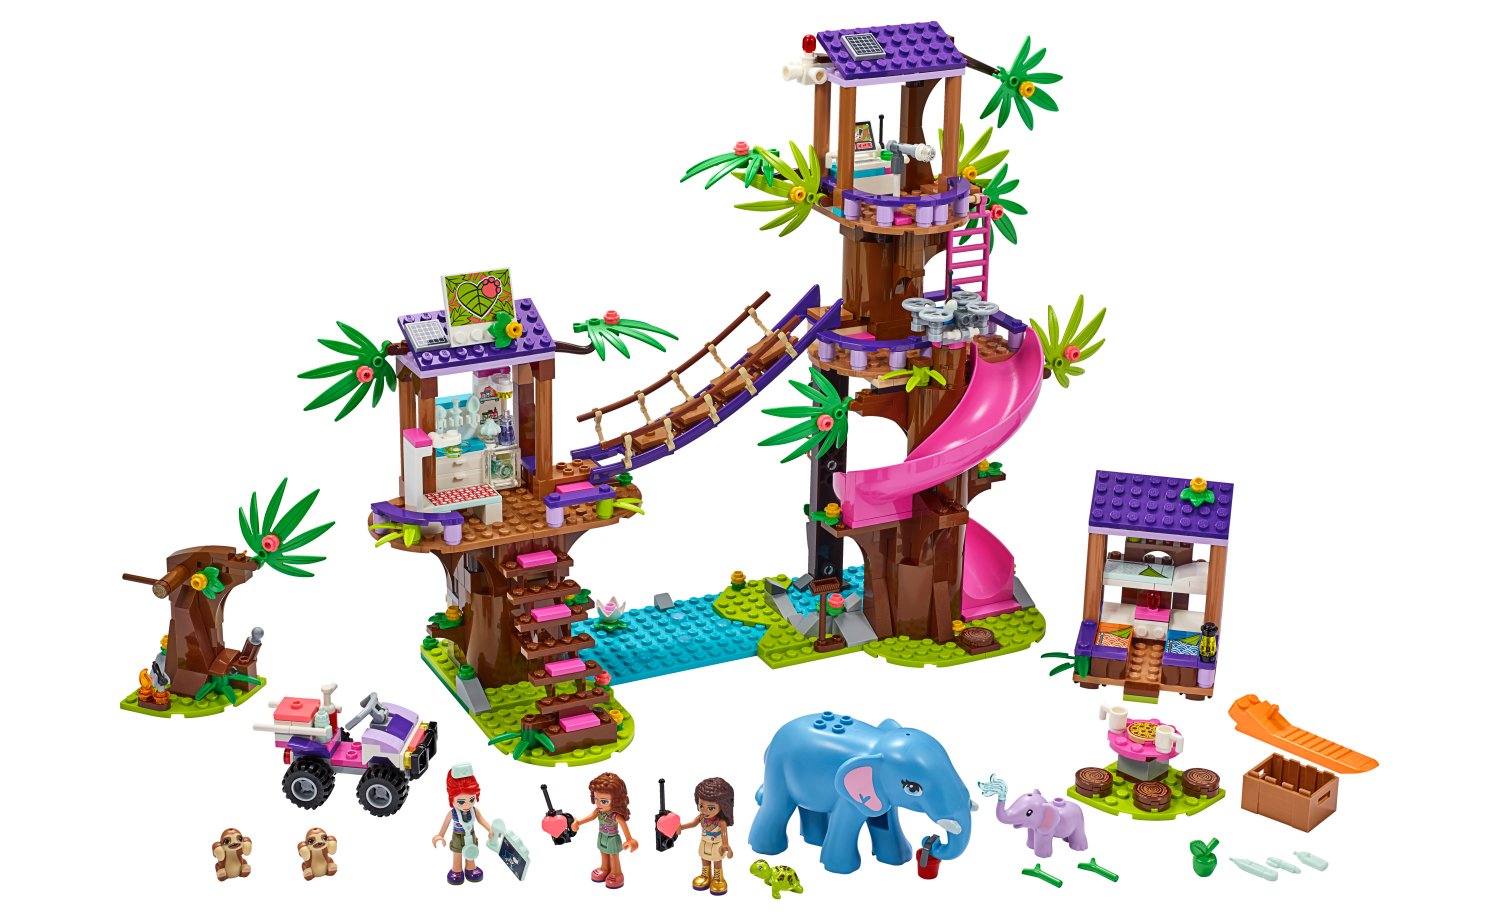
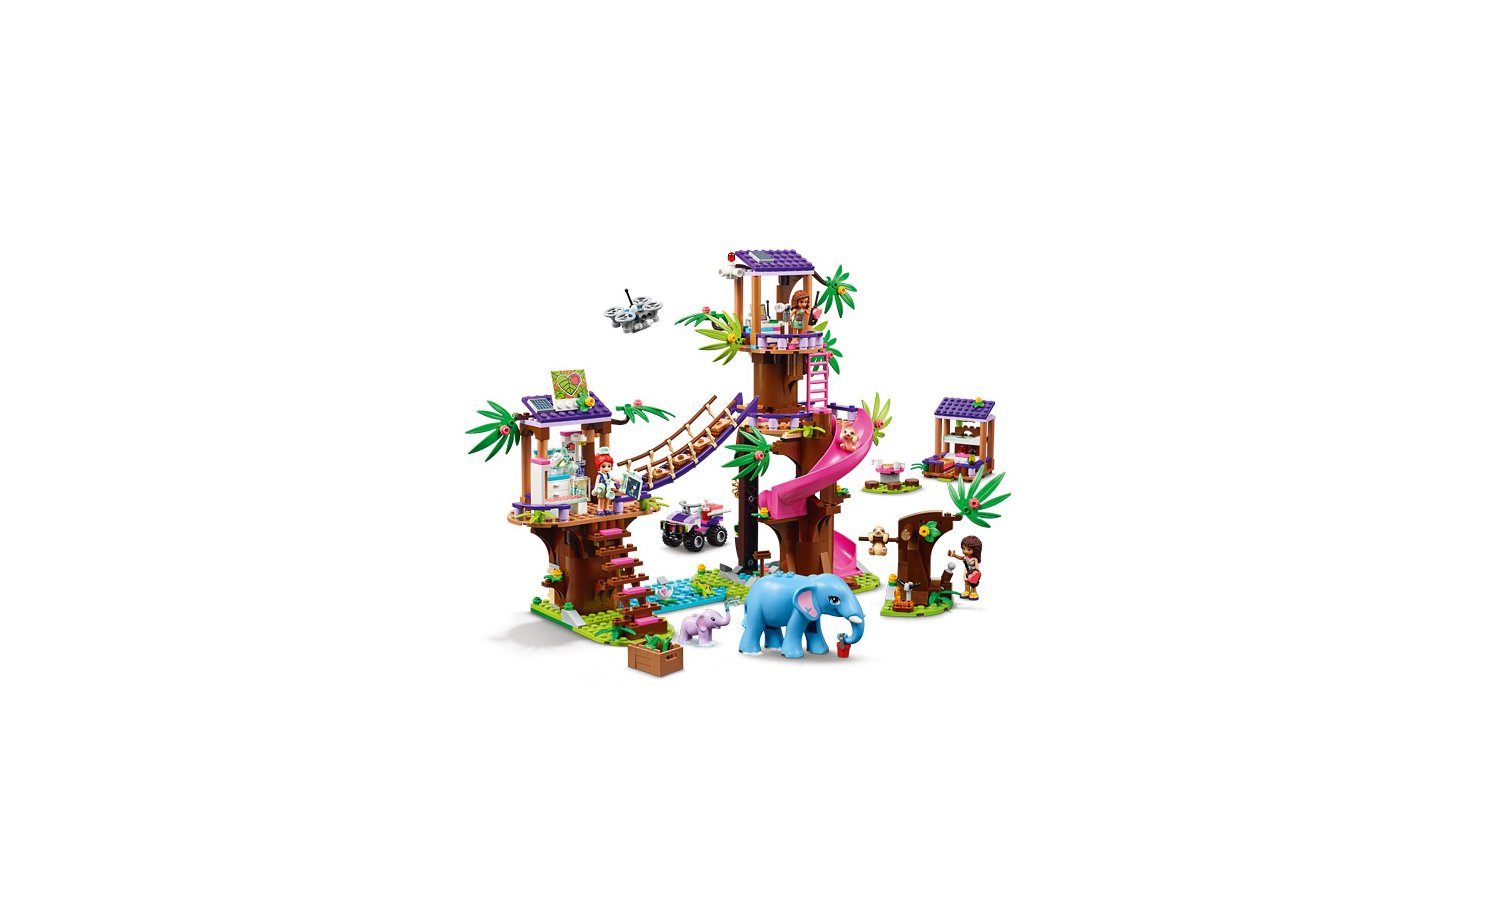
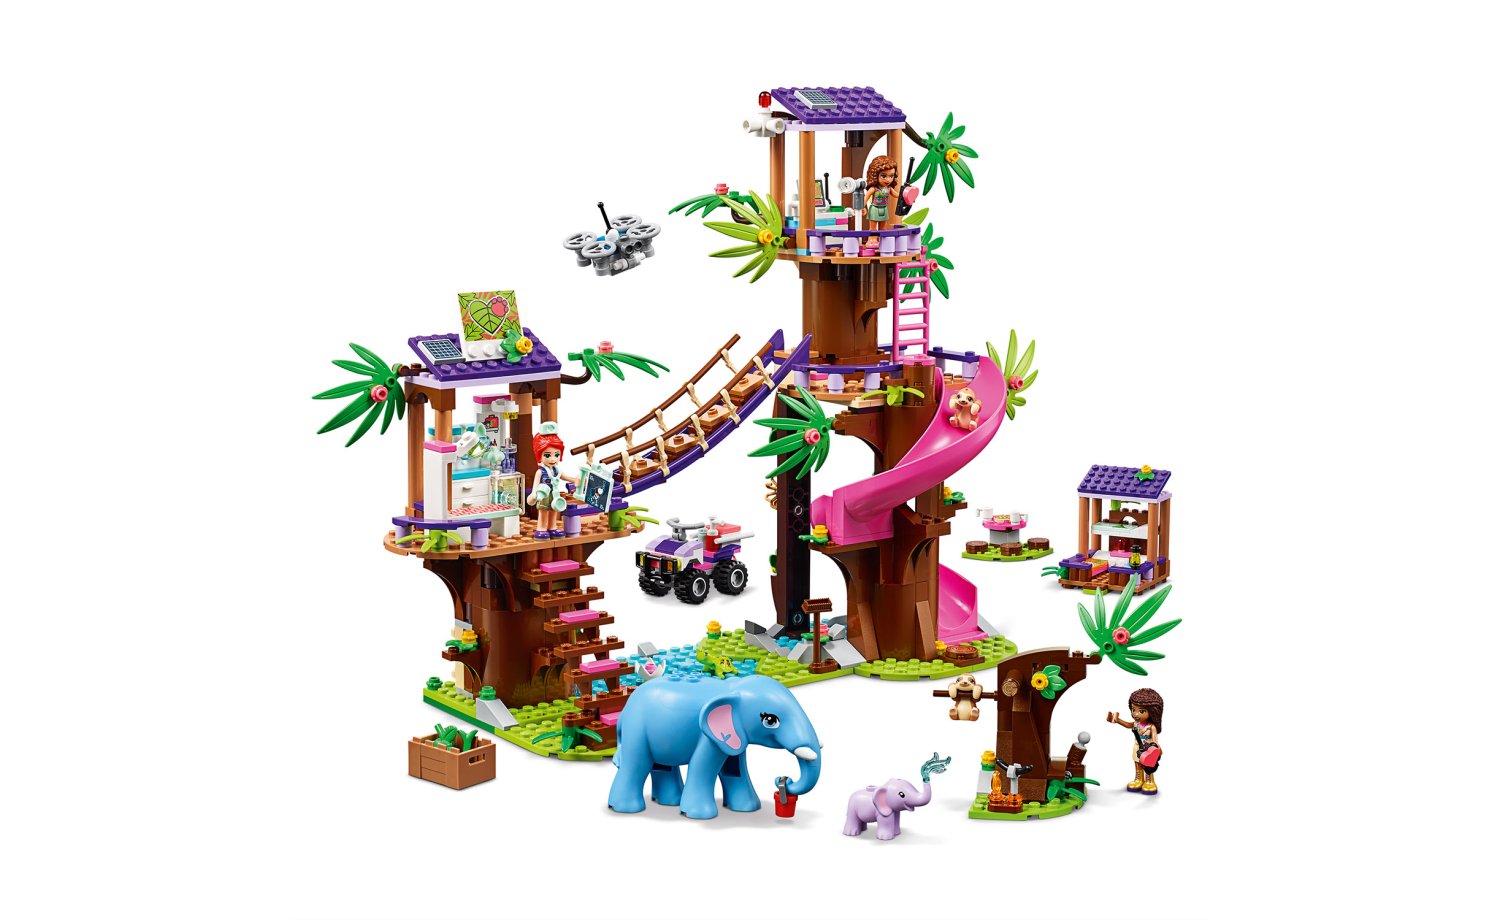
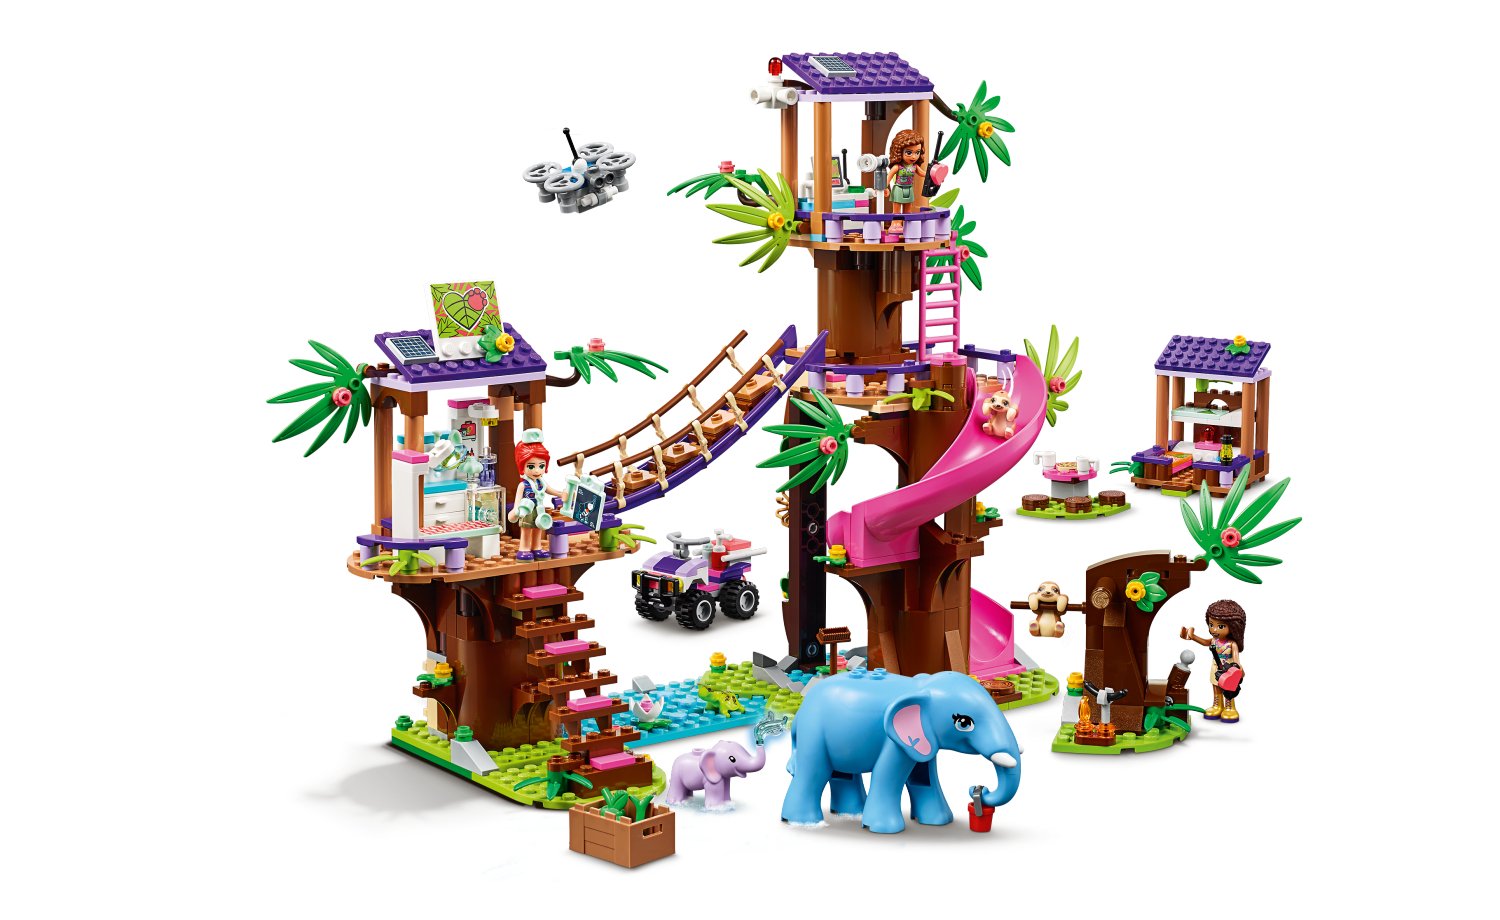
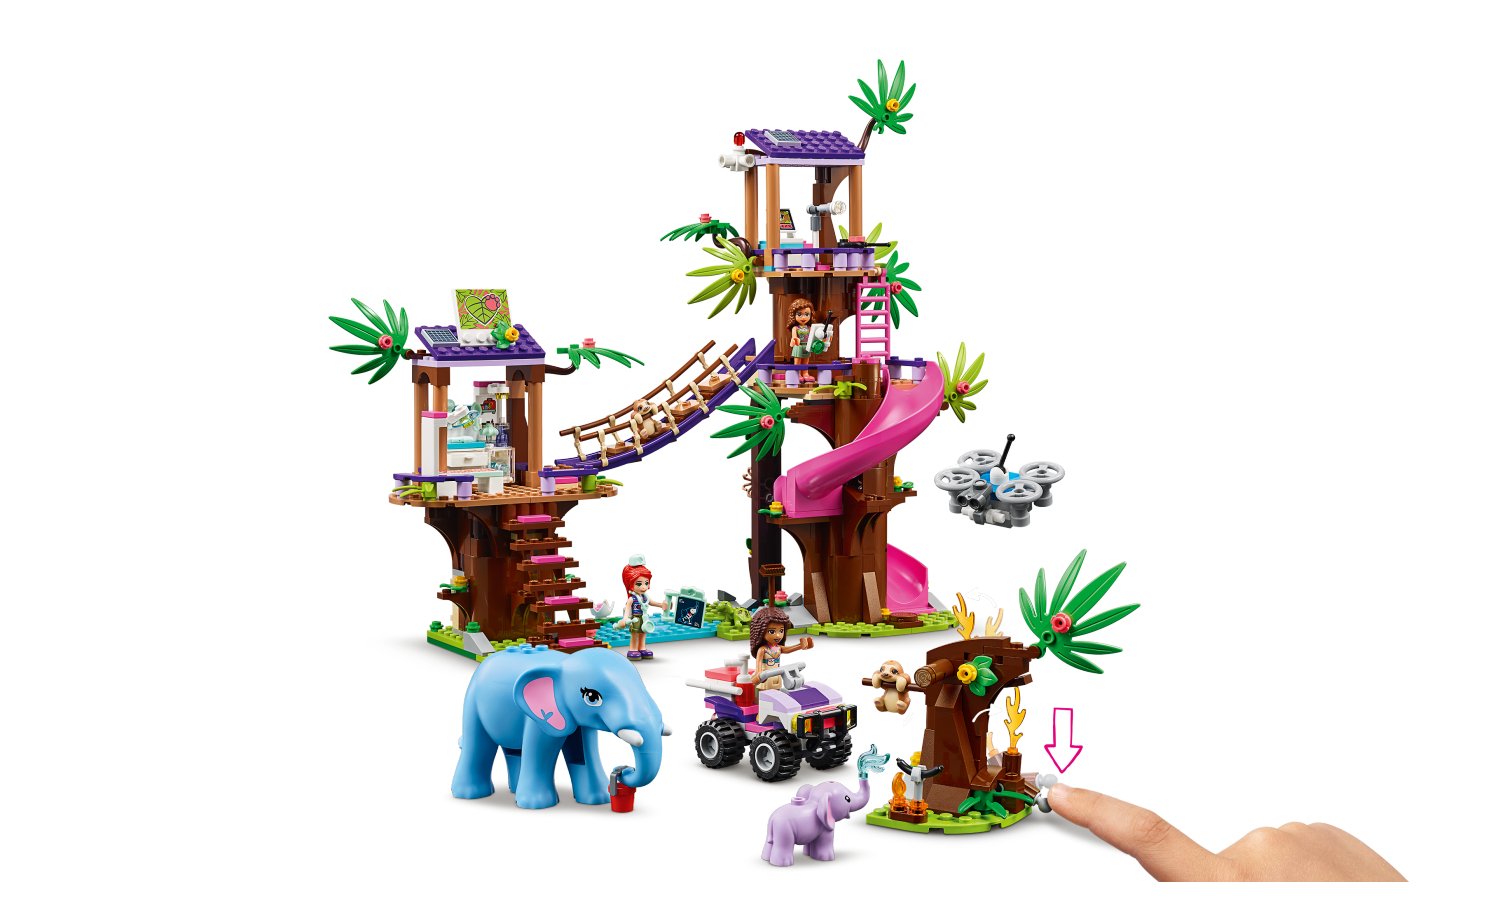
Jungle Rescue Base (41424) – 648 pcs / R1,399.99
Another
NG set with rangers Andrea, Mia and Oliva. This set has similar aspects to the 41422
Treehouse with great details and play ability with the ranger stations and fun
slide for the animals. This set introduces a cute sloth to the mix of Friends
animals. There are two included. The two treehouses are connected by a cleverly
designed rope bridge that has 2×2 modified plates so the mini-doll can be played
with walking across or standing on it. With more “technology” being used in the
latest LEGO® sets, we see some solar panels and also get to build a drone with
this set. It must be one of Olivia’s creations. There is a lot this set has to
offer with regards to building and playability.
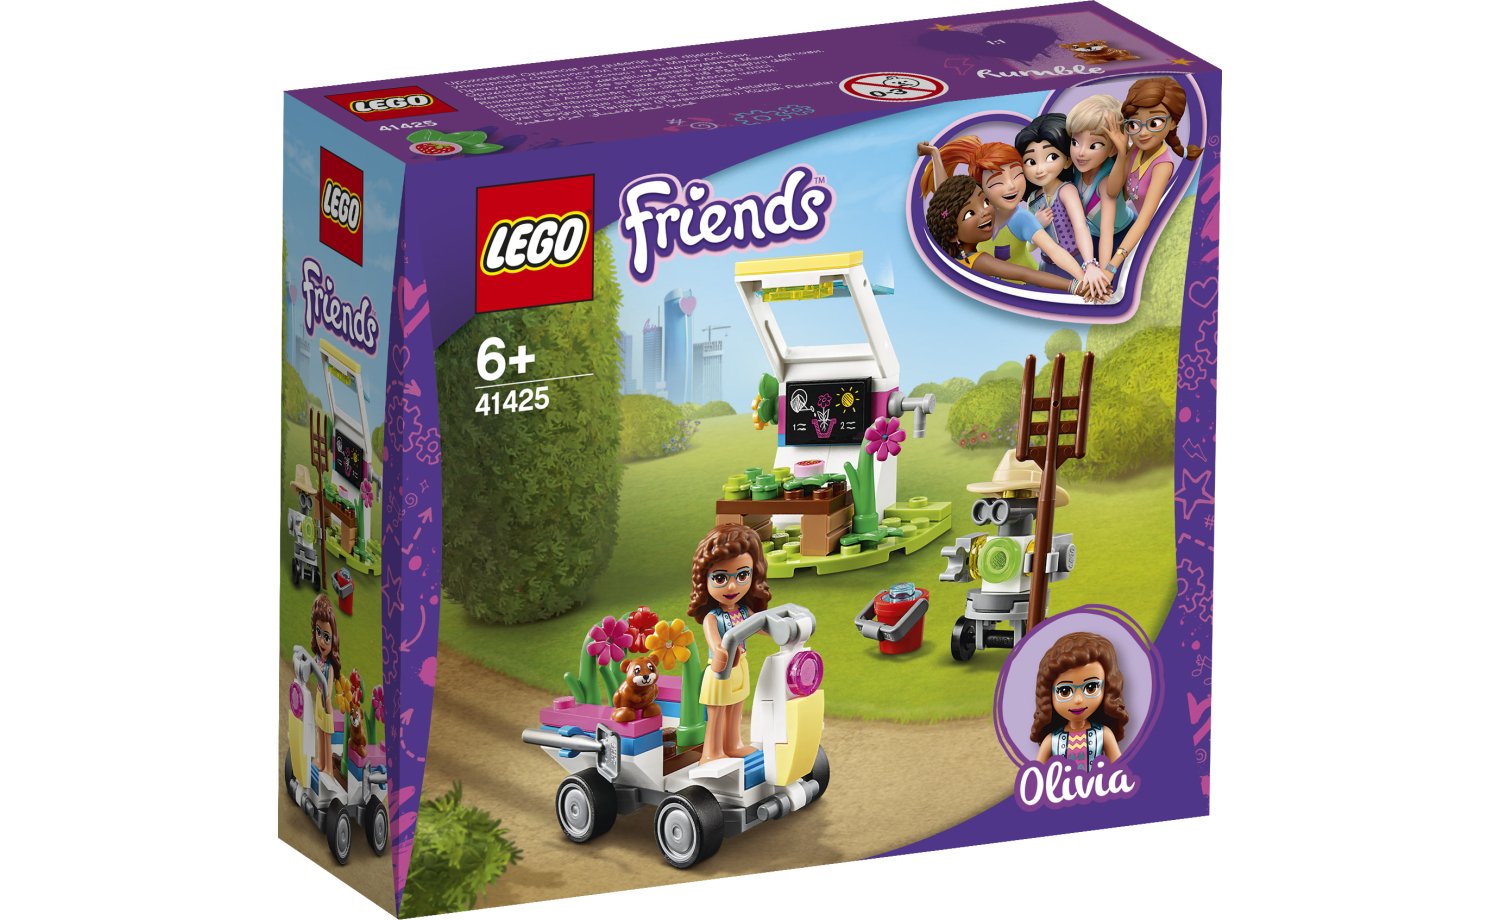
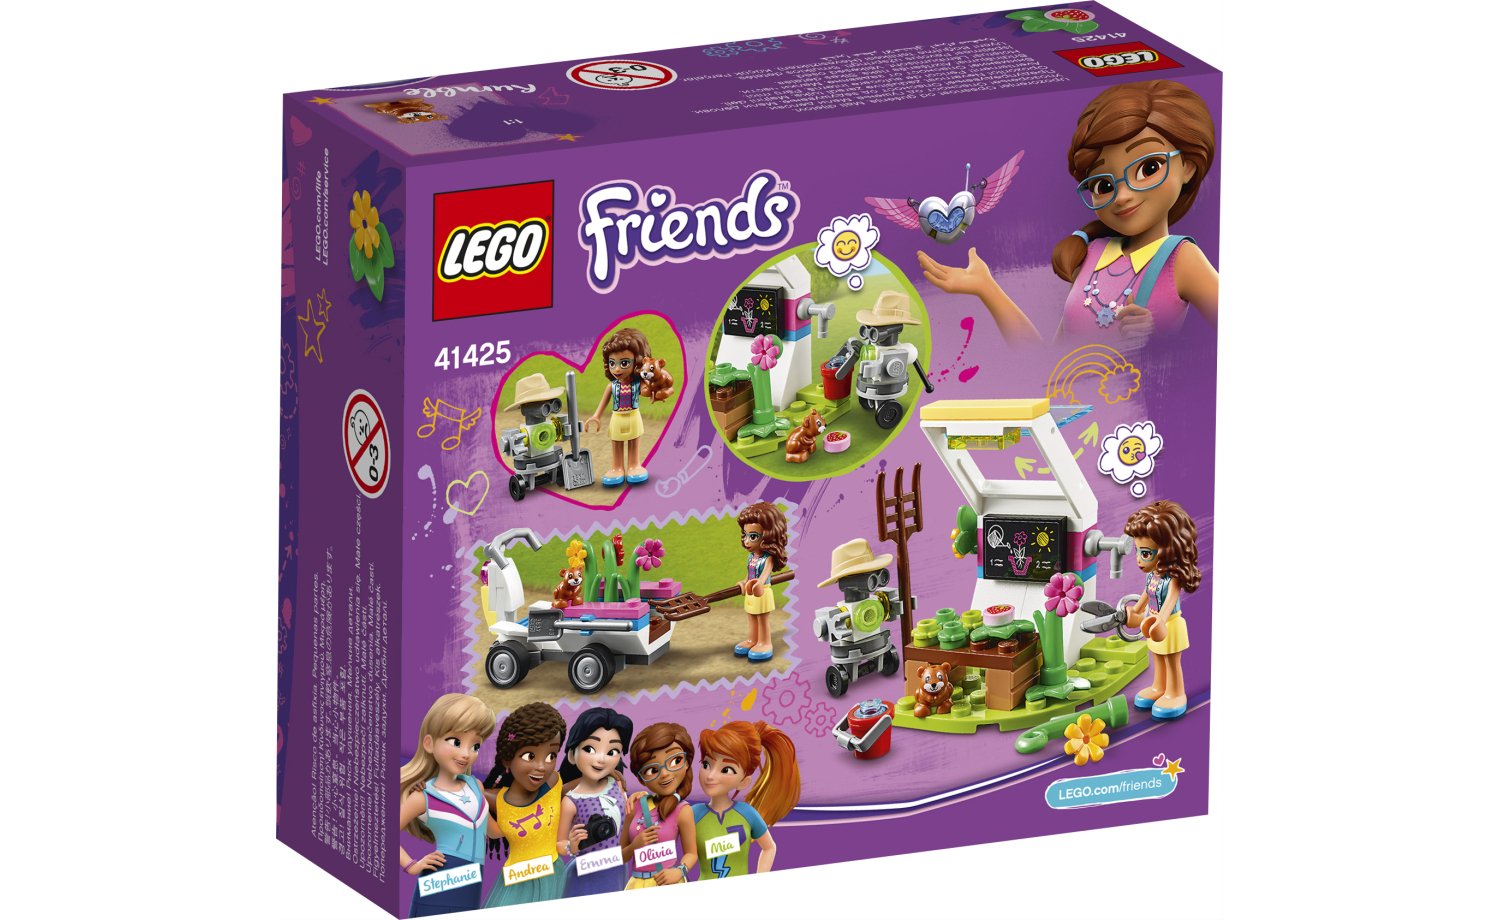
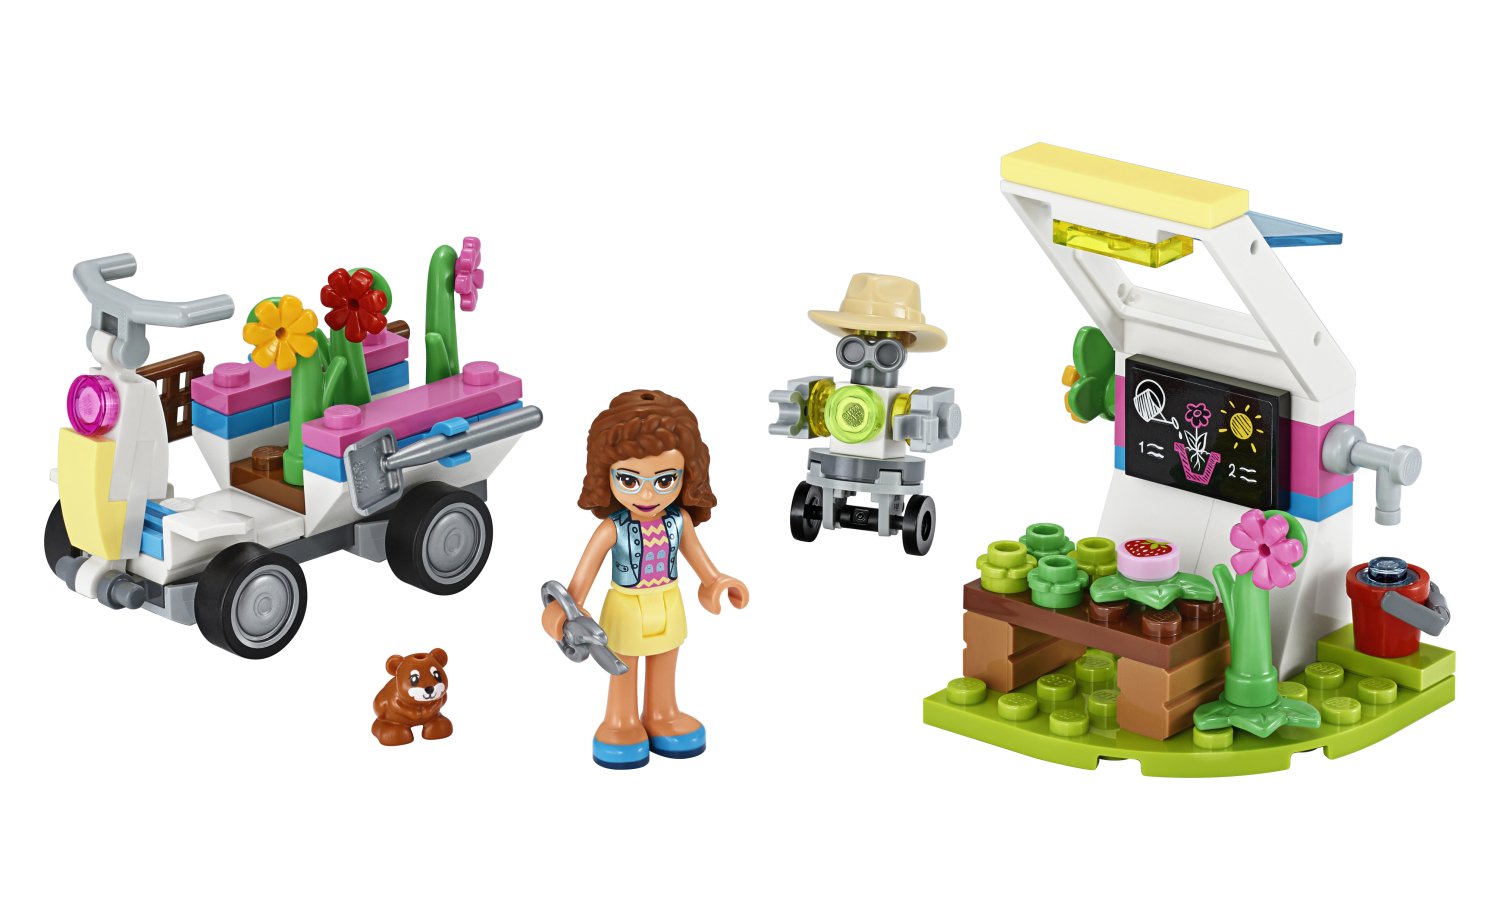
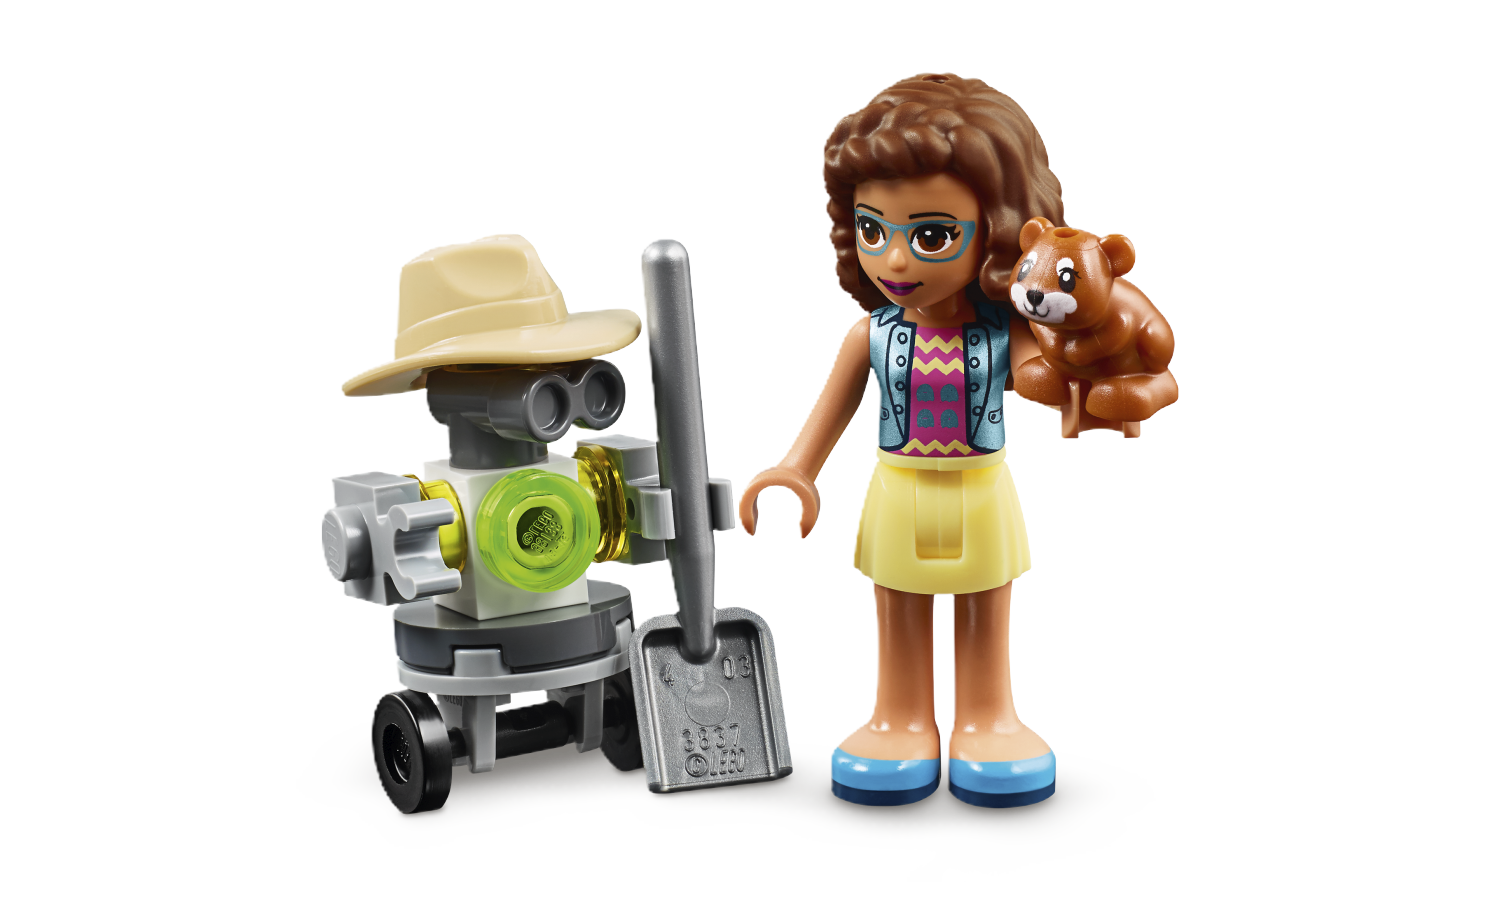
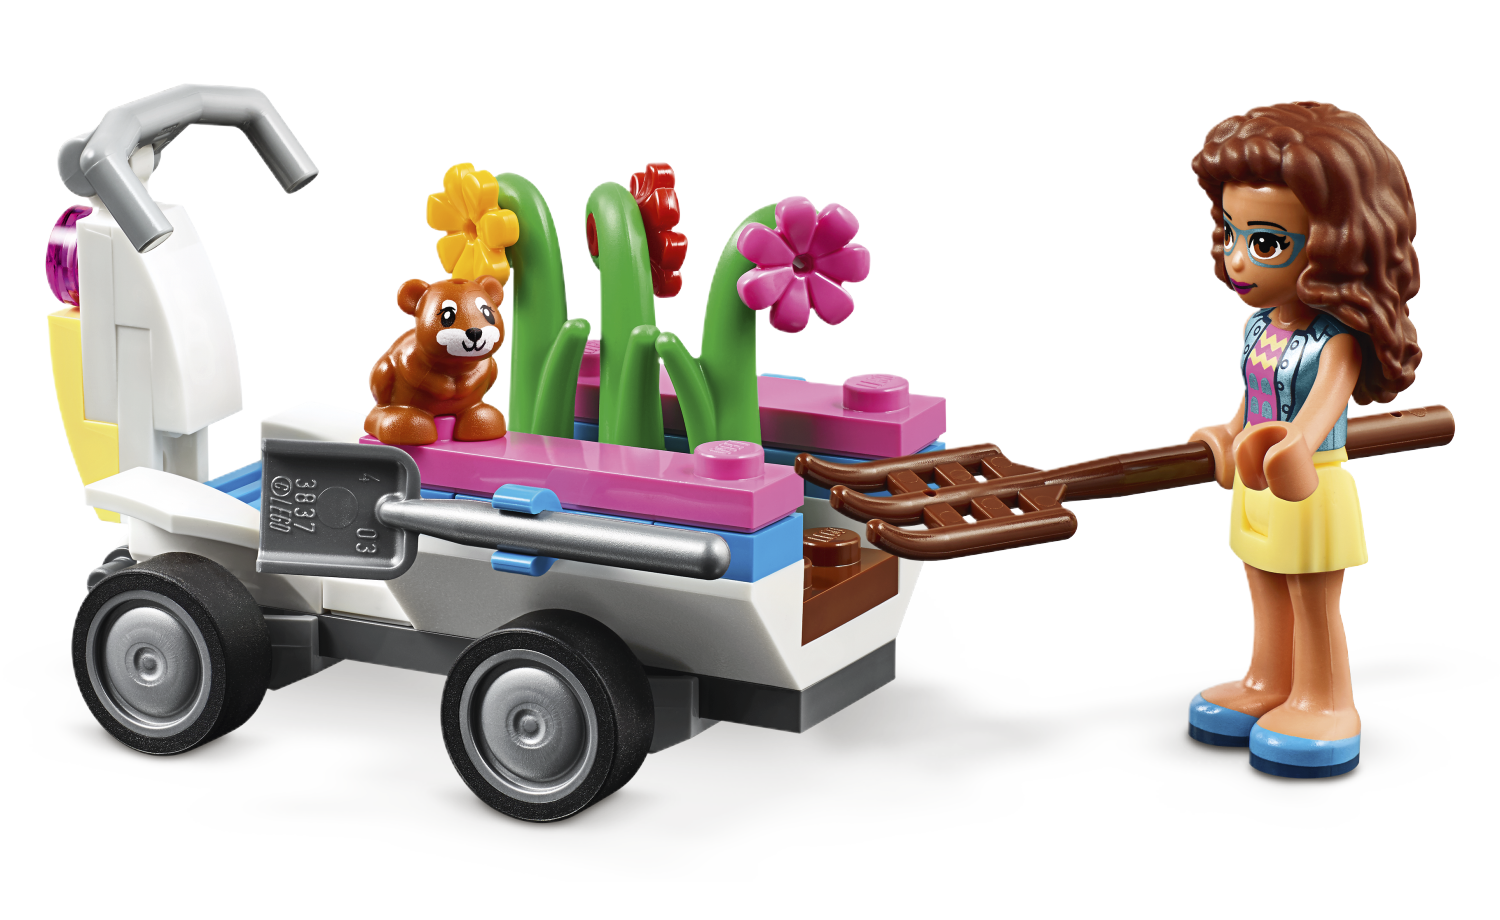
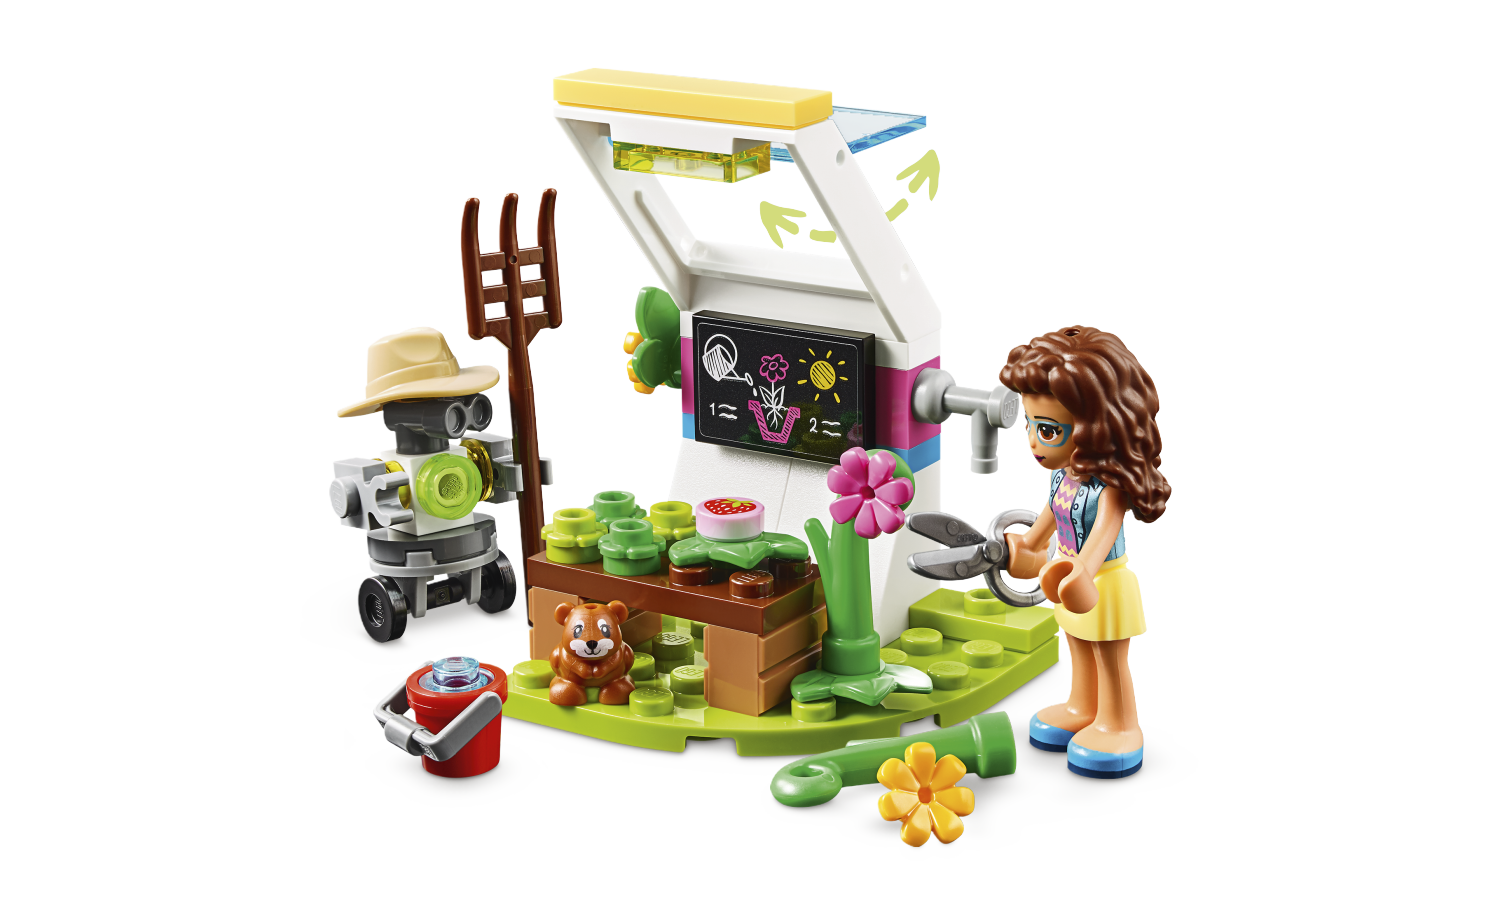
Olivia’s Flower Garden (41425) – 92 pcs / R169.99
Here
we have a quick and easy build. It has a growing station with small potted plants.
There is a unique quad scooter to build that Olivia can ride and transport her
plants. A cleverly designed but simple to build farmer bot adds some extra character
to the set. What would a friends set be without including an animal? We get cute
squirrel in this one.
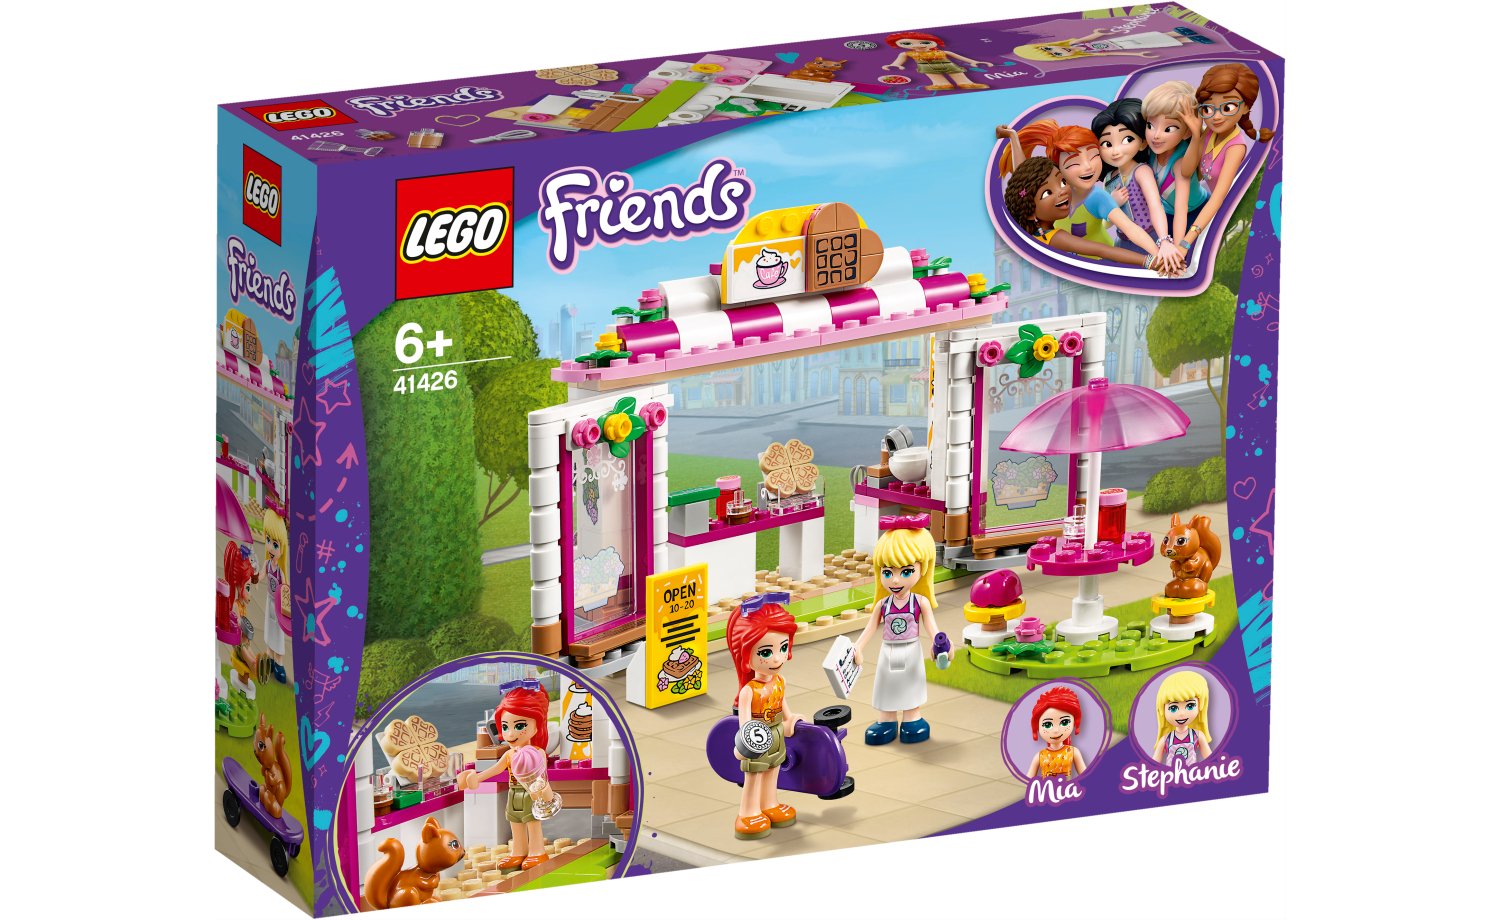
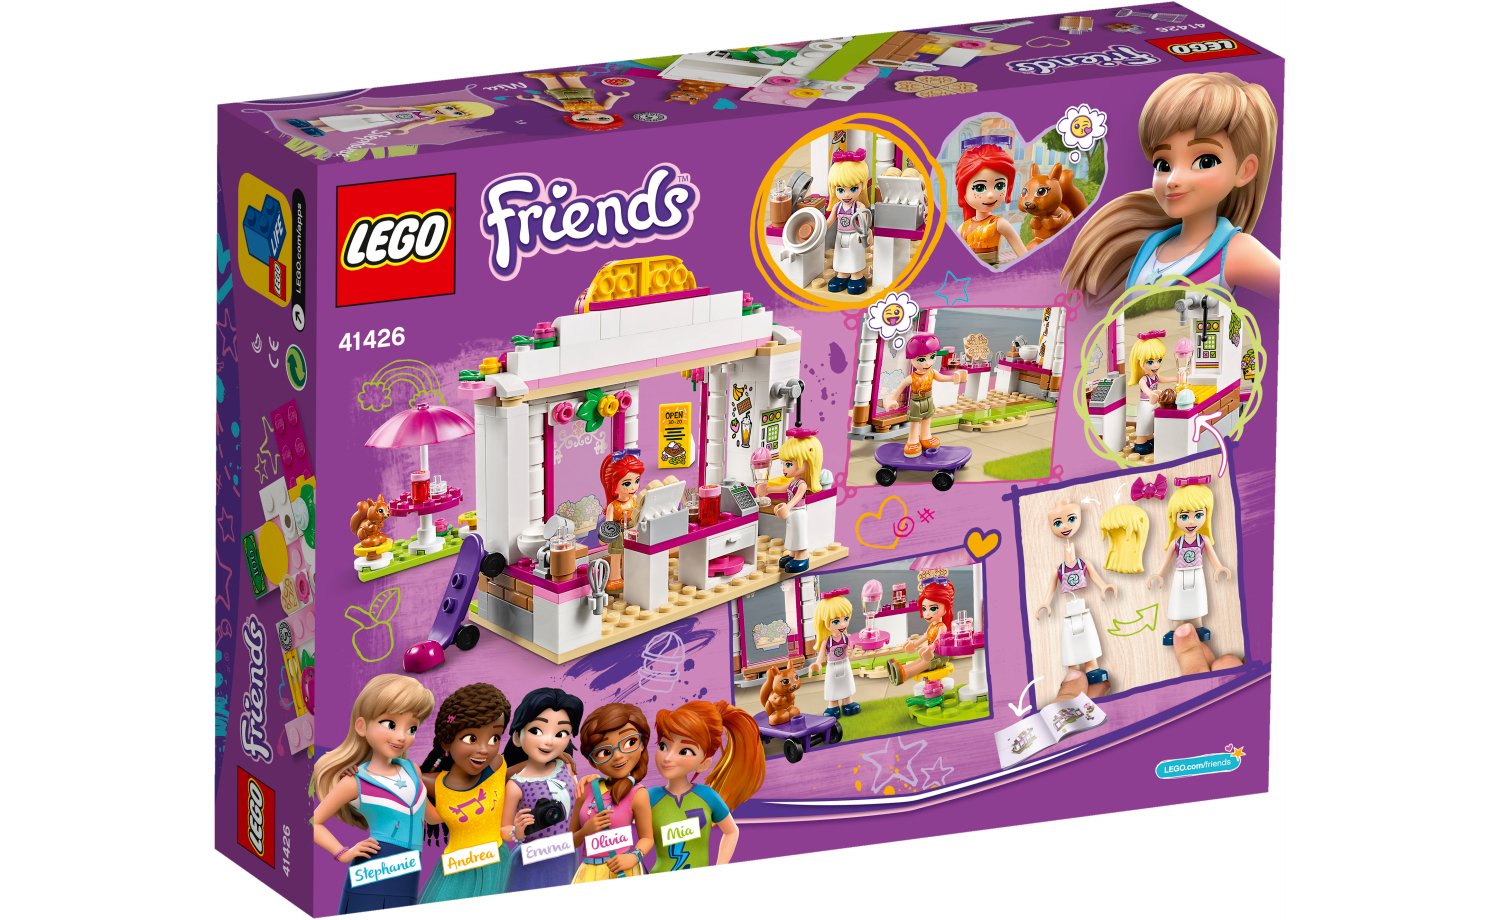
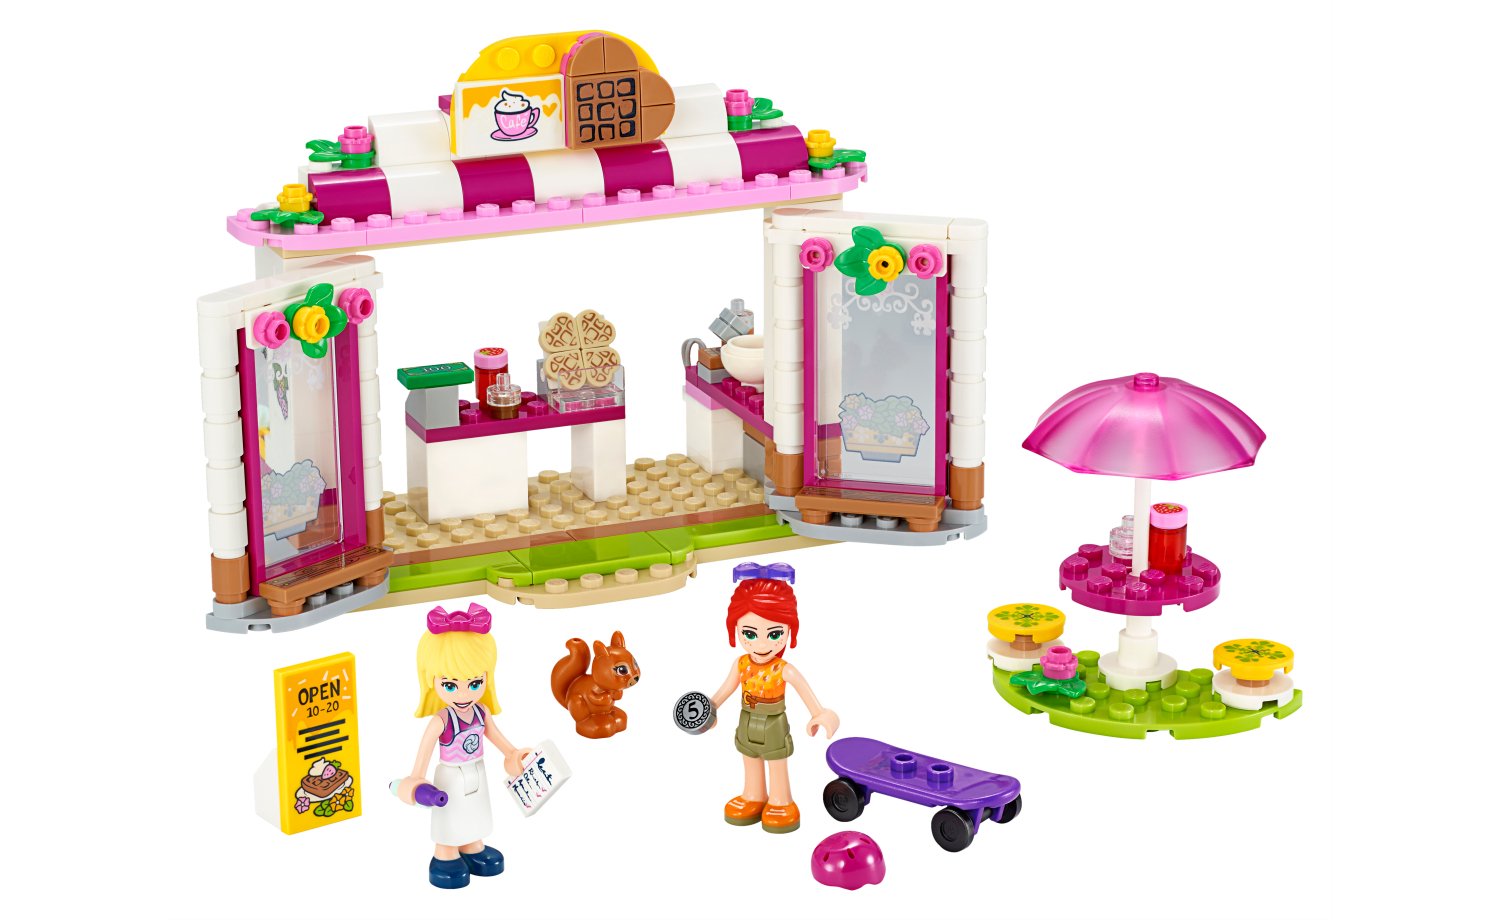
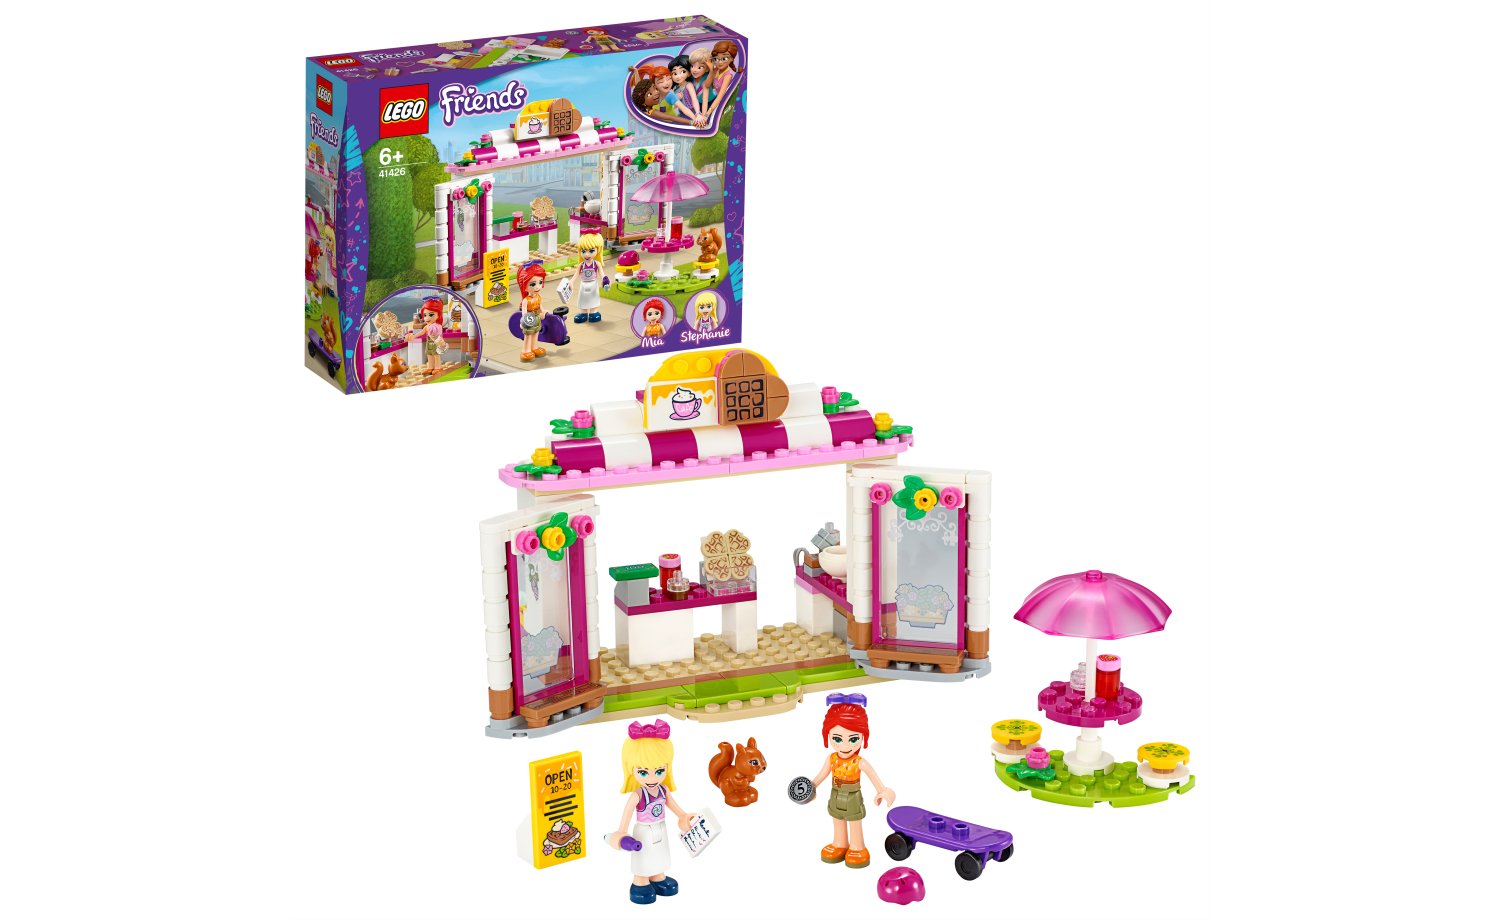
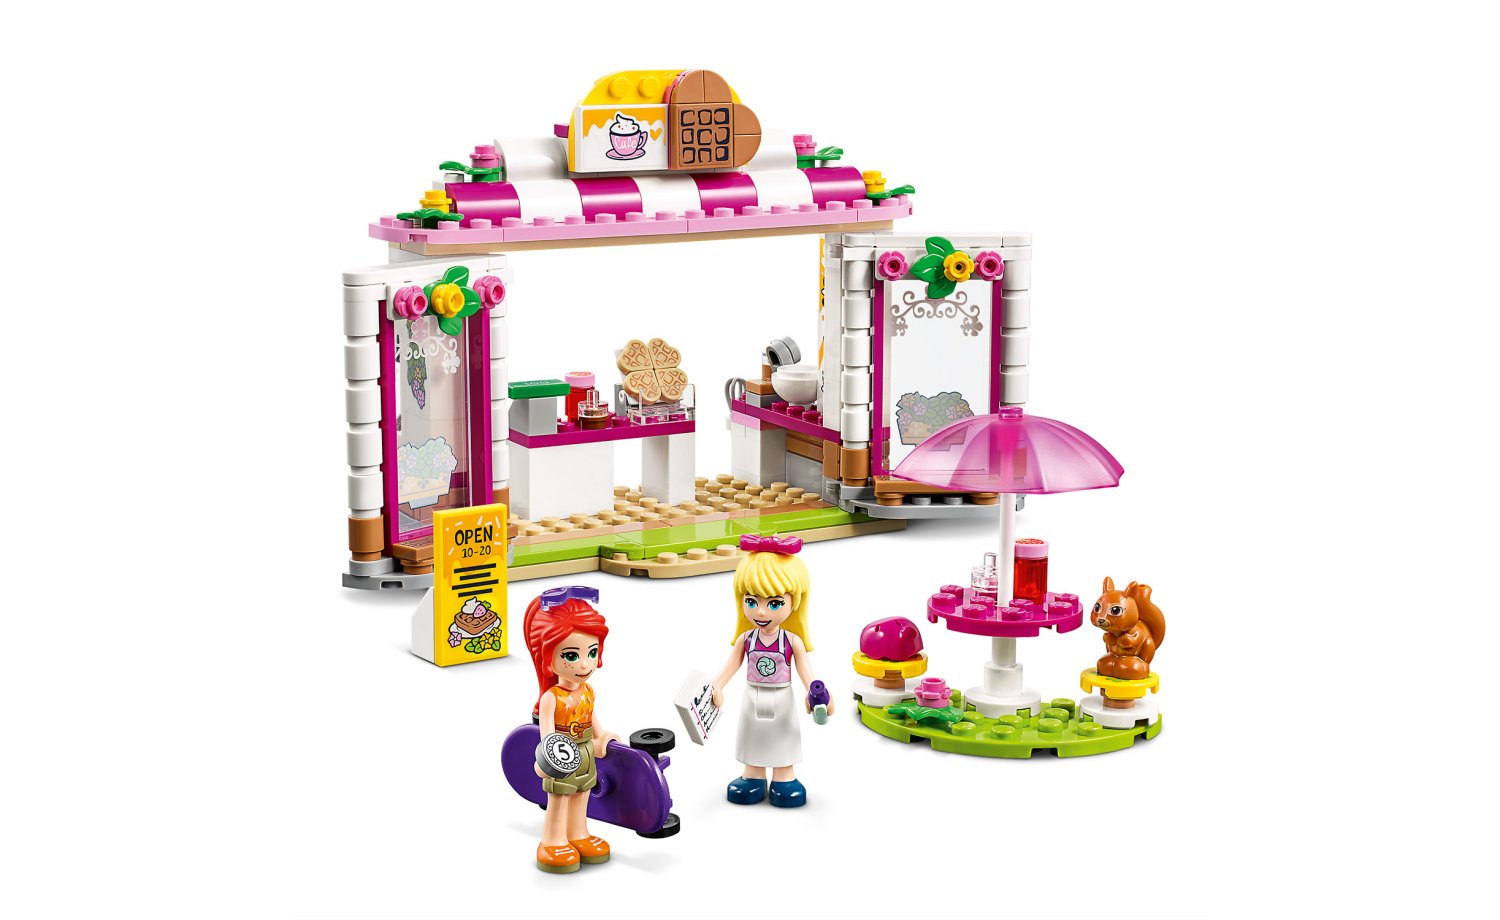
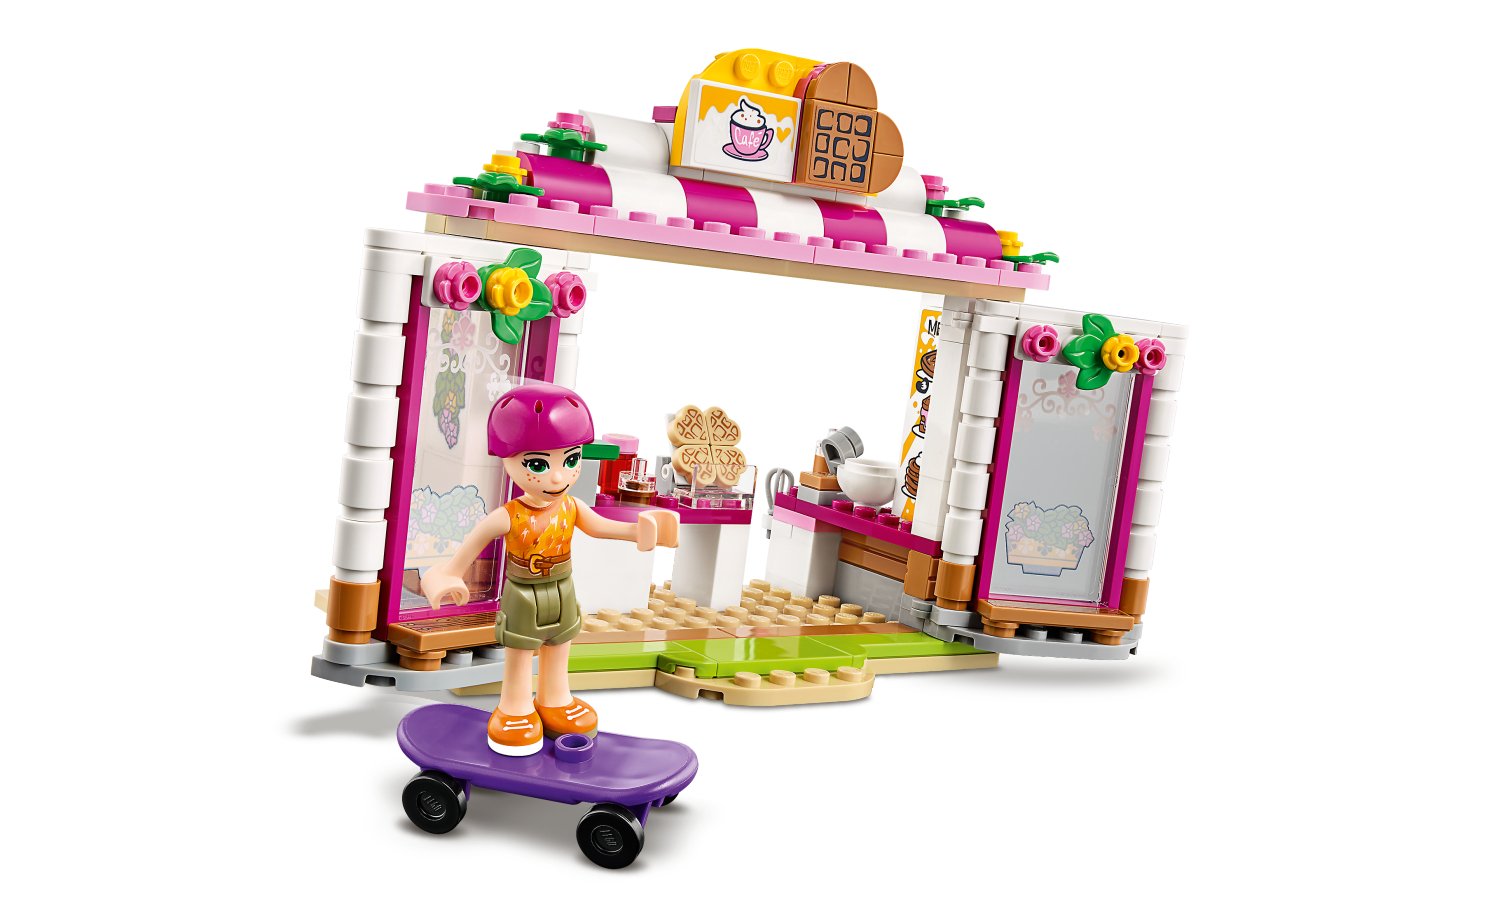
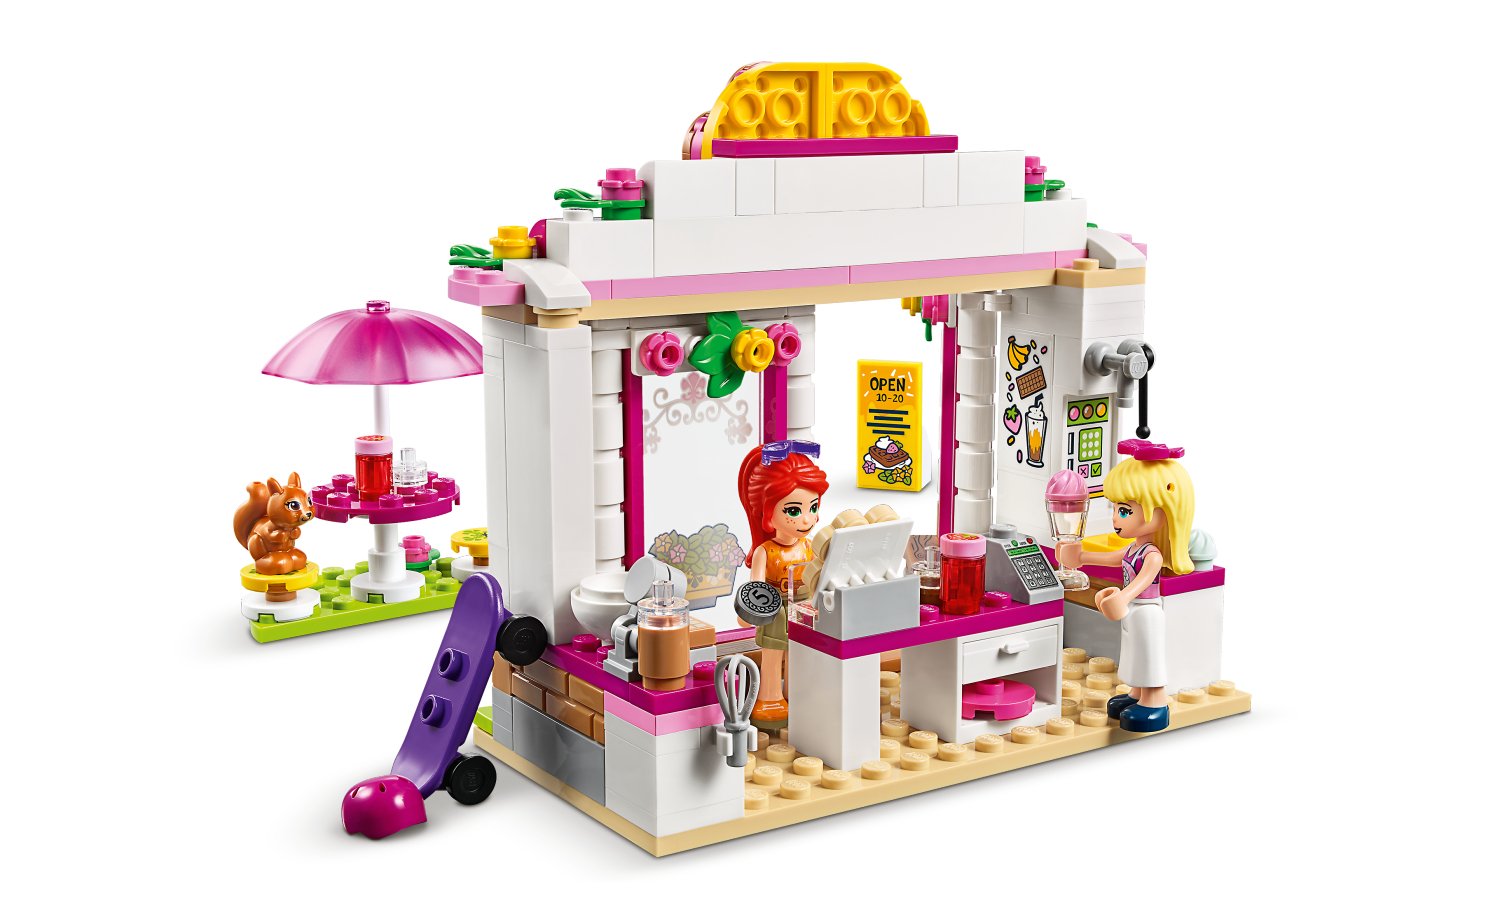
Heartlake City Park Café (41426) – 224 pcs / R349.99
This
set is your basic dolls house playable type set. We have pastry chef Stephanie
selling her goods at the café and Mia with her skateboard coming to buy. The
shop setup it easy to build with some nice details like an ice-cream machine, waffle
maker and display rack. The shop has large “glass” doors that can swing open
and closed, and there is an outdoor eating area which allows for extra game play
ideas.
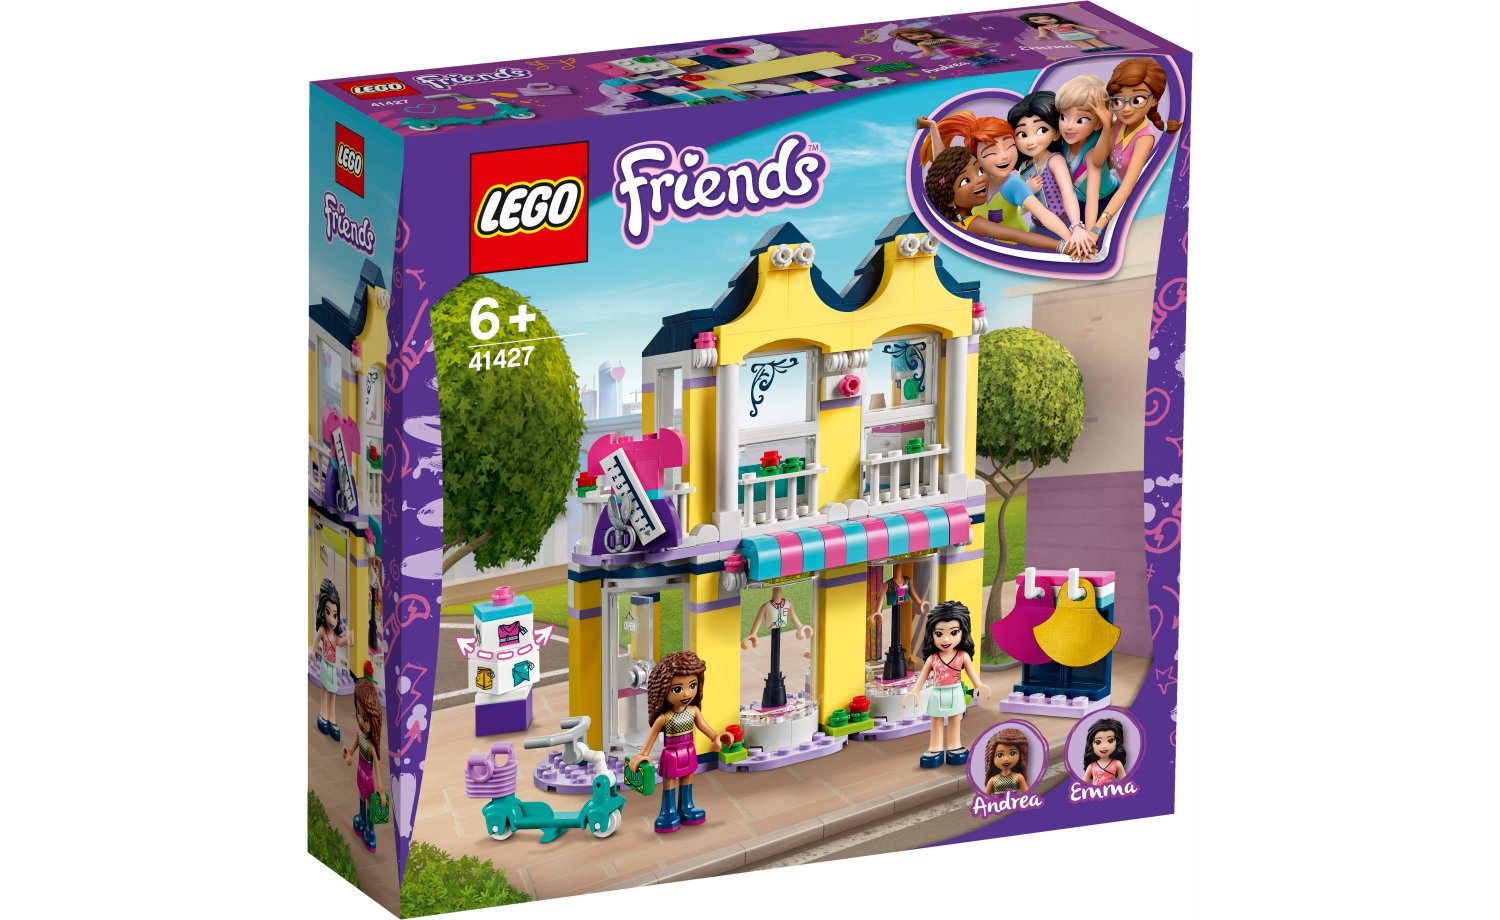
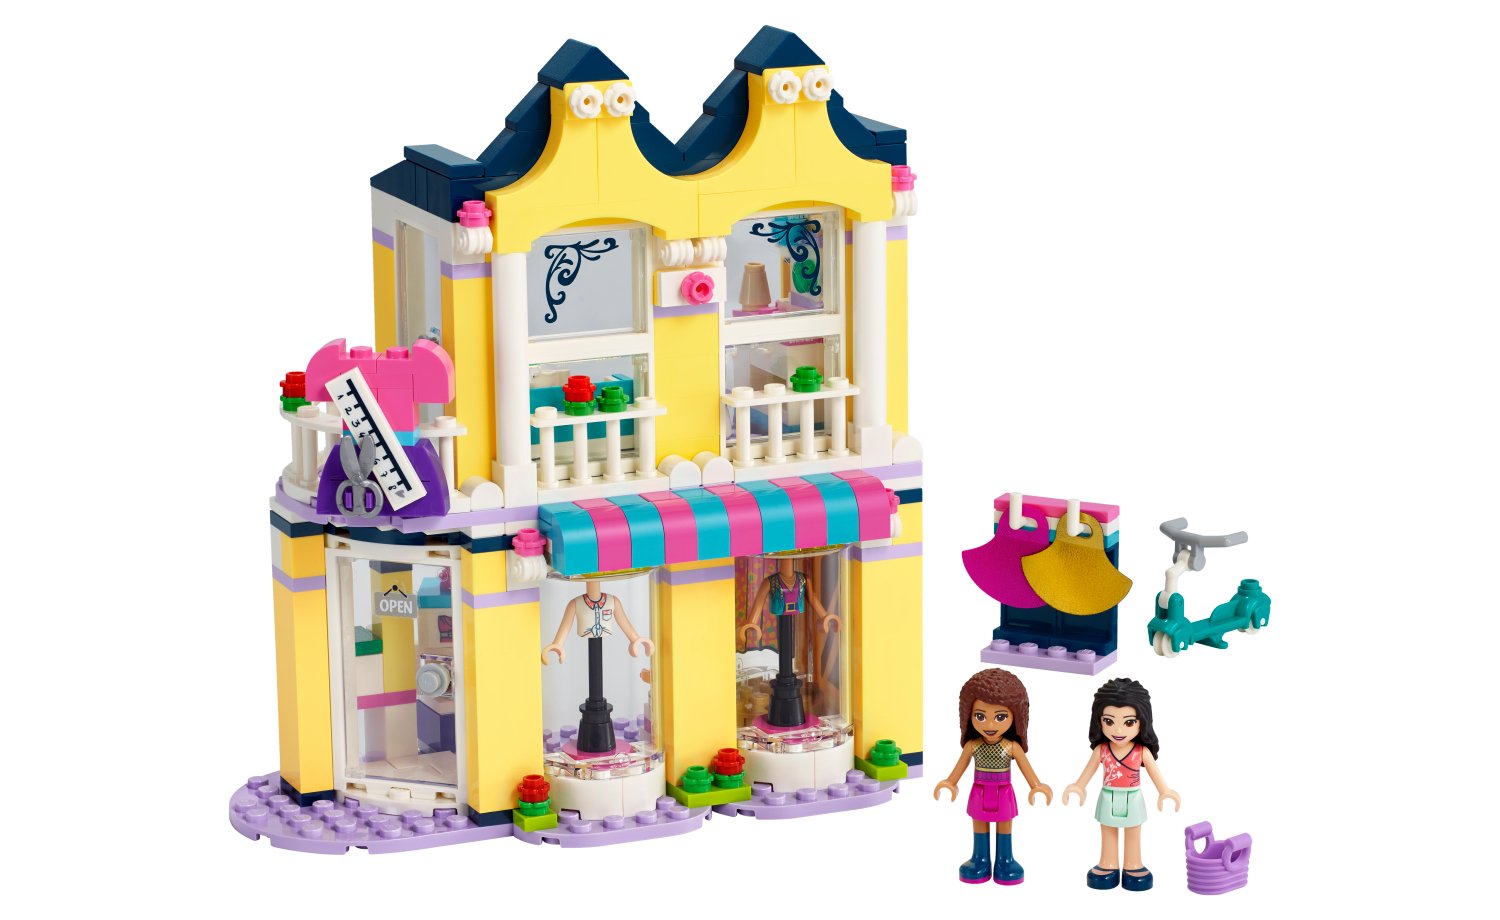
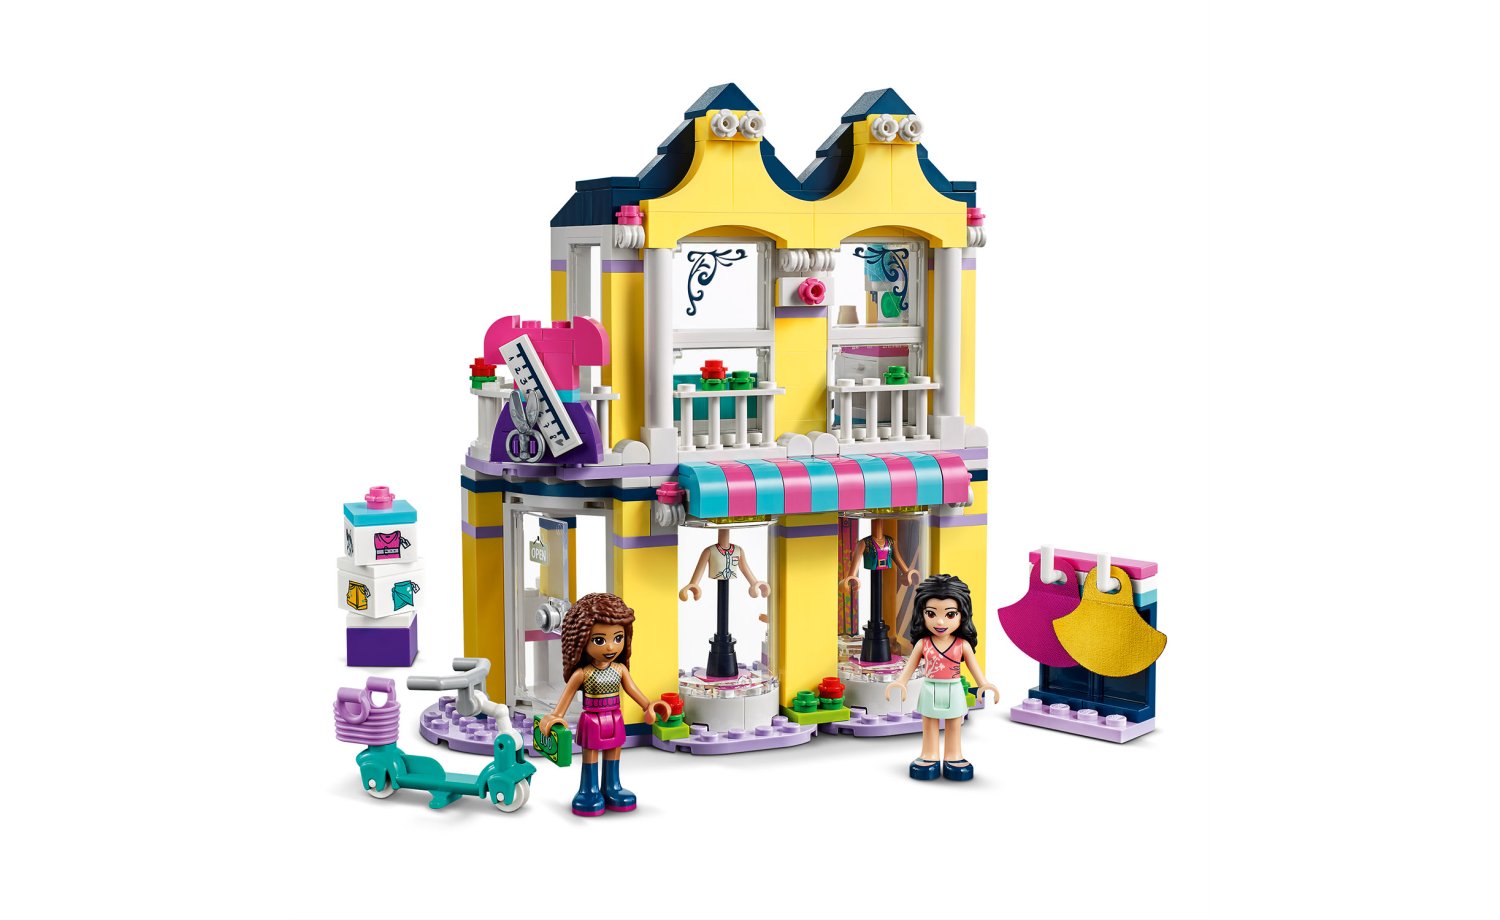
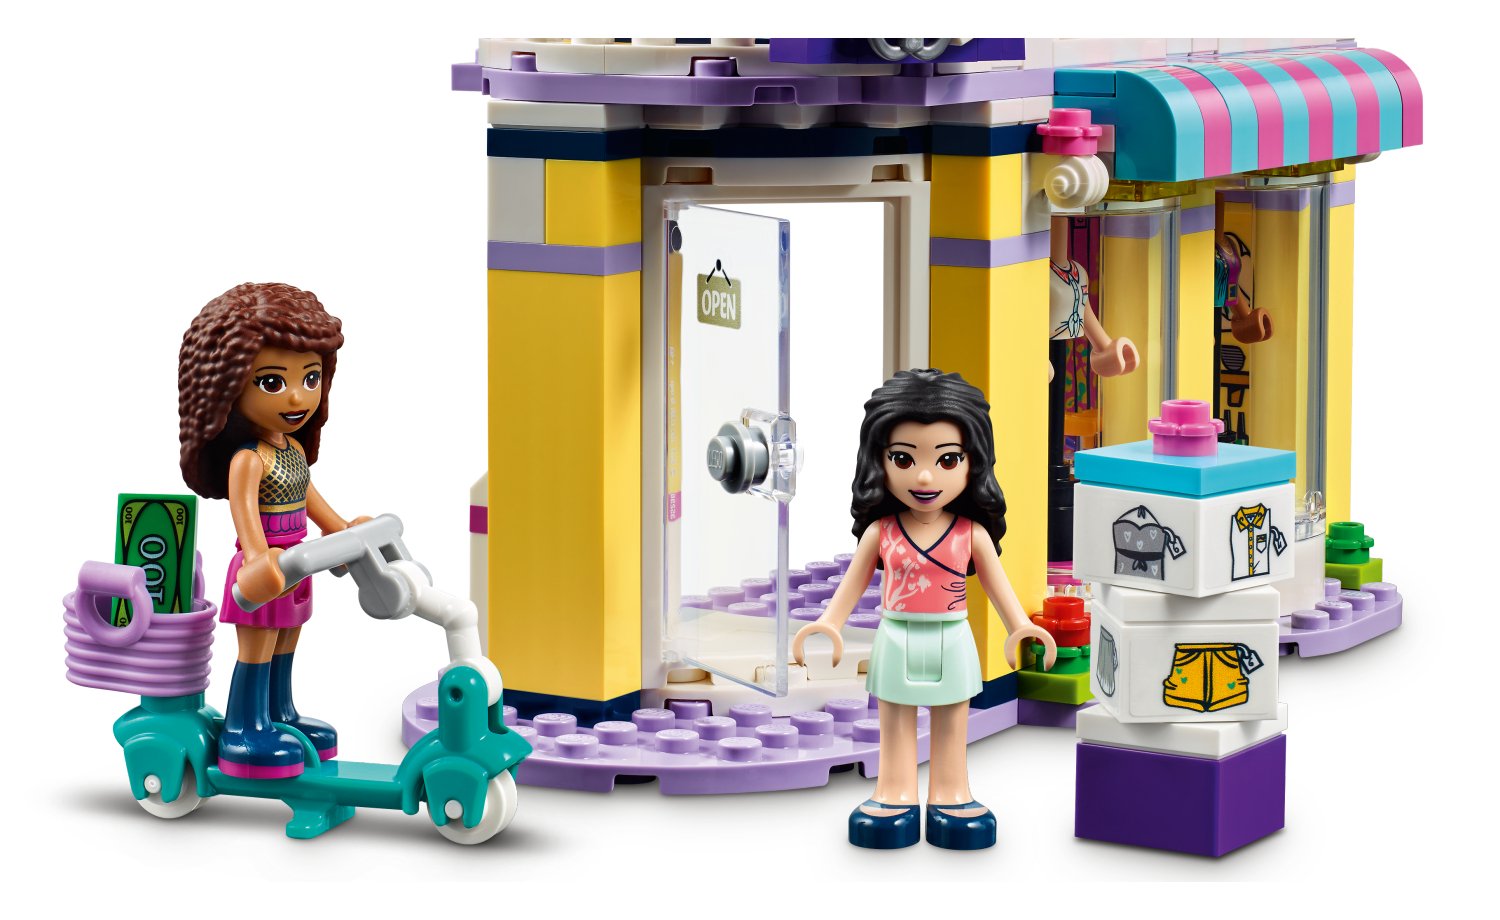
Emma’s Fashion Shop (41427) – 343 pcs / R549.99
This
set will go very nicely next to the City Park Café in the Heartlake shopping
district. Also a dolls house type set, we have an easy to build shop structure with
lots of extra details such as a changing room, upstairs lounge to play tea
party with Andrea and Emma before shopping and trying on the clothes, which are
provided in the form of additional torsos and capes.
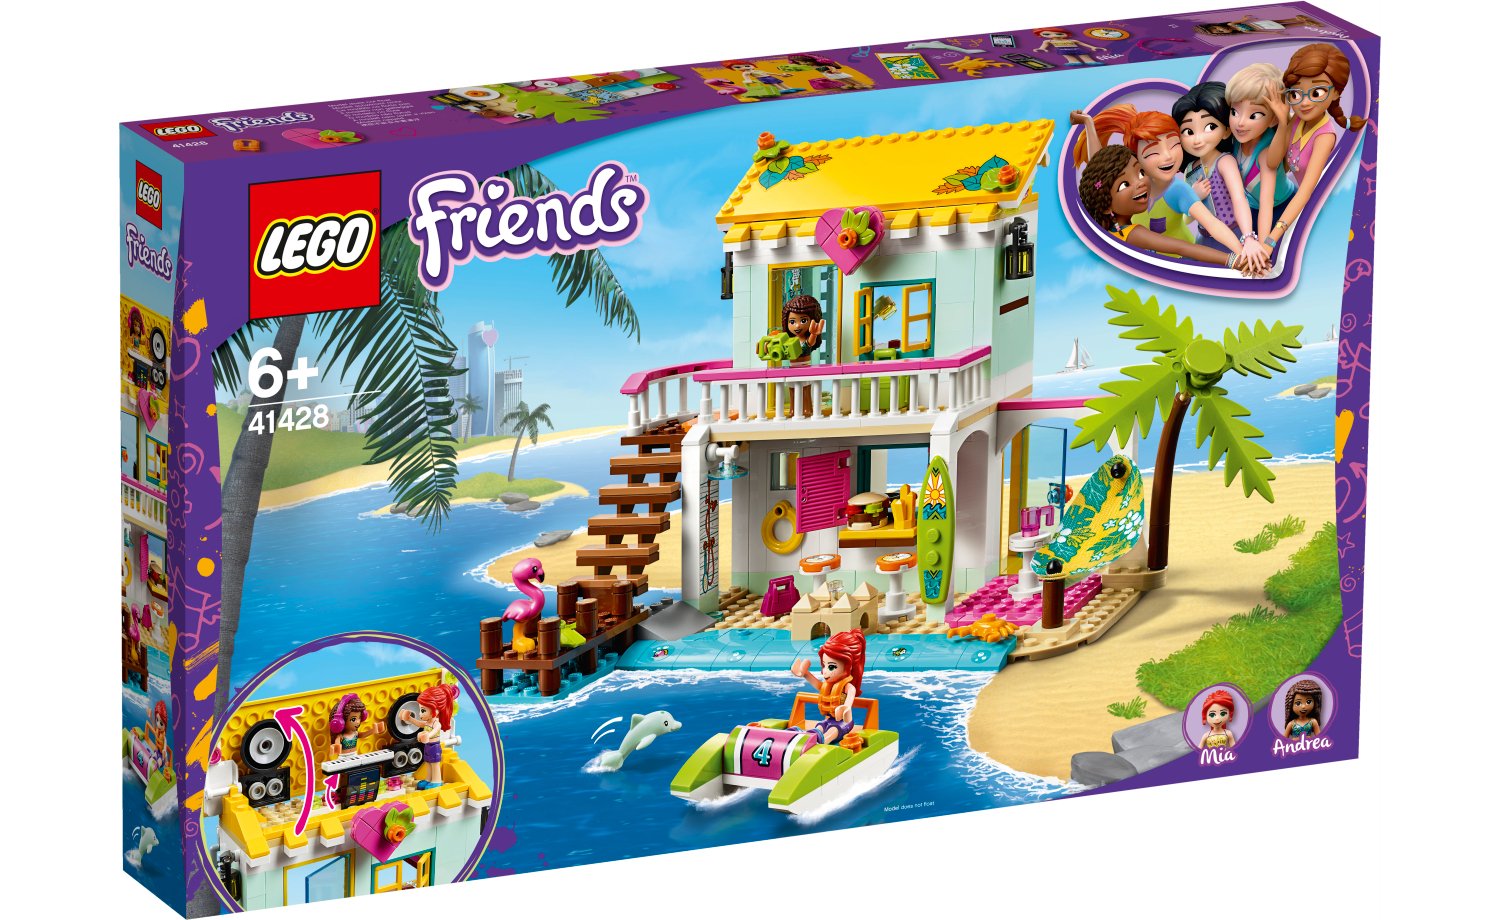
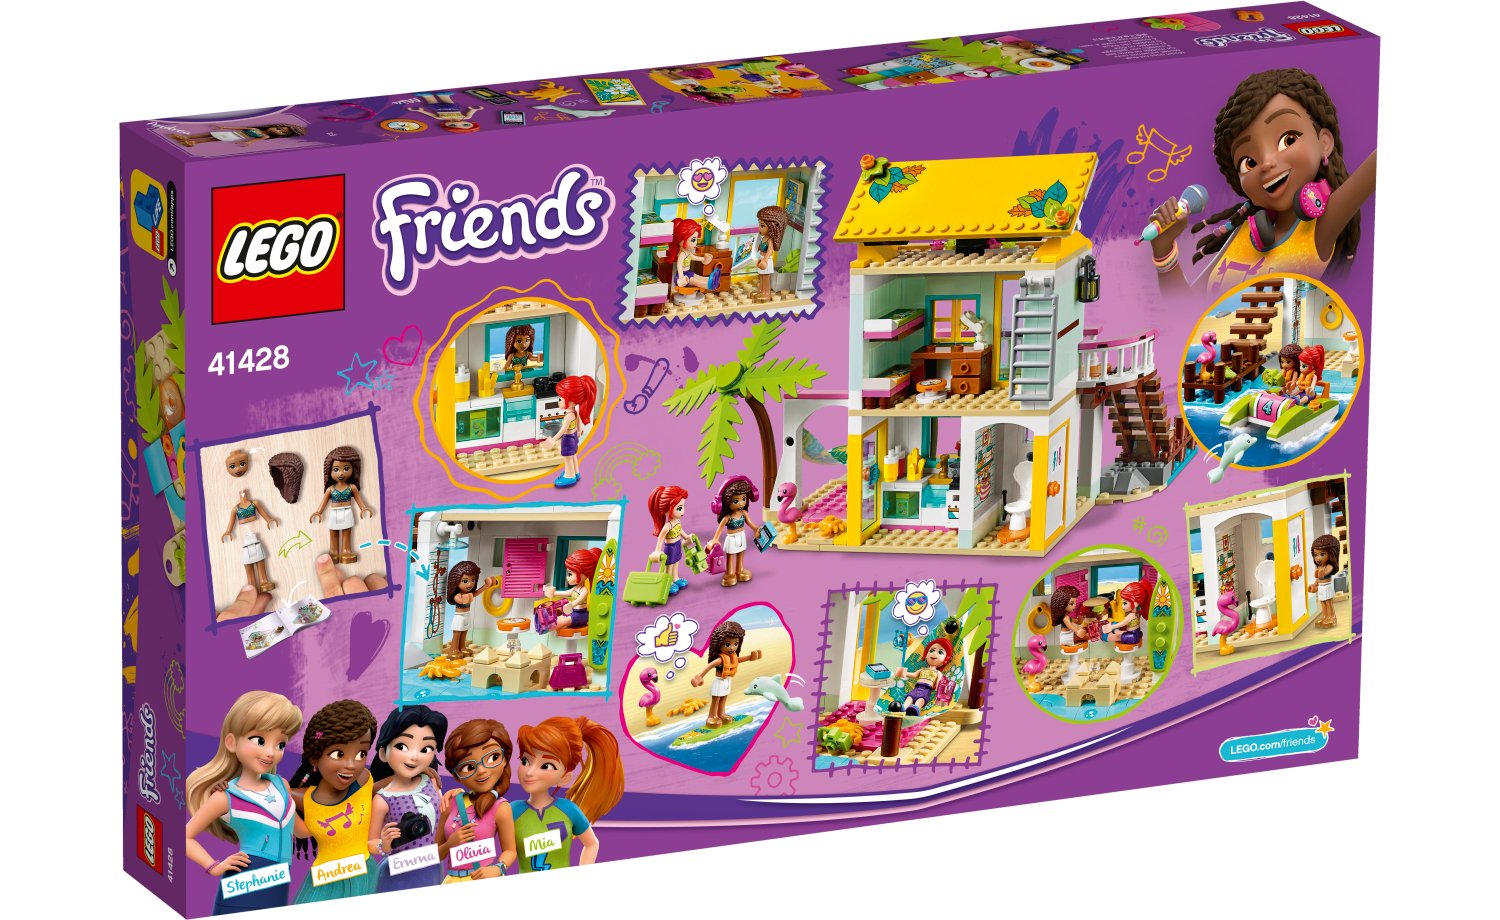
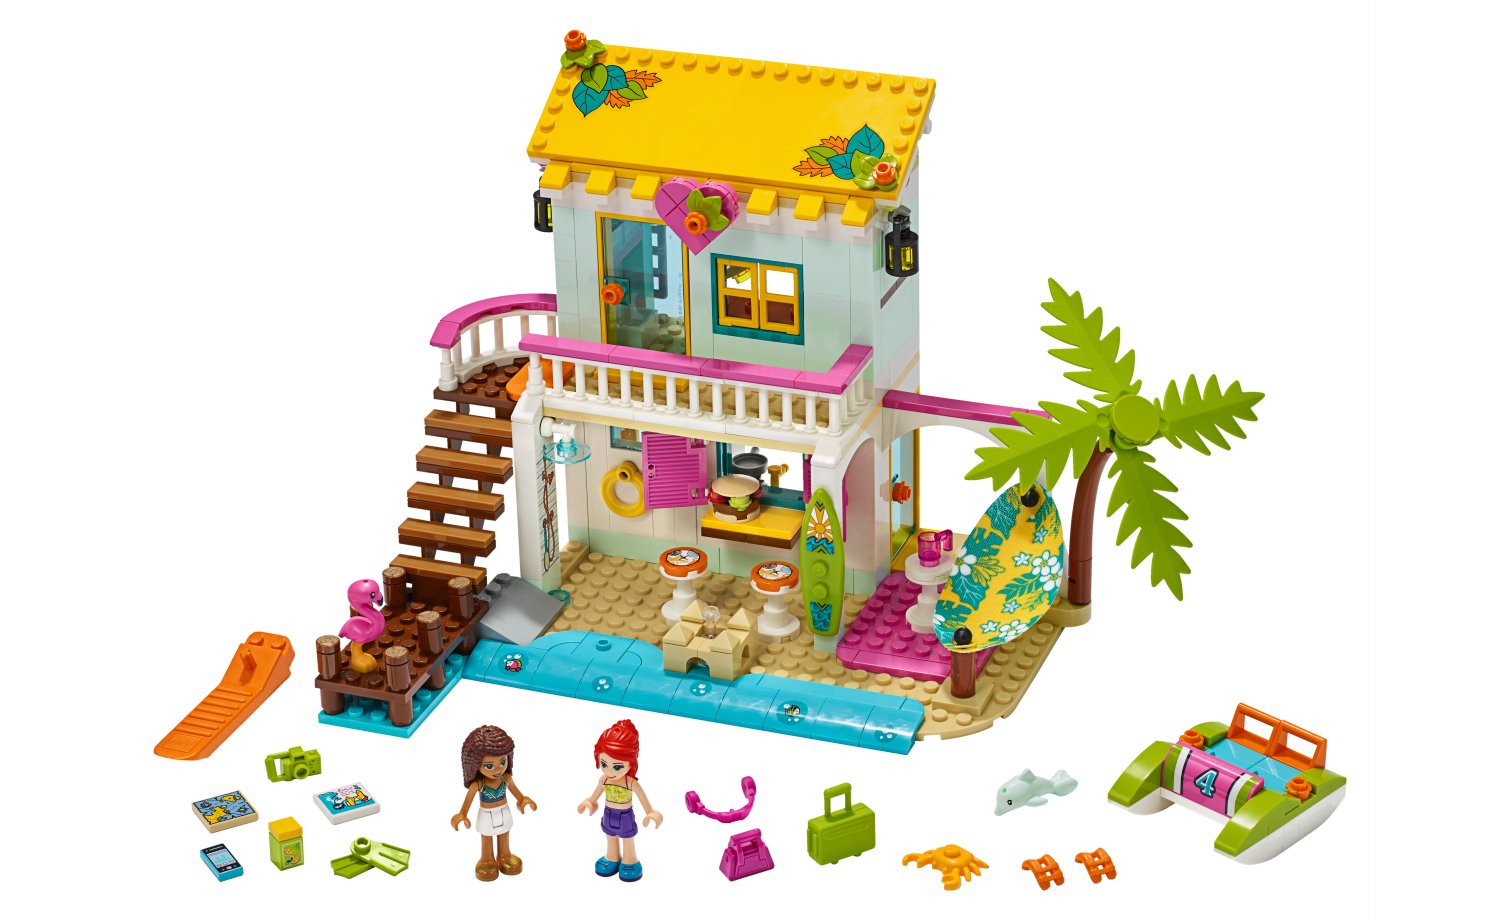
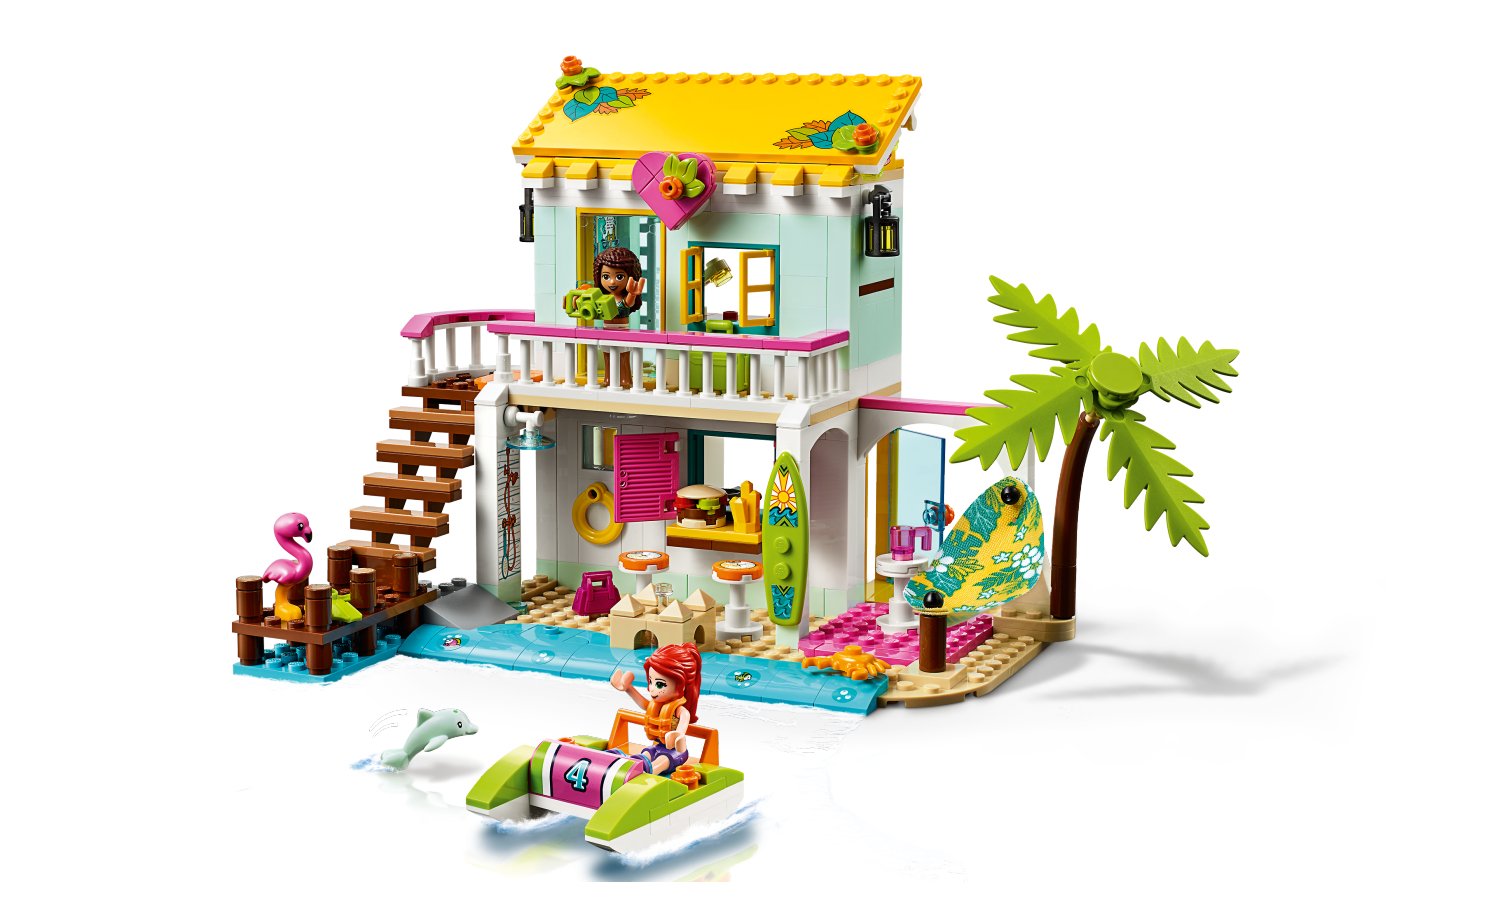
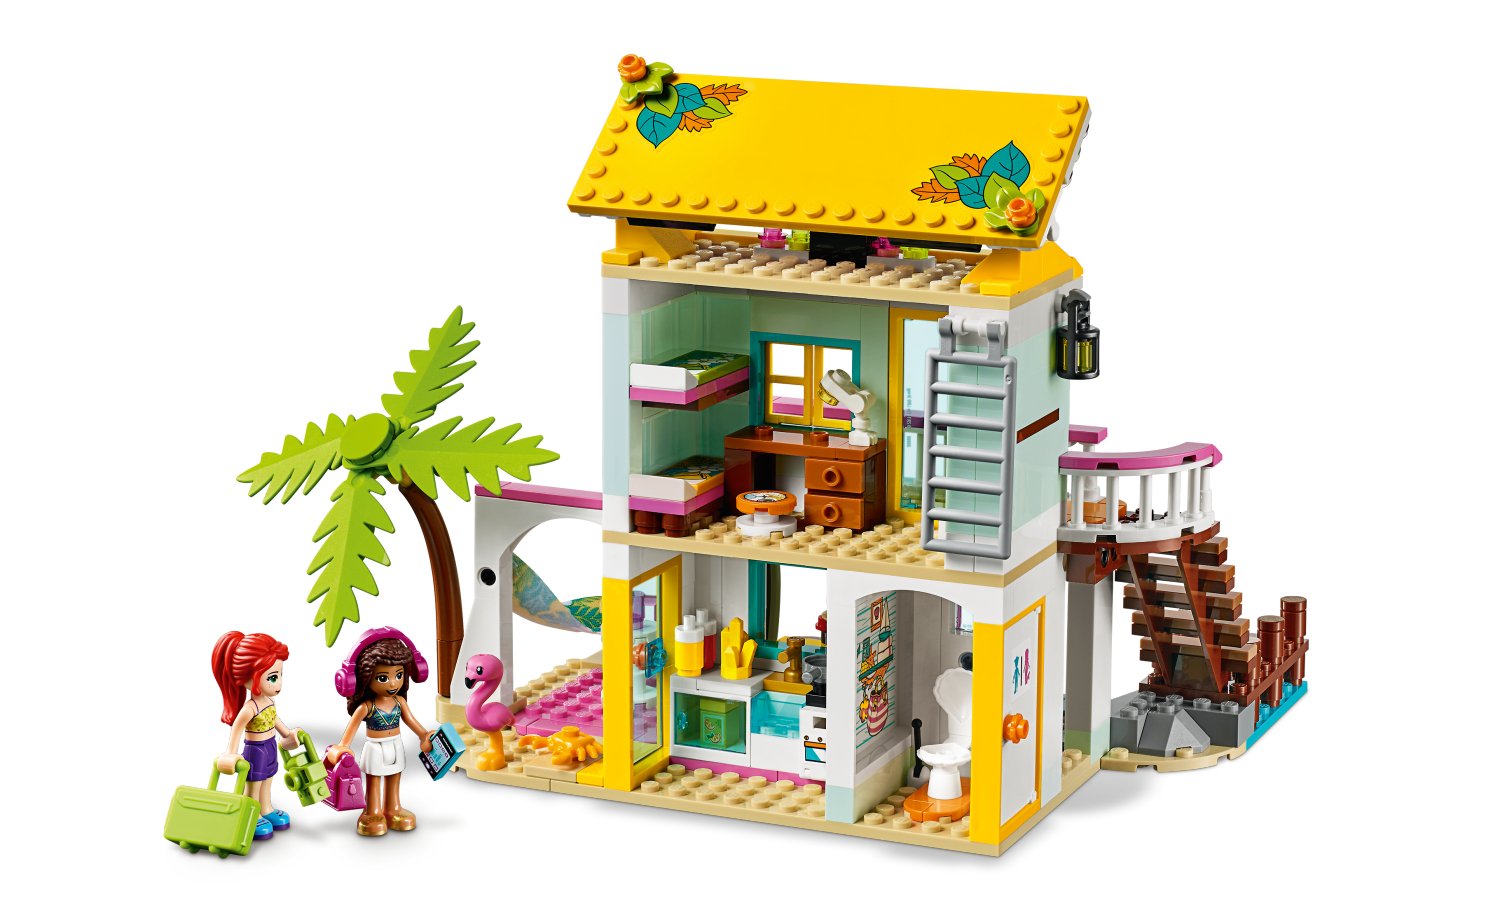
Beach House Building Kit (41428) – 444 pcs / R859.99
Lovely
easy build of a typical Friends dolls house type set. You can vacation with Mia
and Andrea. Take them surfing or boating along with a friendly baby dolphin. They
can relax in the hammock under the palm tree after a lovely burger and fries lunch
in the kitchen. At night flip up the roof to reveal Andrea’s DJ station and
party until morning. Other pieces of interest in this are the flamingo and buildable
sandcastle.
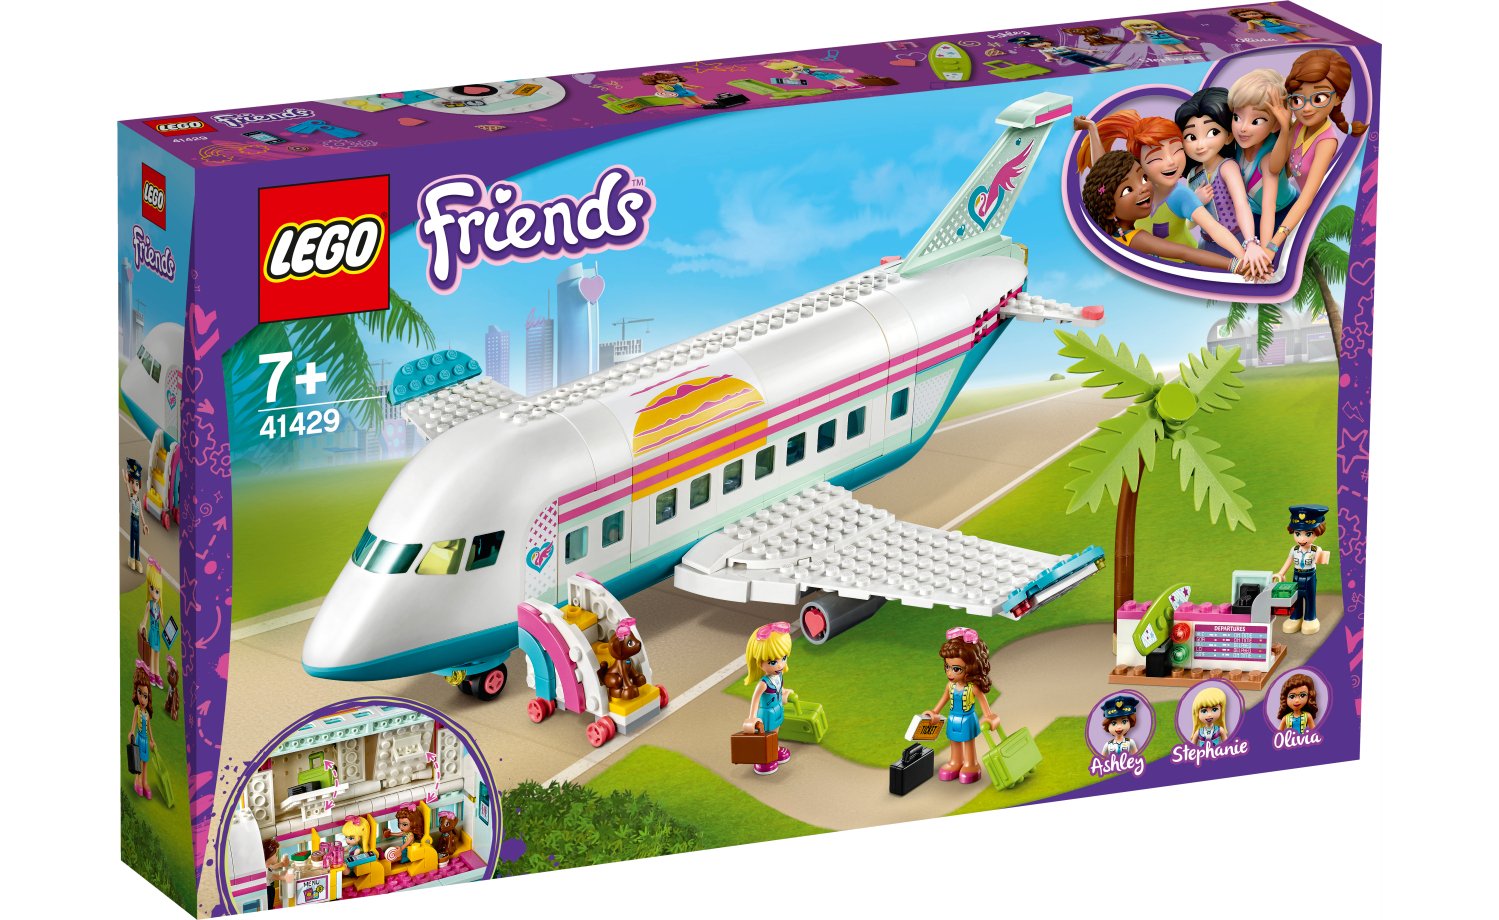
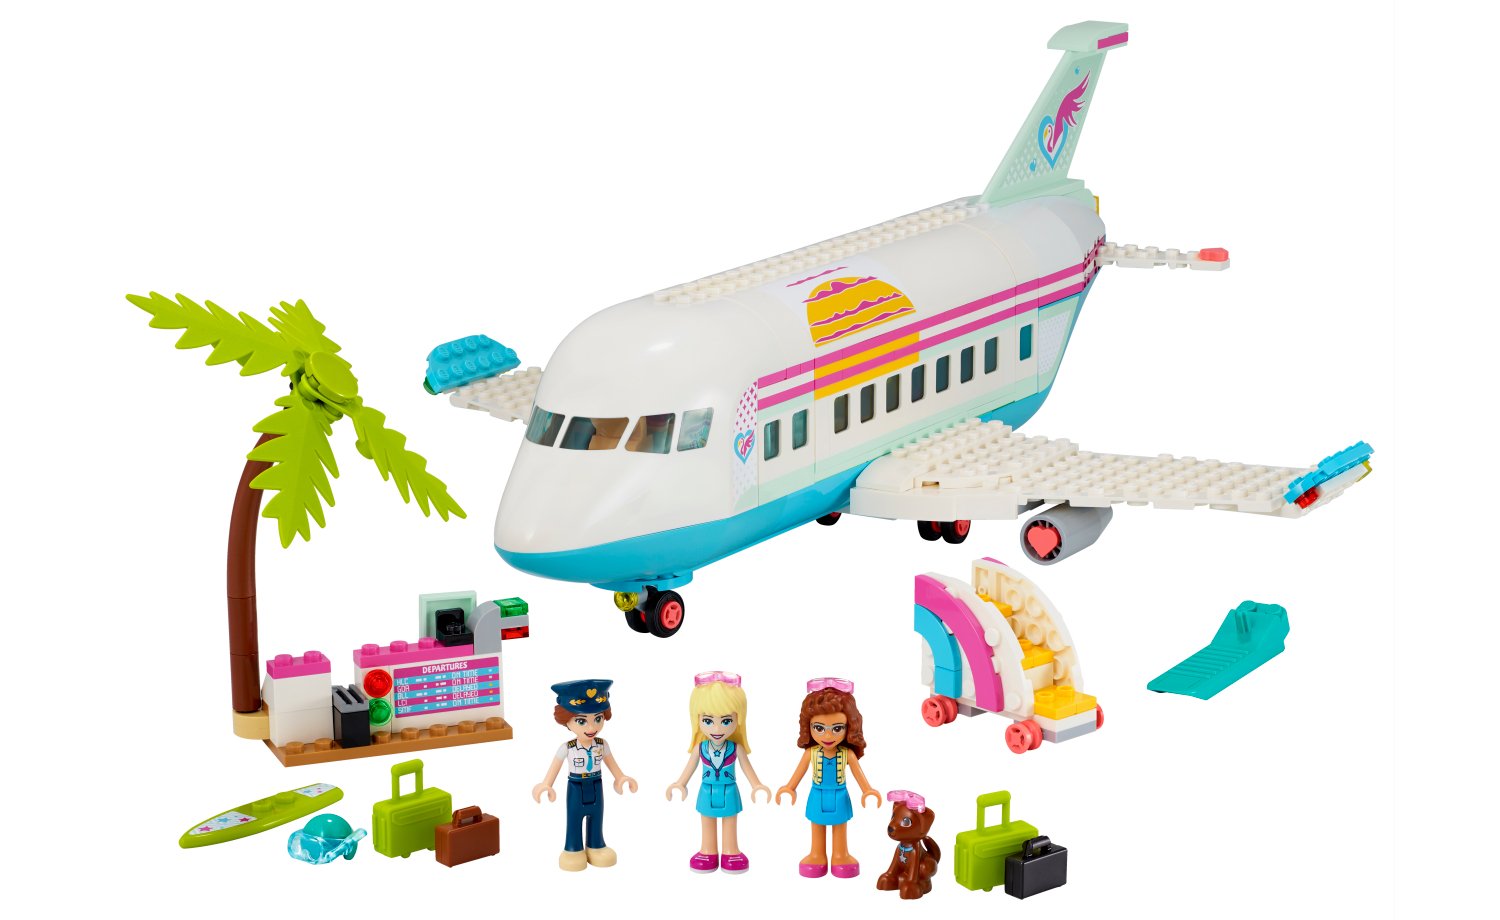
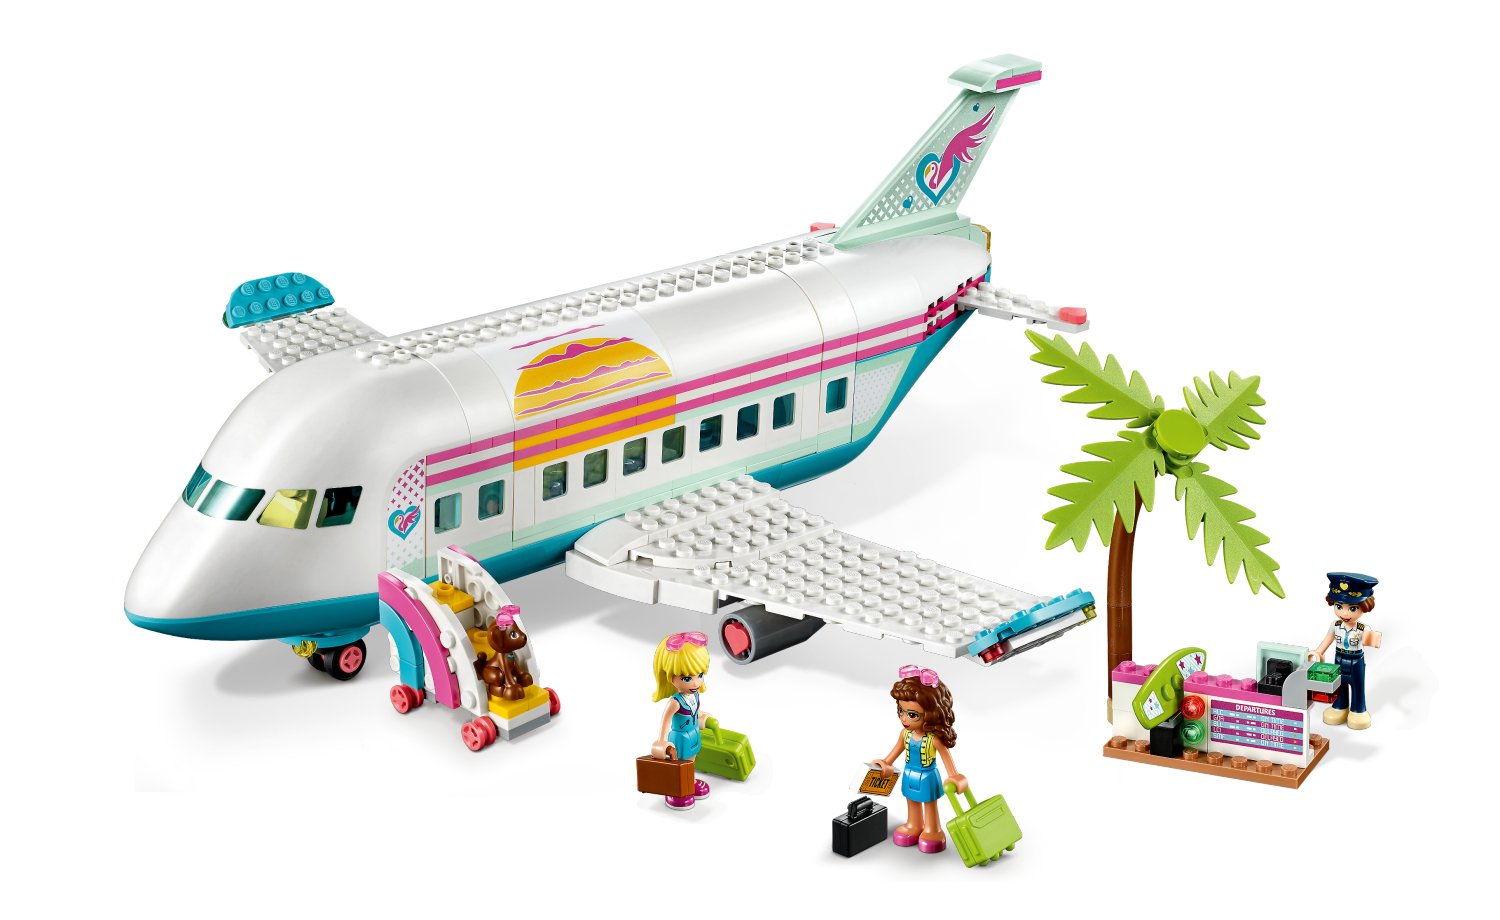
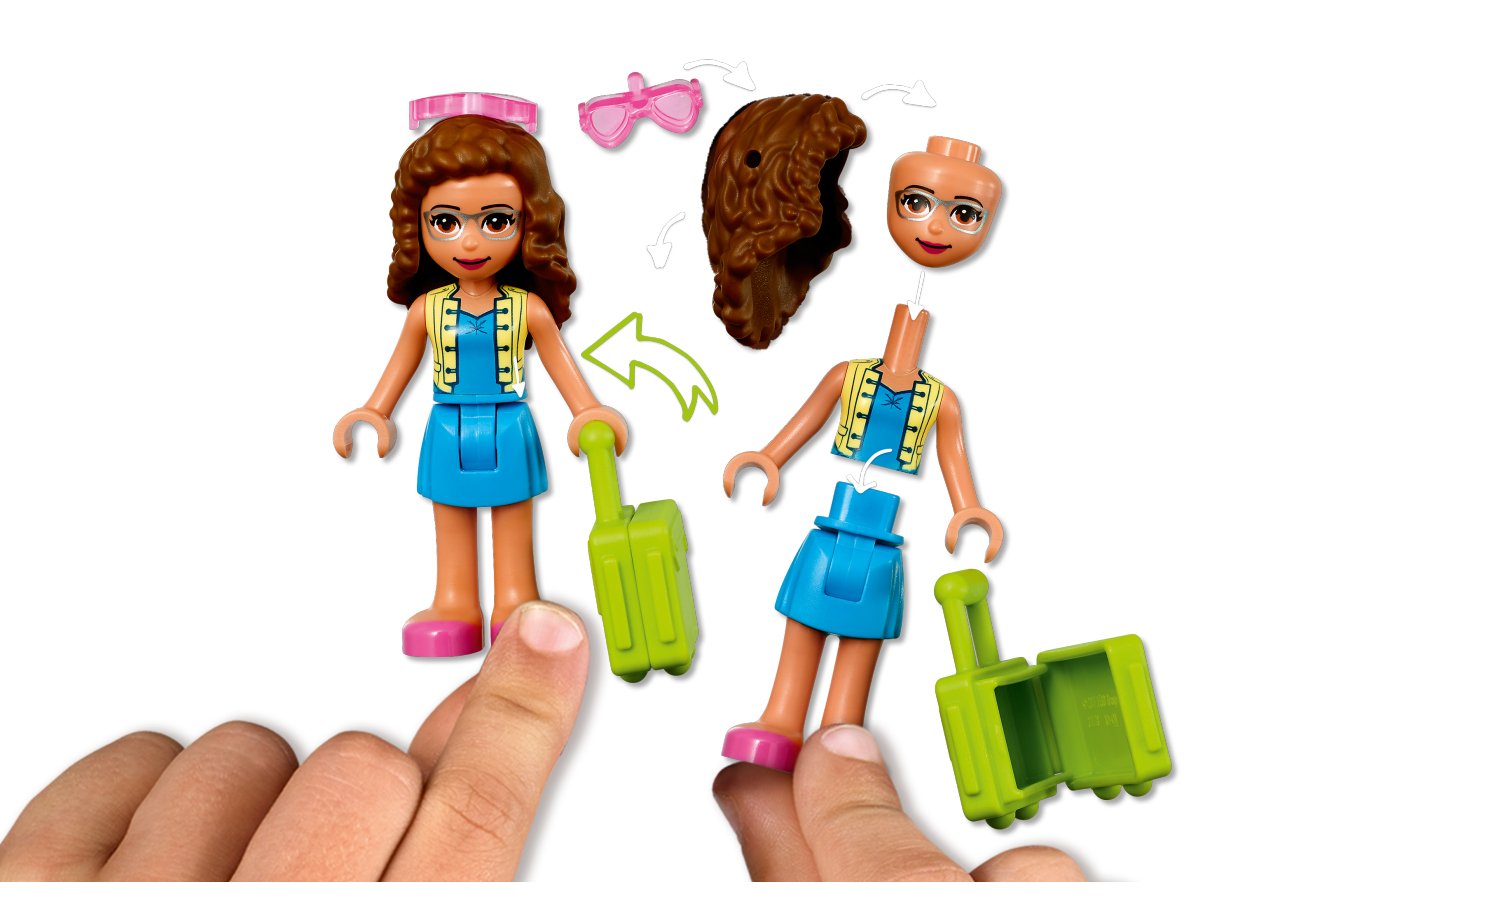
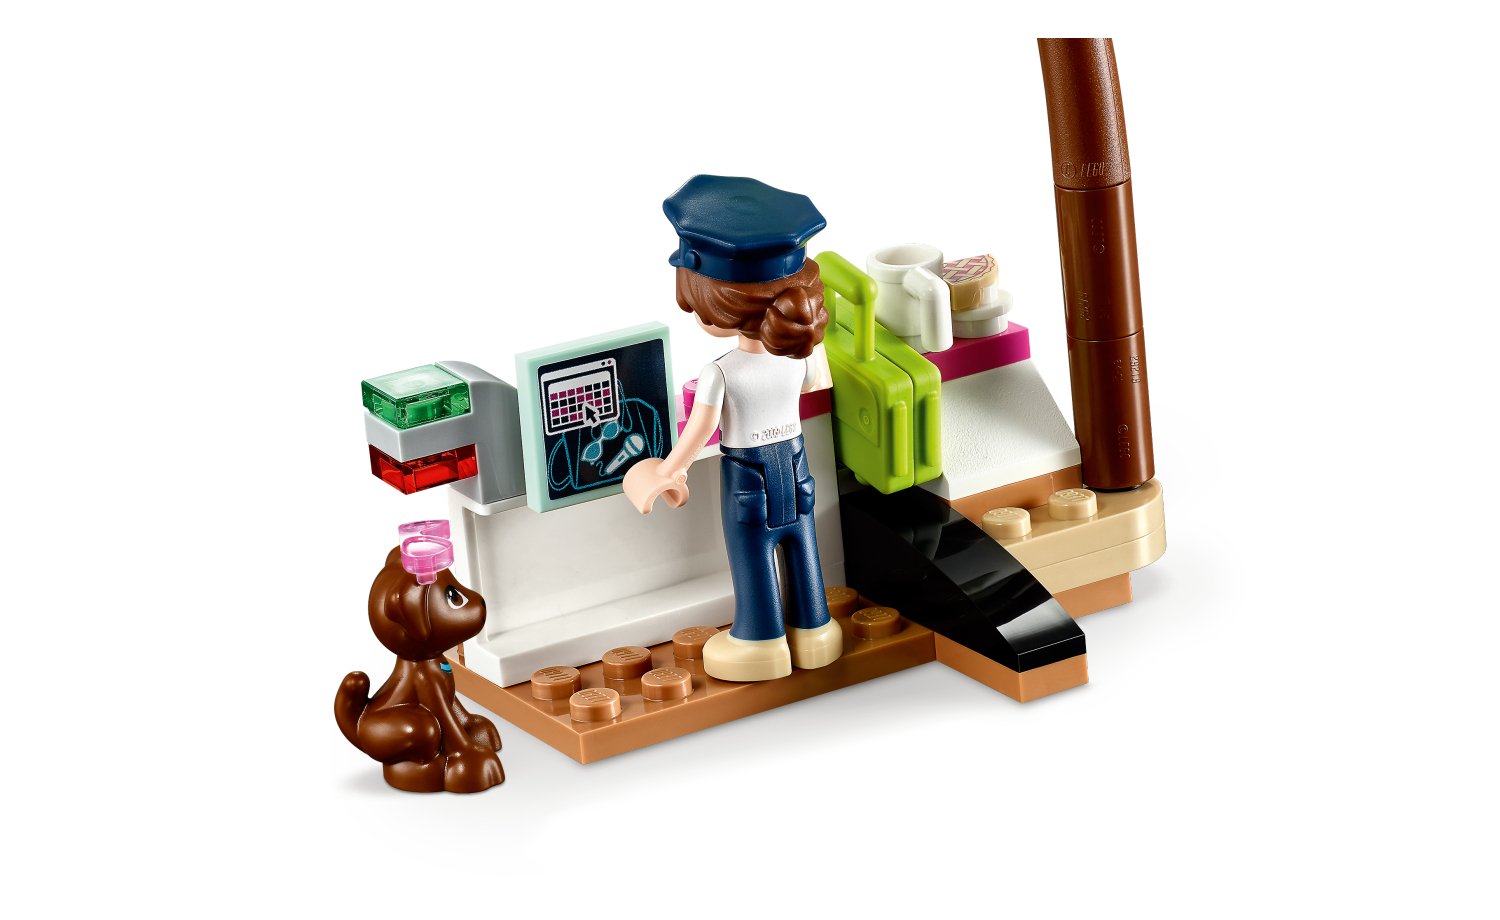
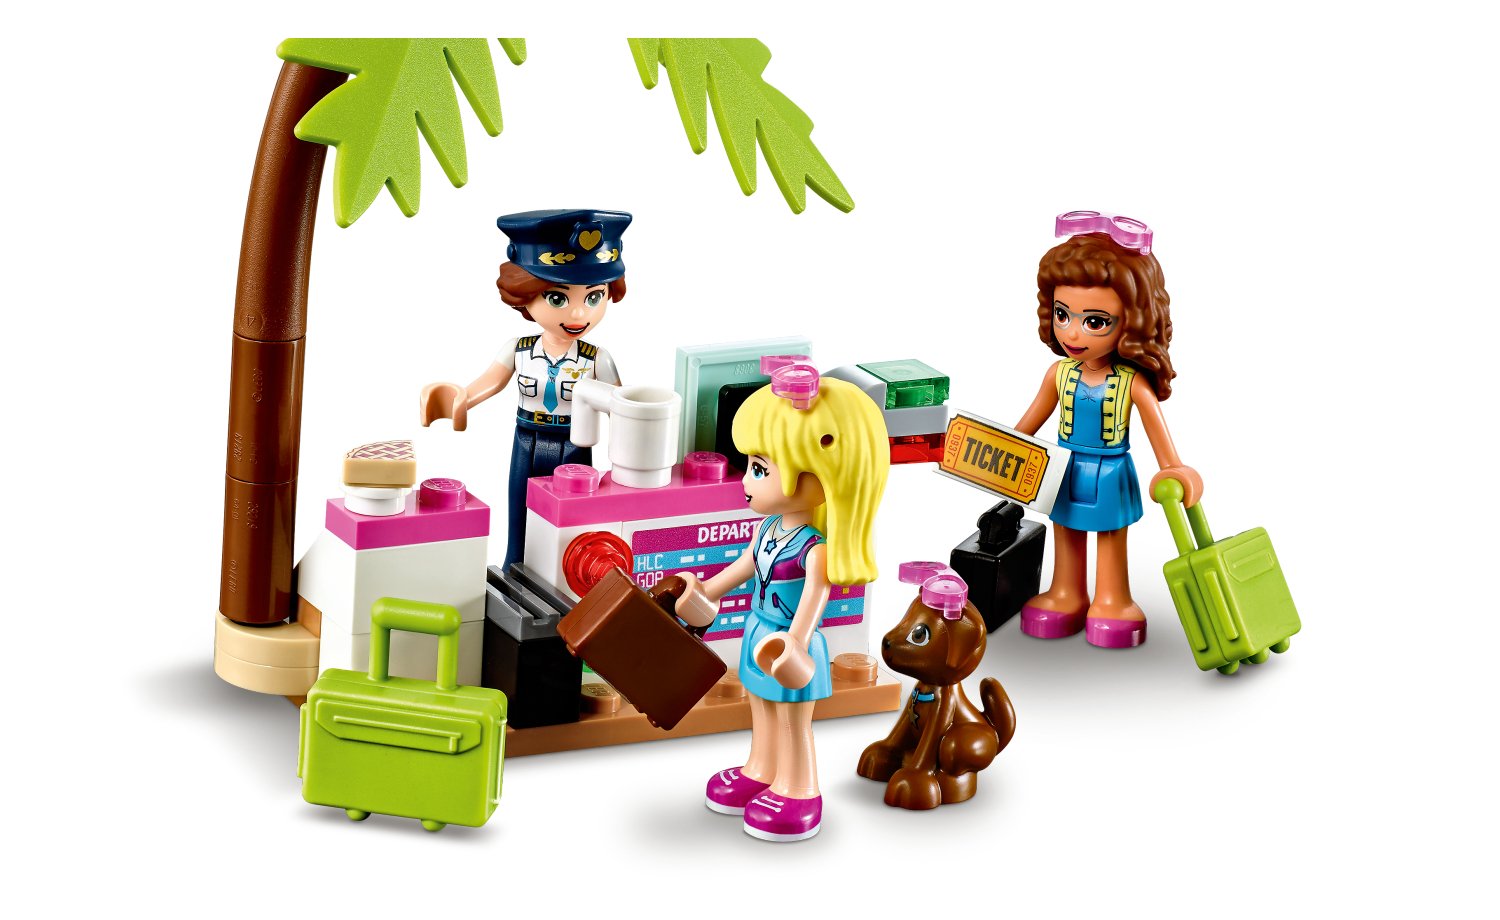
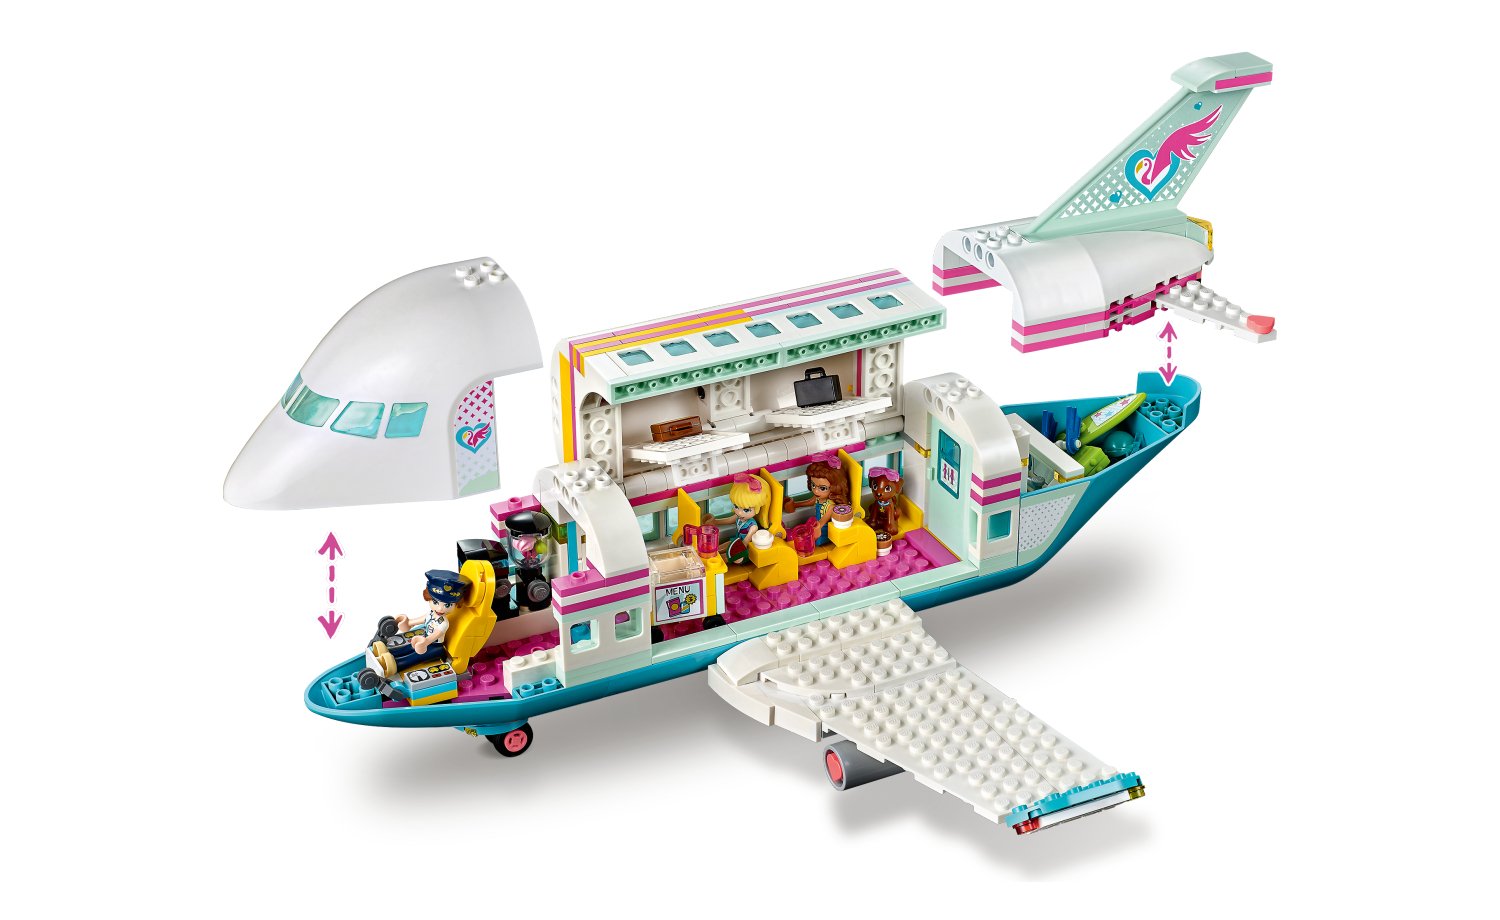
Heartlake City Aeroplane (41429) – 572 pcs / R1,199.99
While
Mia and Andrea are partying it up at the beach house, Stephanie and Oliva are
jet setting elsewhere. This easy to build aeroplane has a removable cockpit,
Cabin and storage area covers, so you can get Captain Ashely the pilot (who is
also the ticket sales lady) into the cock pit, settle the girls into their seats
in the main cabin, load the cargo hold, close up and jet off into the sky. The
plane is quite solid when all closed up and has very nice swooshability.
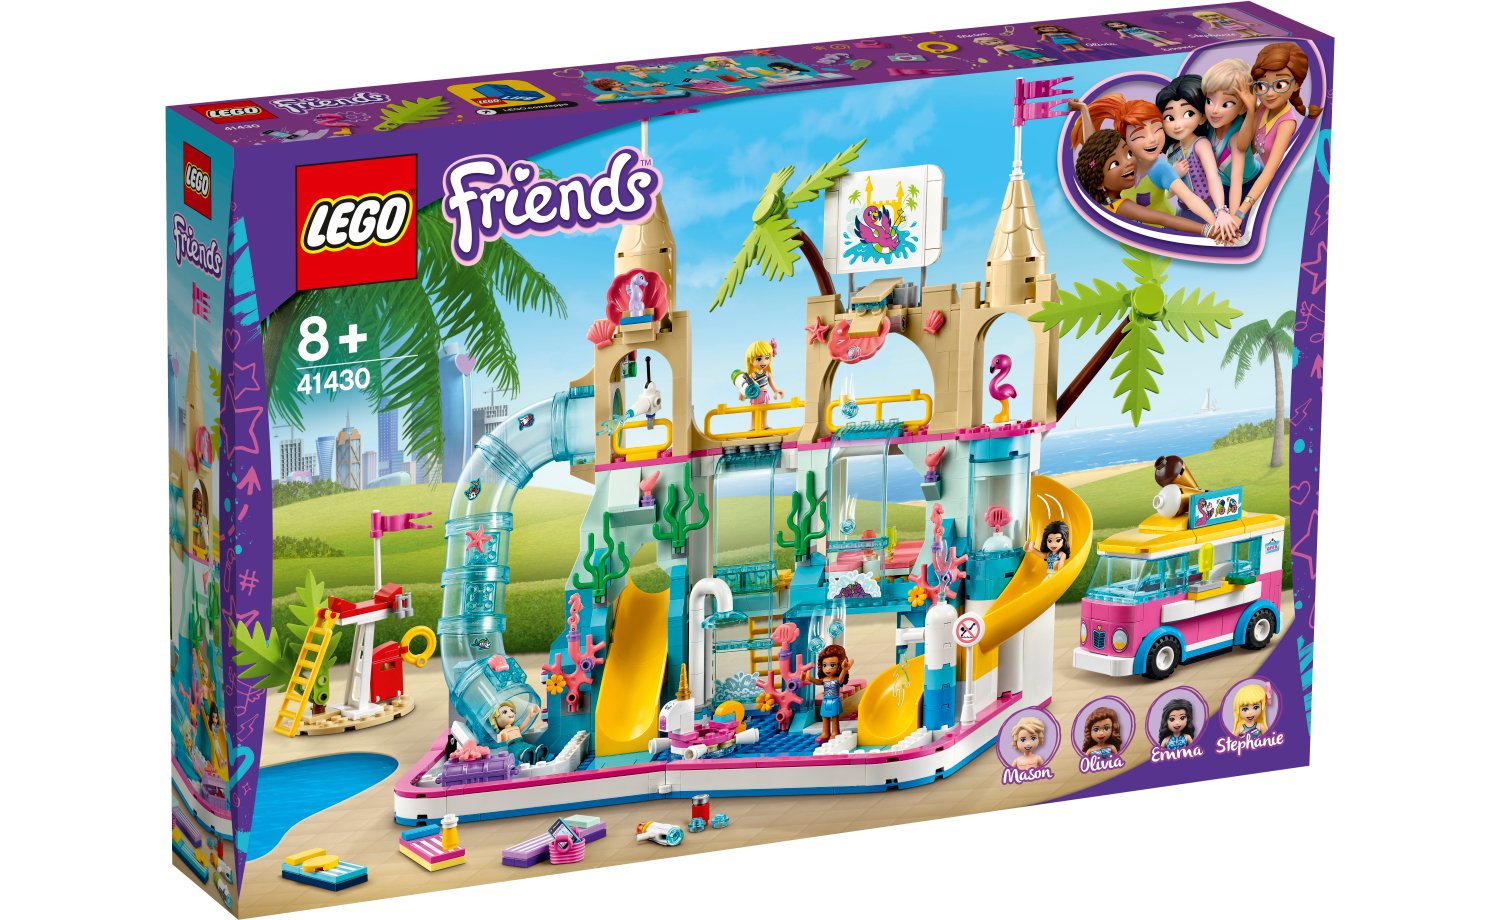
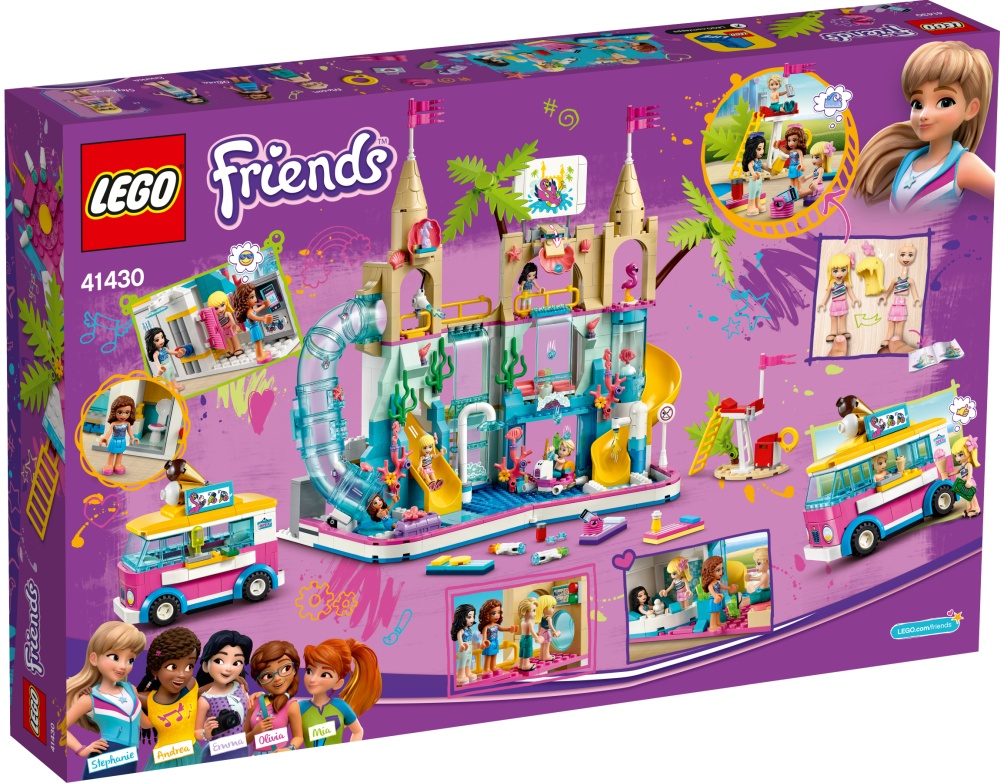
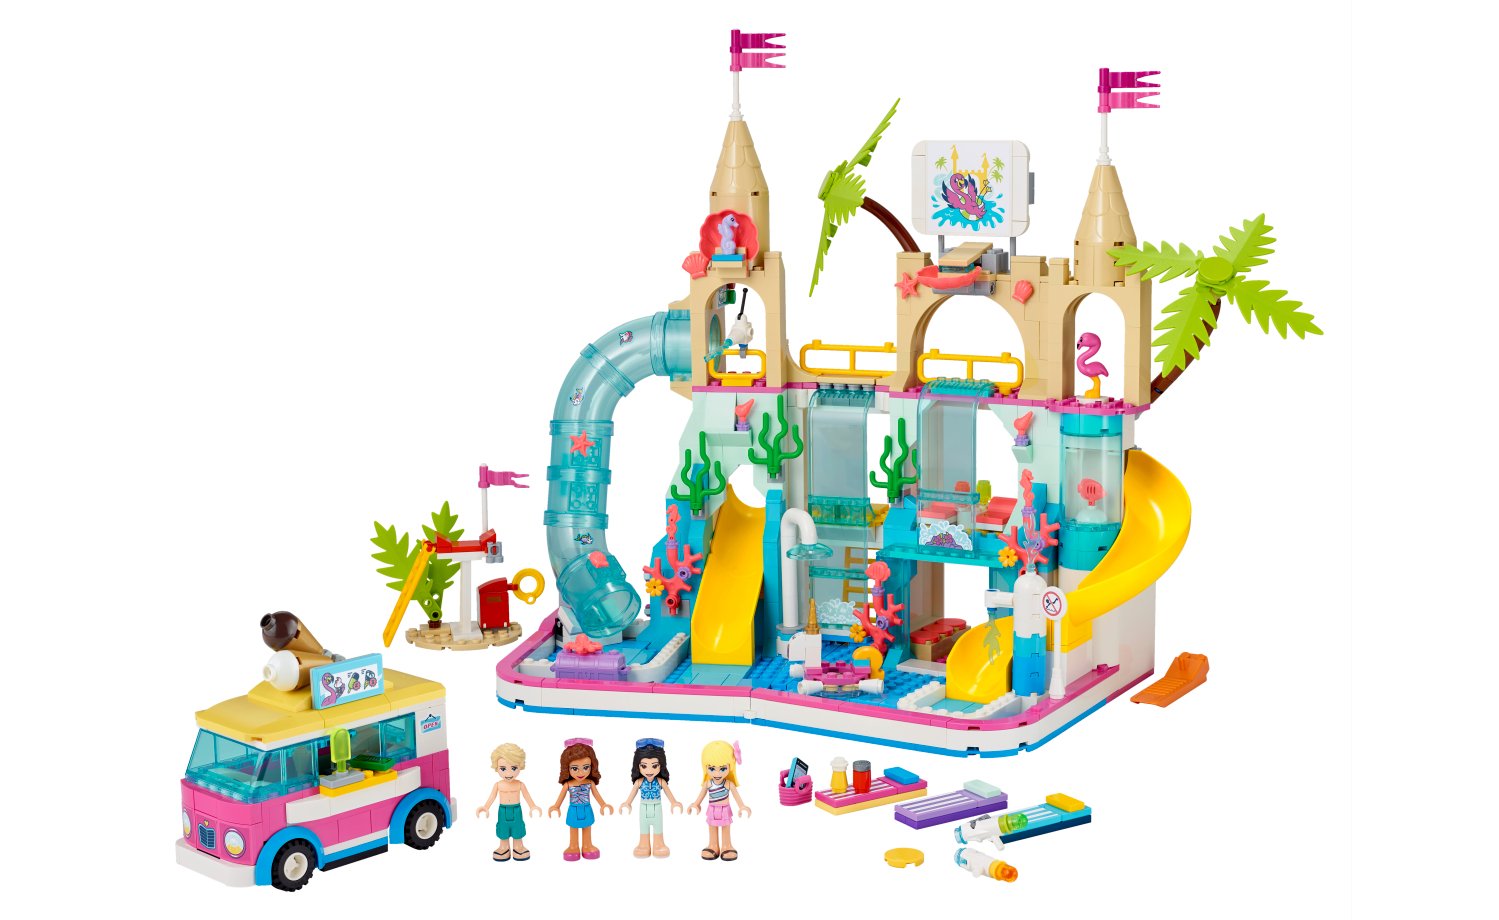
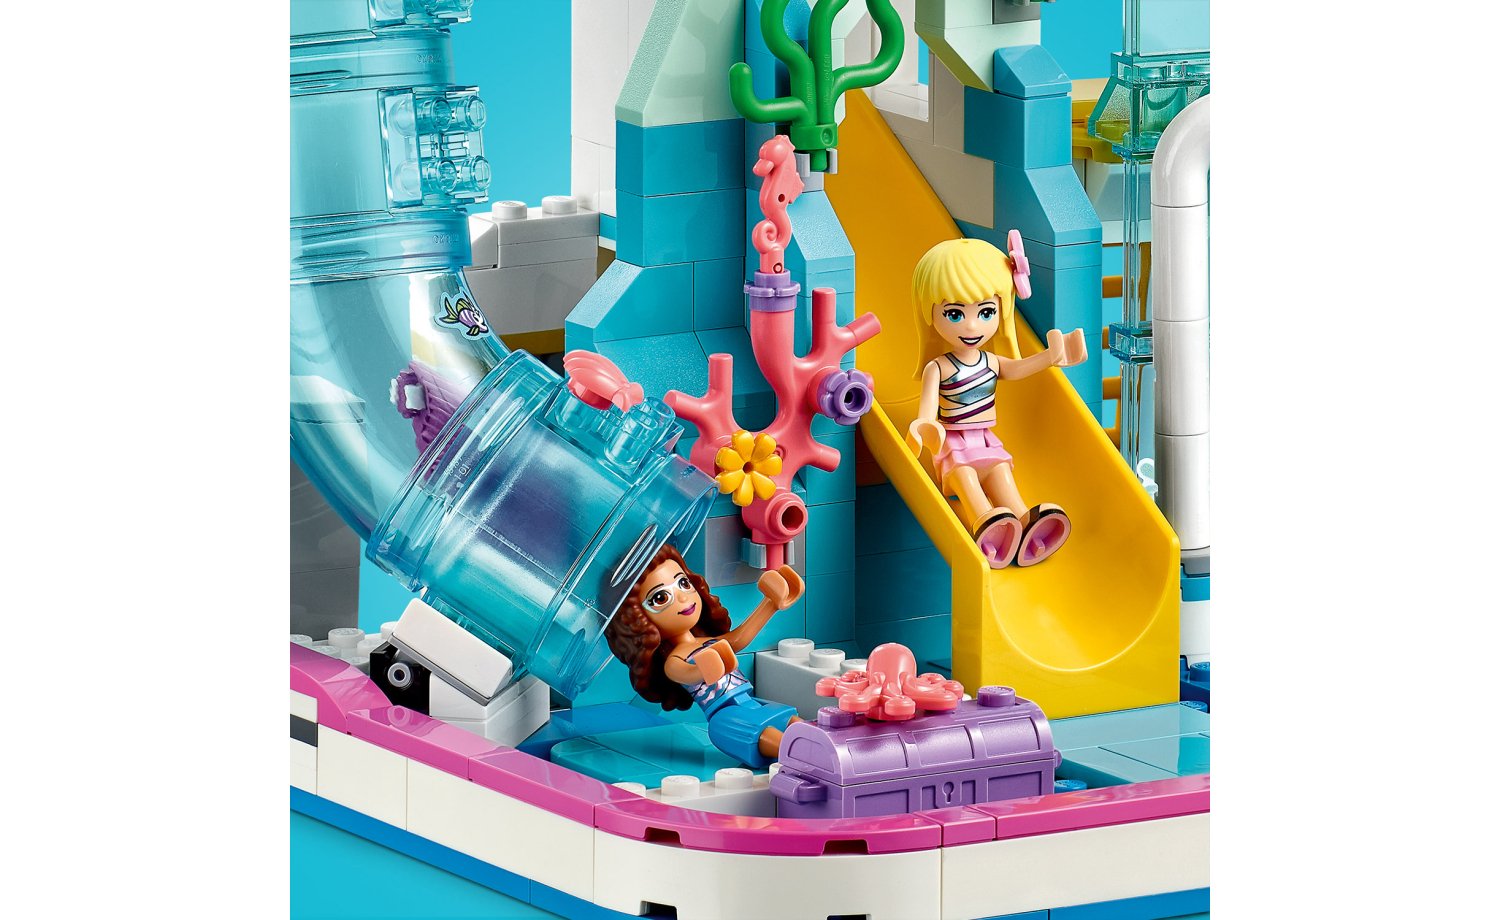
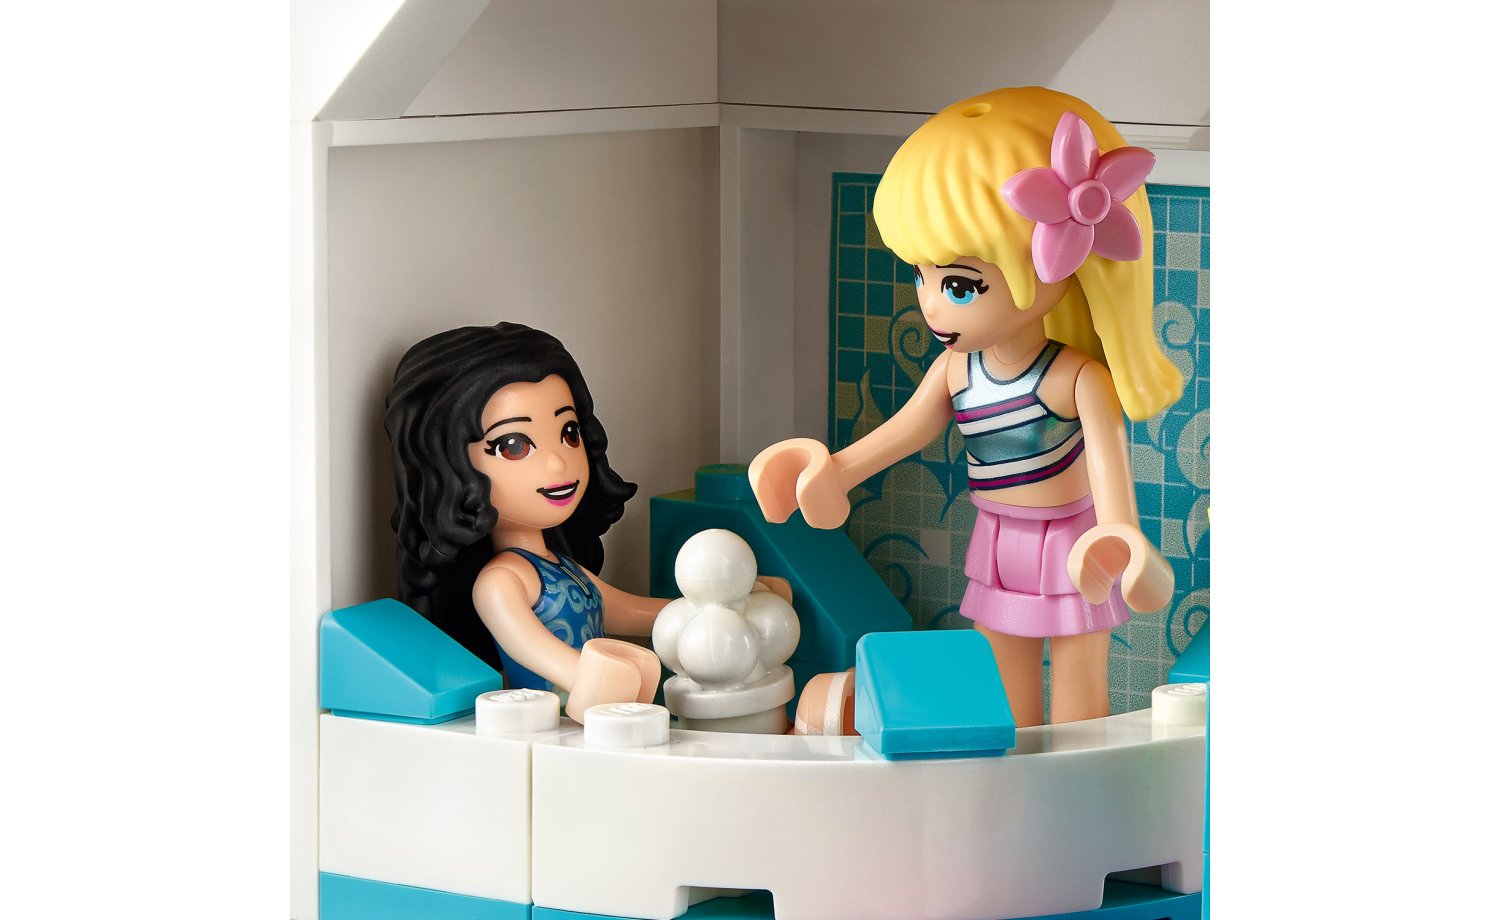
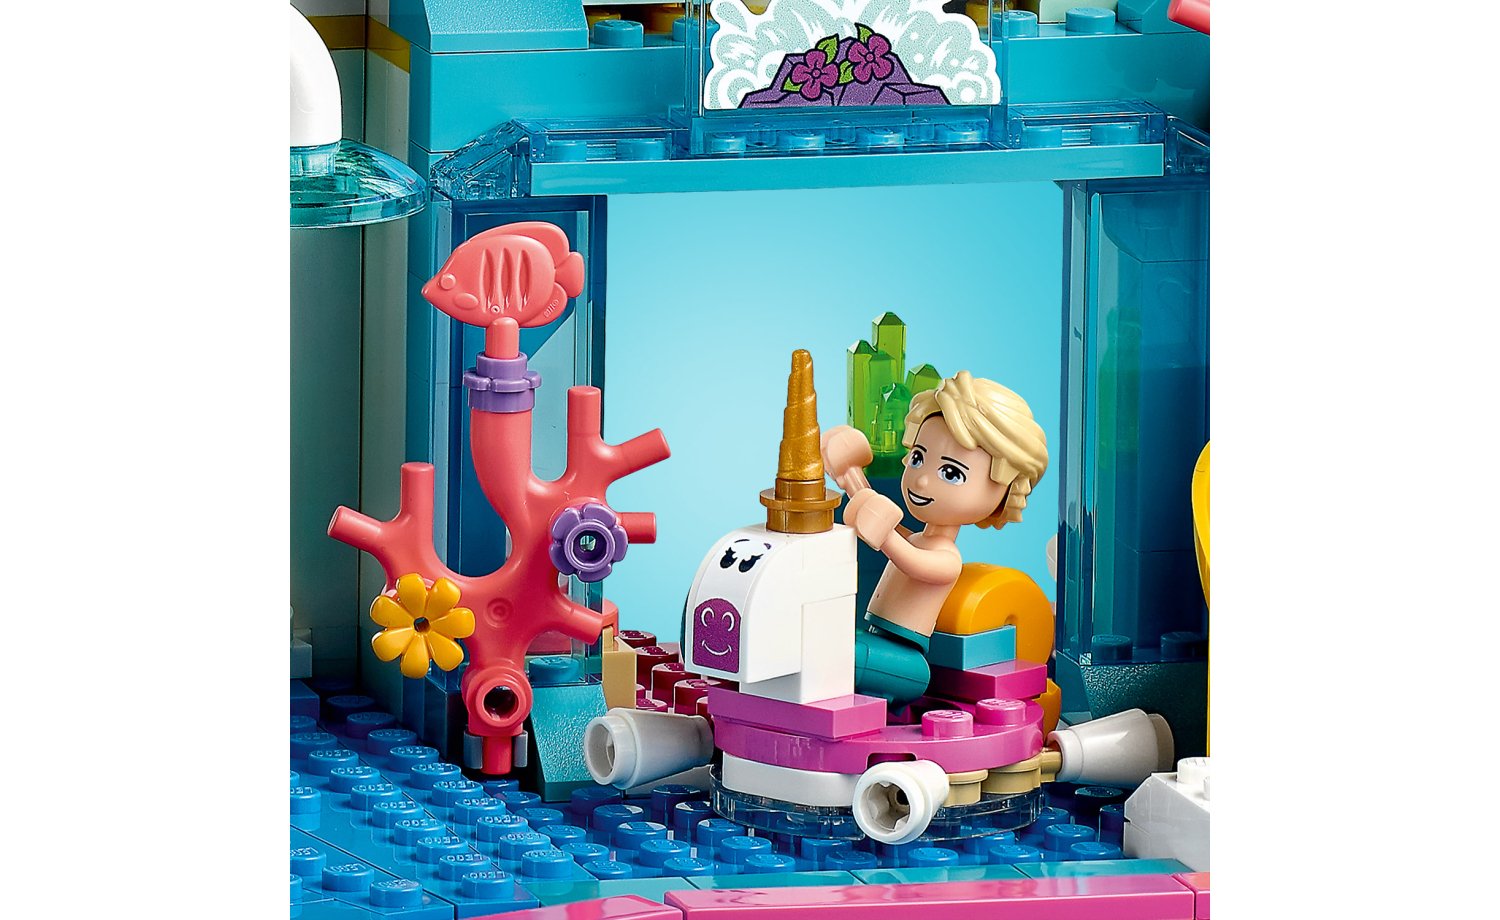
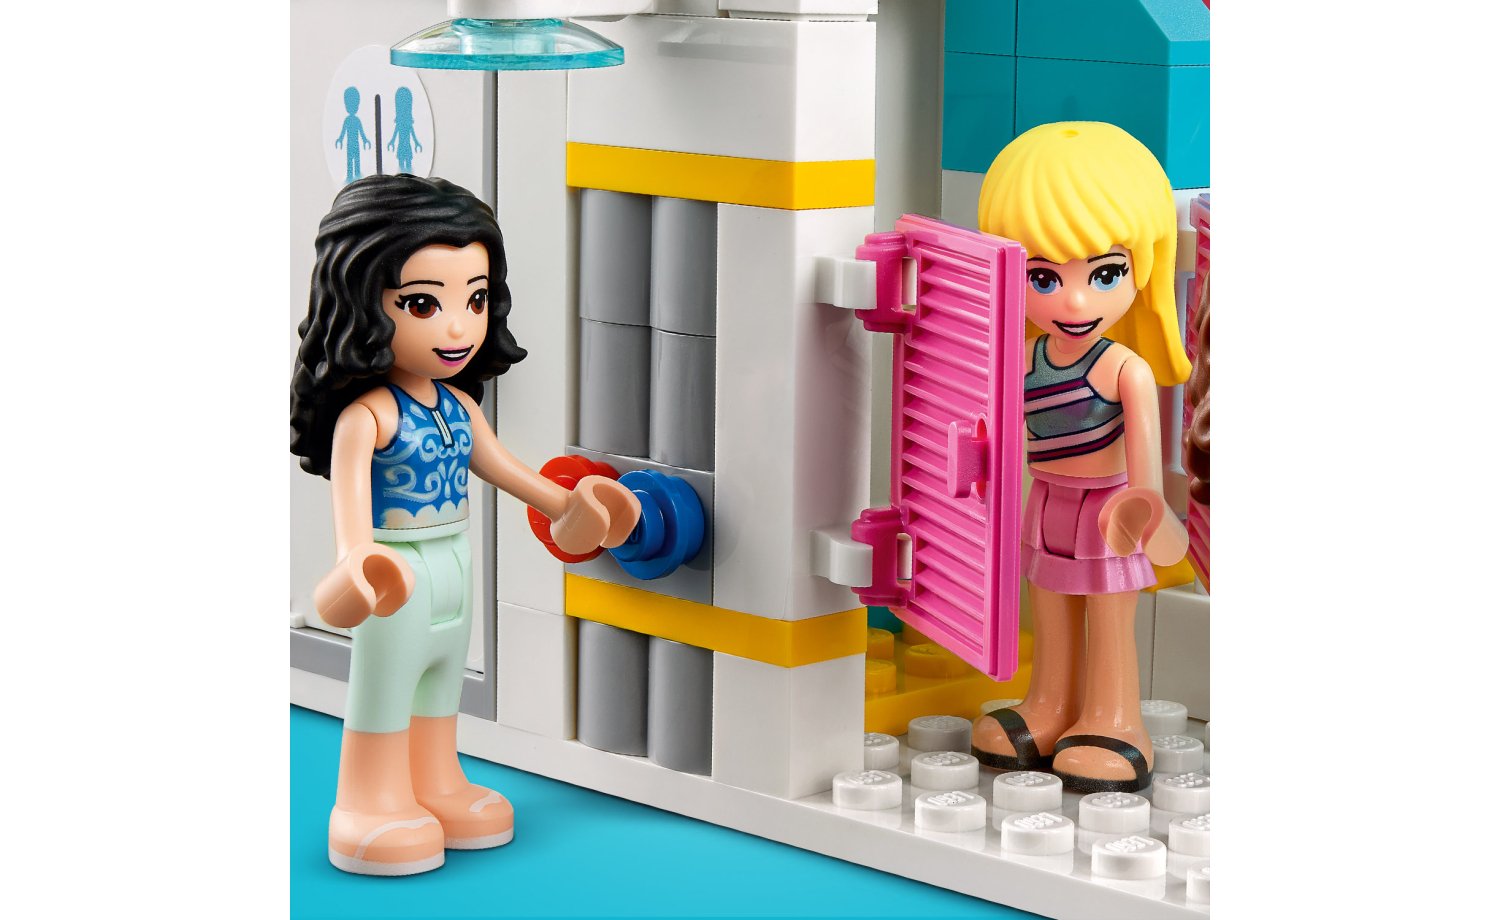
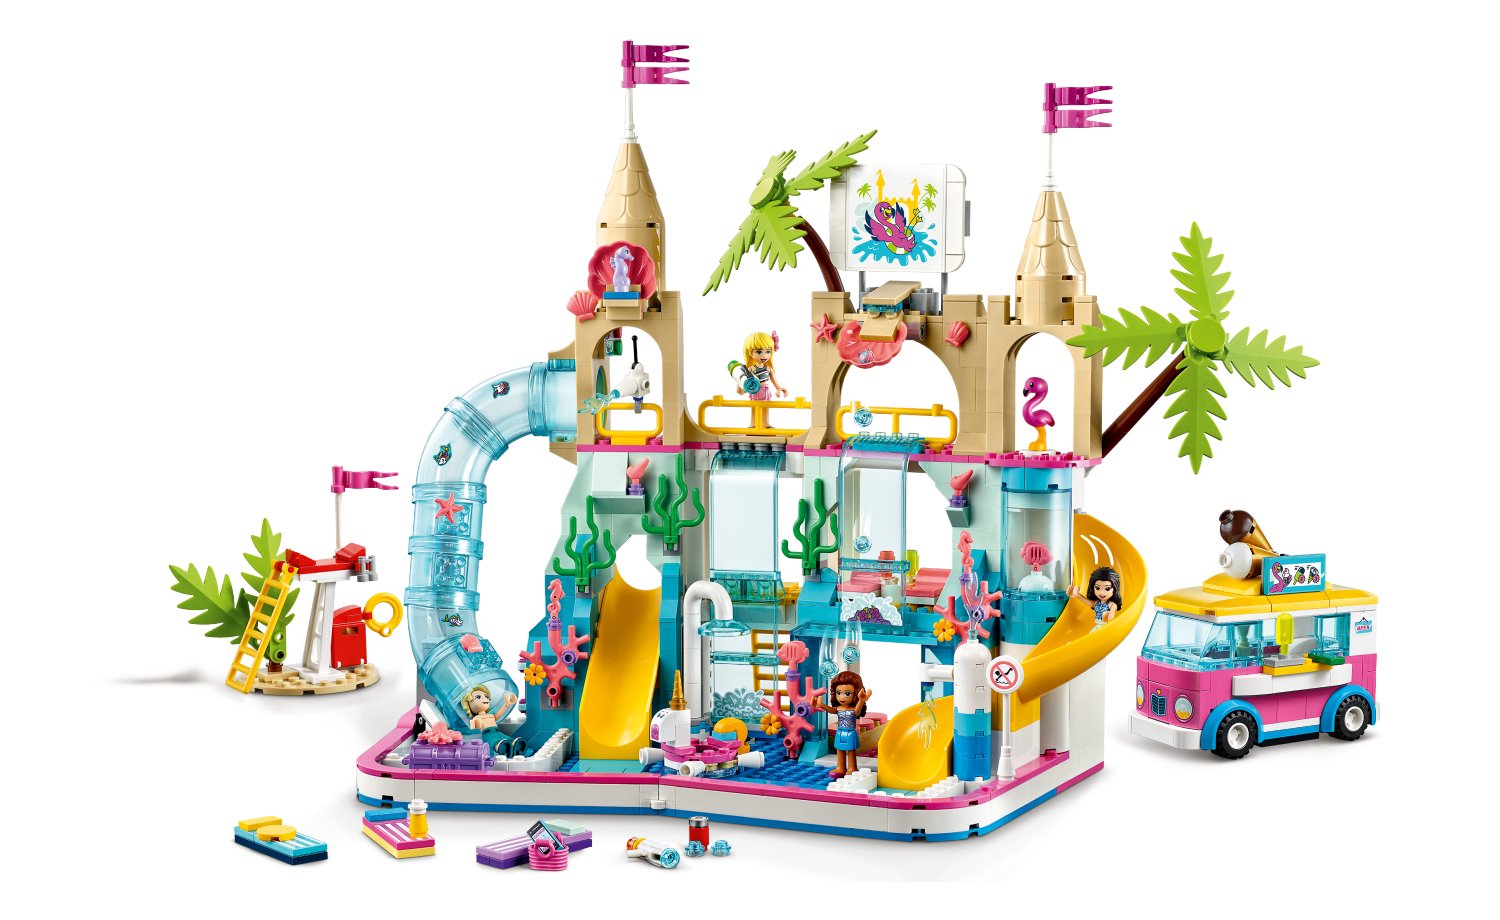
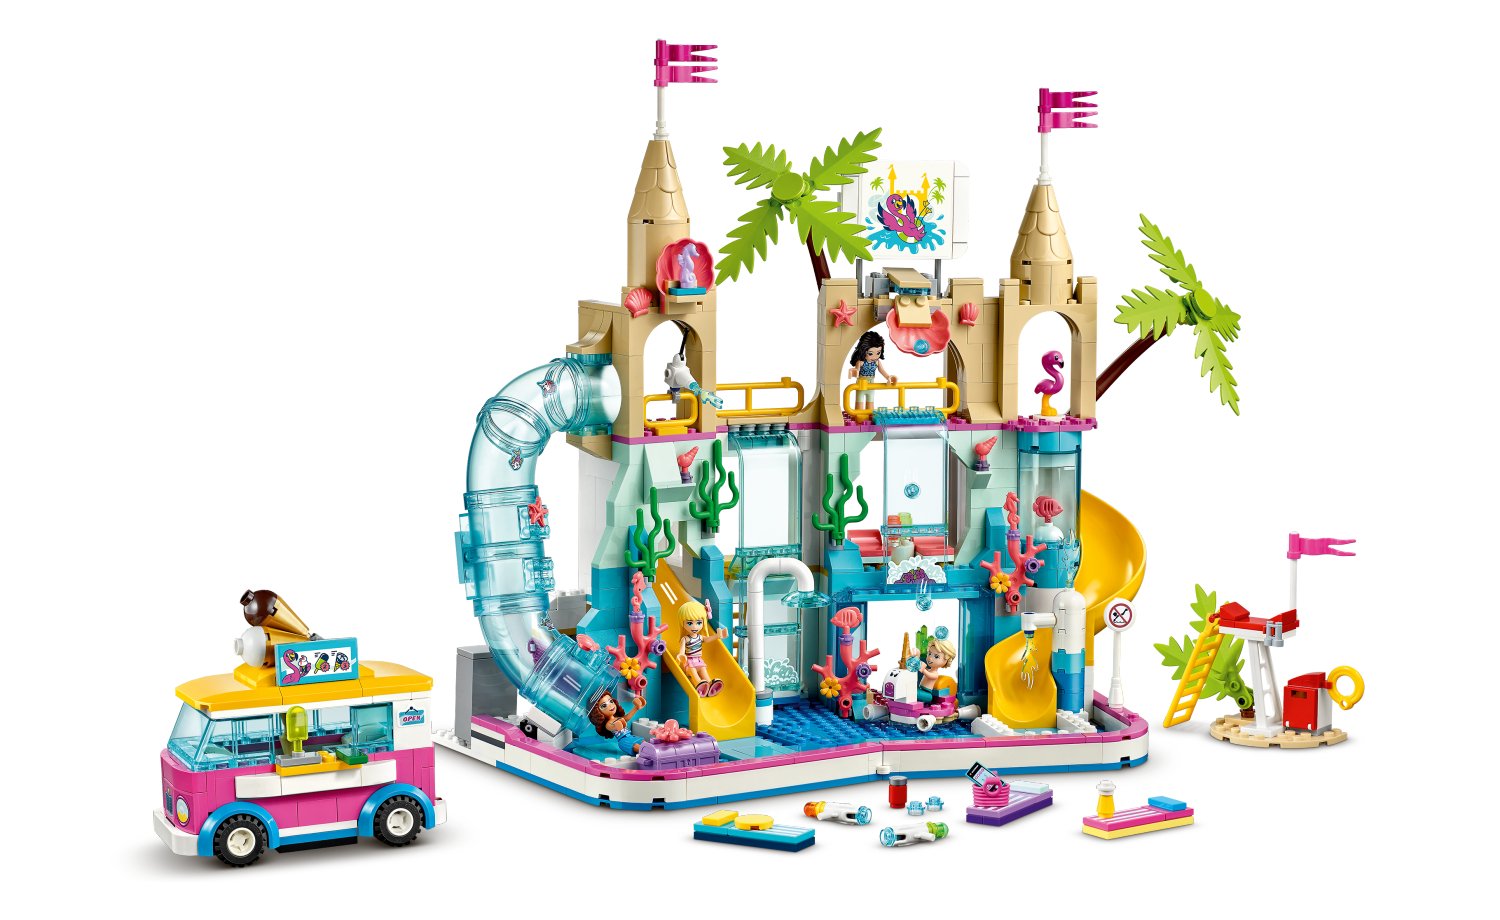
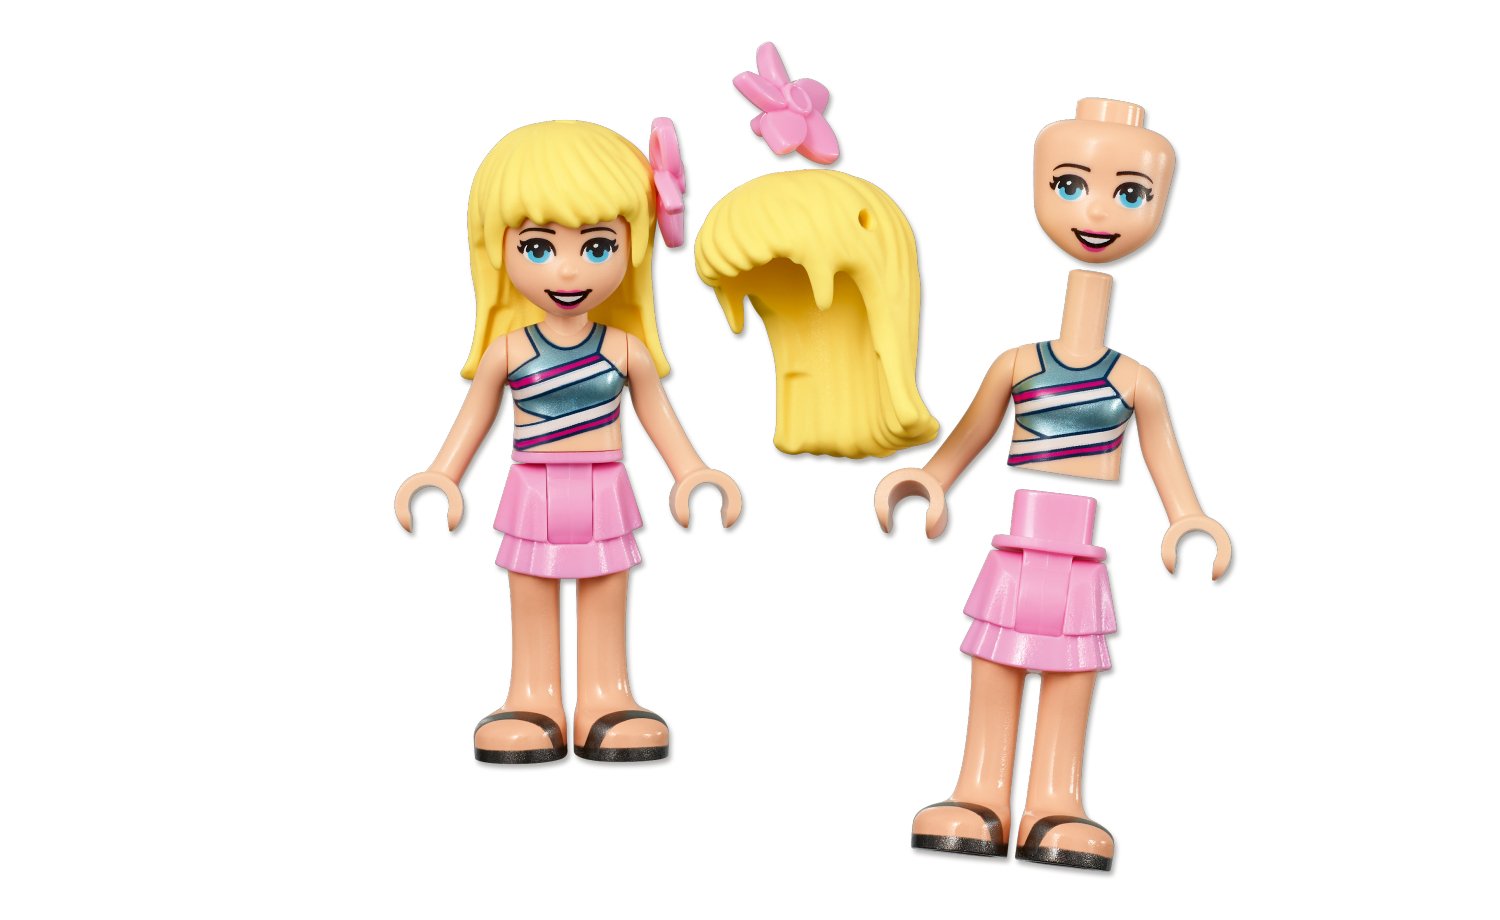
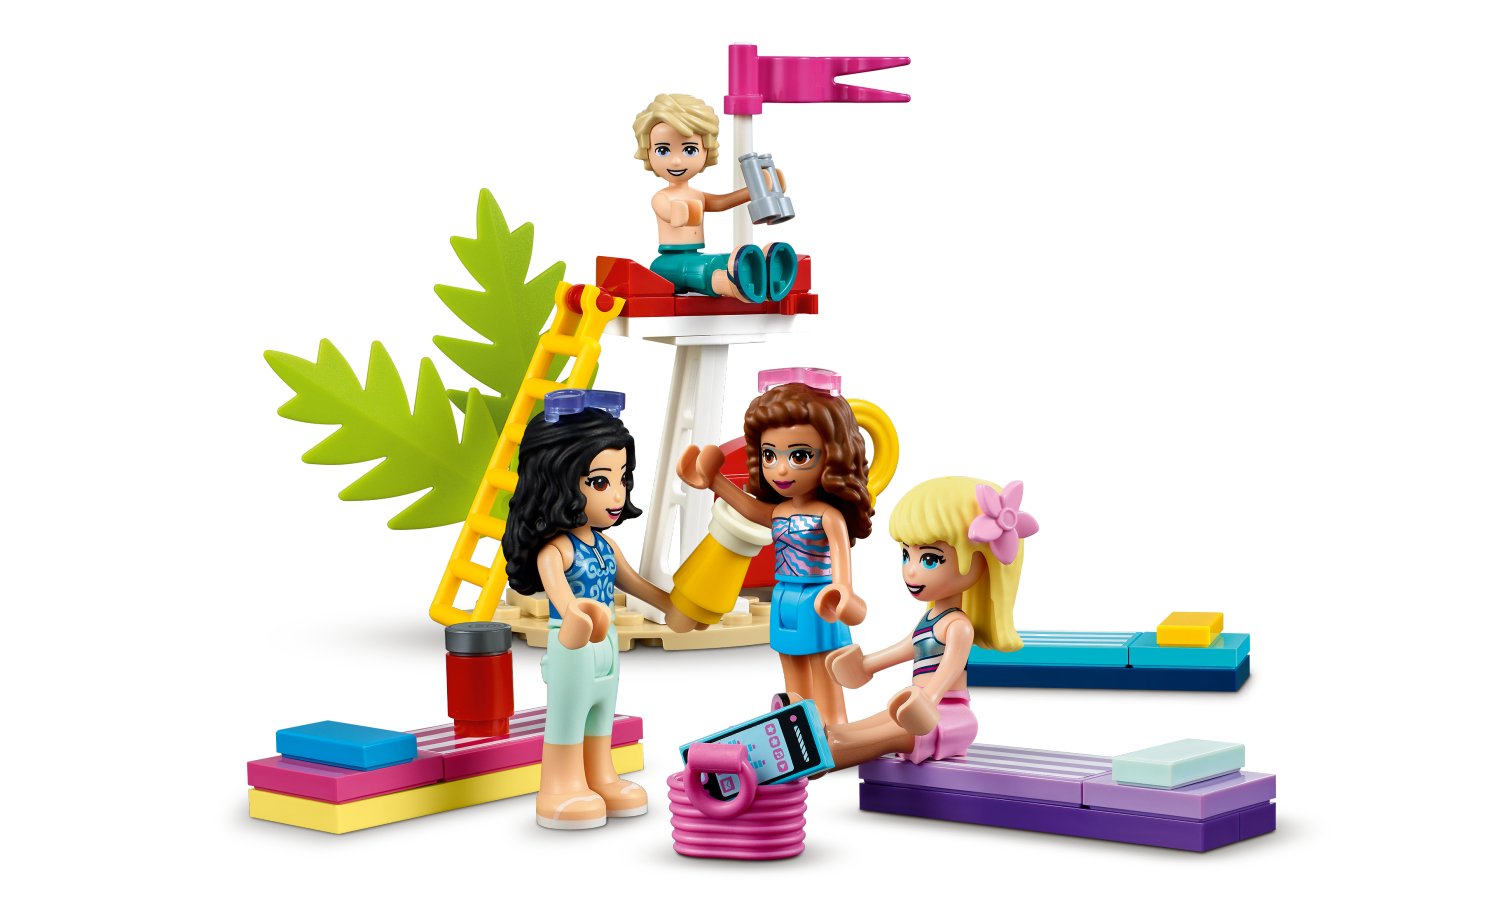
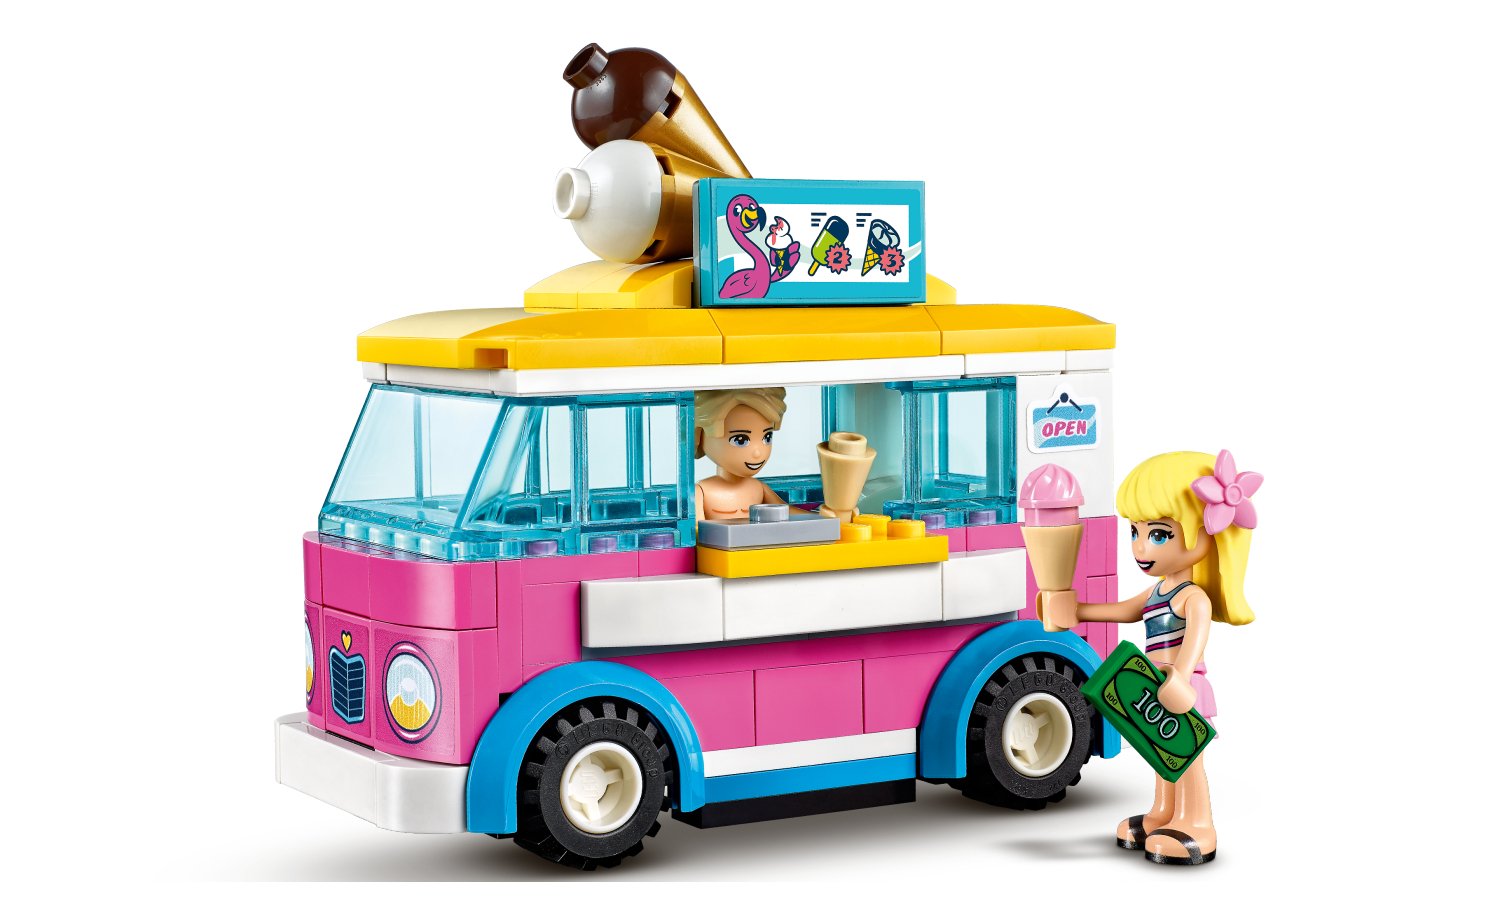
Summer Fun Water Park (41430) – 1001 pcs / R1,699.99
Join Mason, Olivia, Emily and Stephanie for some water park fun. This set has a very fun design of a large swimming pool with different slides and the base is nicely rounded off. I especially like the trans-light blue tube slide which is quite different to your standard slides that they have in this set. There are lovely underwater details such as the coral decorations, fish tanks, a flamingo and sea horse. Along with the park itself you also get a little ice-cream van to serve the characters on the hot day. As with the other sets in this range, it is very easy to build and has great playability.