By Raymond Mc Pherson (SAFOLs Brick Deputy)
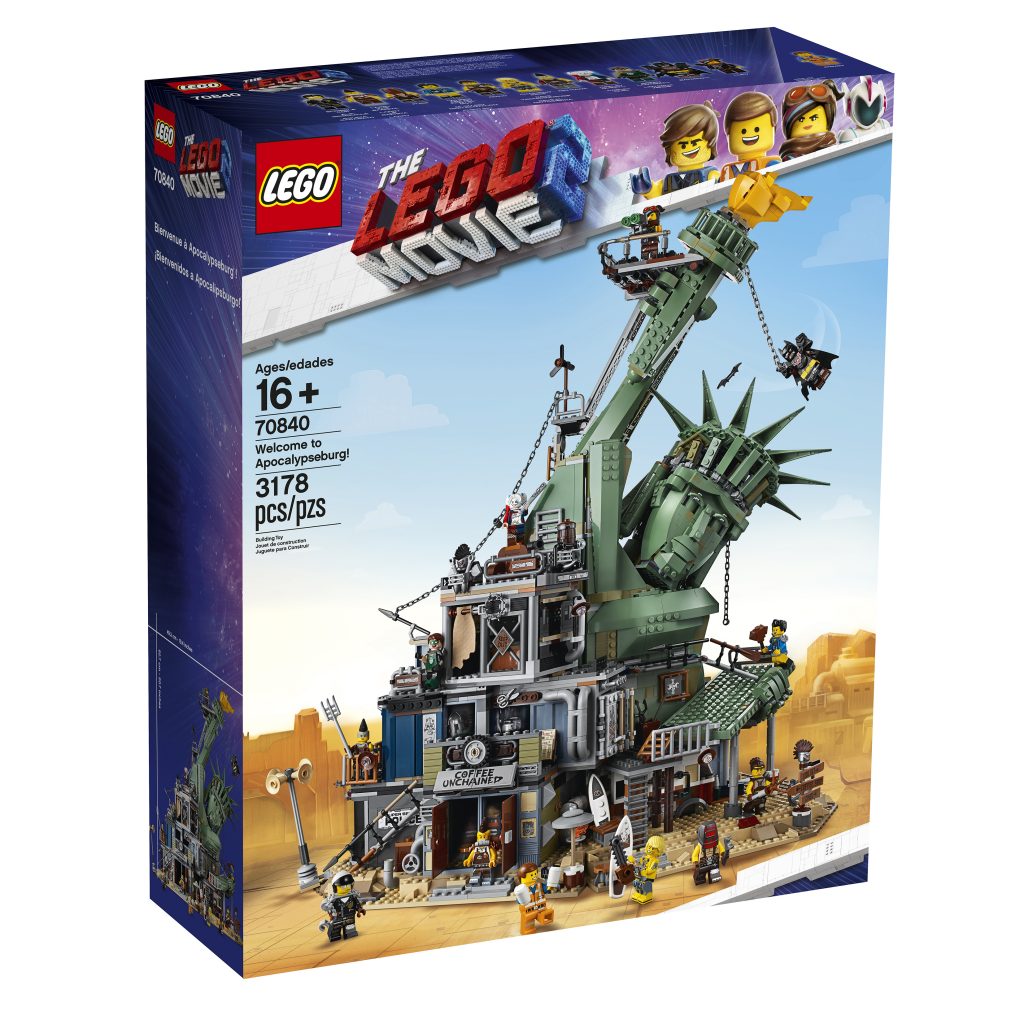
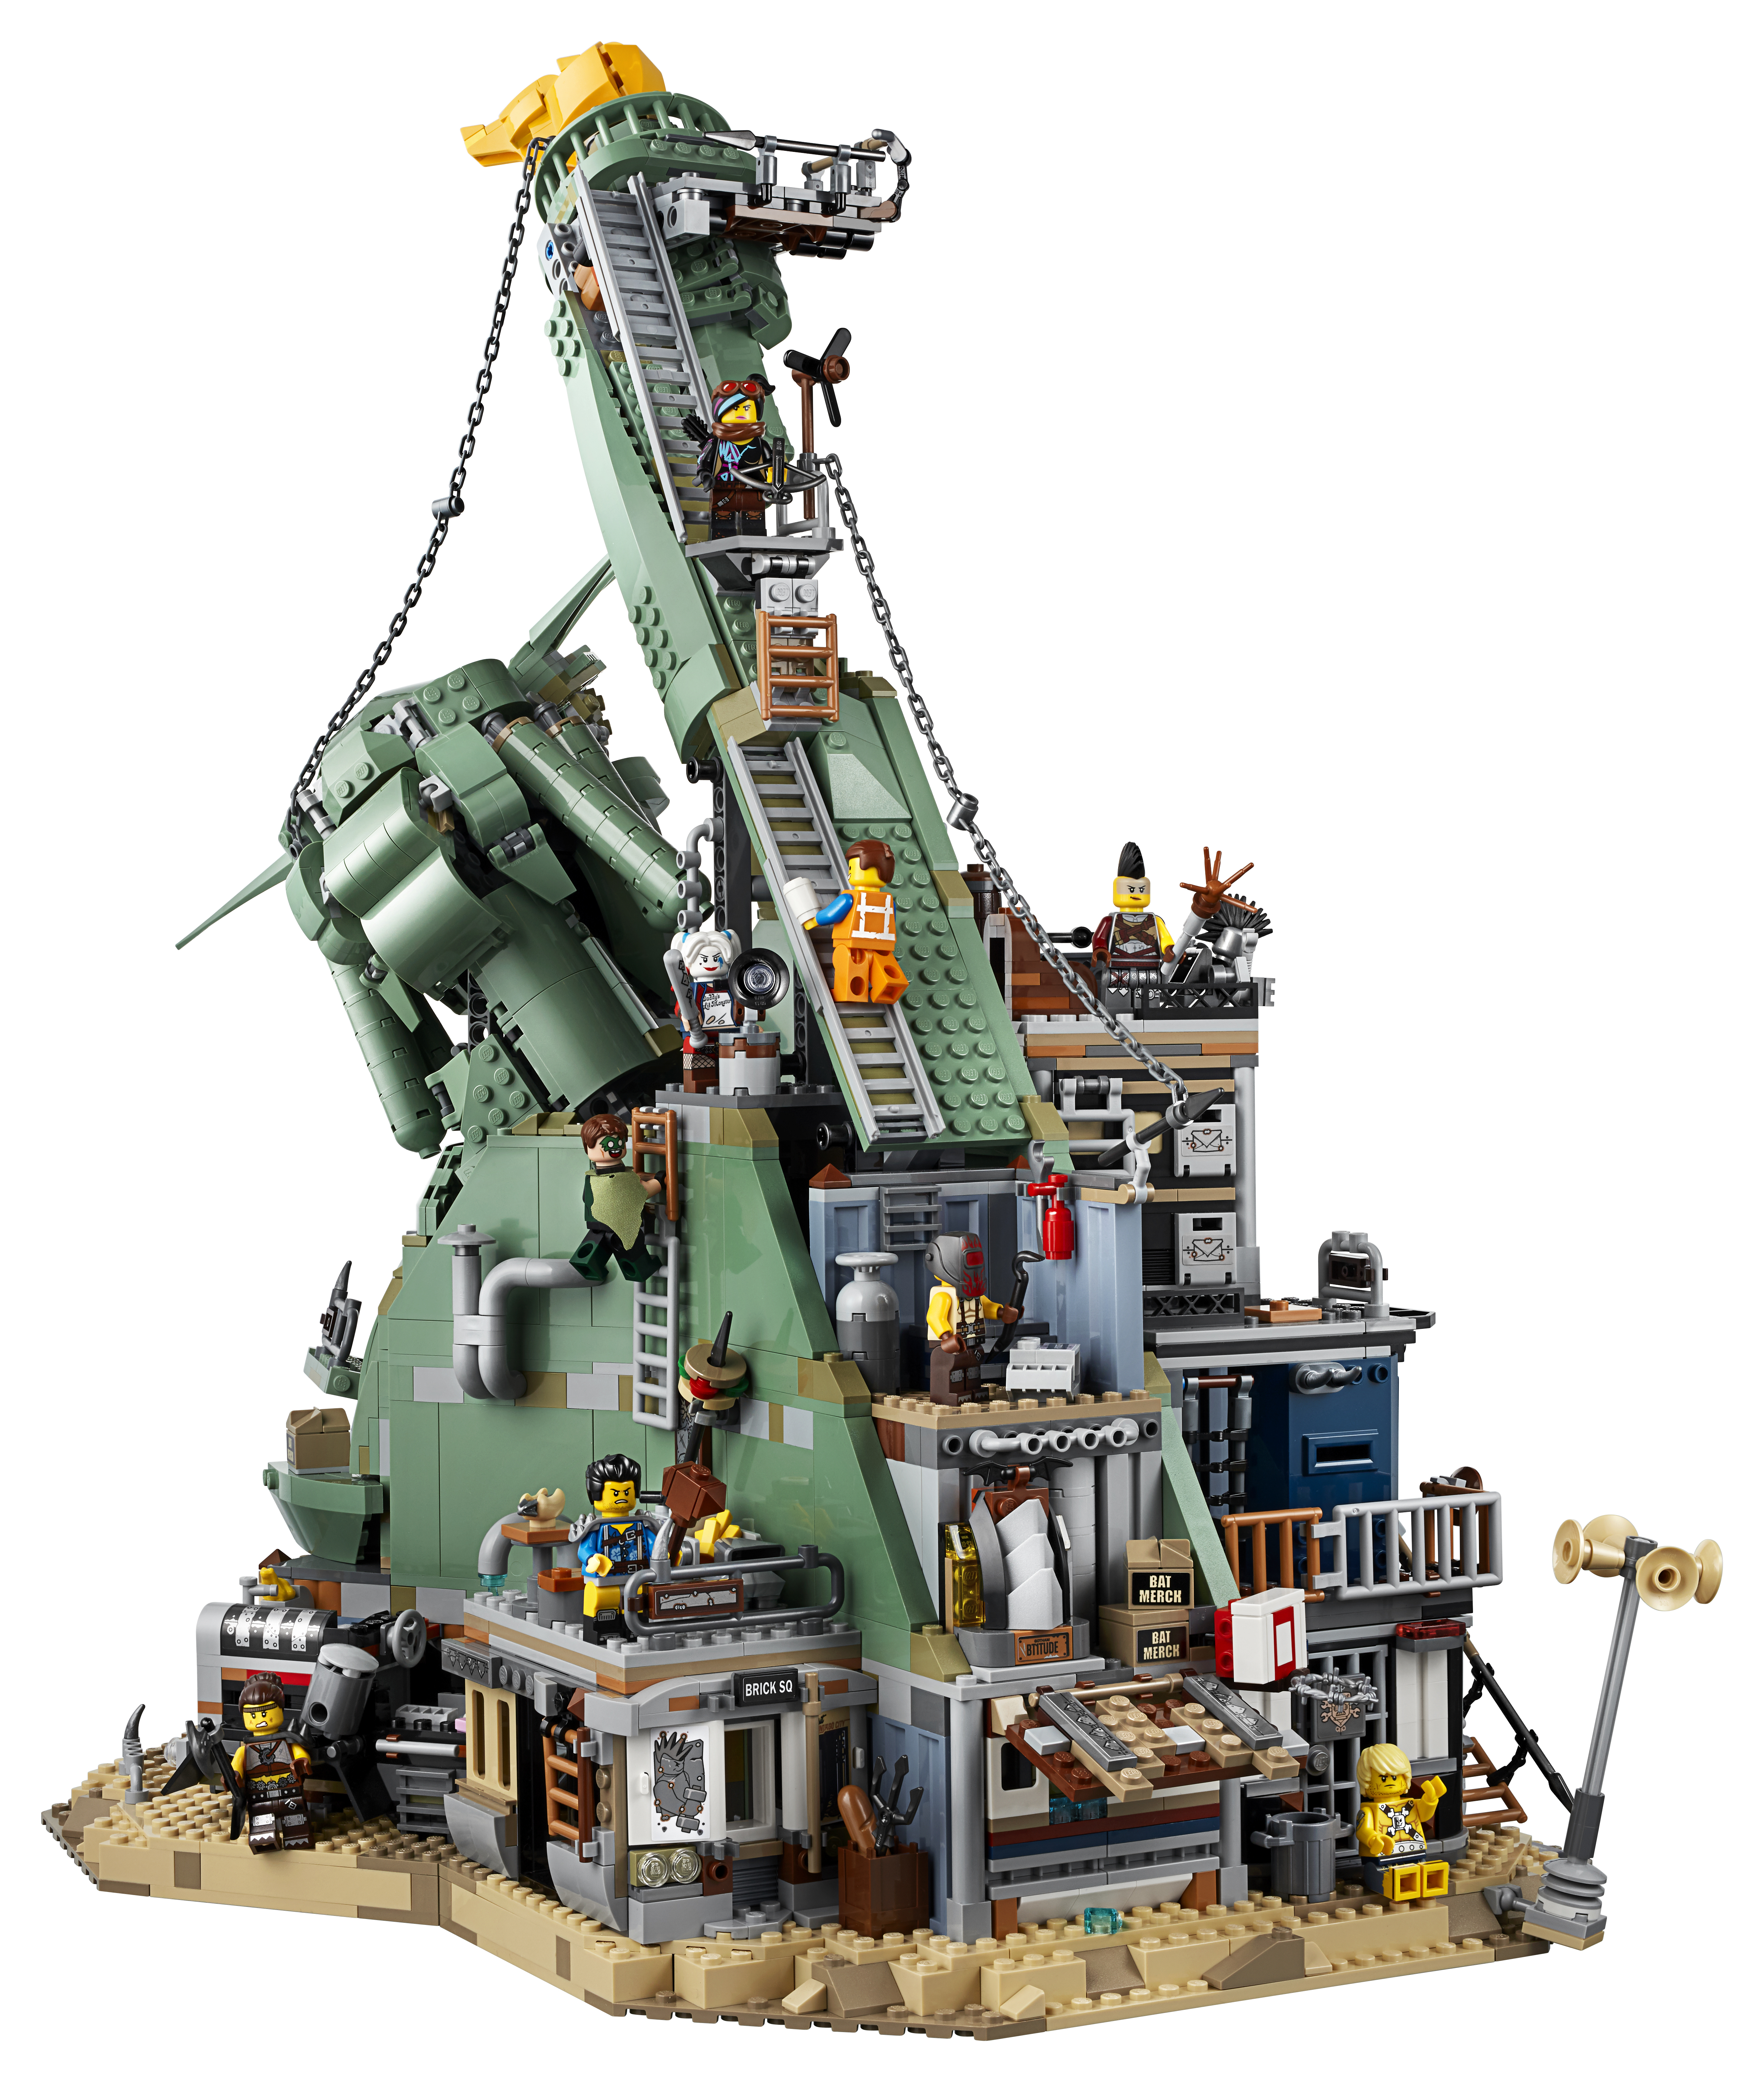
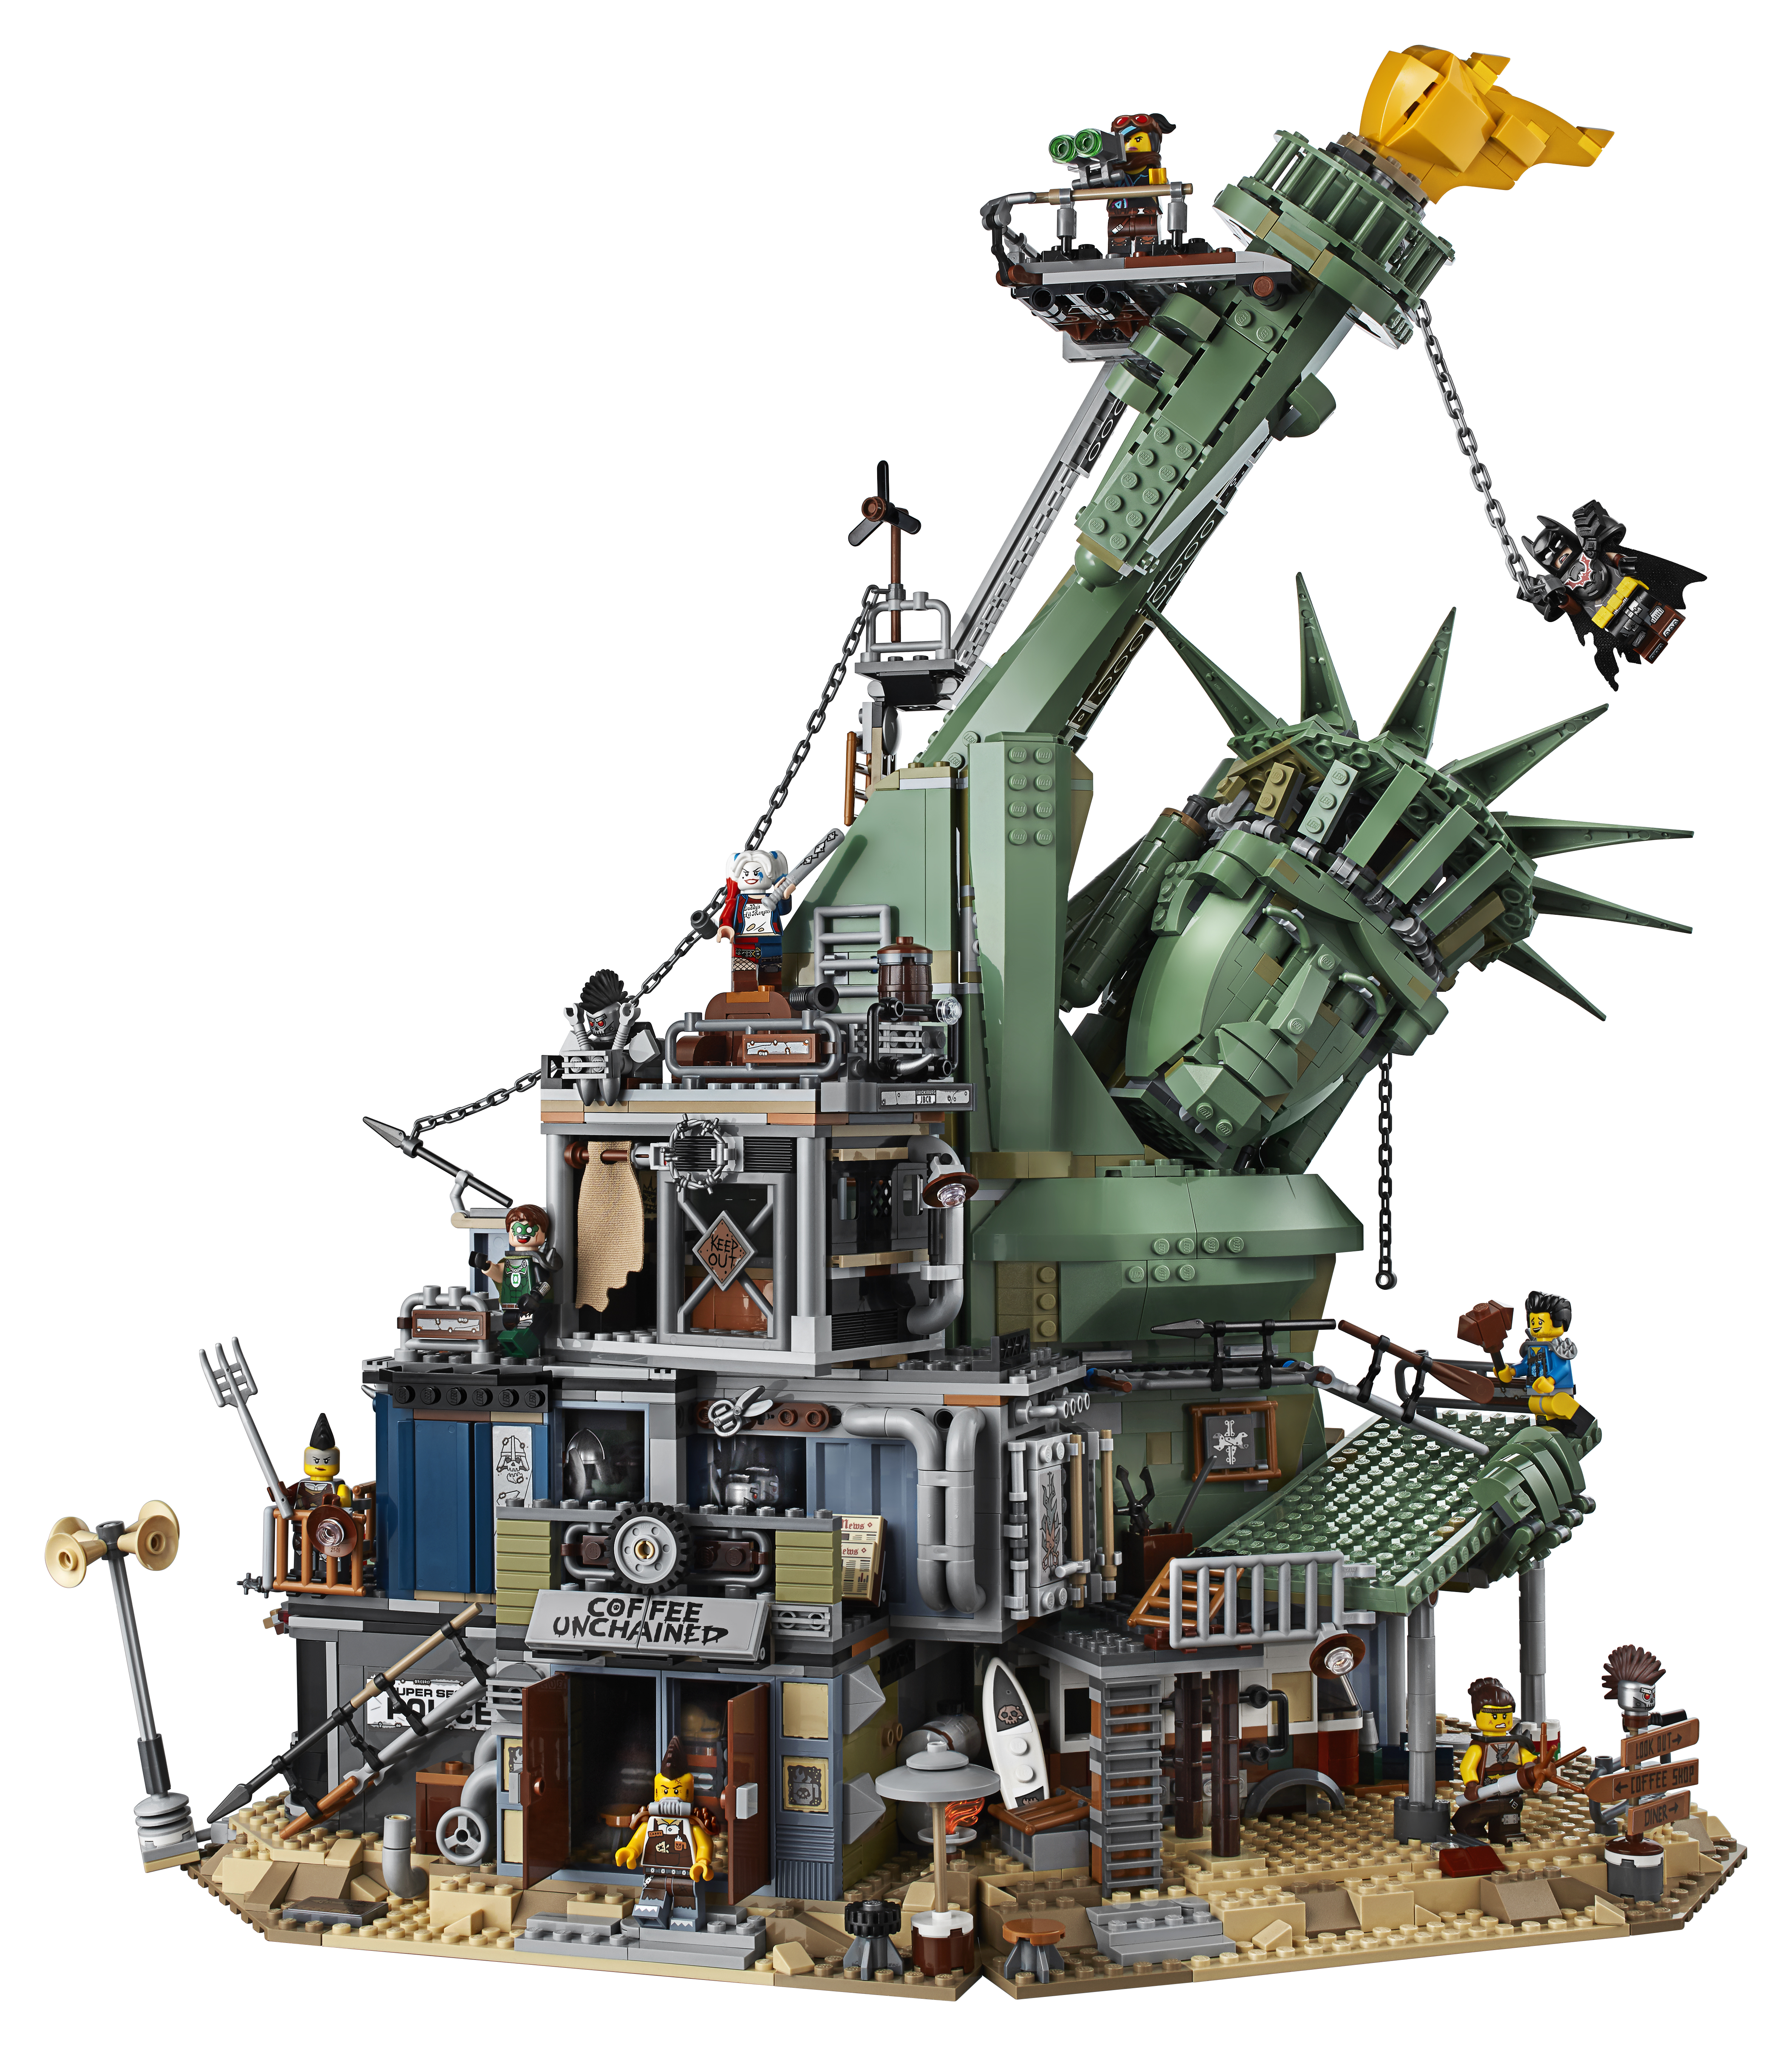
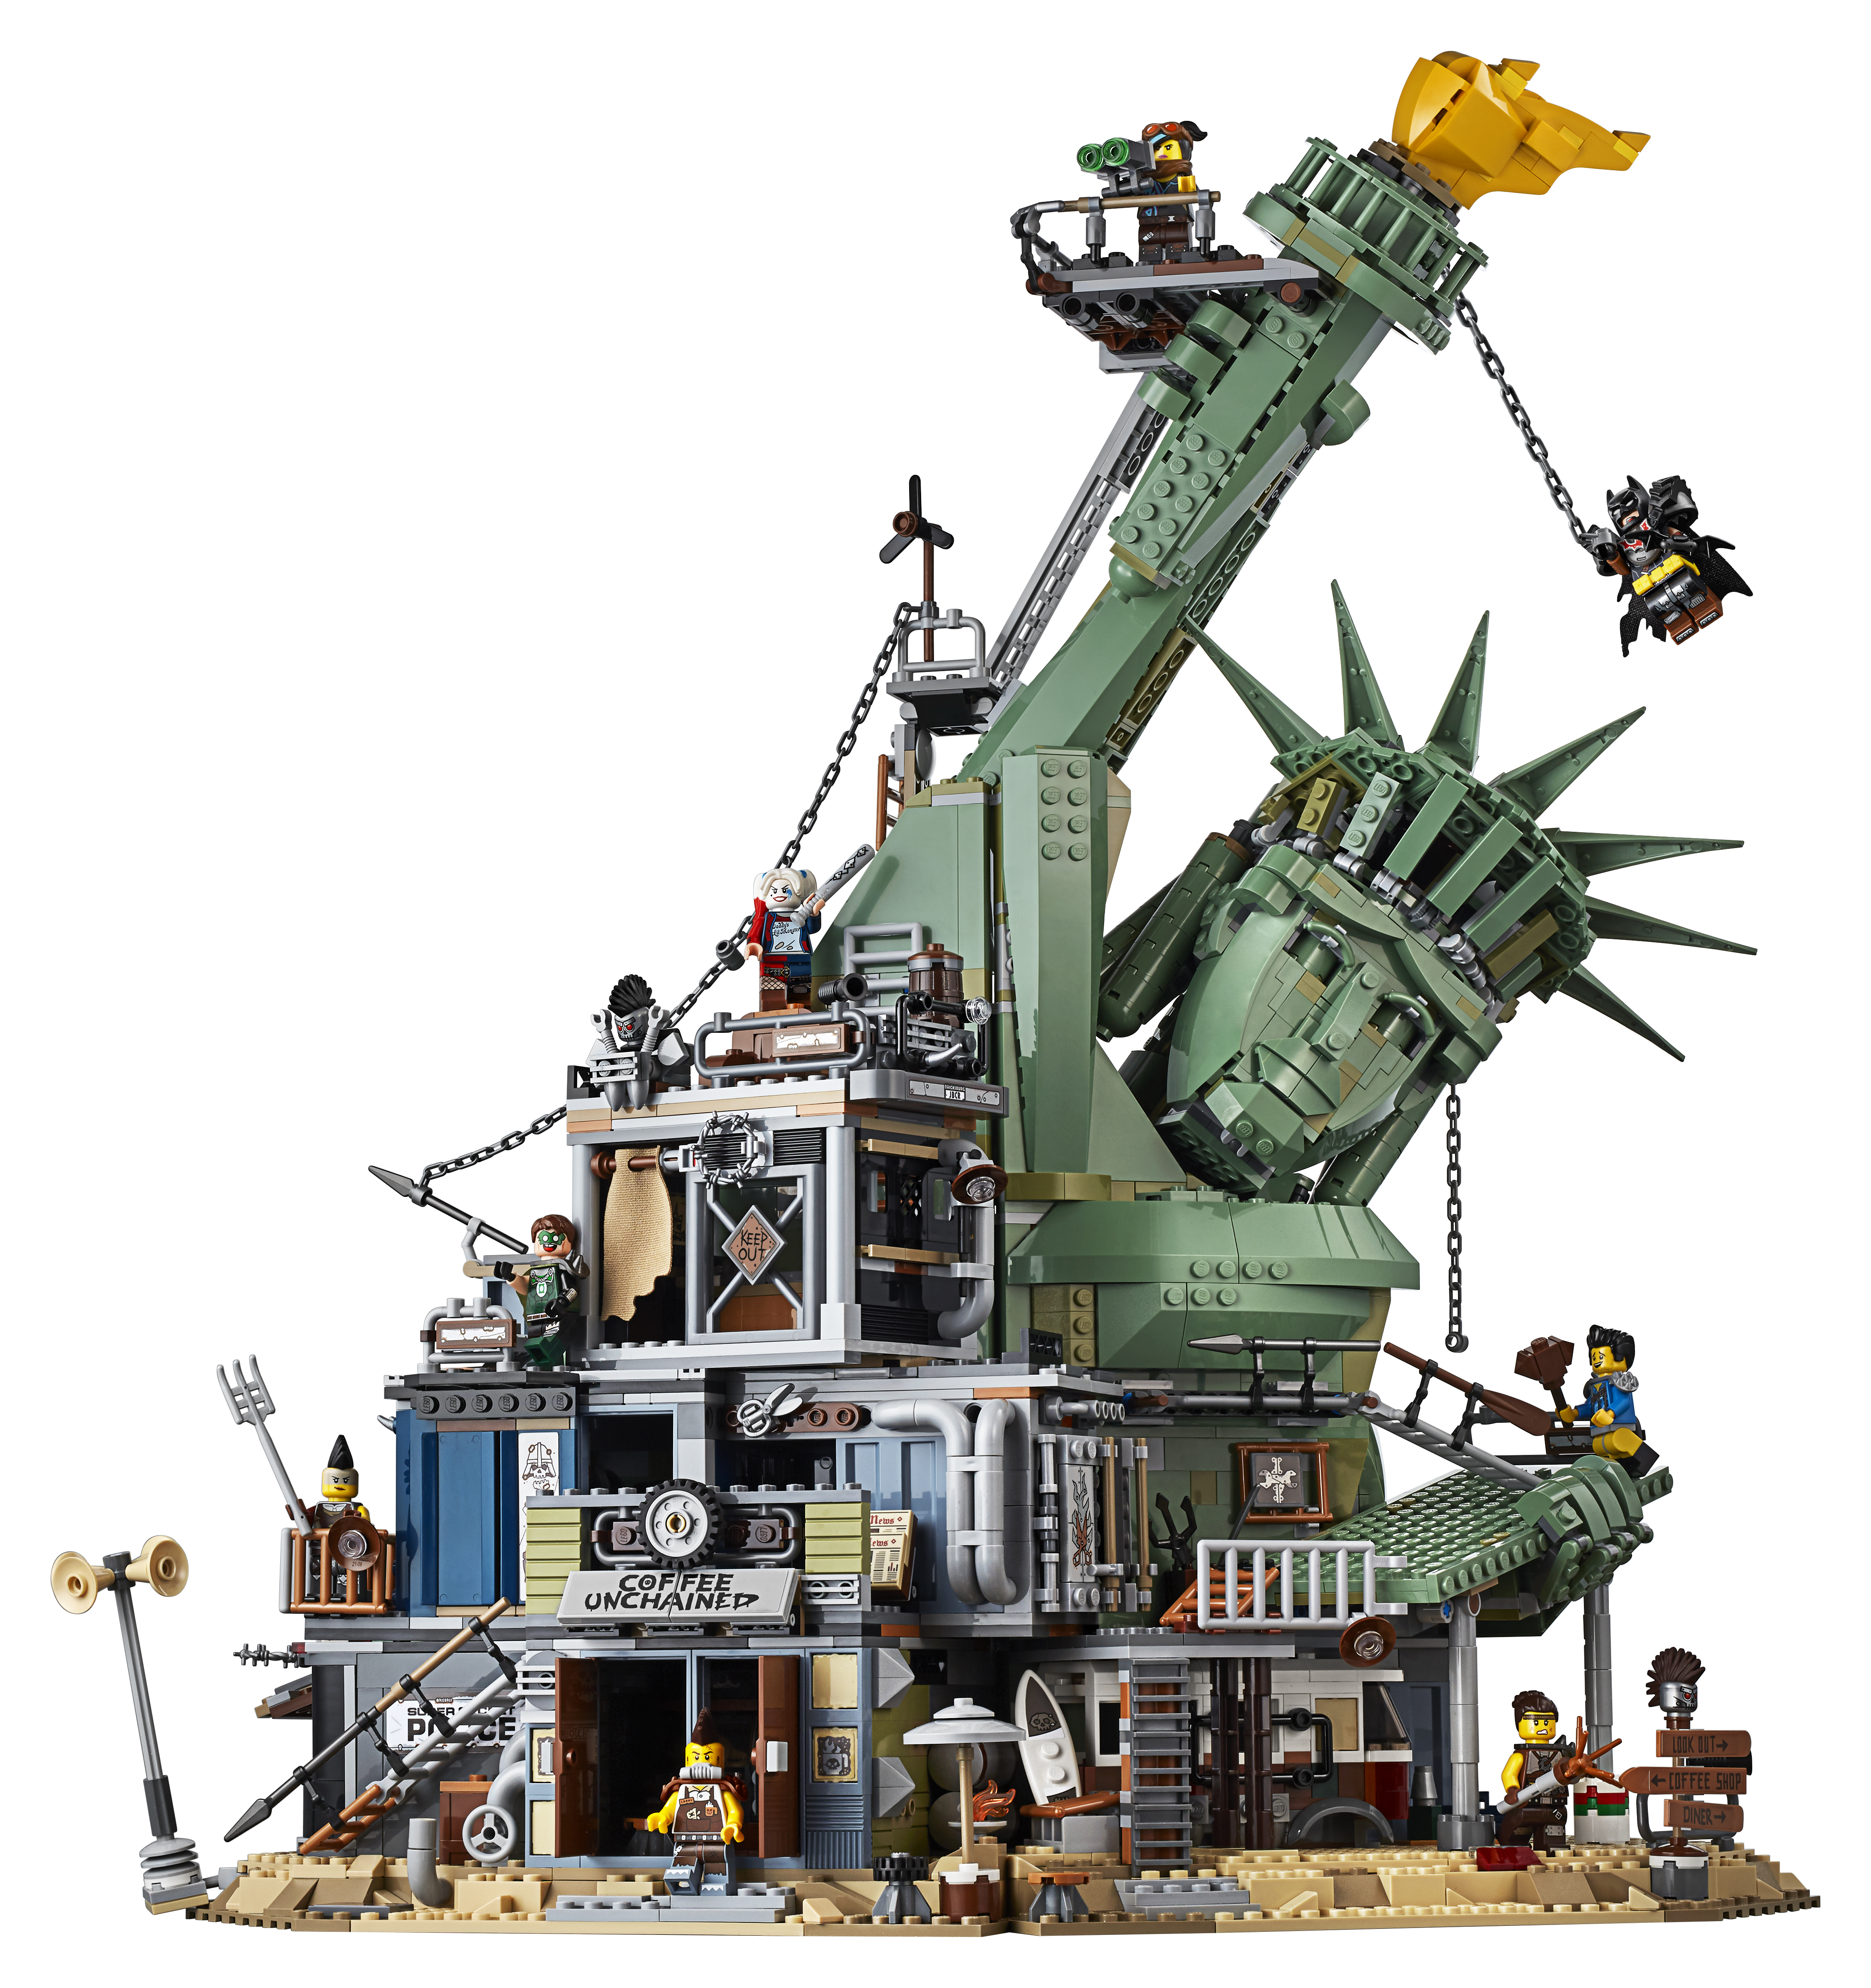
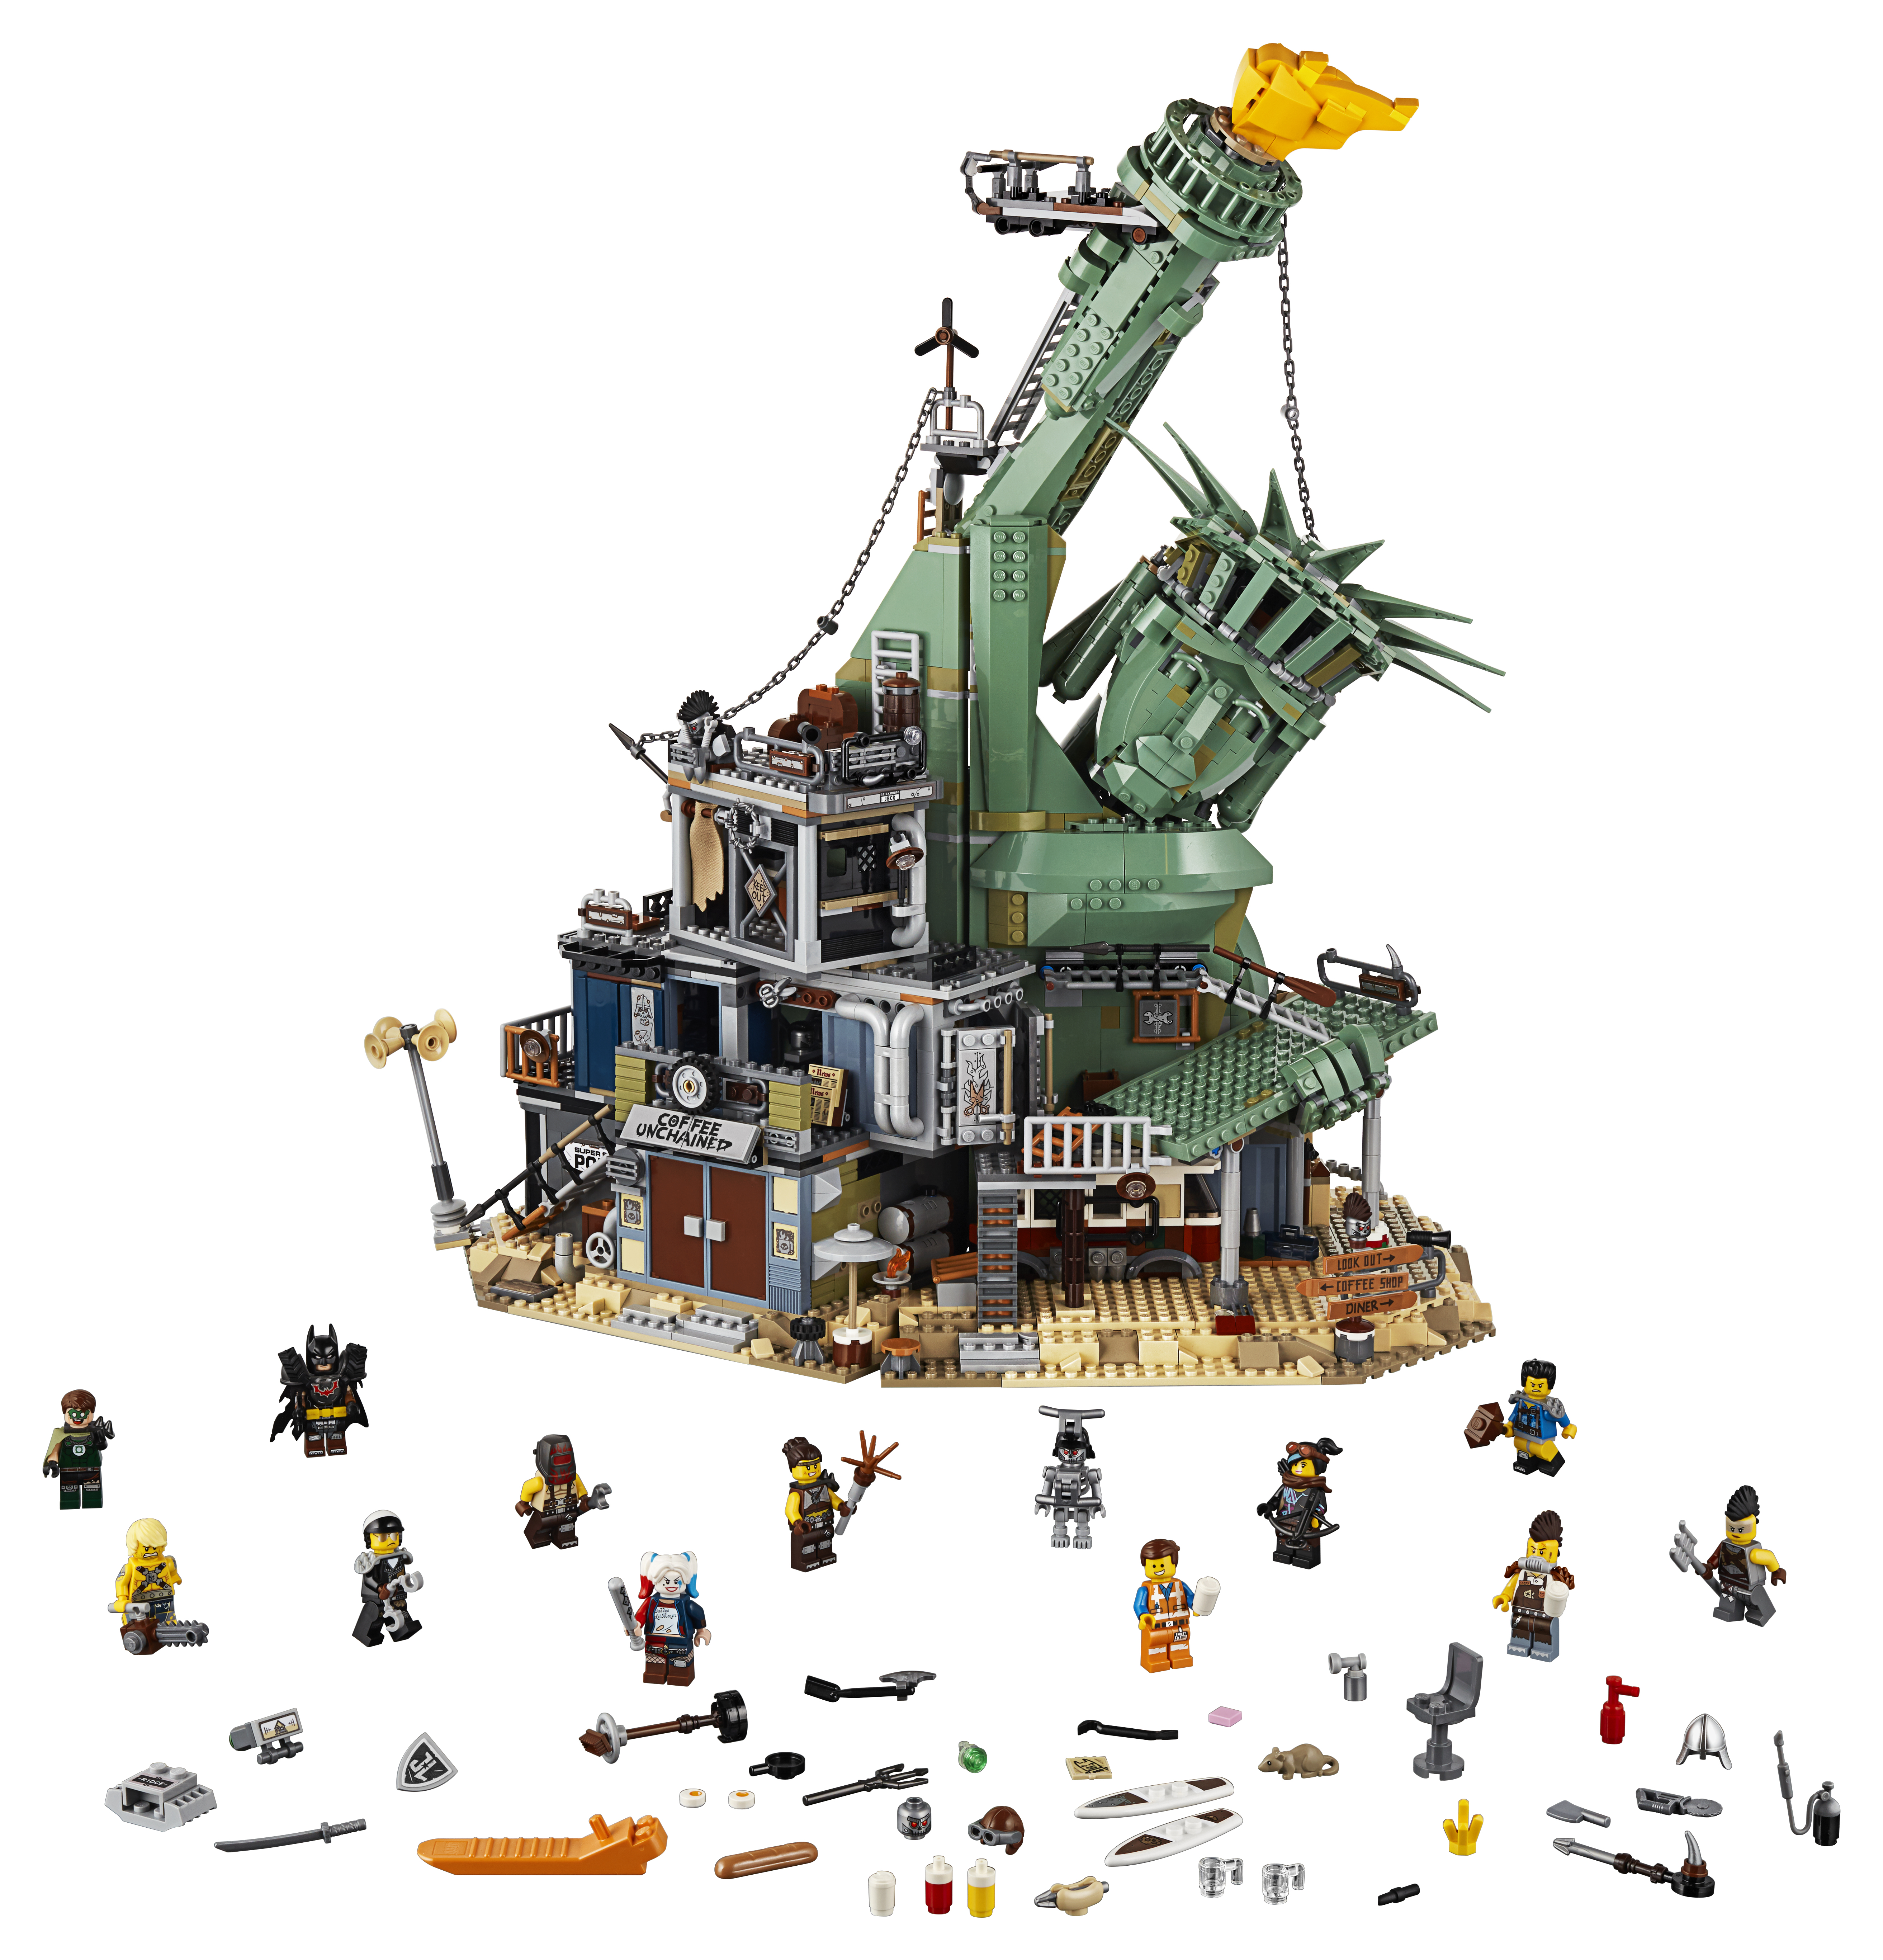
I had the privilege of building Welcome to Apocalypseburg, the largest set currently released for the LEGO® Movie Part 2. Here are my thoughts and review of this great piece (or shall we say pieces).
As this set sat in my lounge the temptation to build it since it arrived was huge. Unfortunately as an AFOL Adult things take our time such as working is always priority (We need a way to fund our hobby somehow.) So with a limited timeframe I started to put this together part by part until the masterpiece took shape.
The first thing and most obvious in the beginning was the Box. A huge colourful box which is great as it depicts the built set in all its splendour and shows off some of the play features that the set has to offer. The box contains numerous bags and some that accompany the smaller bags. There are 30 bags overall.
The instructions manual is a rather large book, which is to be expected for a set this size. The book details the development process, interviews and an interesting section (the first that I have seen or are aware of) that explains how to pick the set up.
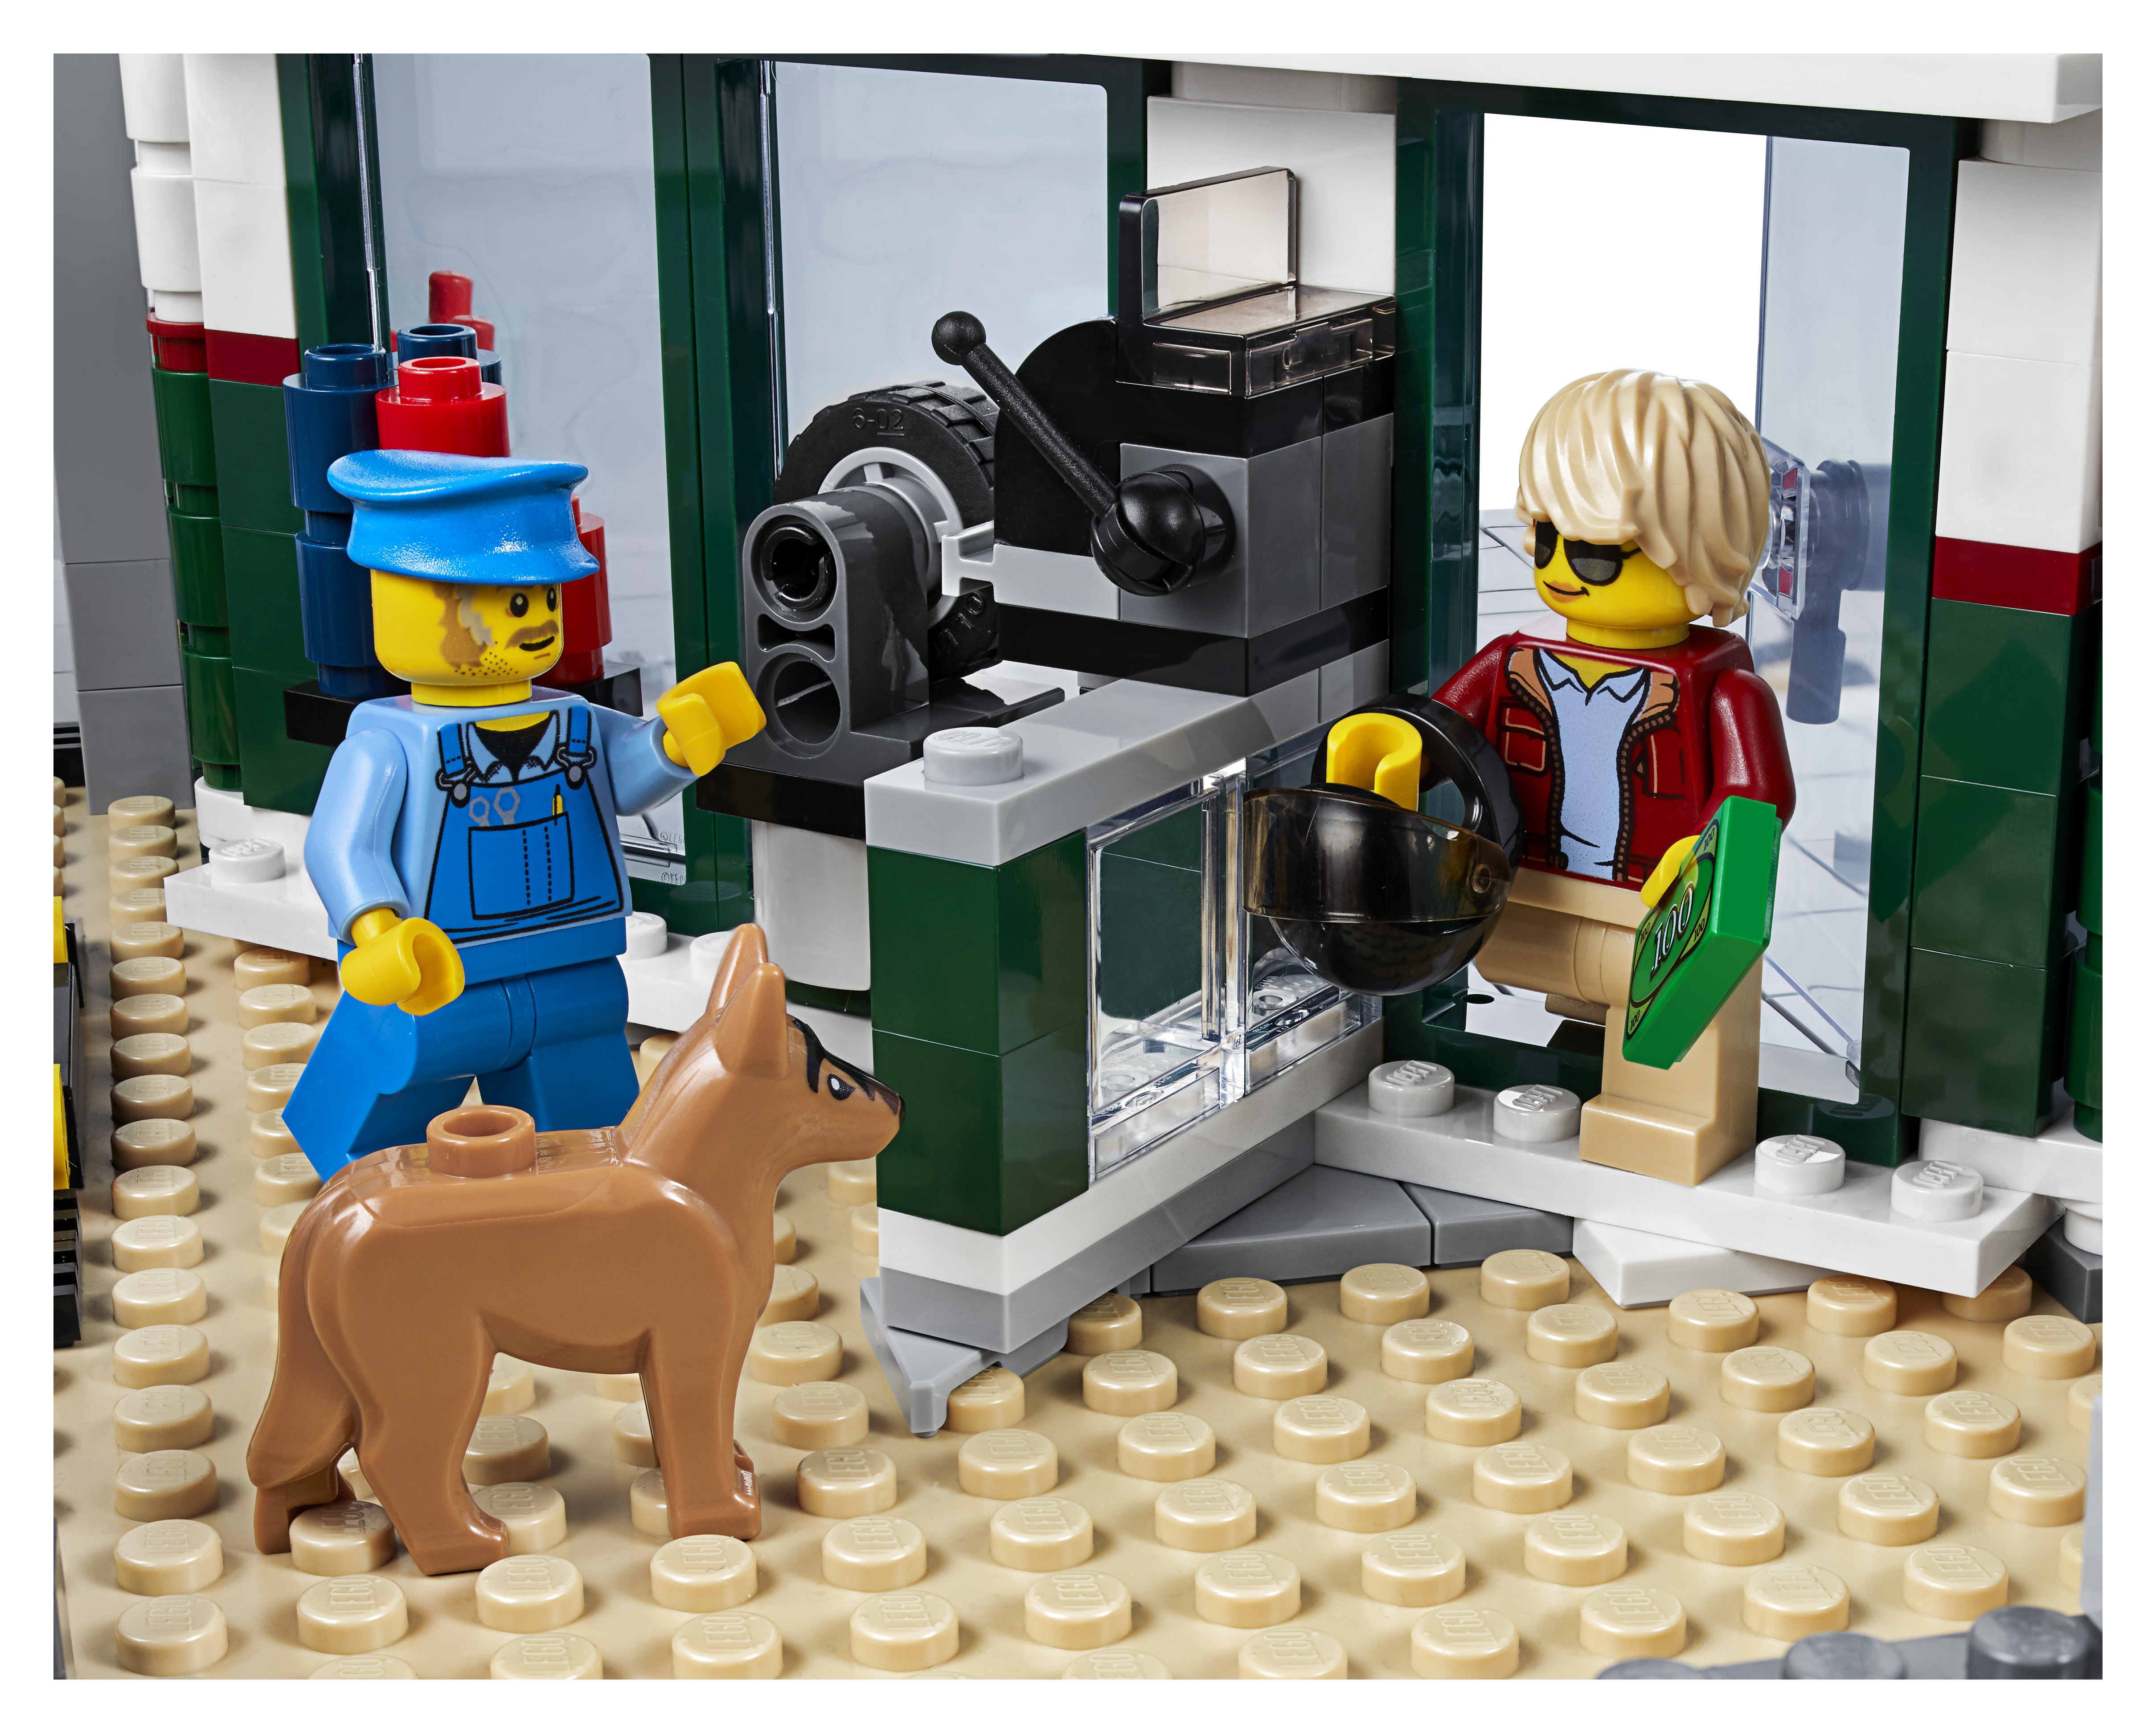
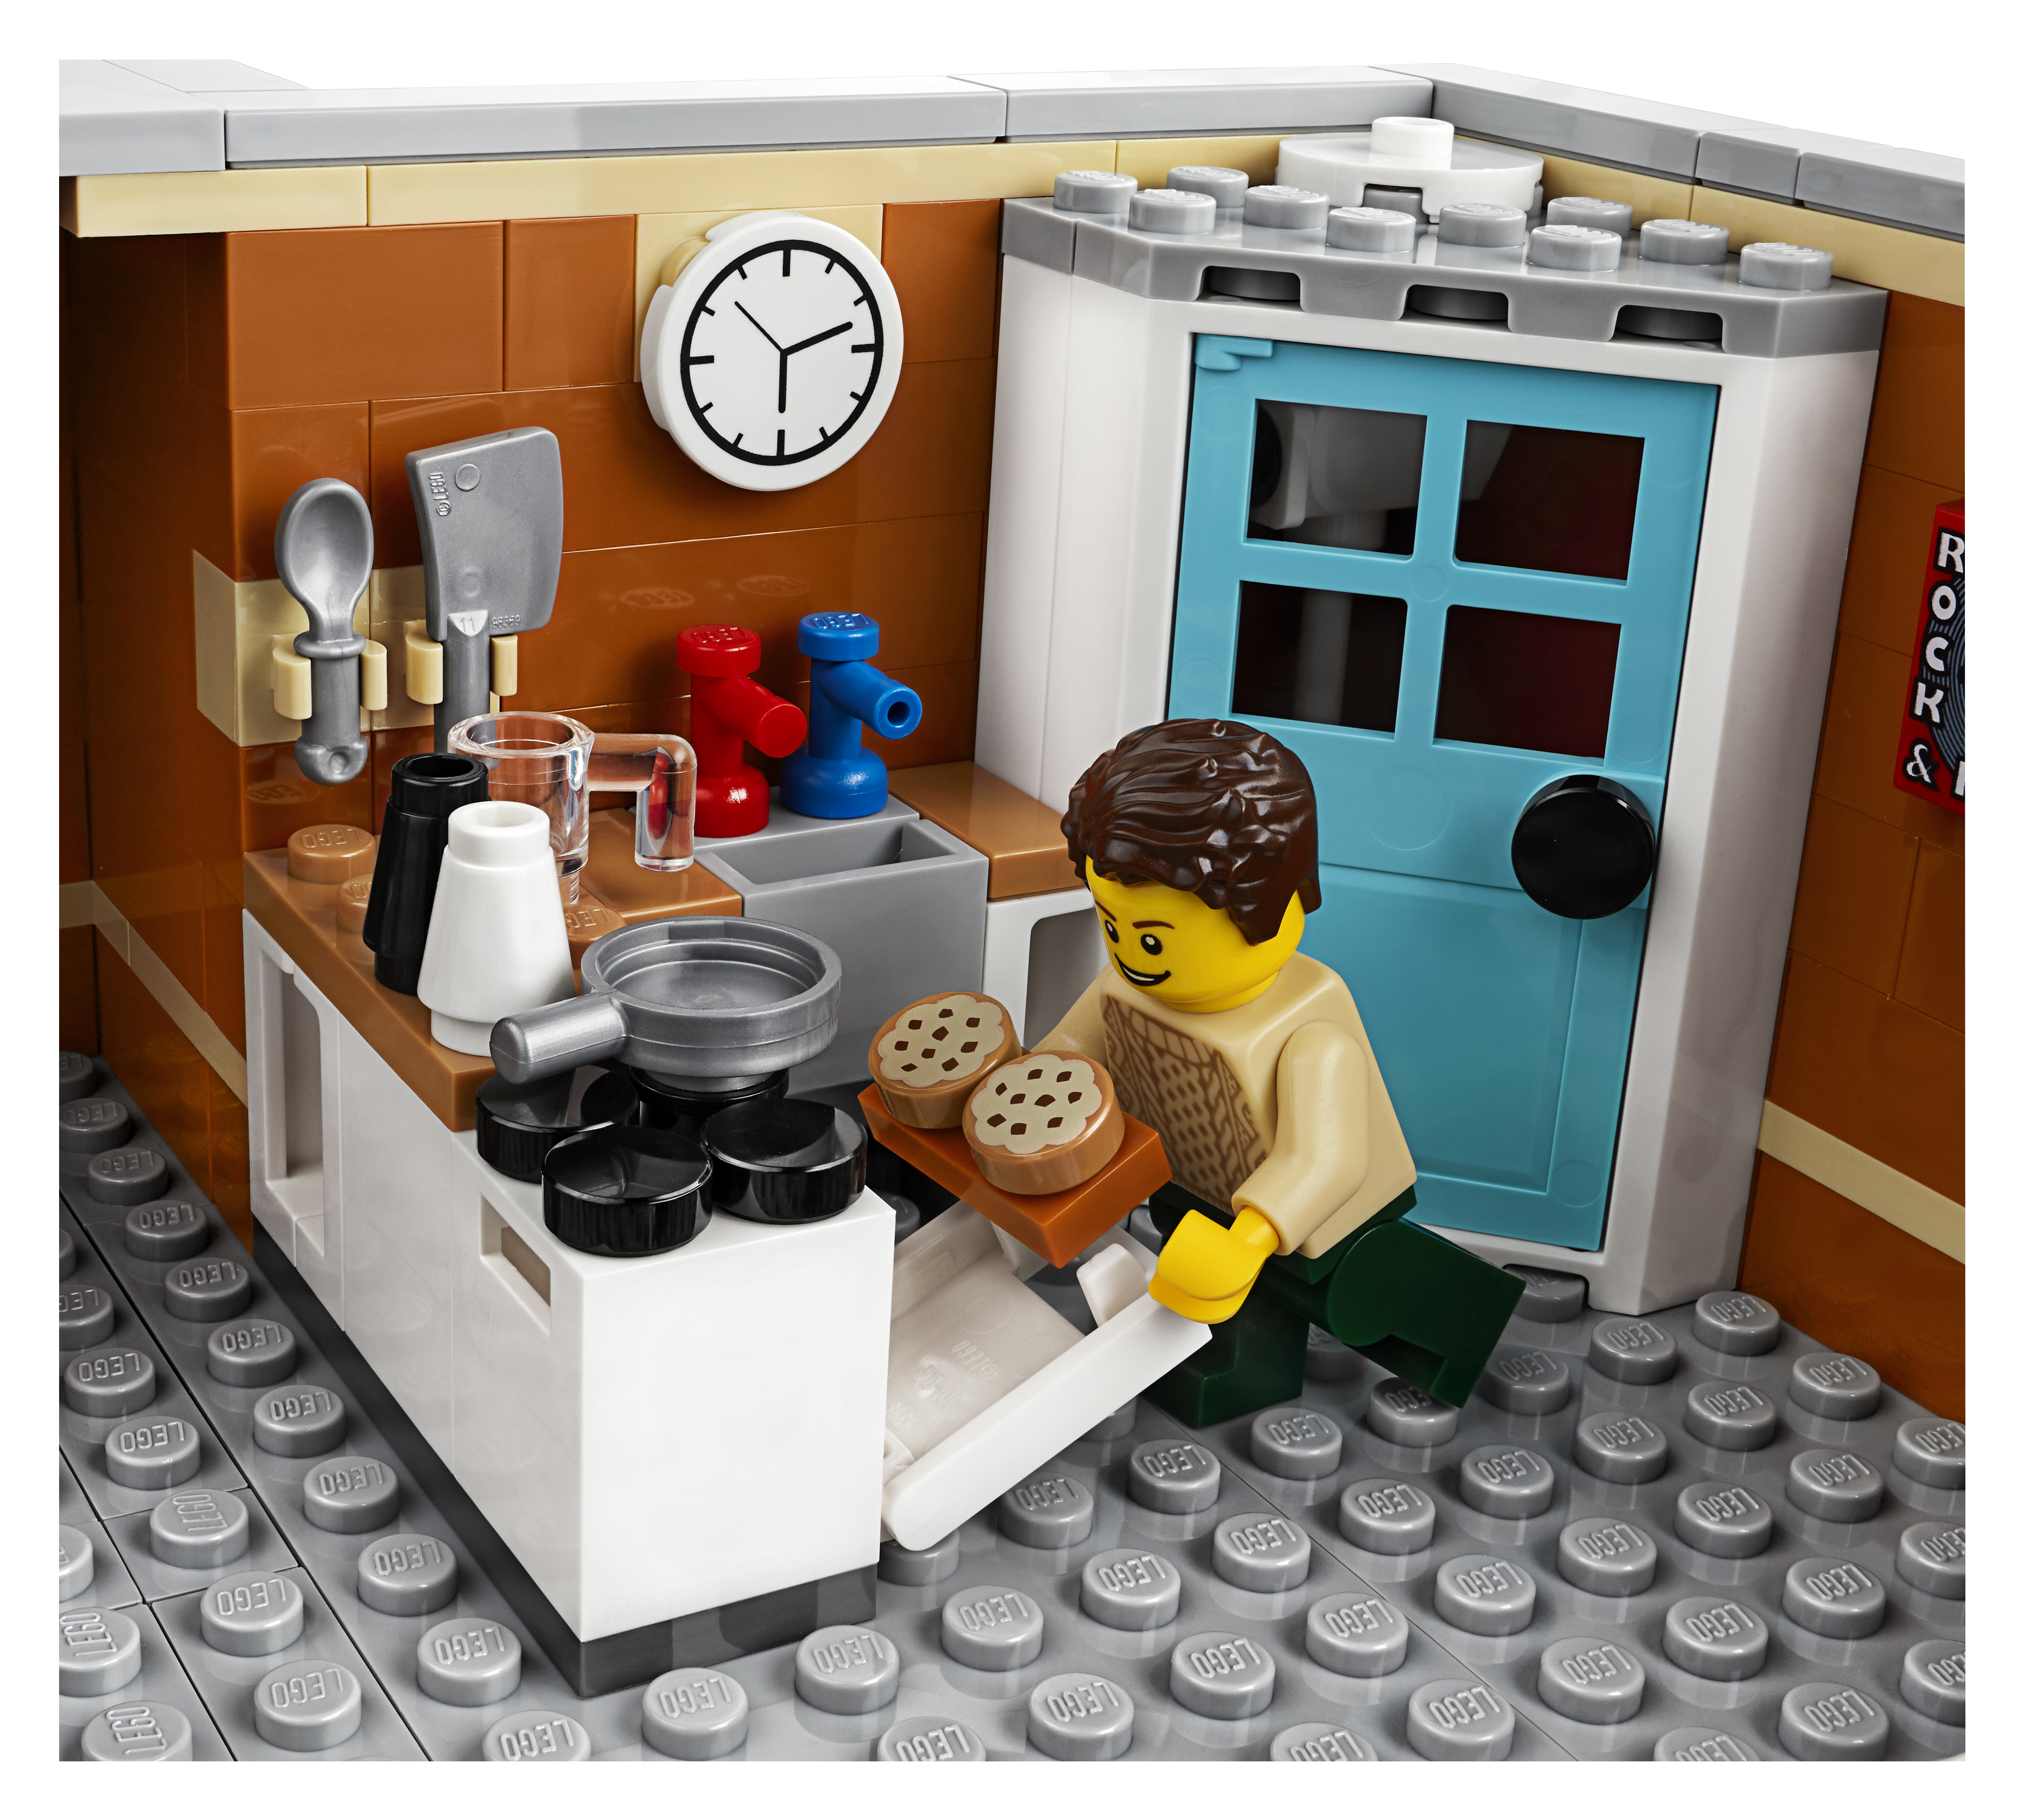
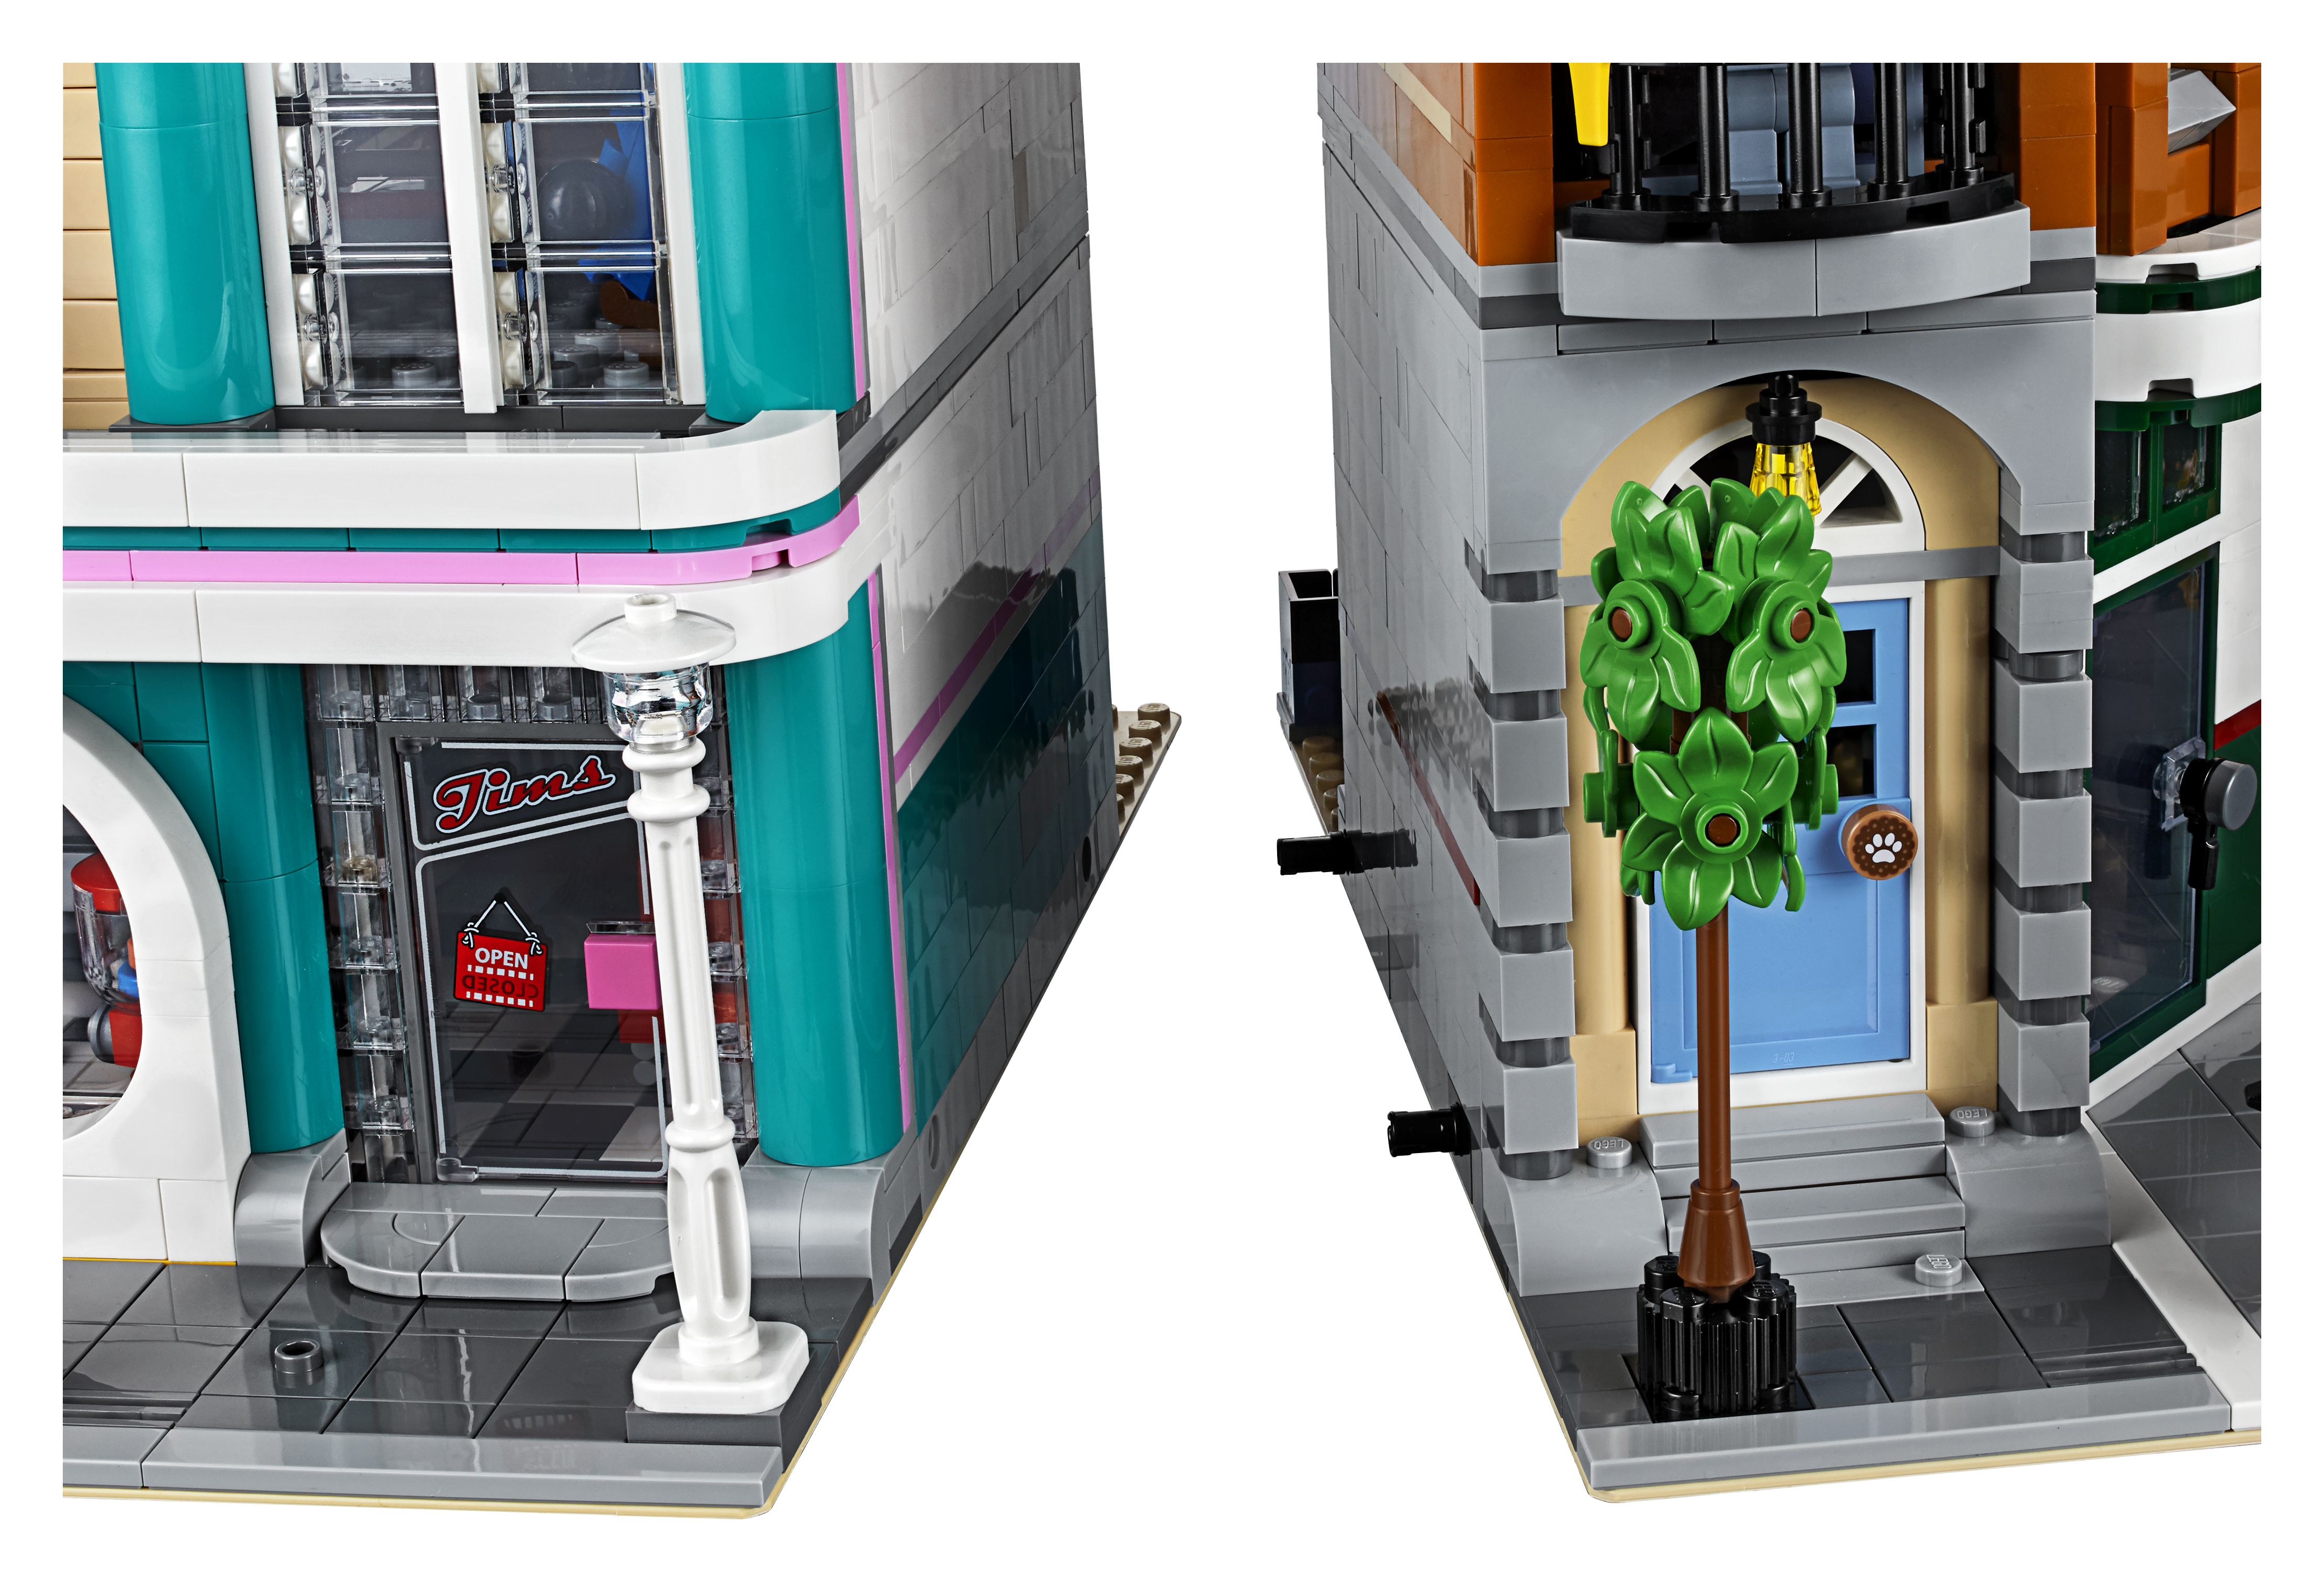
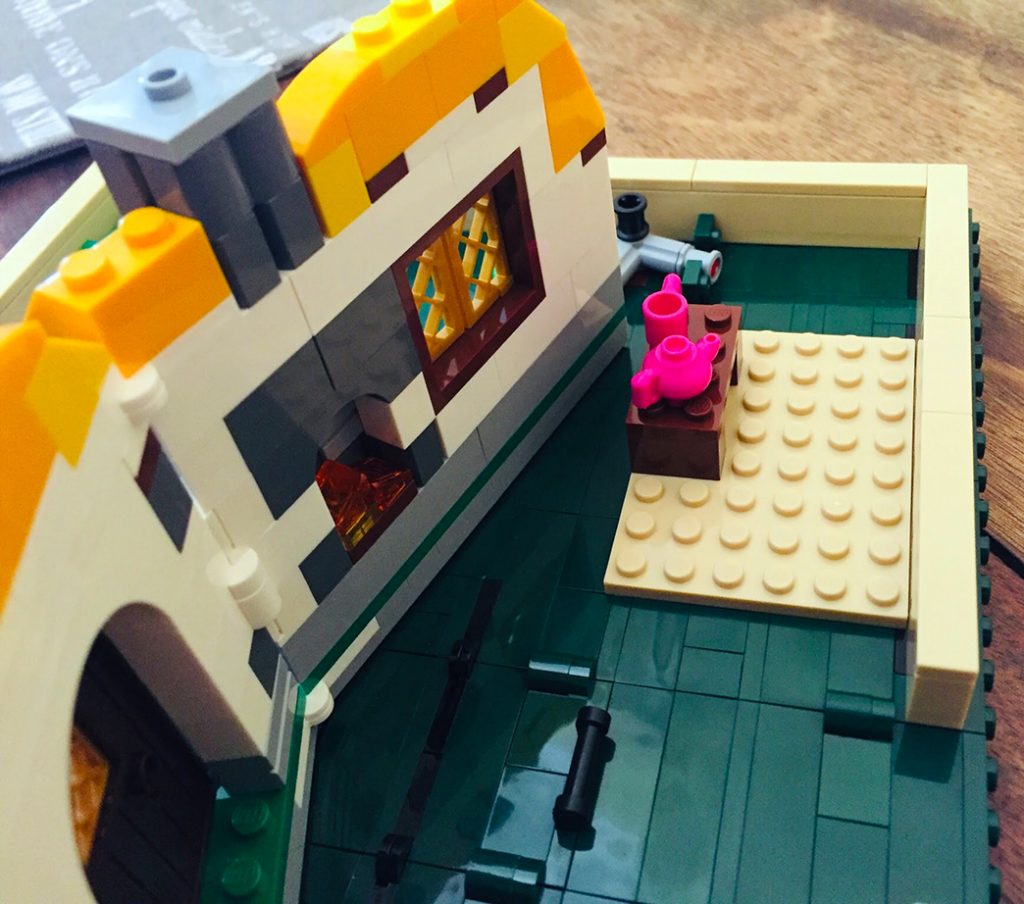
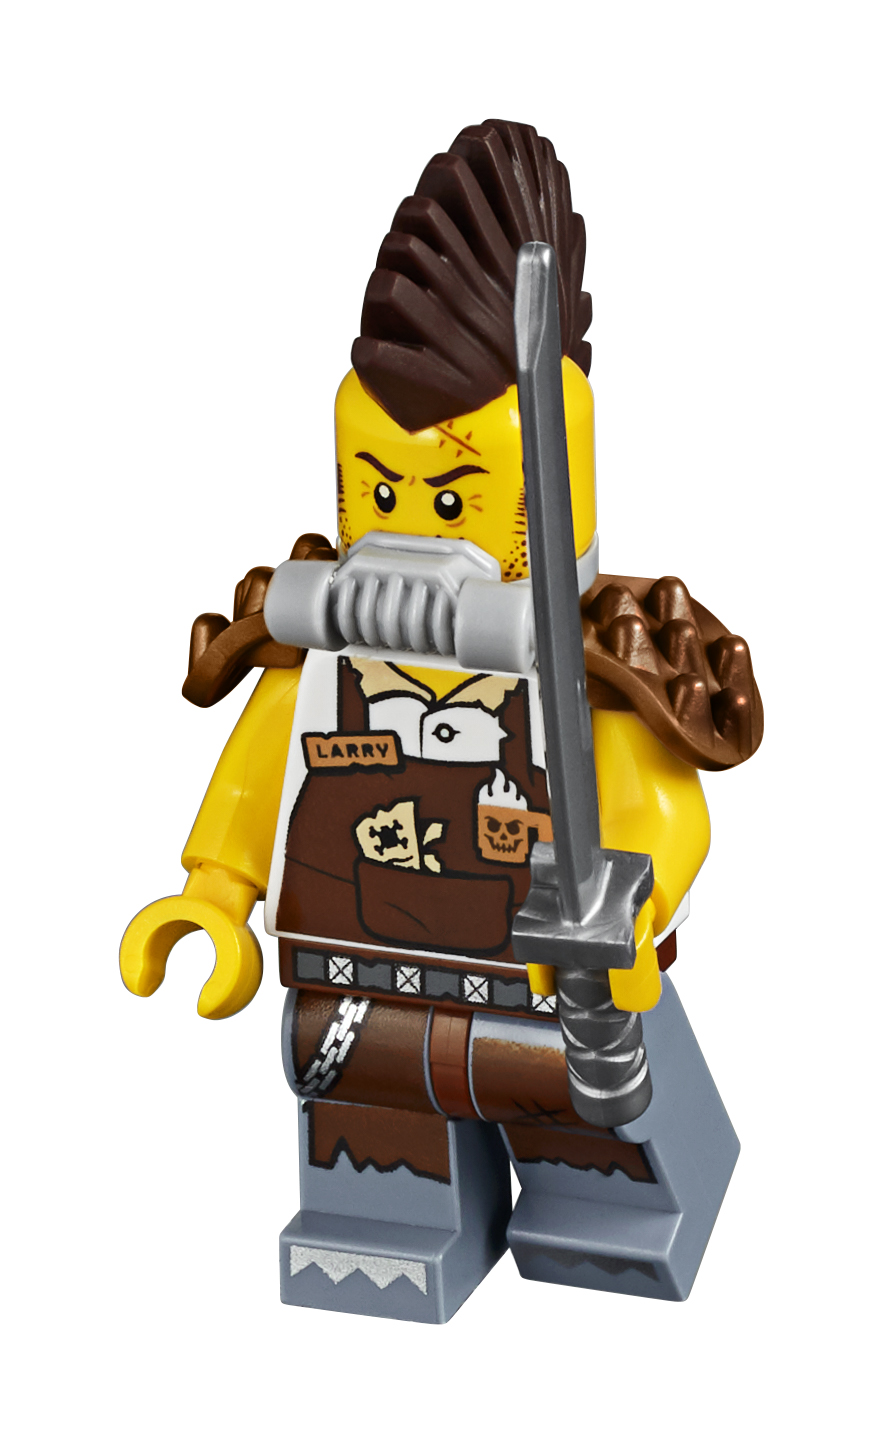
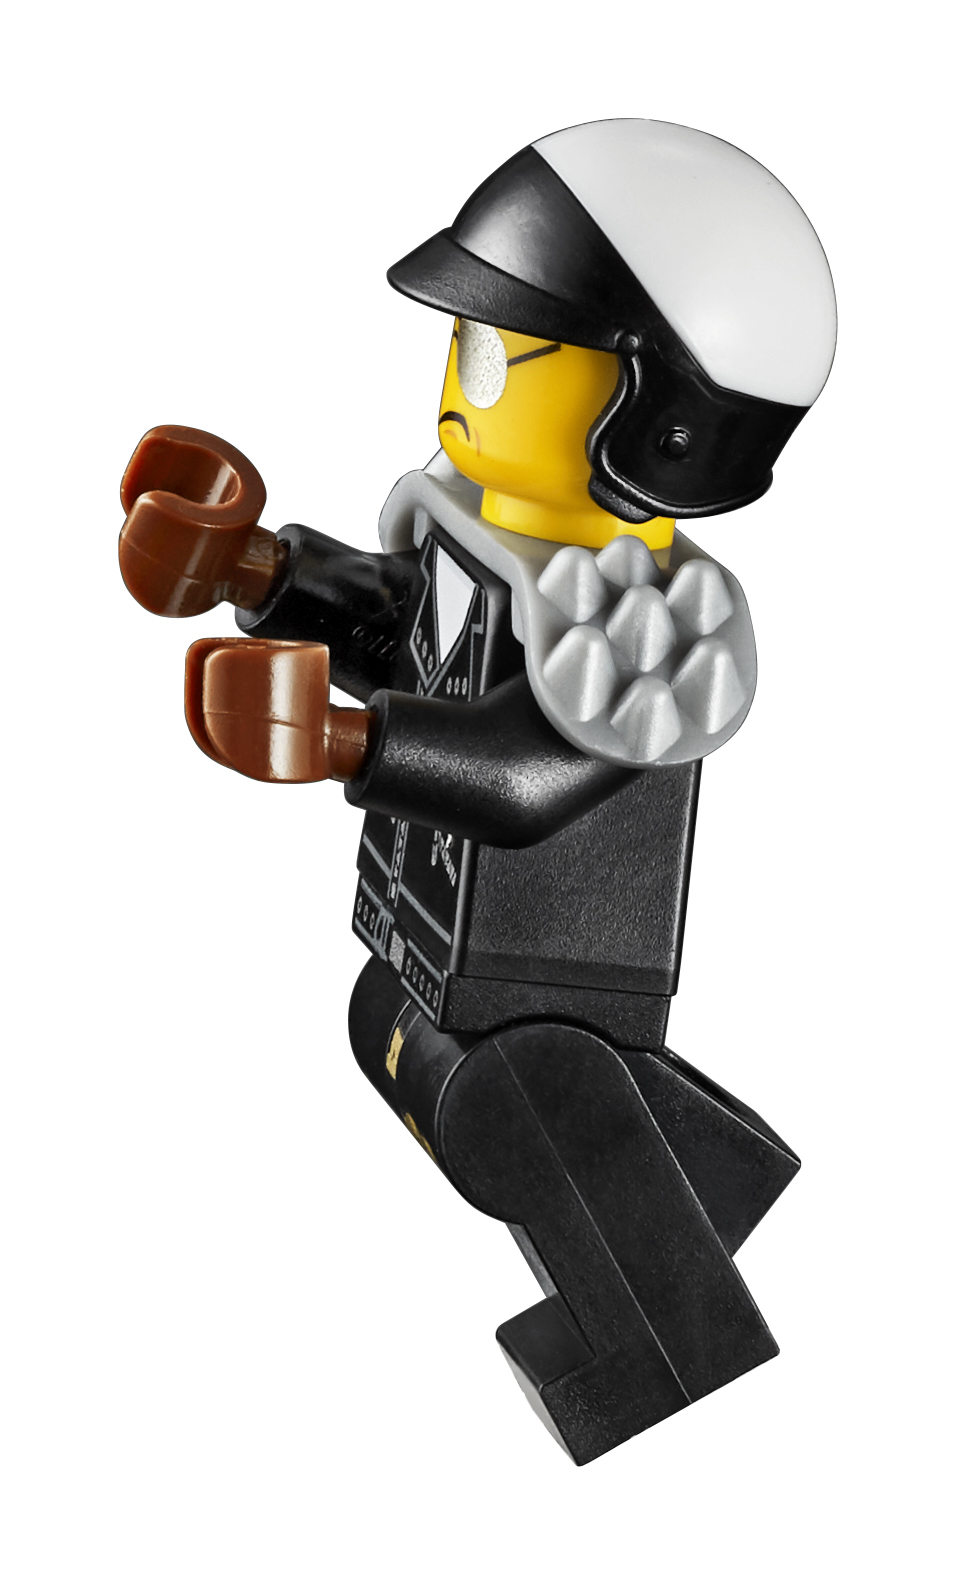
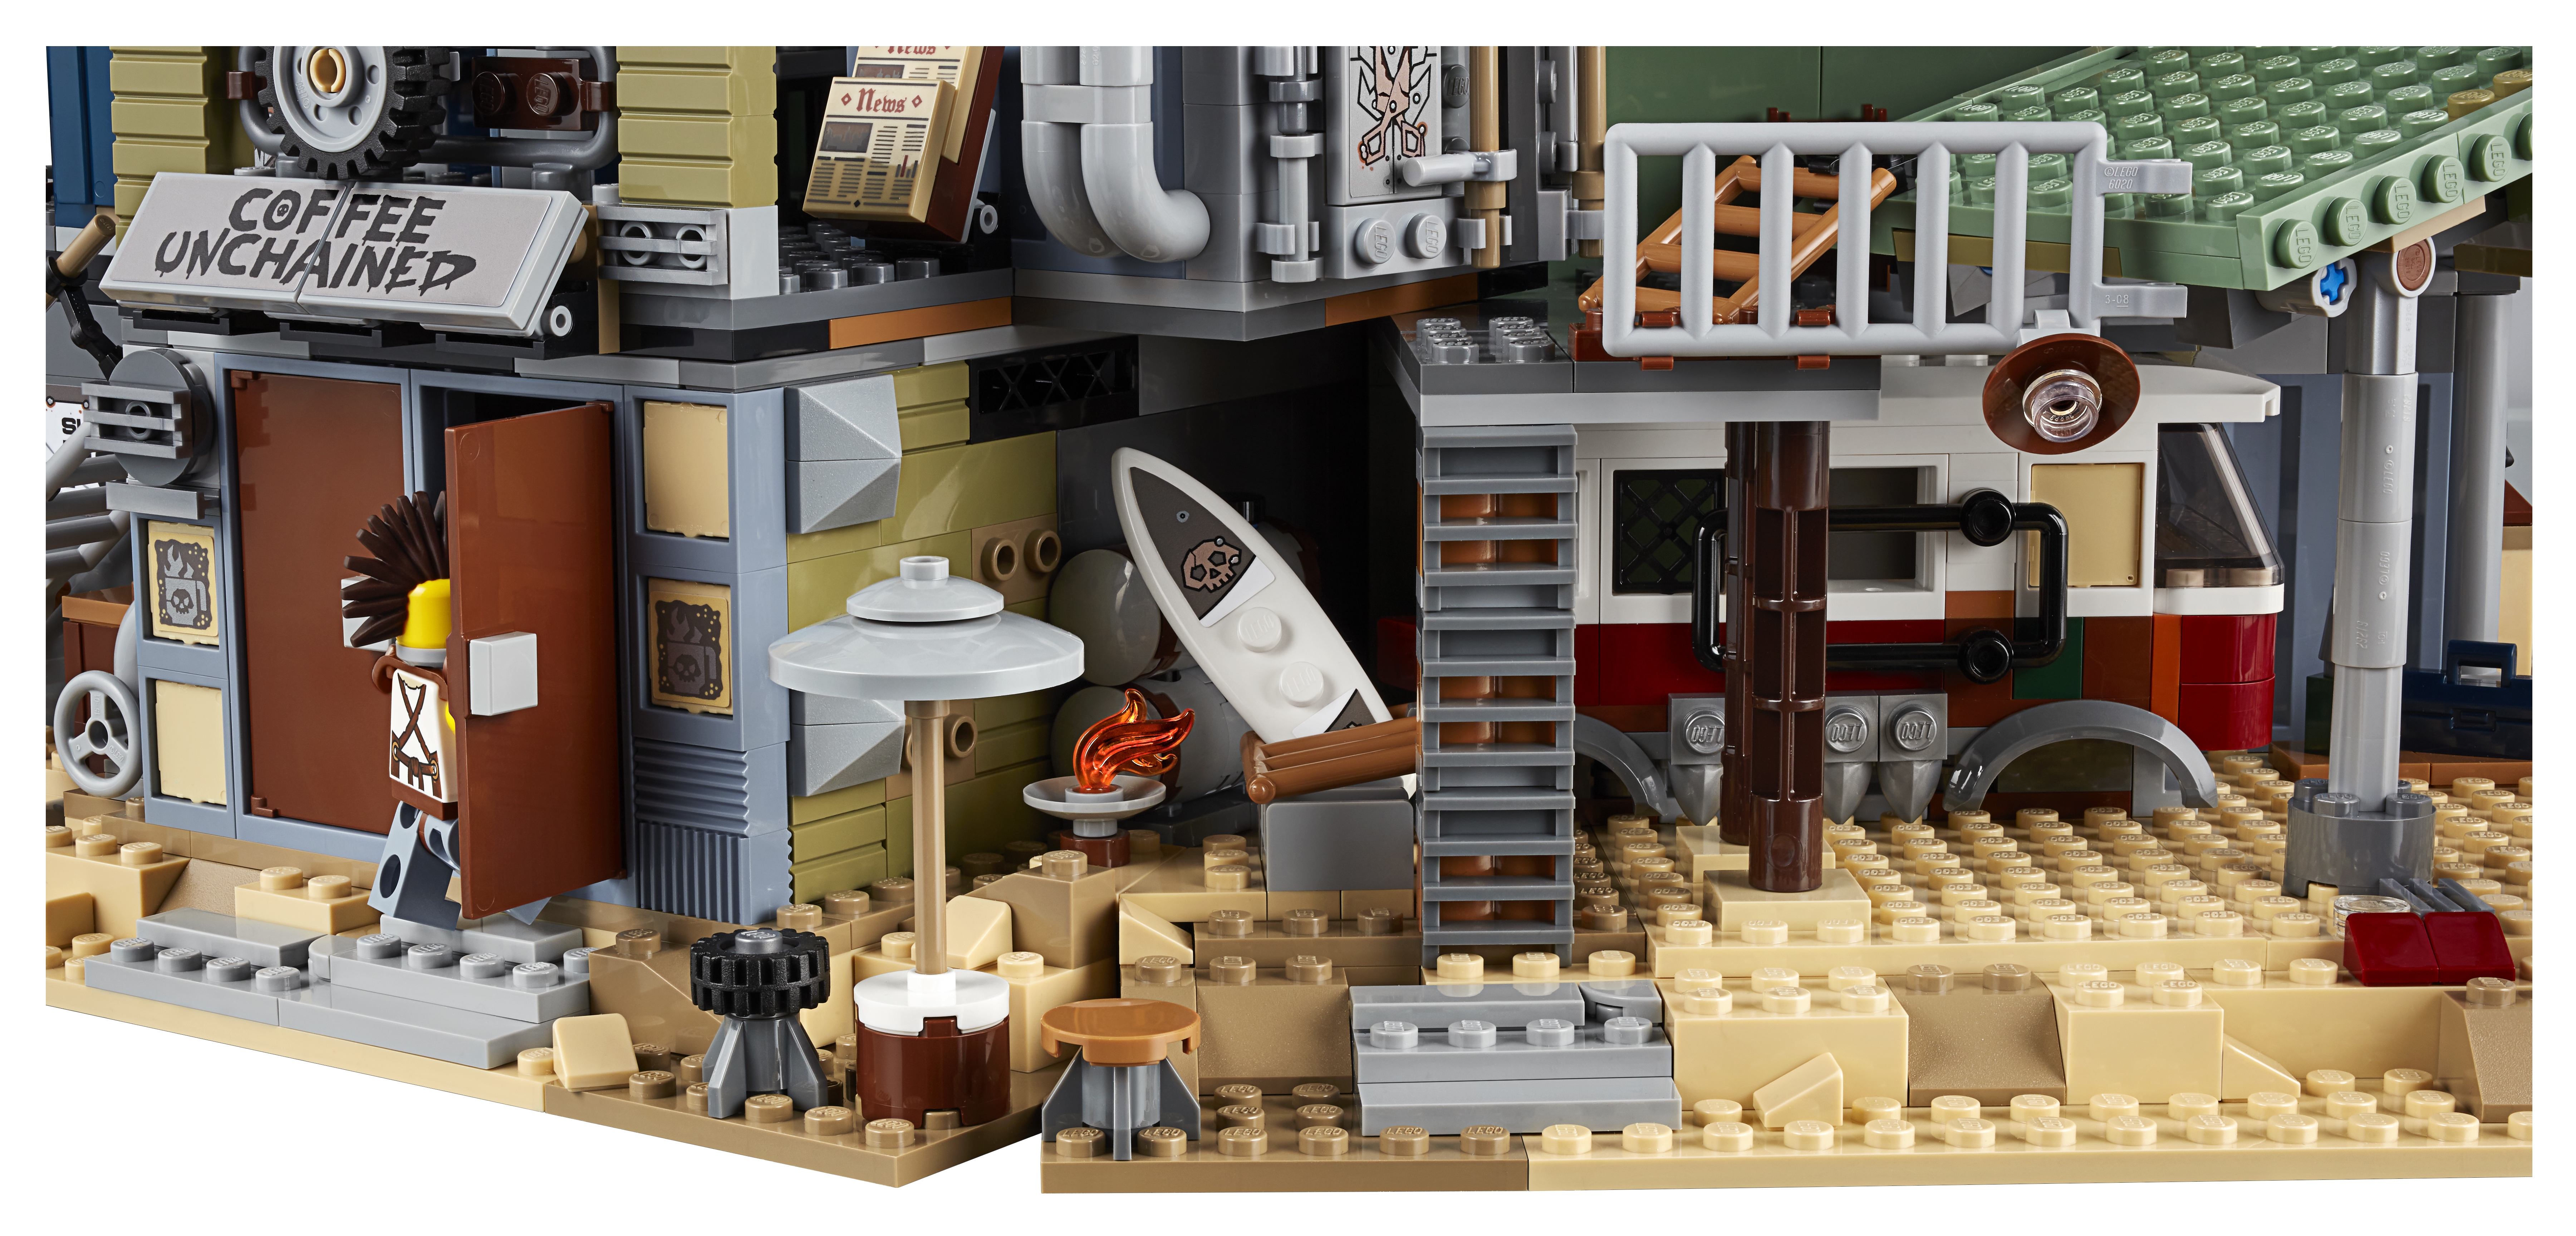
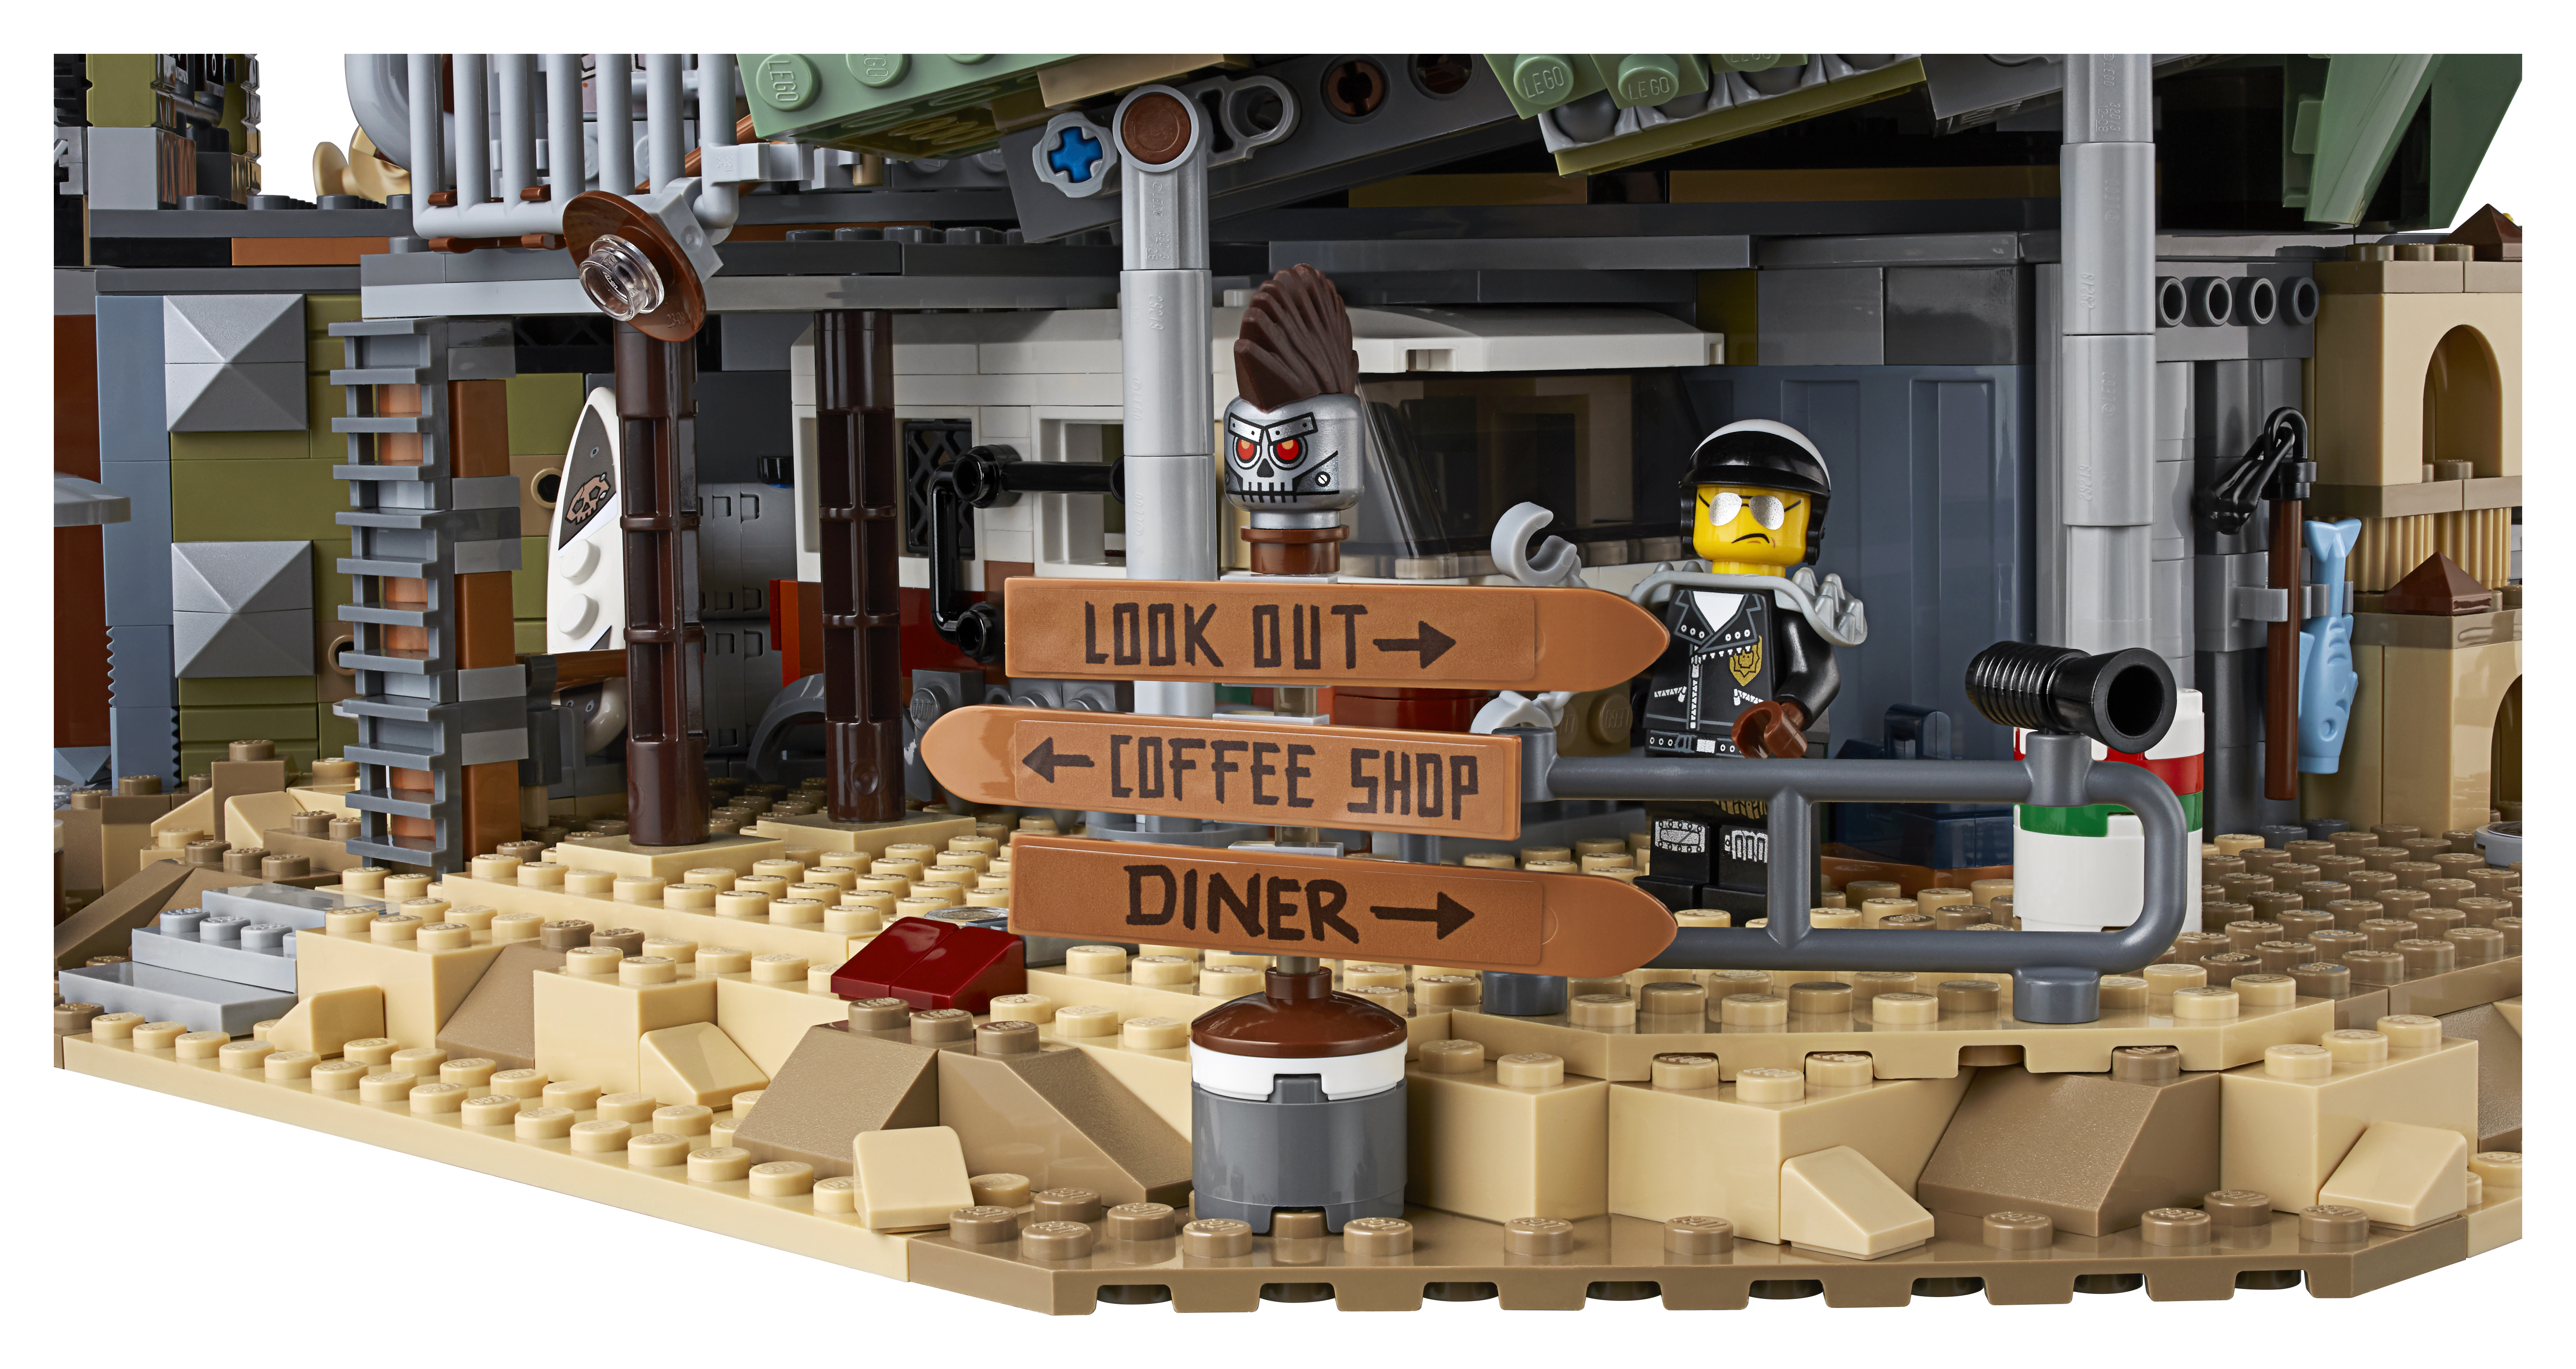
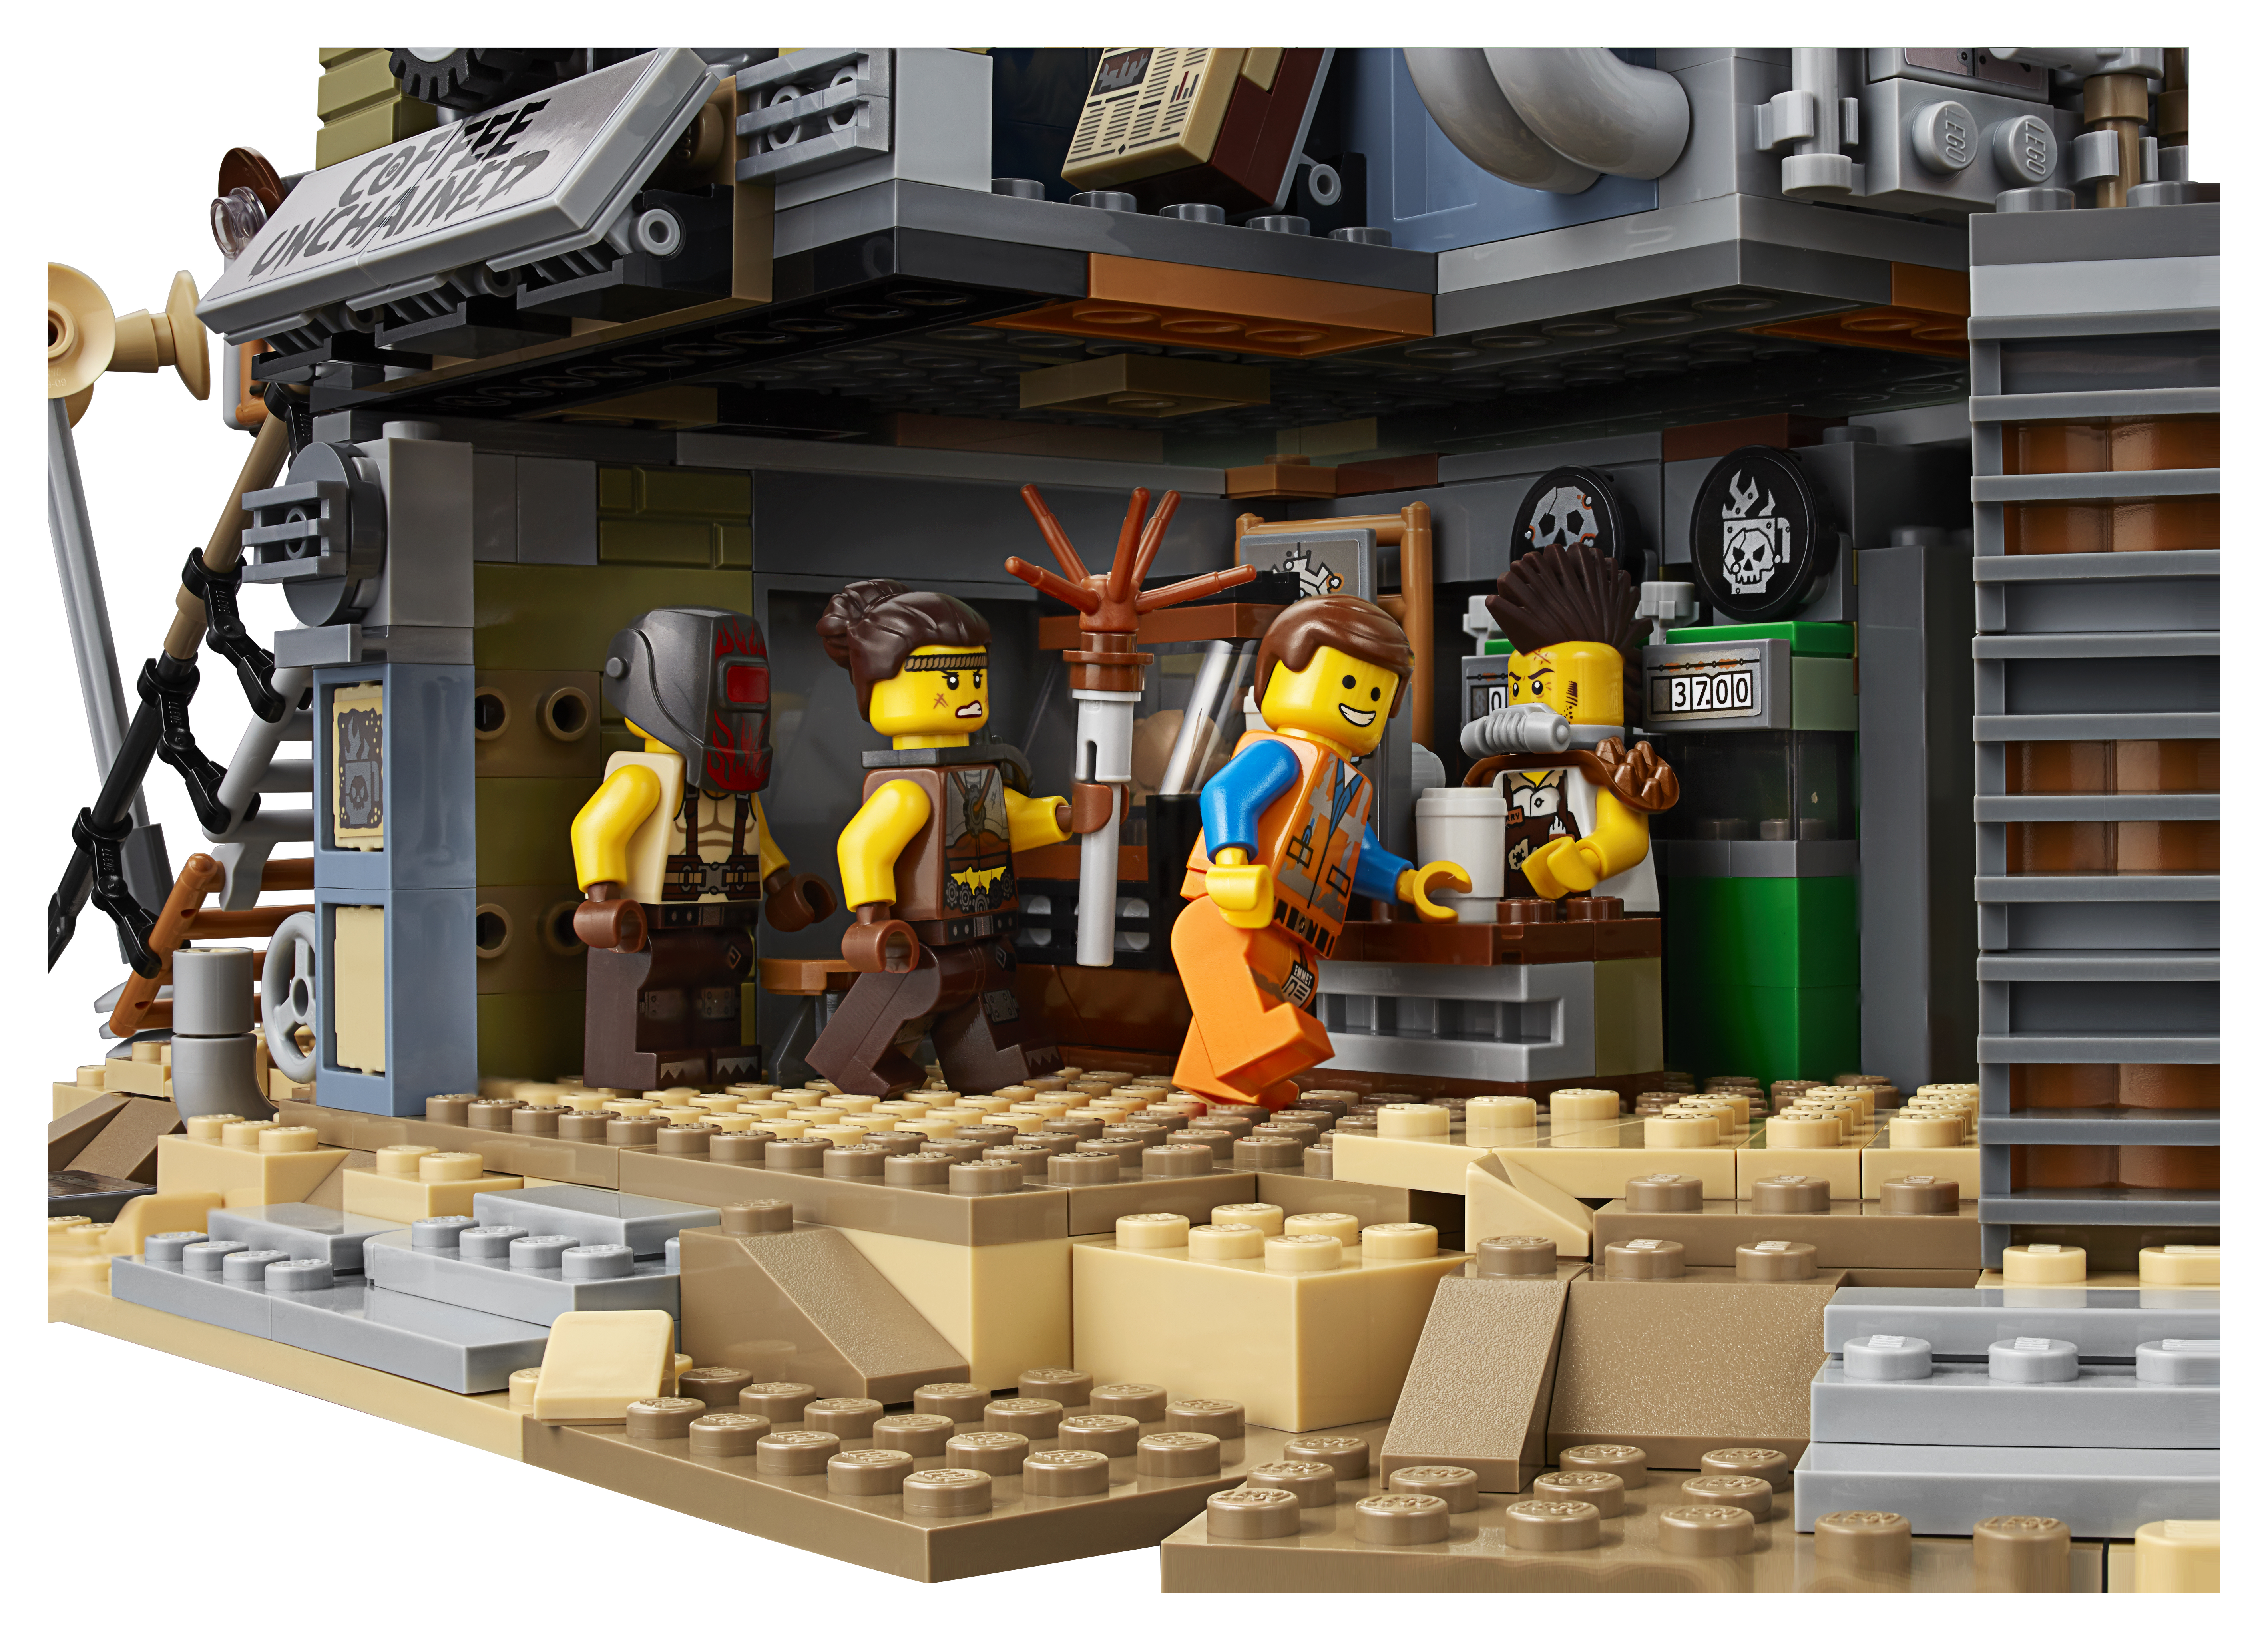
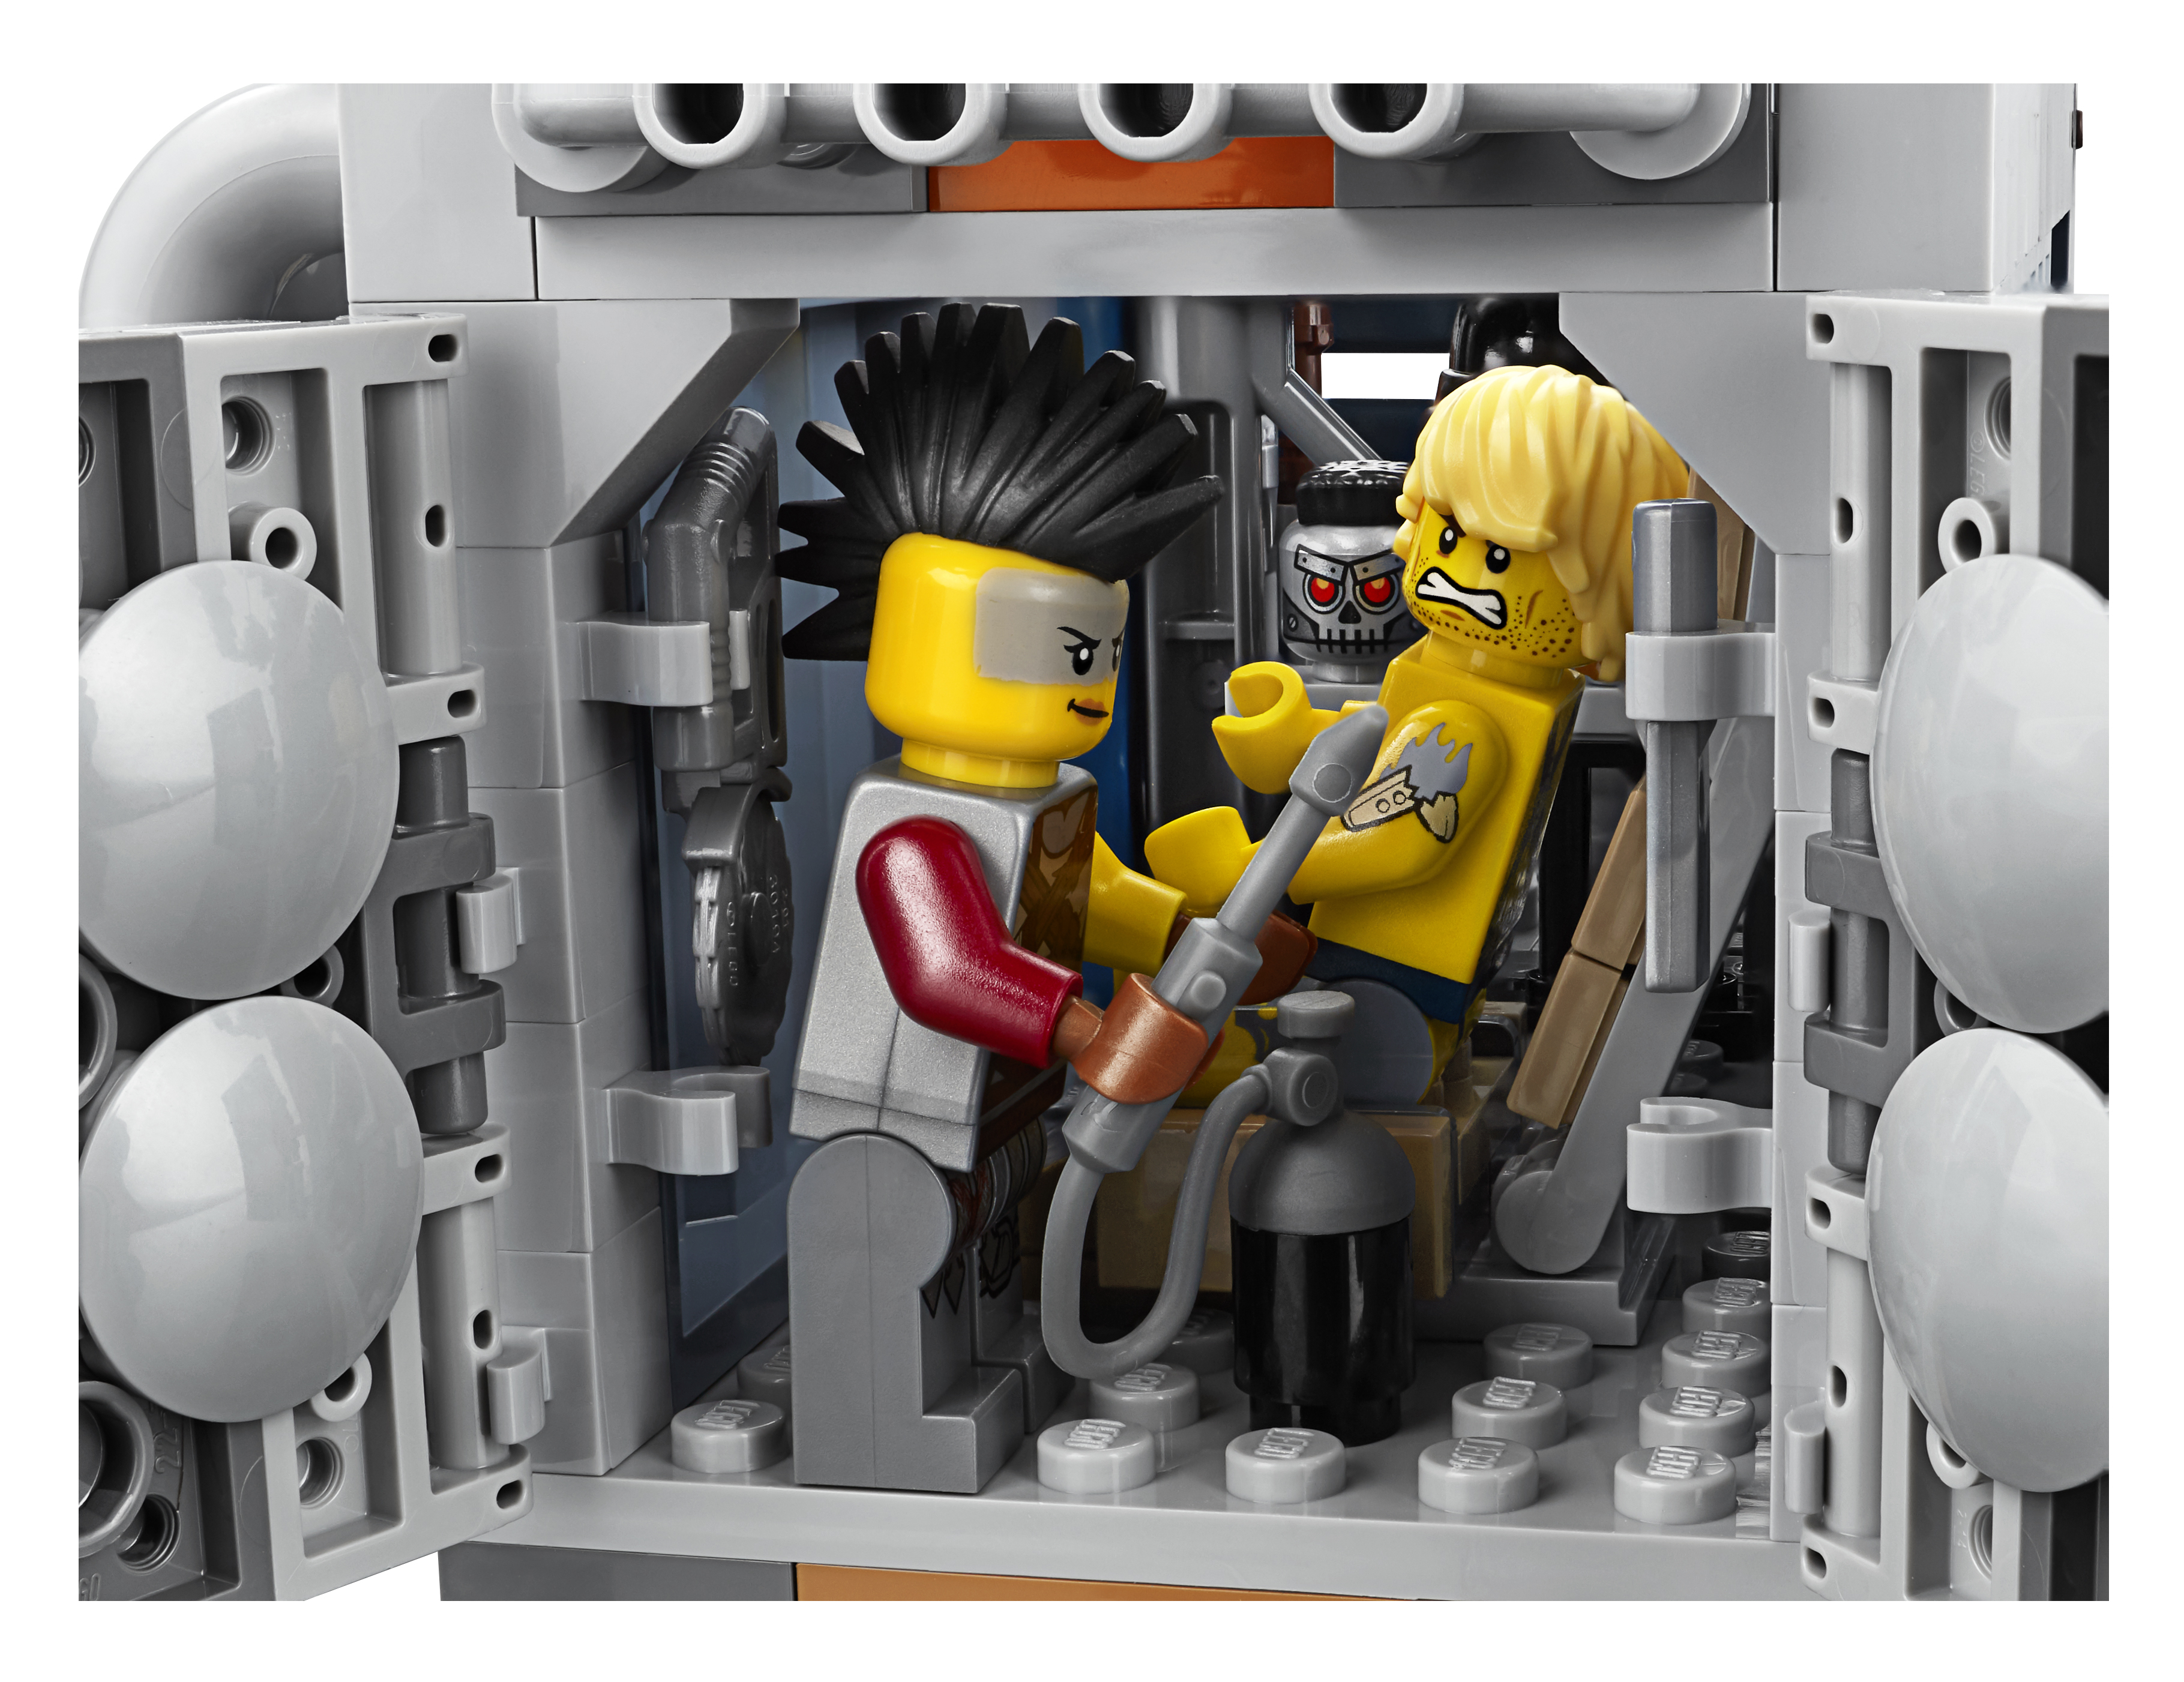
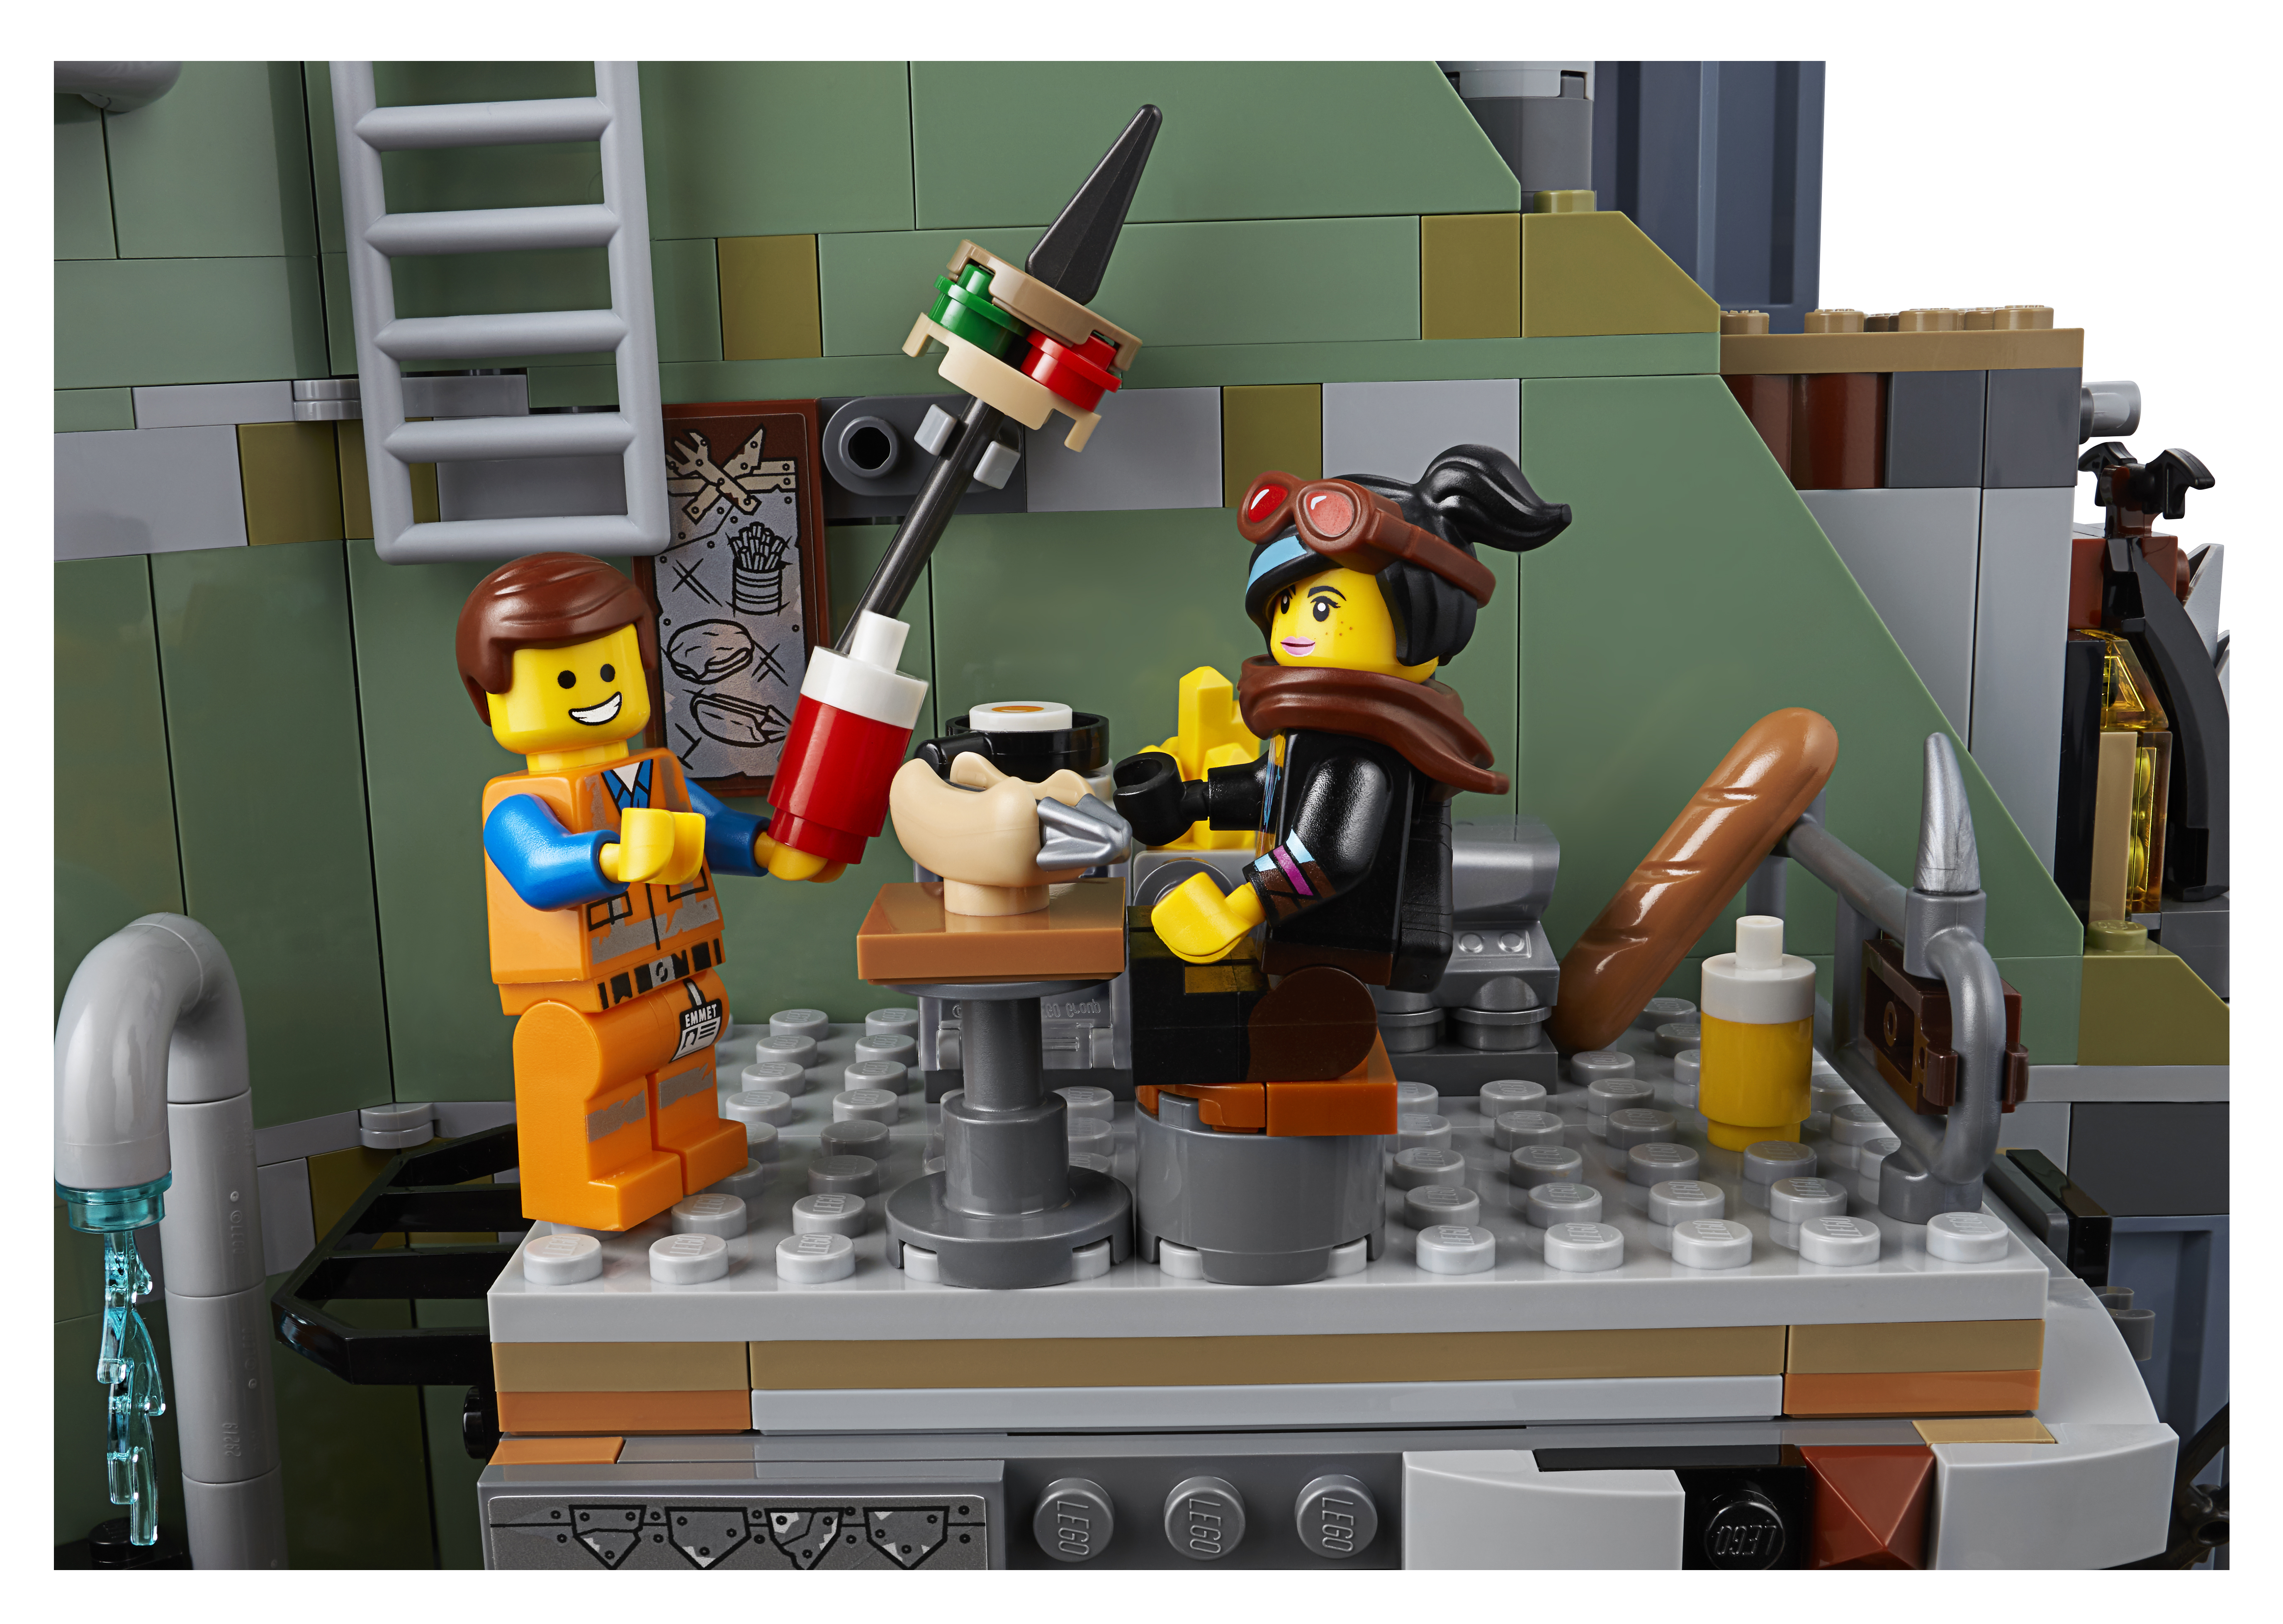
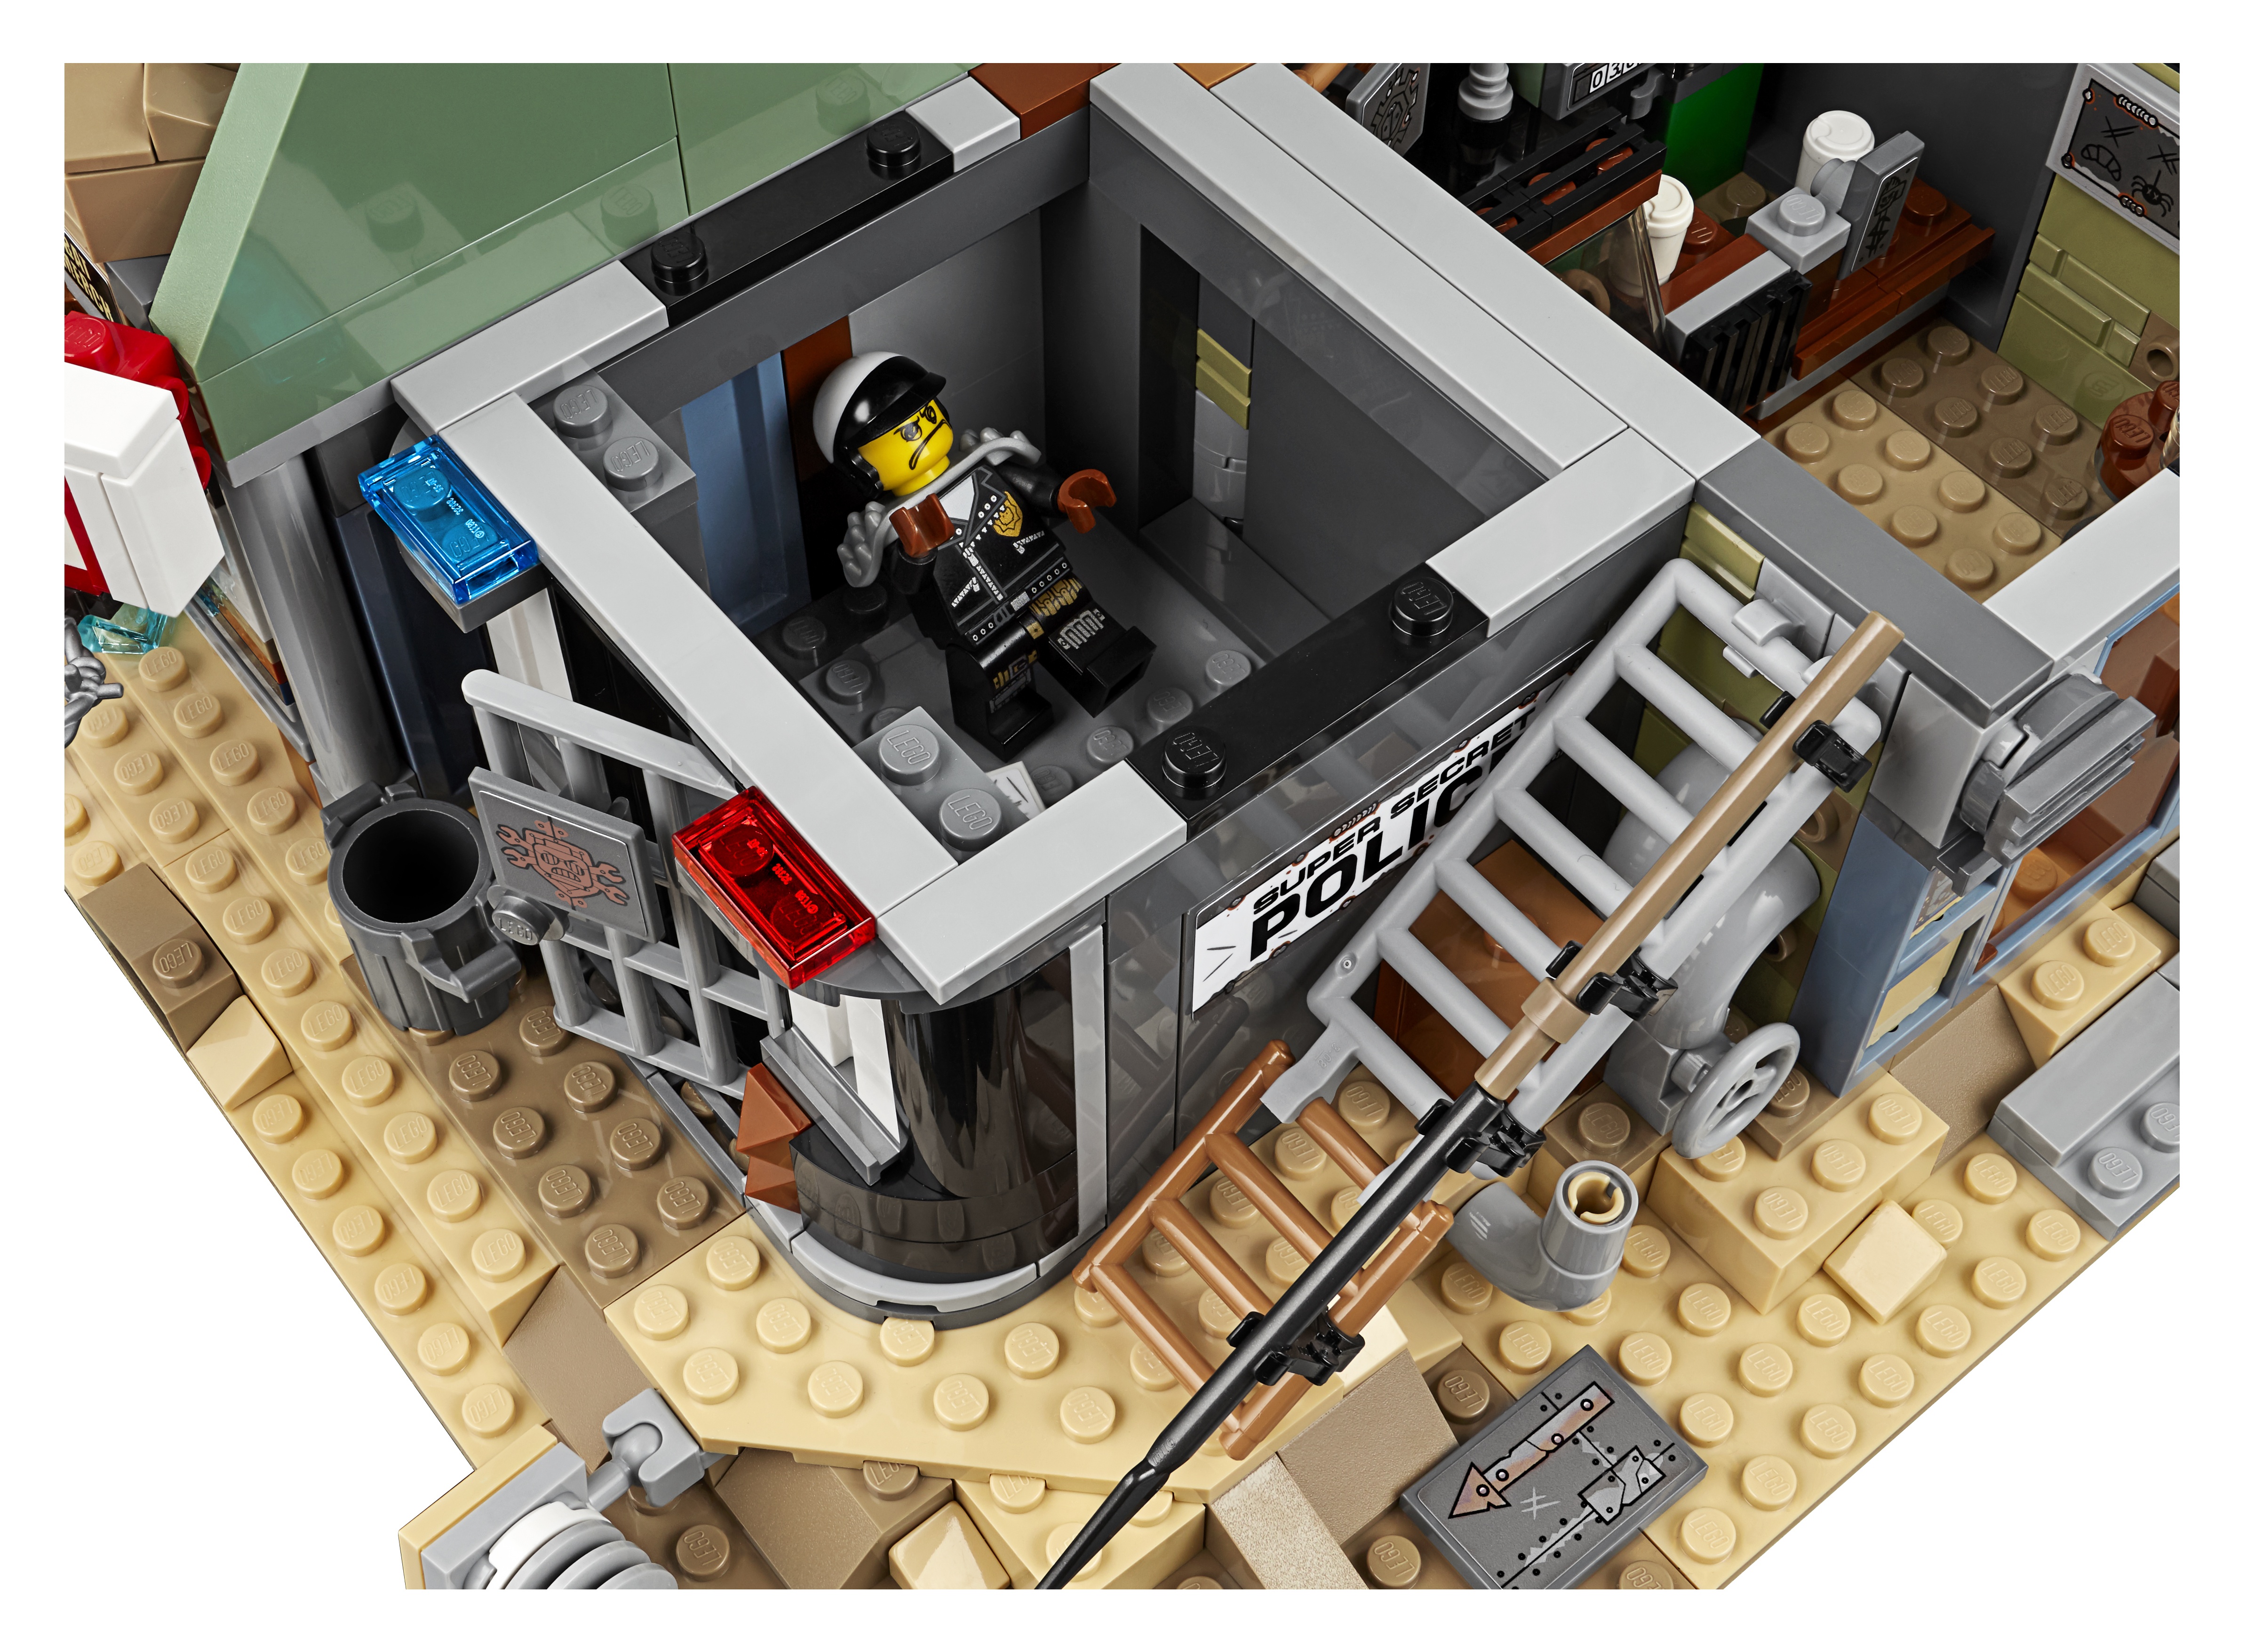
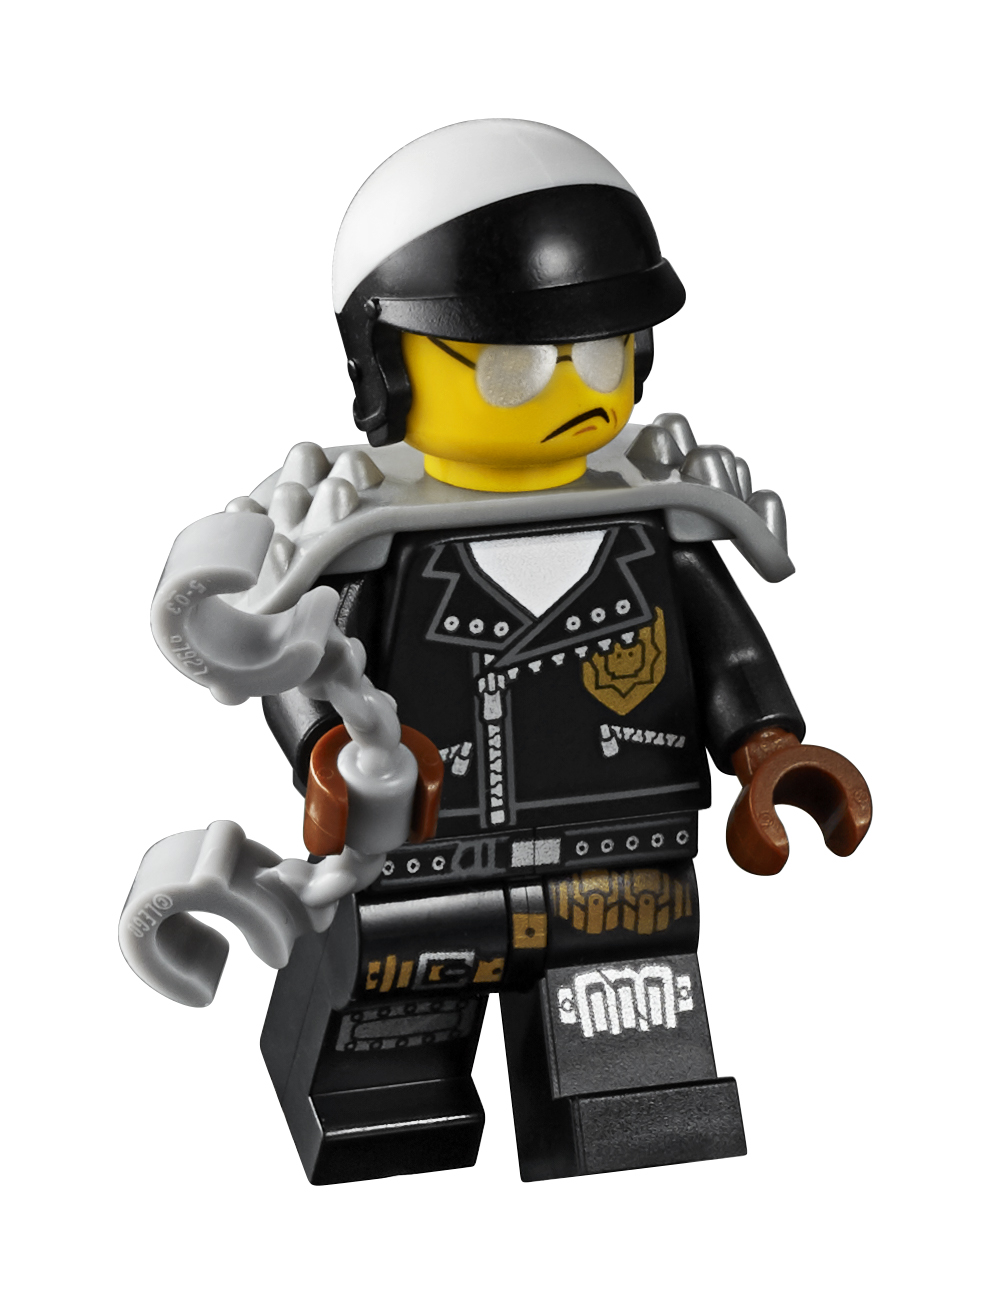
You start by building the first section of the base, which is actually half of the entire base clipped together. Later on you will build a mirror of the base you are building at this point. This follows by building Larry the Barista’s Coffee shop, which is nicely detailed and forms a central part of the story’s location. The second building is Scribble Cop’s (previously known as Bad Cop/Good Cop) jail cell and interrogation room.
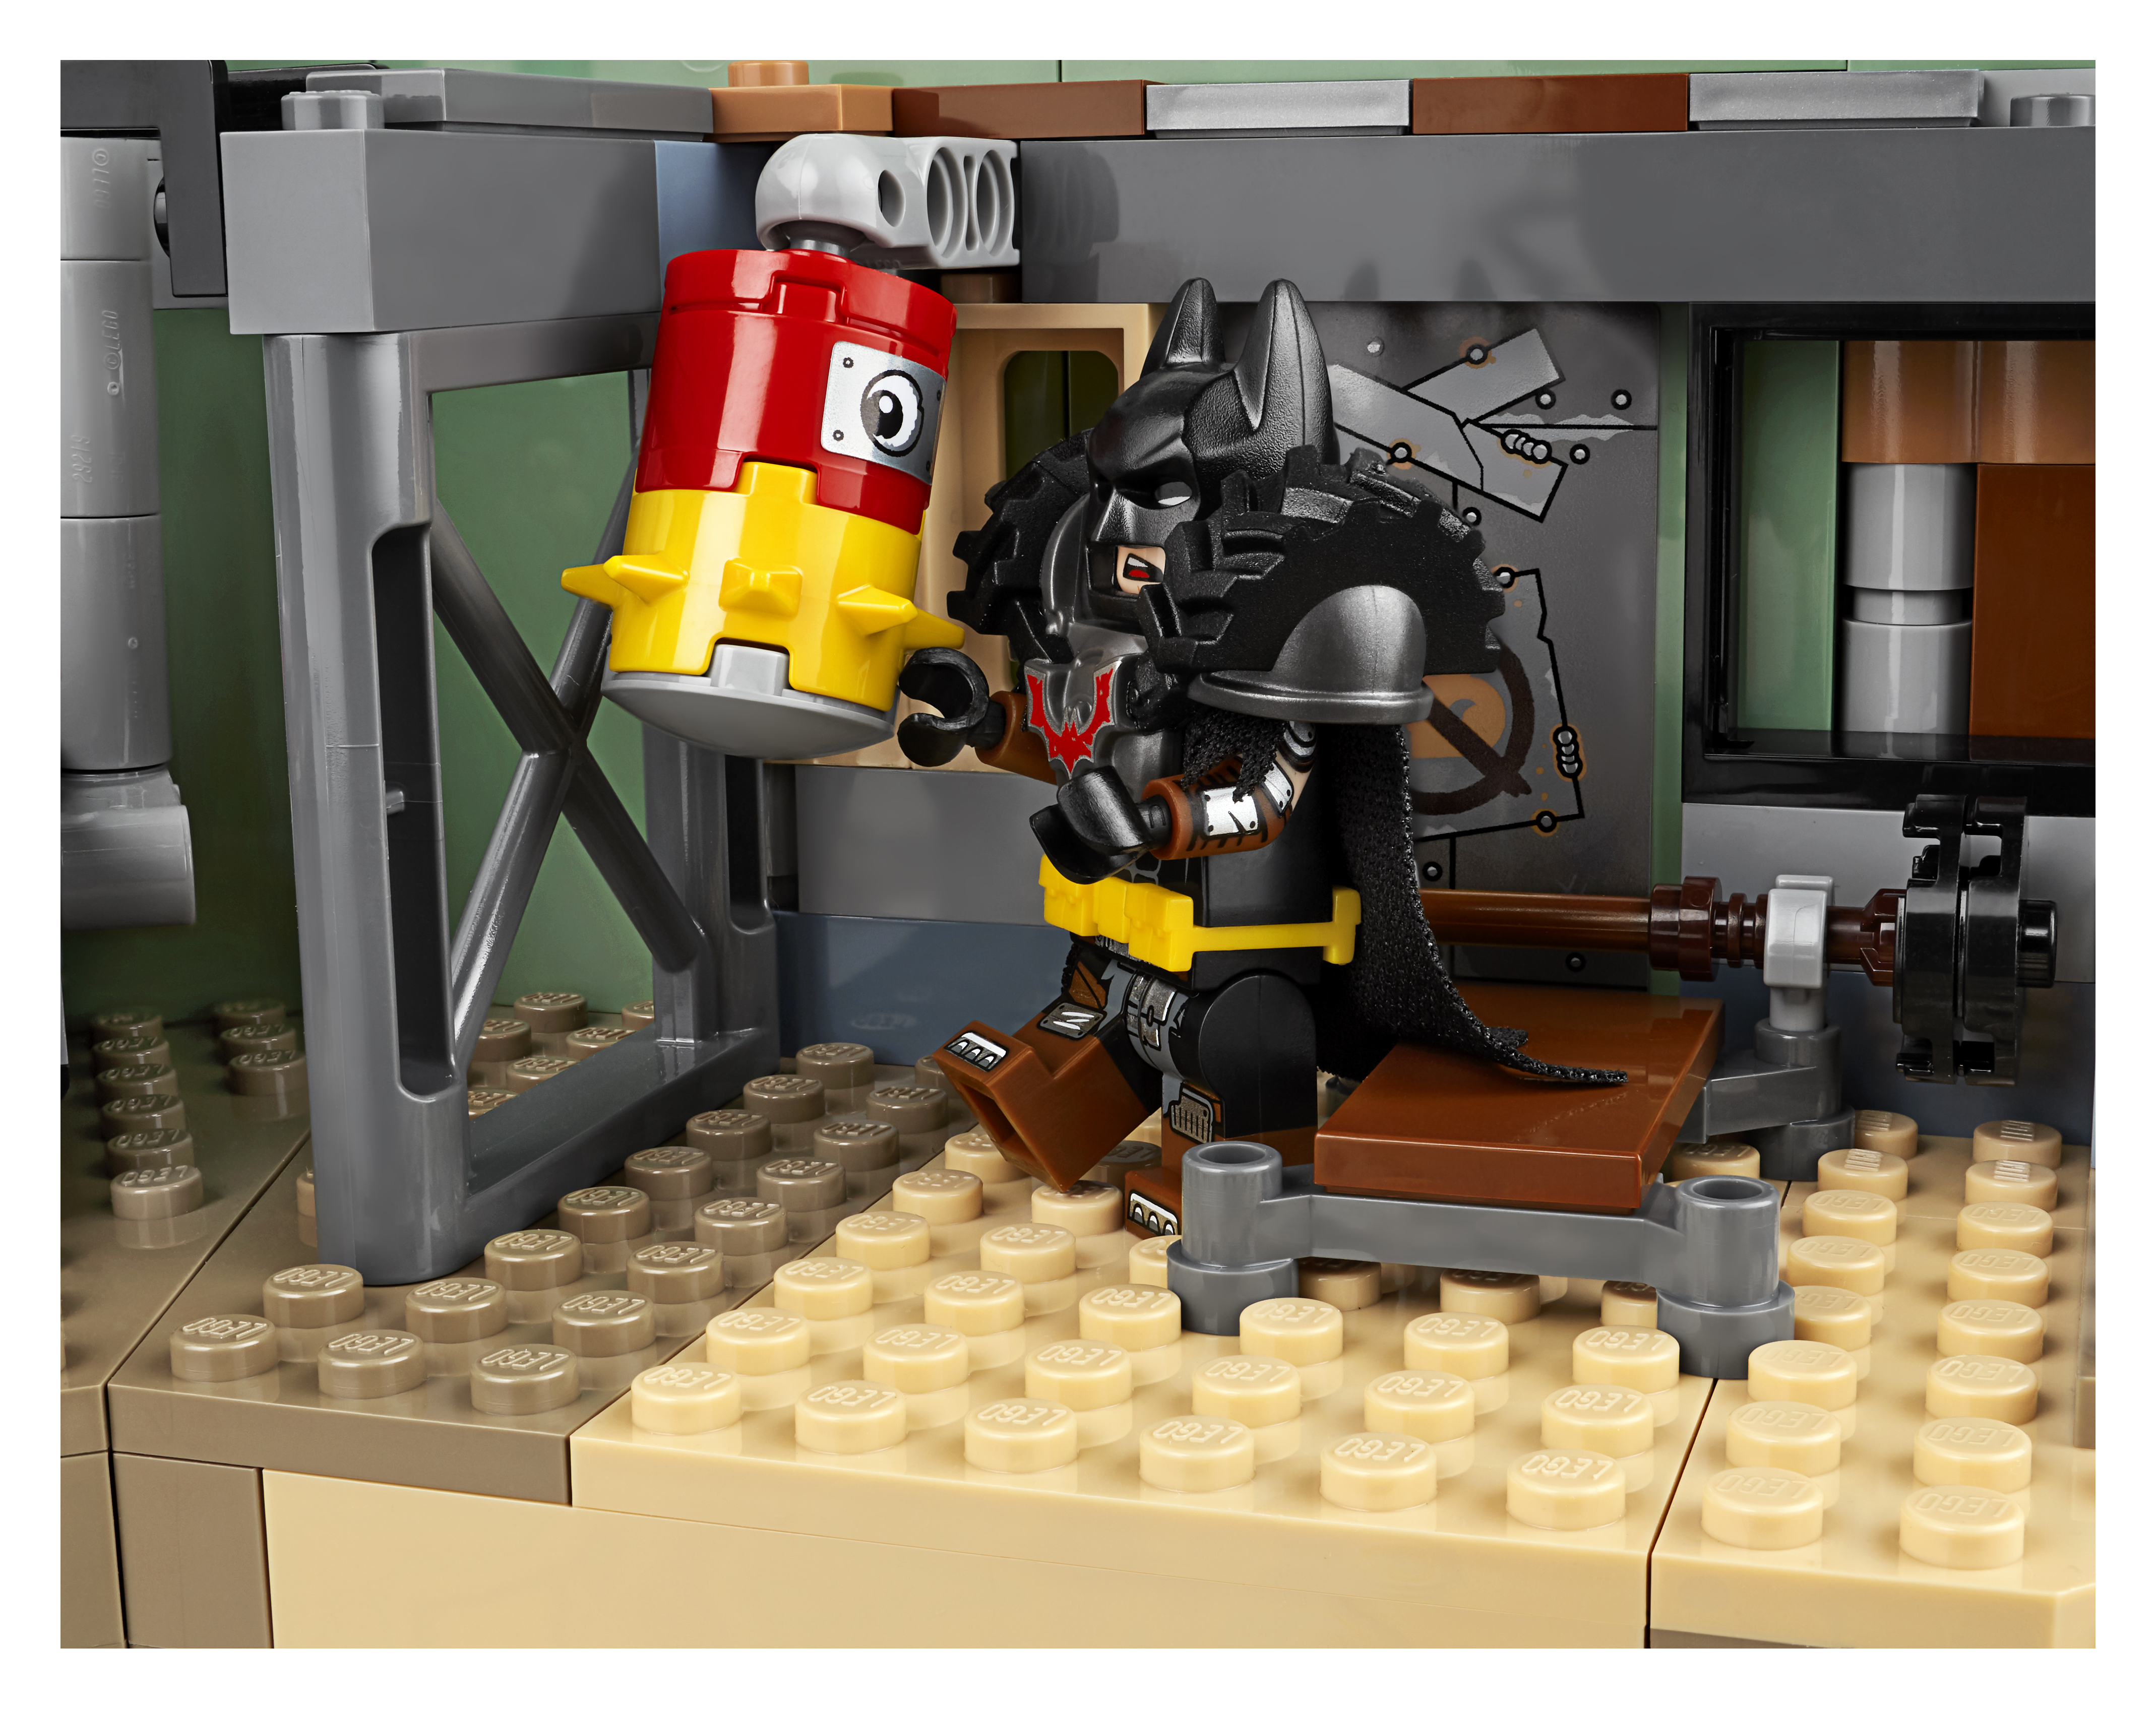
We then move to building a gym and shower with a bath of sorts. Both of the builds in this are impressive as you can see externally that these were supposed be vehicles at some point, but have been utilized in different ways. I like the inclusion of the punching bag in the Gym as it resembles a DUPLO® block and it is obviously being punched out of the frustration that the denizens of the ex-Bricksburg feel.
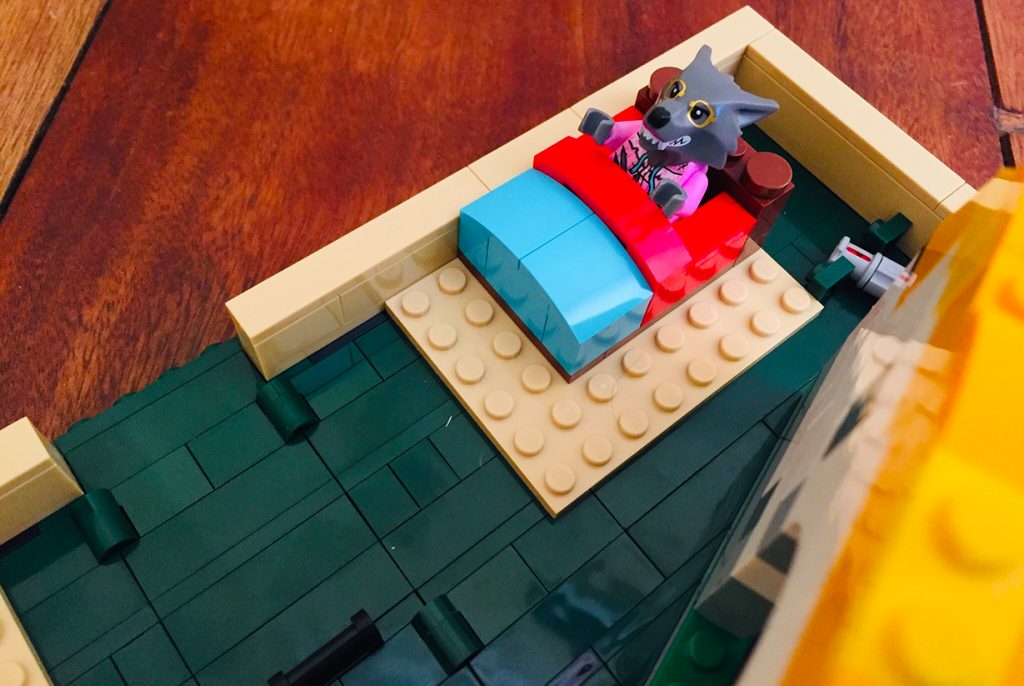
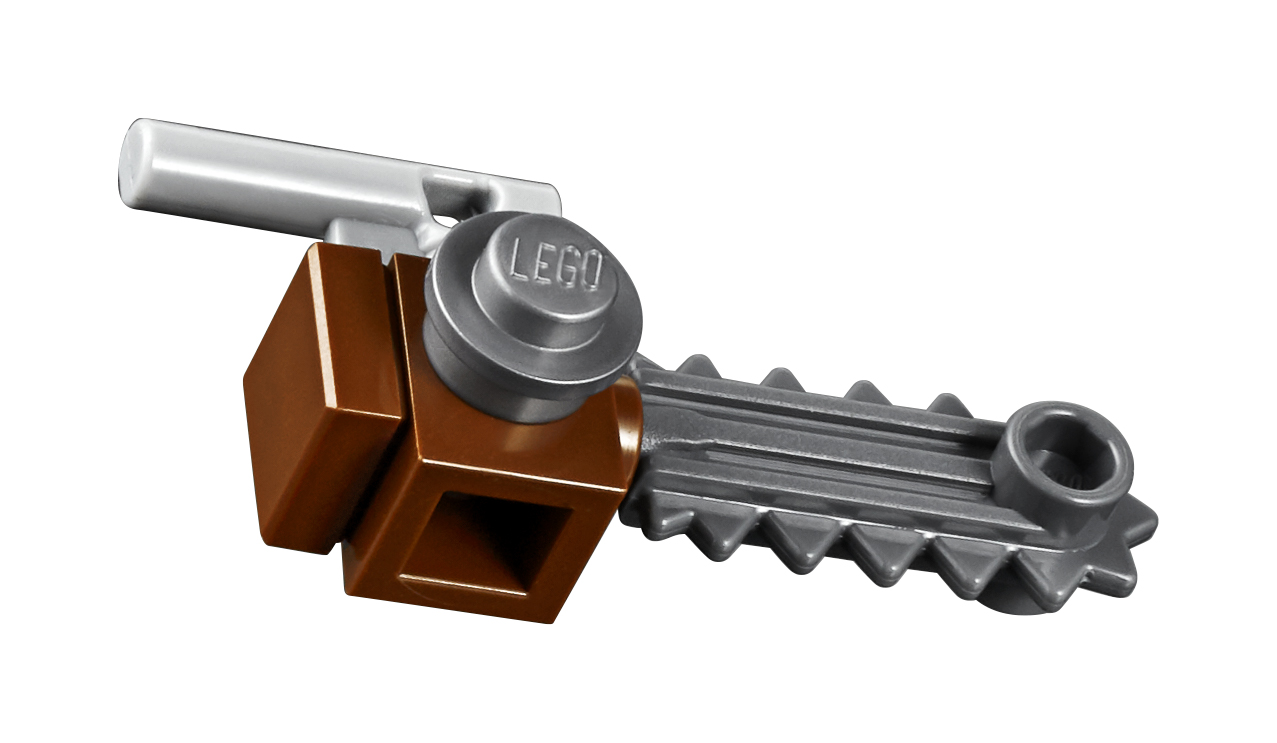
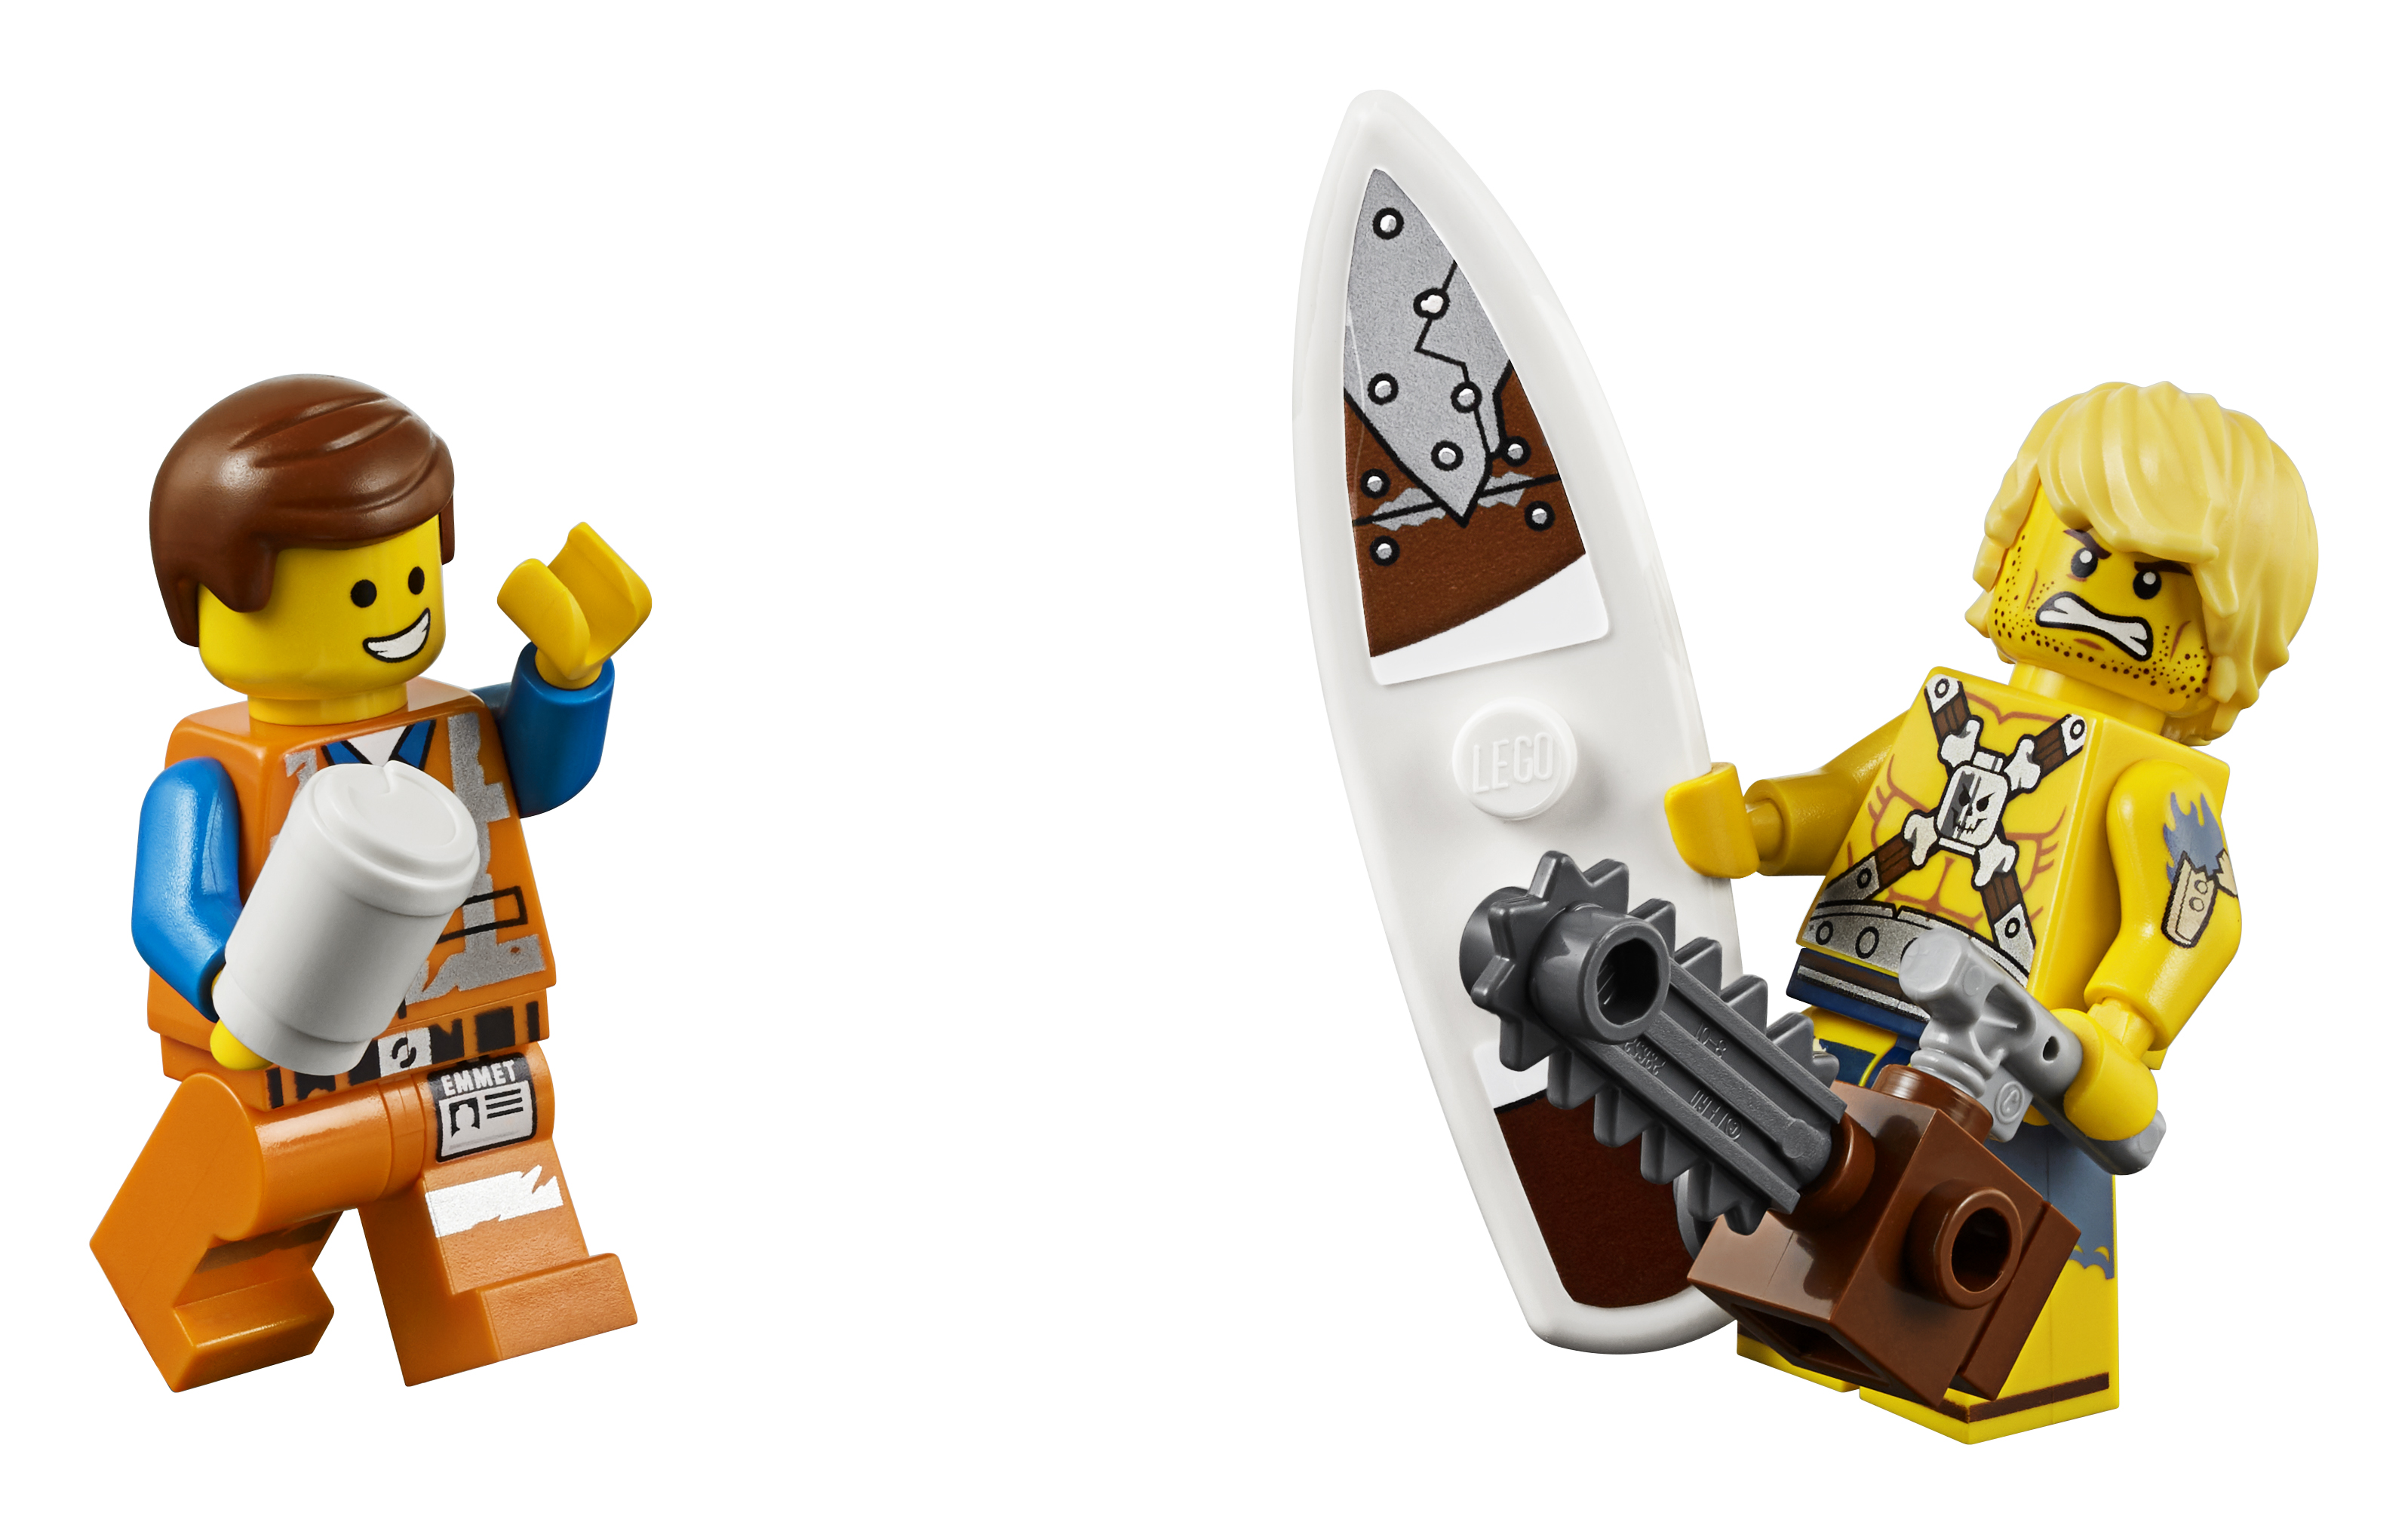
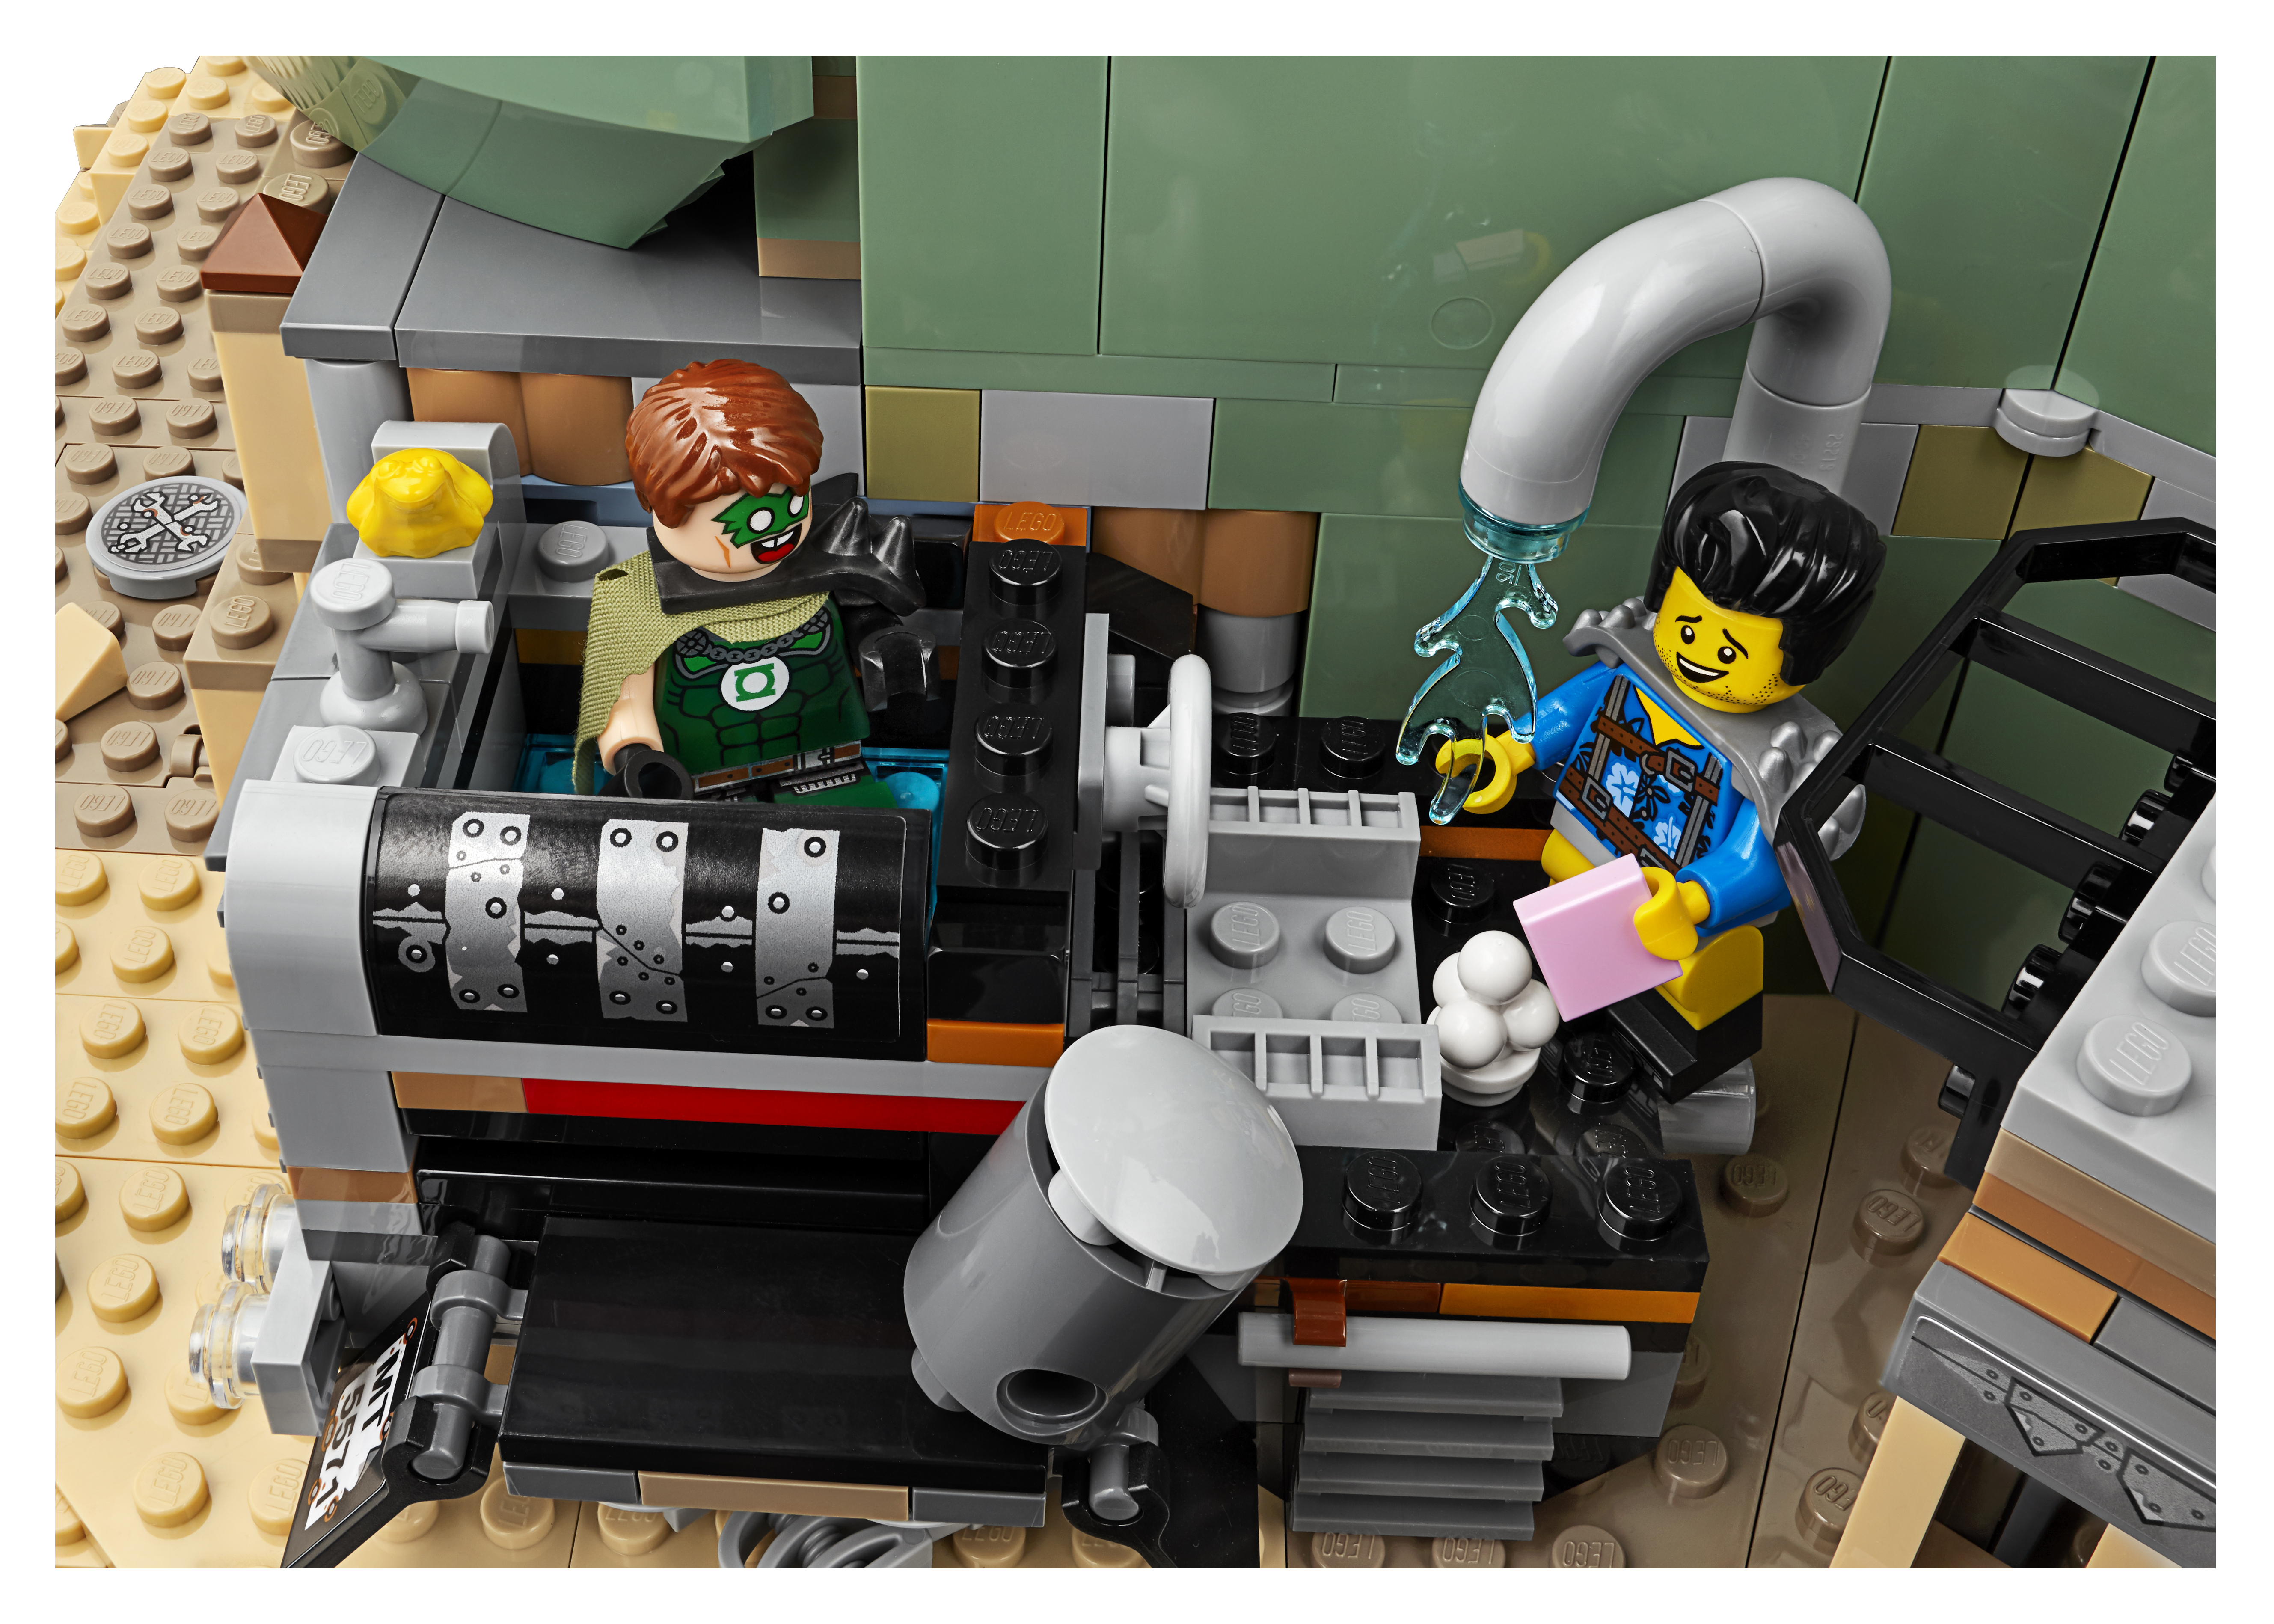
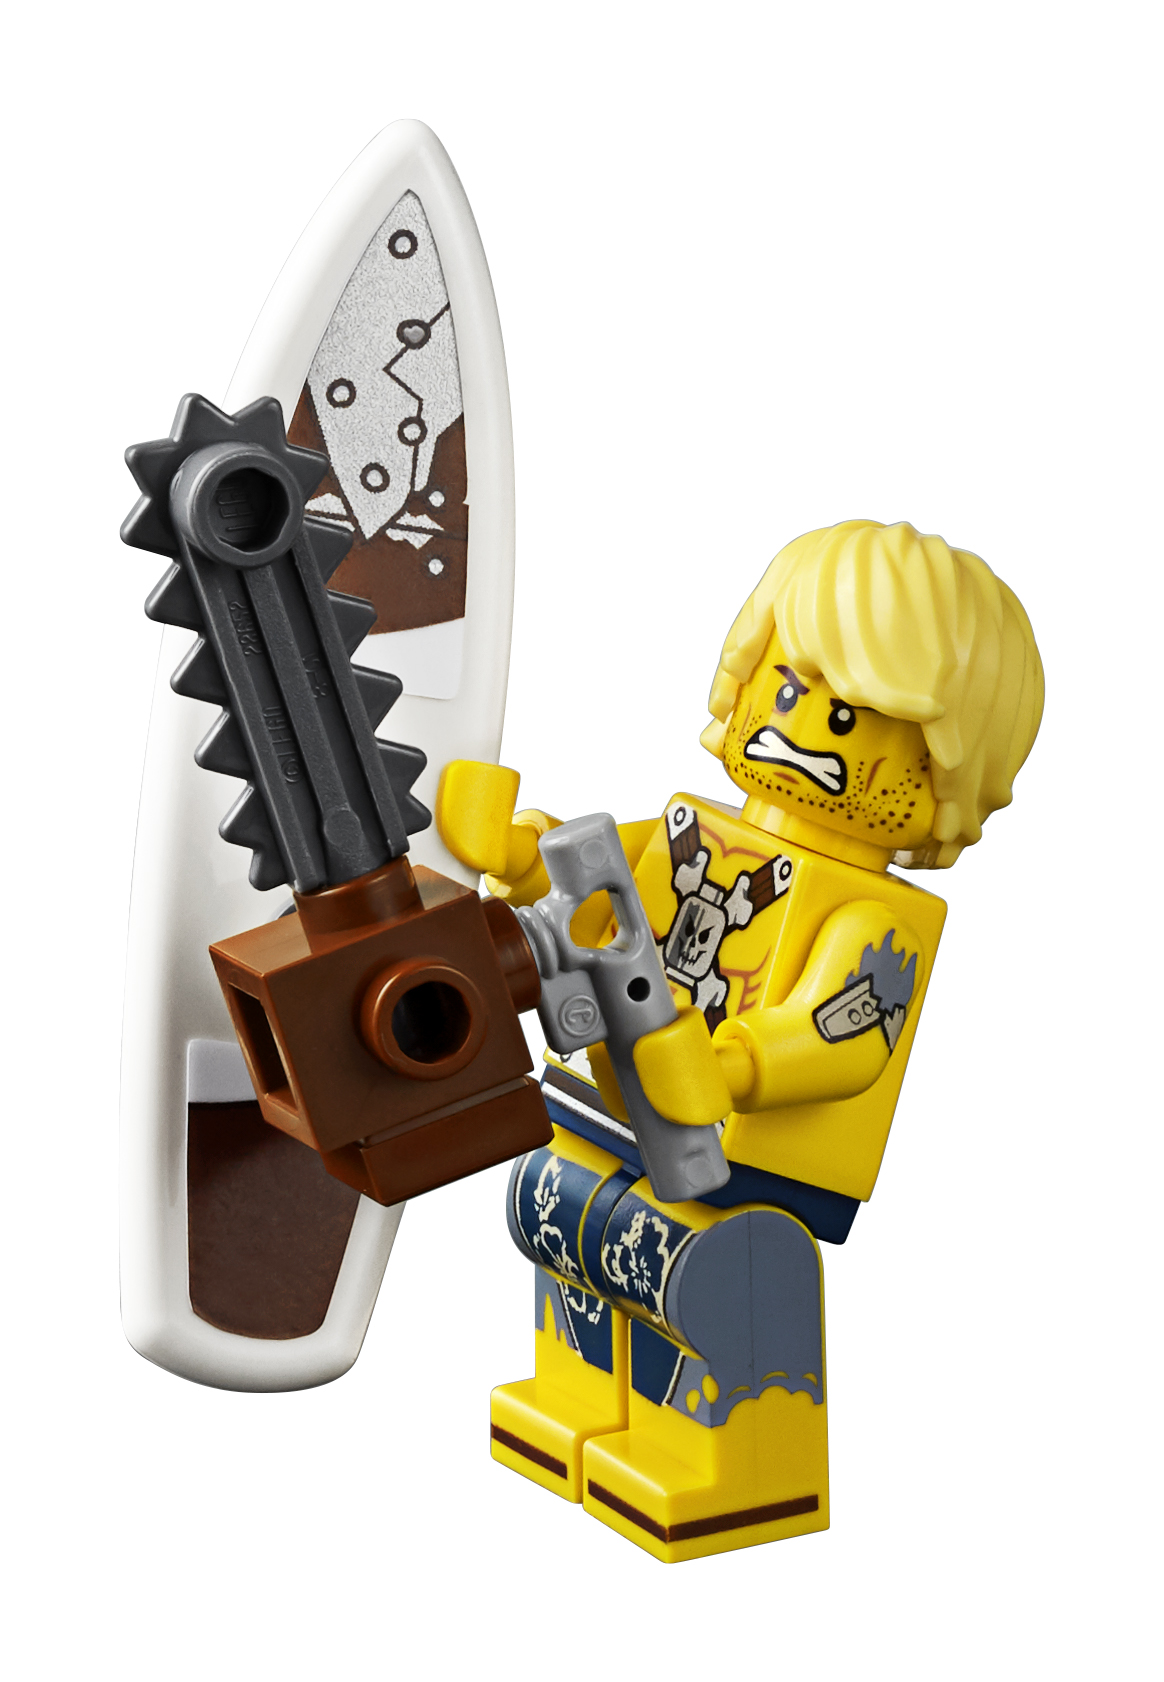
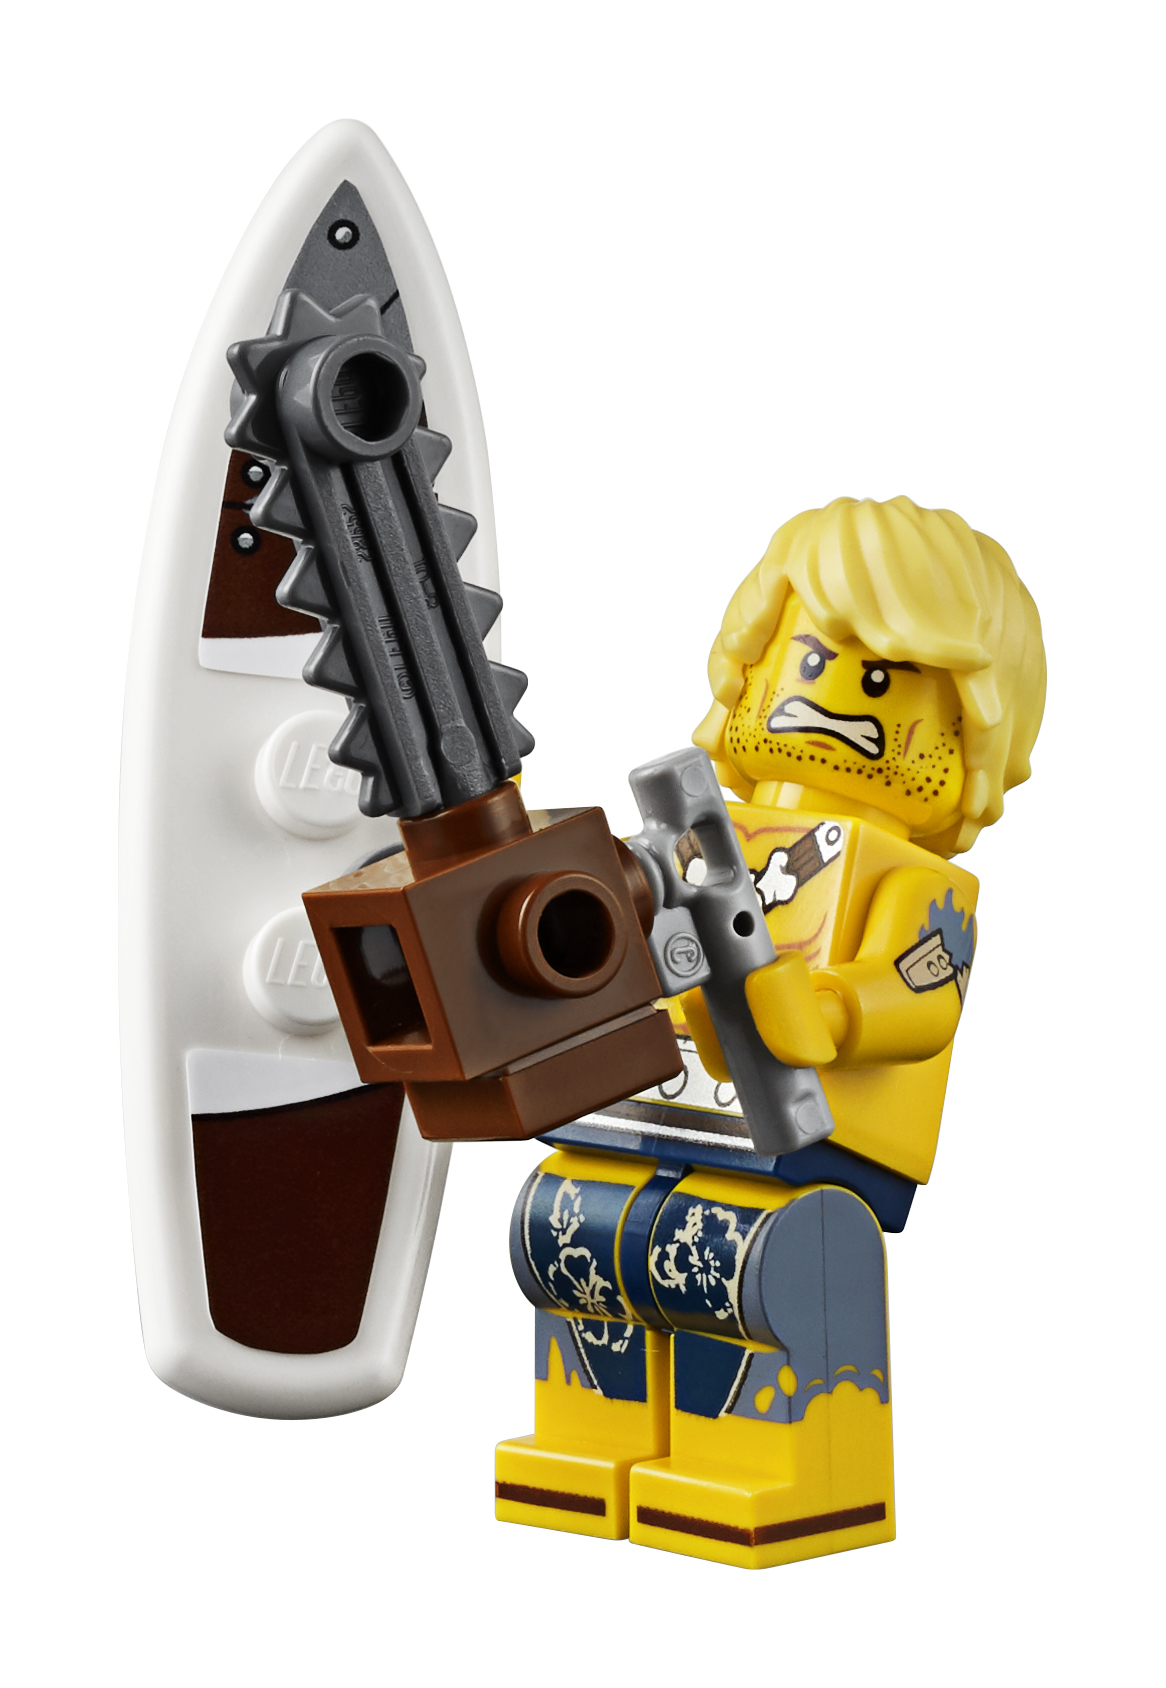
The next phase of the build consists of building Chainsaw Dave’s Camper van, which is adjacent to the shower Tub combo. Chainsaw Dave is a post-apocalyptic version of Surfer Dave who can be seen in the first movie.
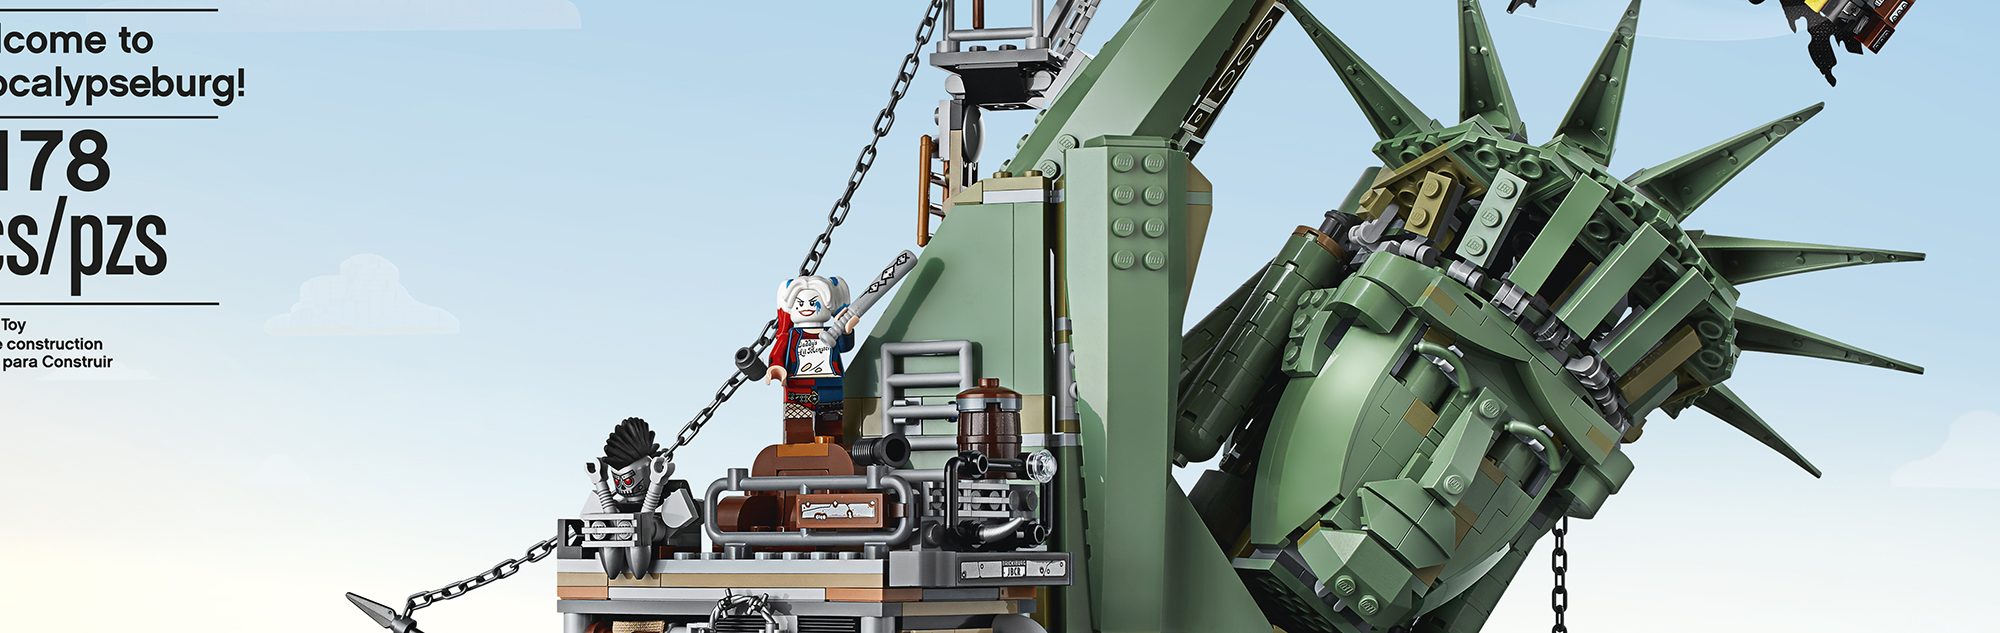
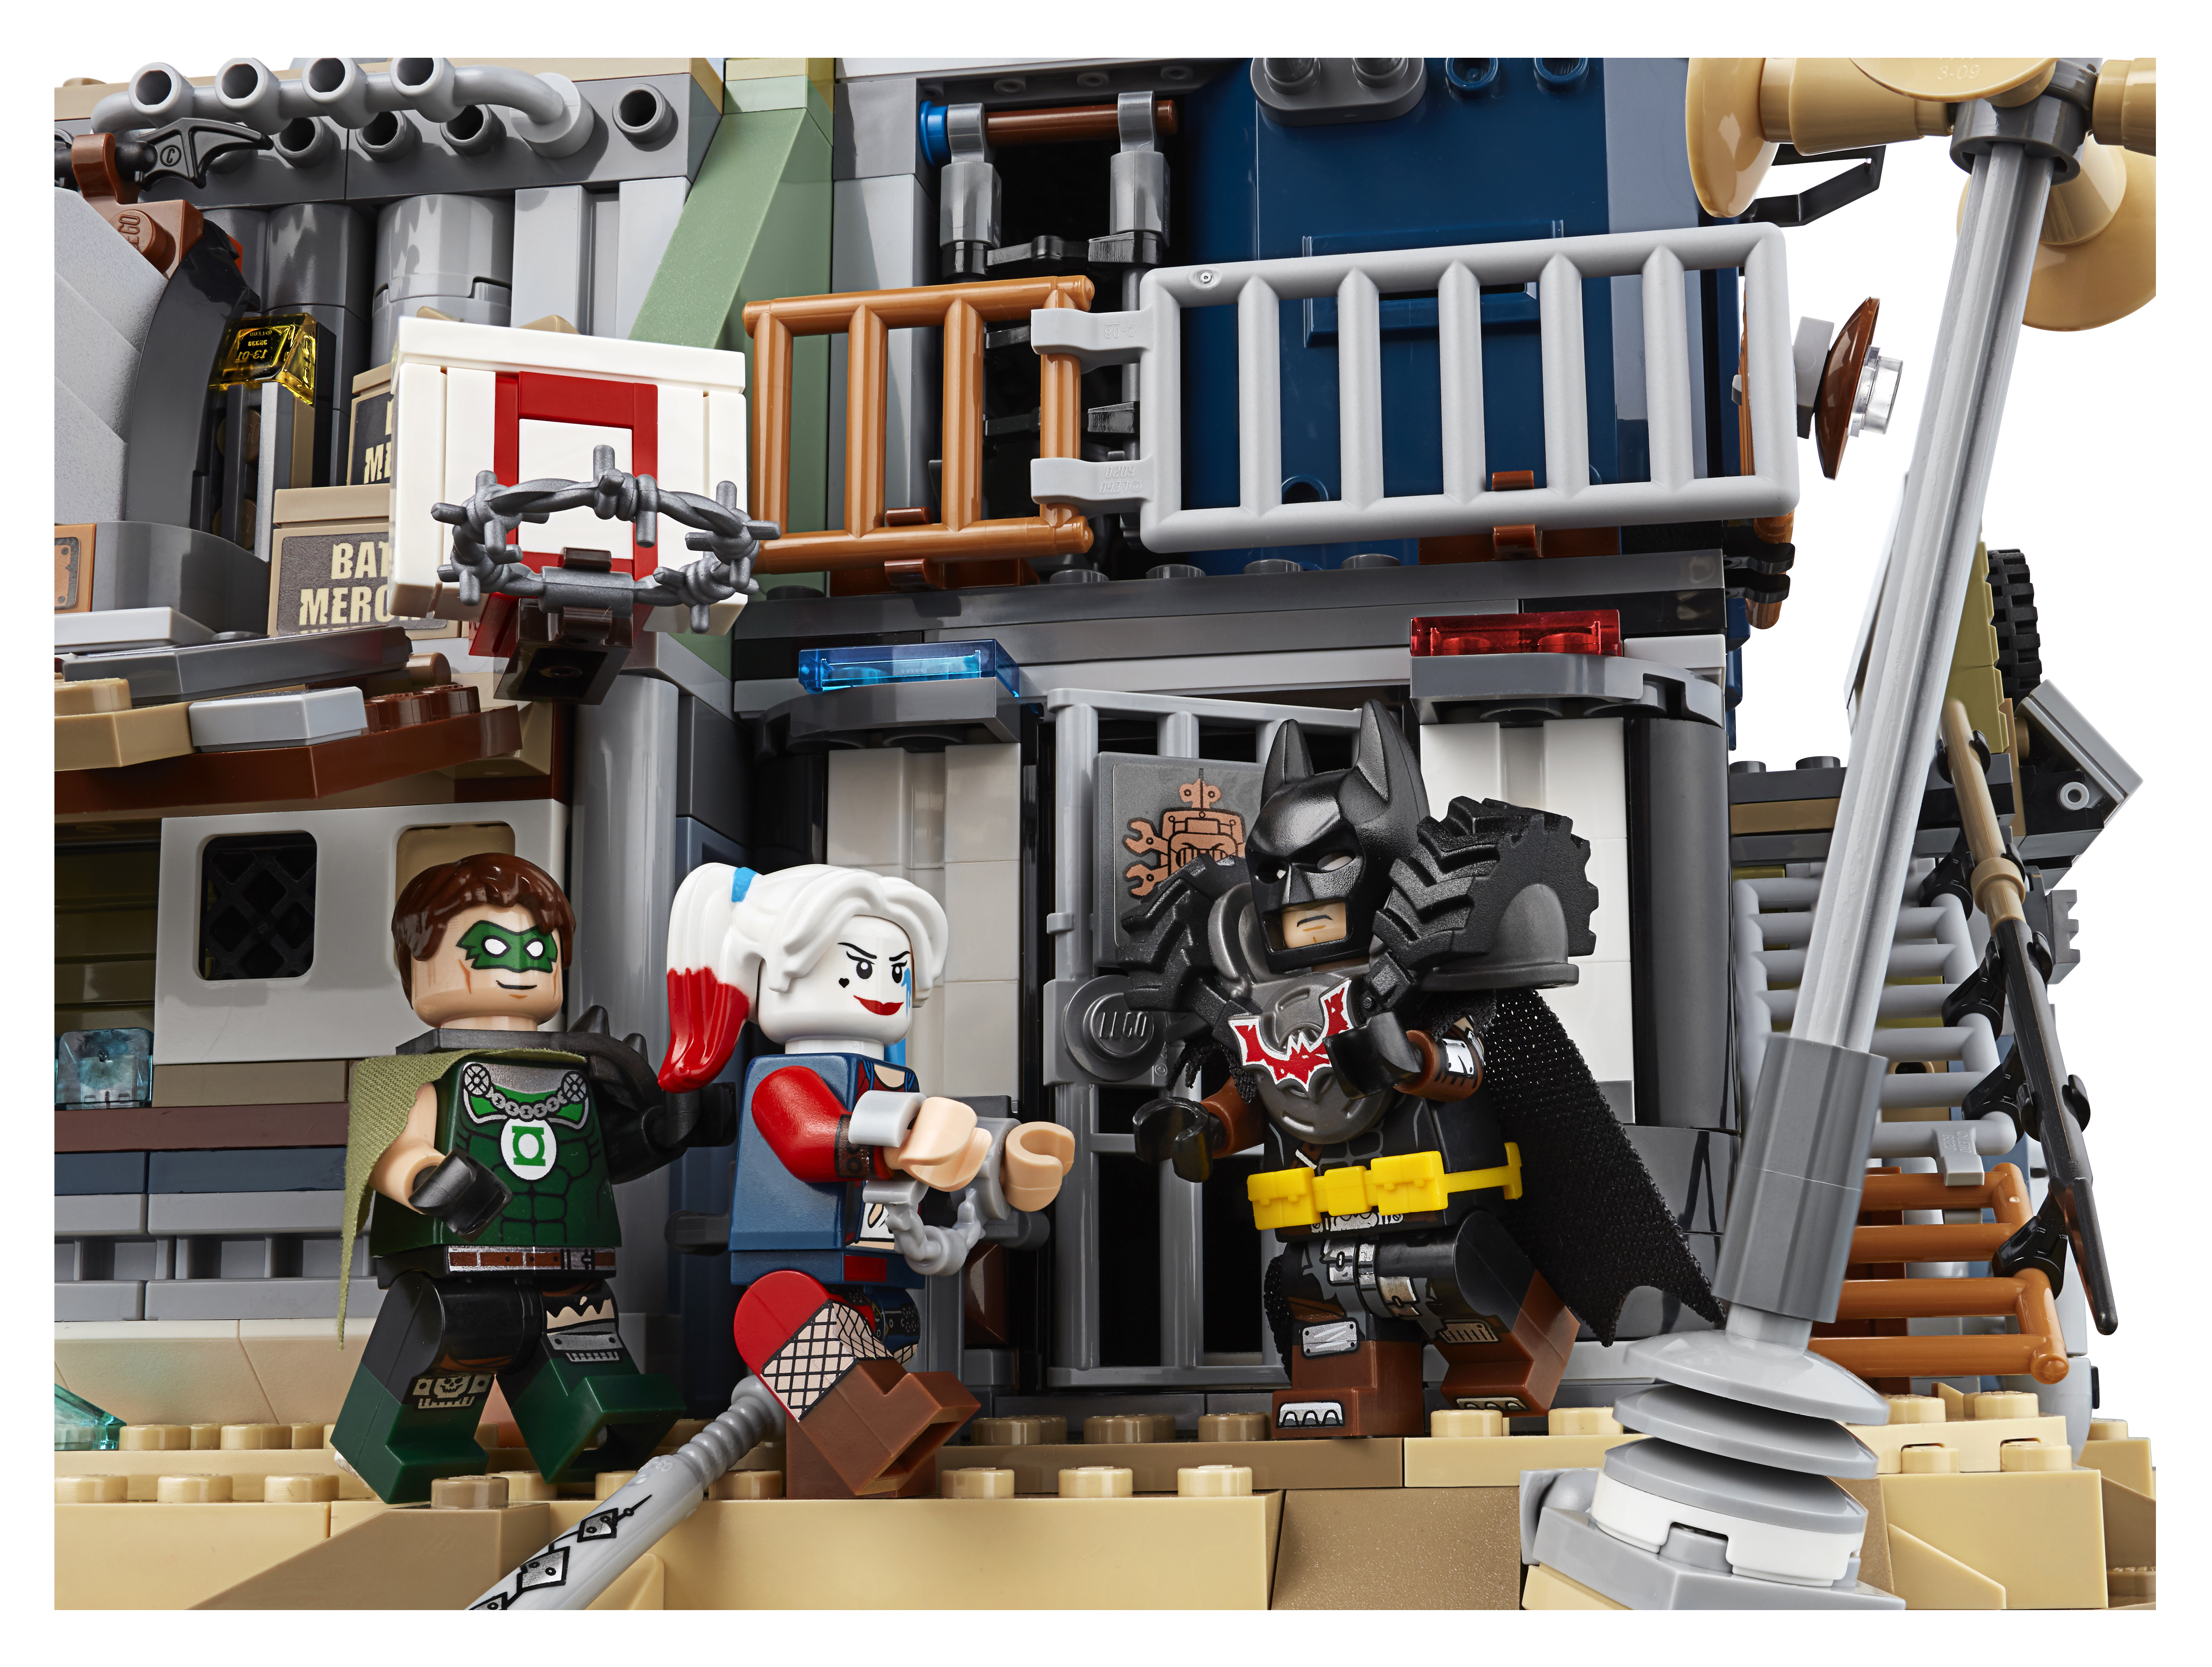
Batman with his Tyre Outfit/Armour is right at home here within his Merch Shop, which includes some hidden Easter Eggs as well. This section marks the beginning of the Statue of Liberty build, which is formed out of Technic pieces to construct the statue leaning on its side. The Technic system being integrated with Classic system bricks here is great. The Technic allows you to construct in an angle that will not be possible with system bricks.
The Technic frame and inclusion of System Bricks meld well together and exposed elements are well hidden so that you cannot see the inner workings of the model so it displays well.
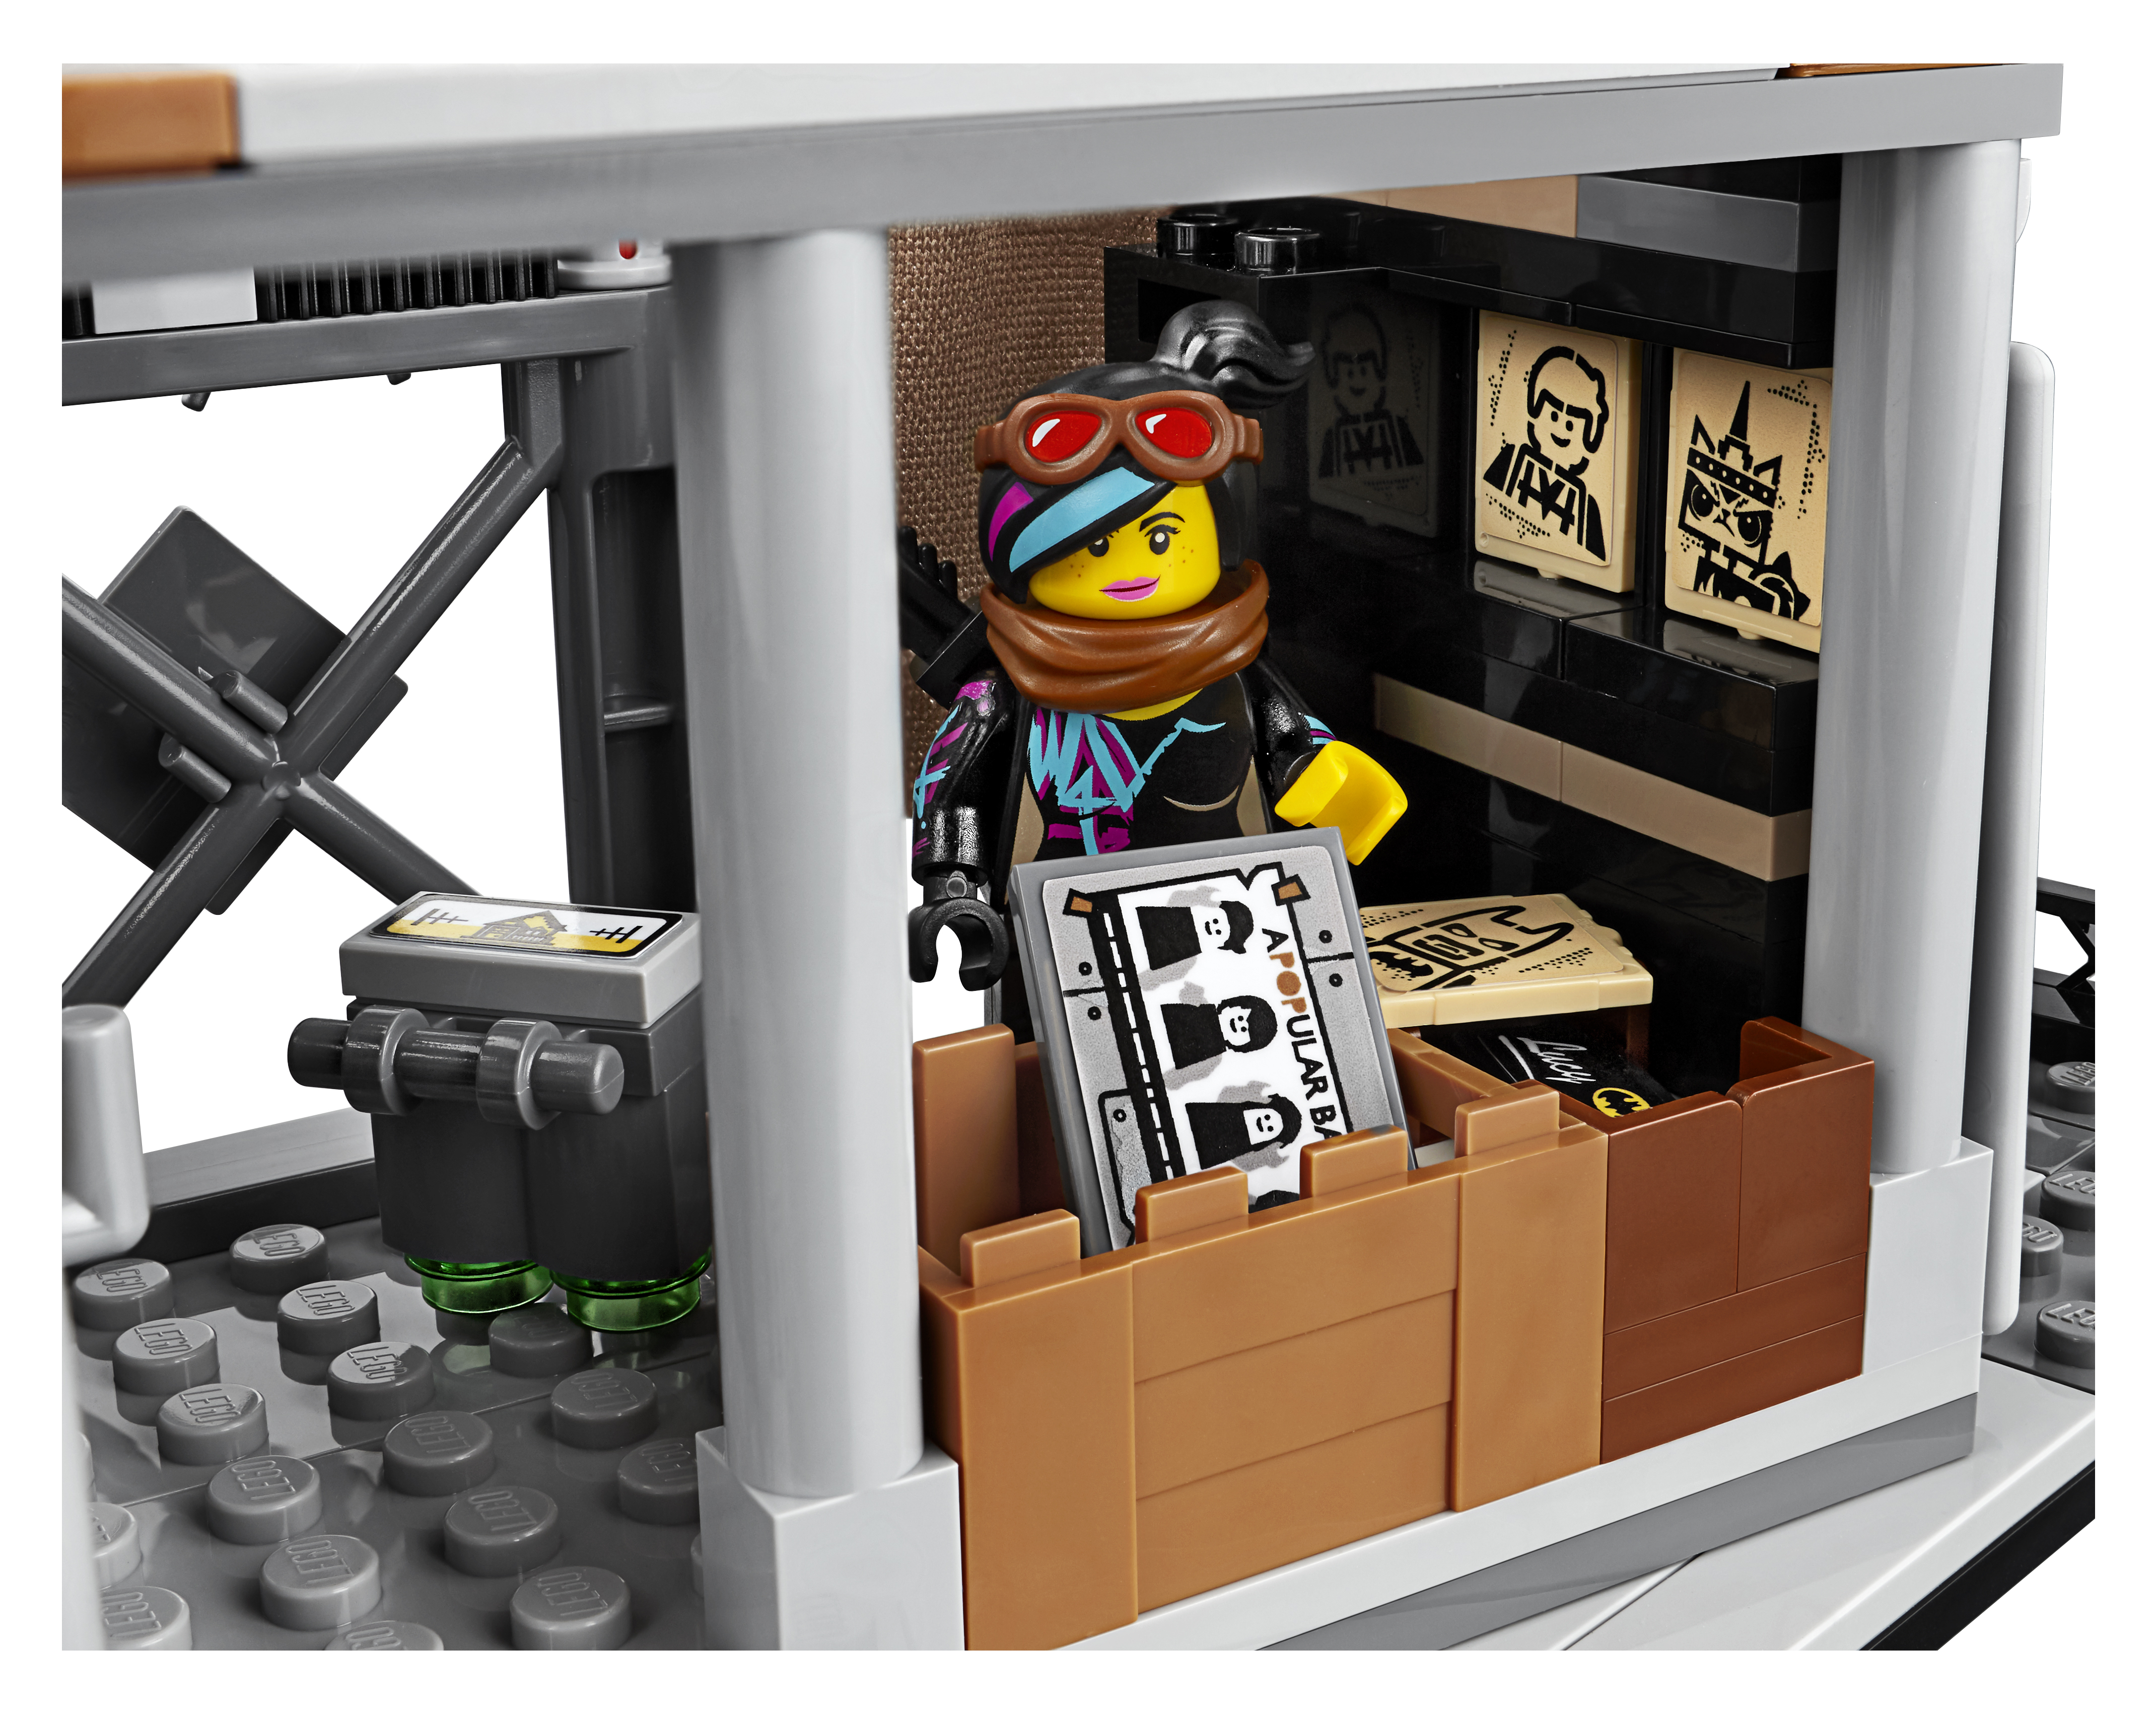
A tattoo parlour and clothing shop showing Post-Apocalyptic attire for sale is next to build. The Harley Quinn Minifigure (Suicide Squad version) is right at home here. The base and arm of the statue is being extended piece by piece as we move along.
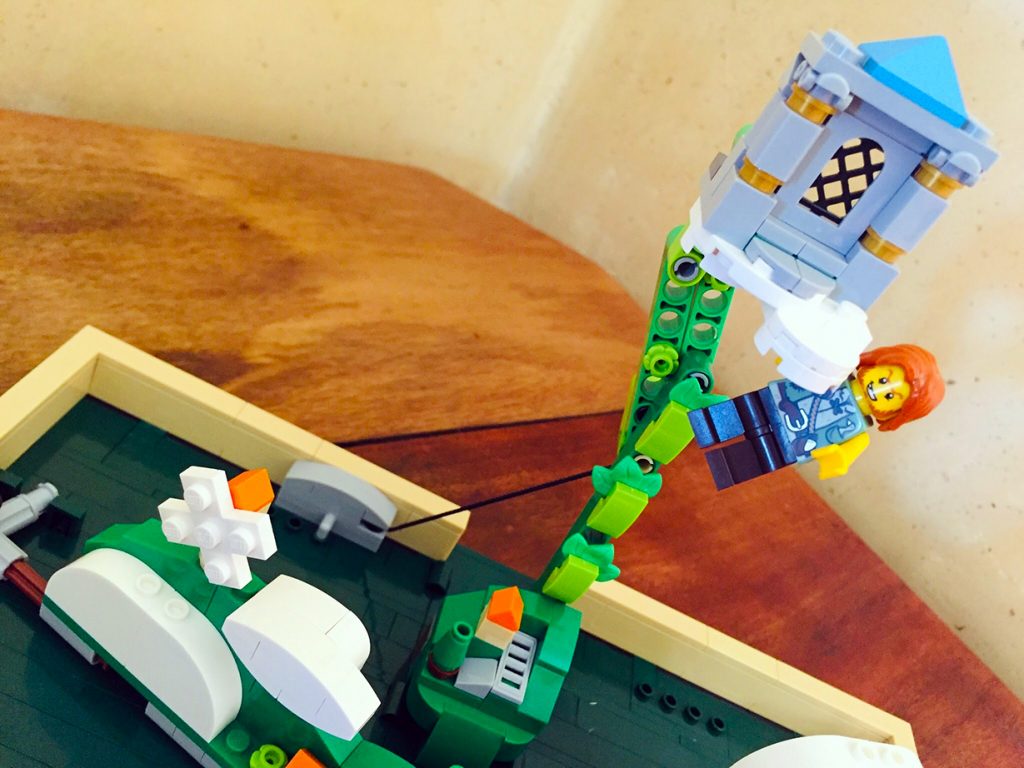
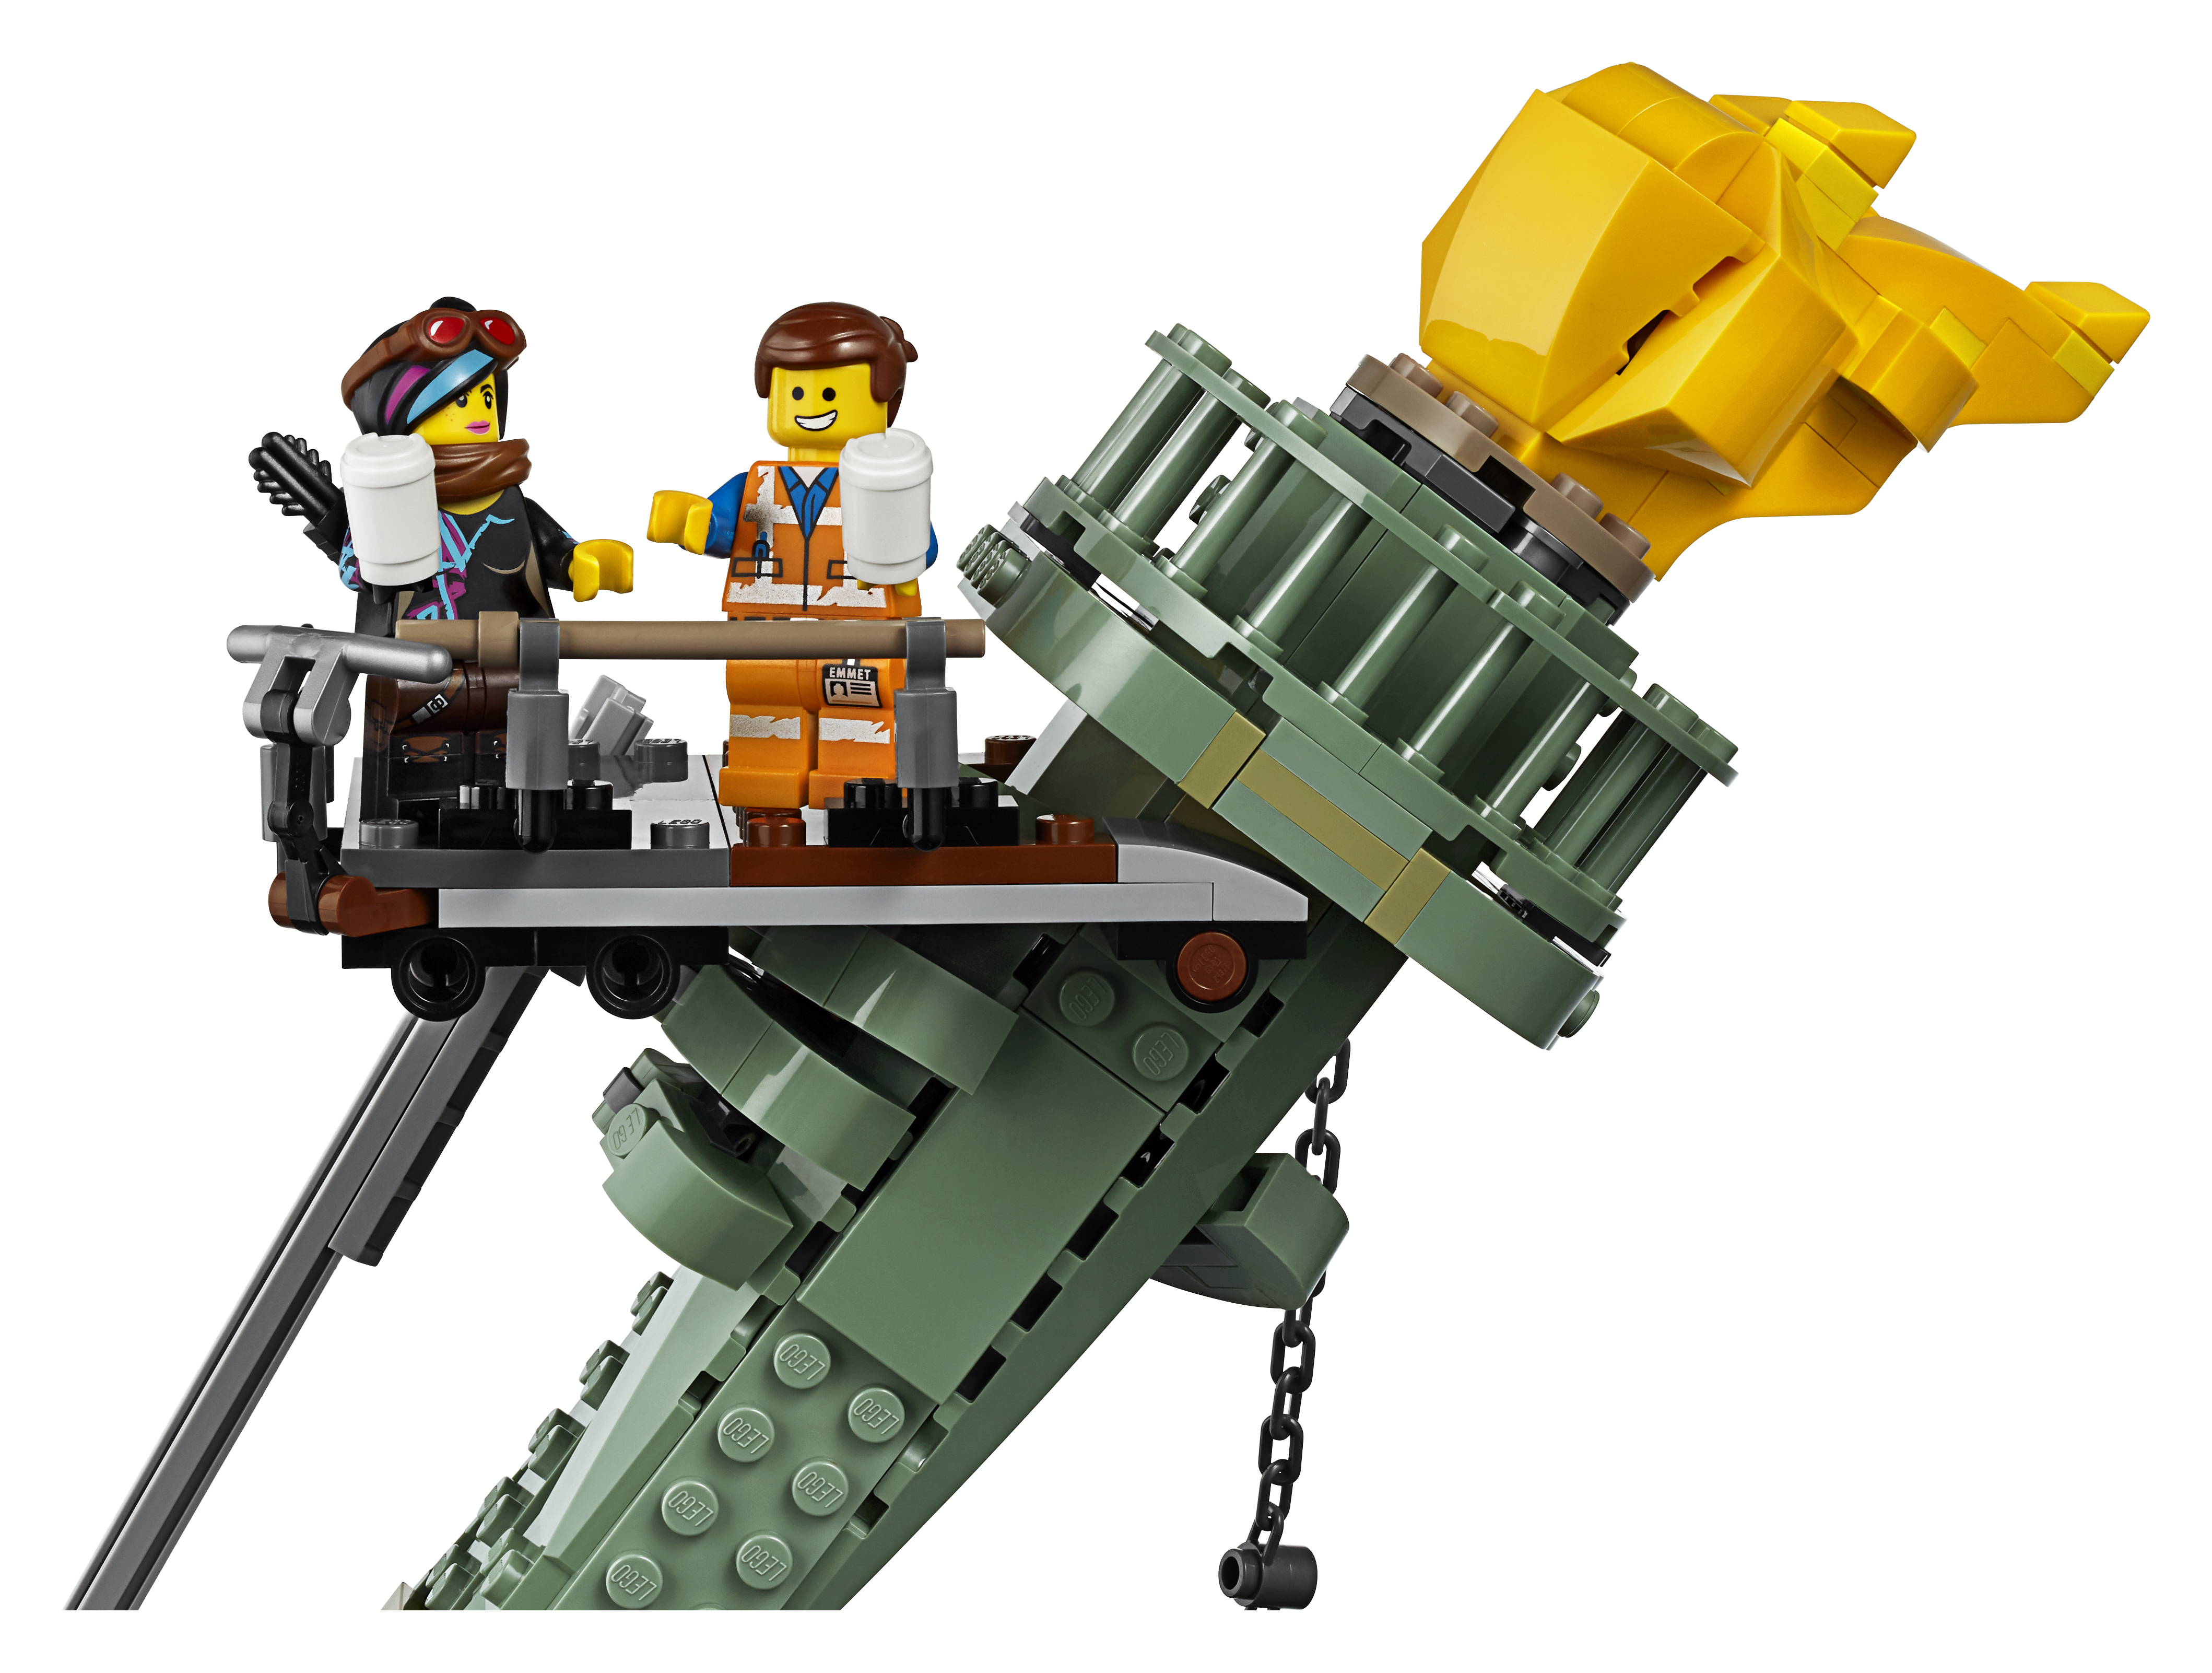
My favourite part of this set comes up next. This is the building of the Statue of Liberty Head and Crown. The techniques that are used to construct the face and crown of Lady Liberty are amazing and awe inspiring. The fact that this could be put together with normal parts and still contain an inner observation deck in the head of the statue is fantastic. The Torch that is fitted to the arm of the statue forms the final part of that section.
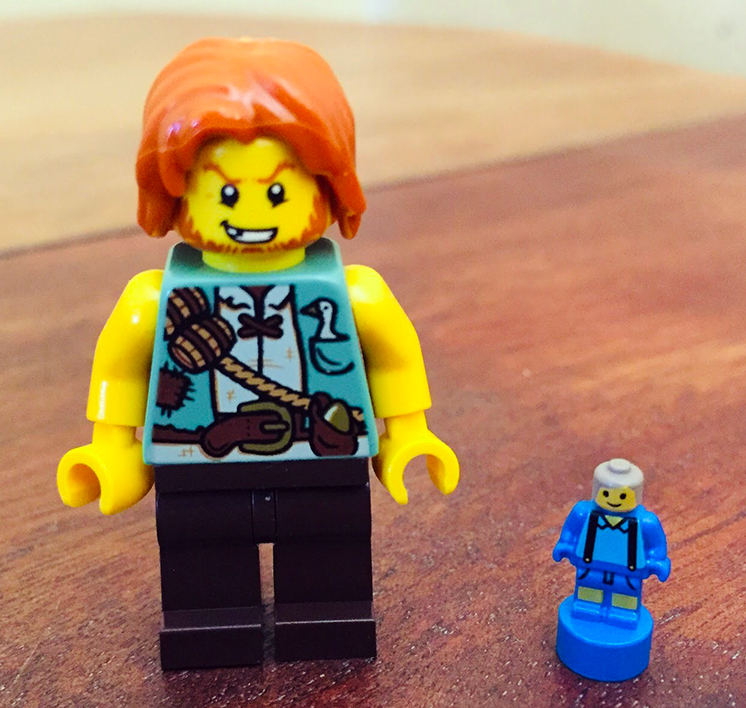
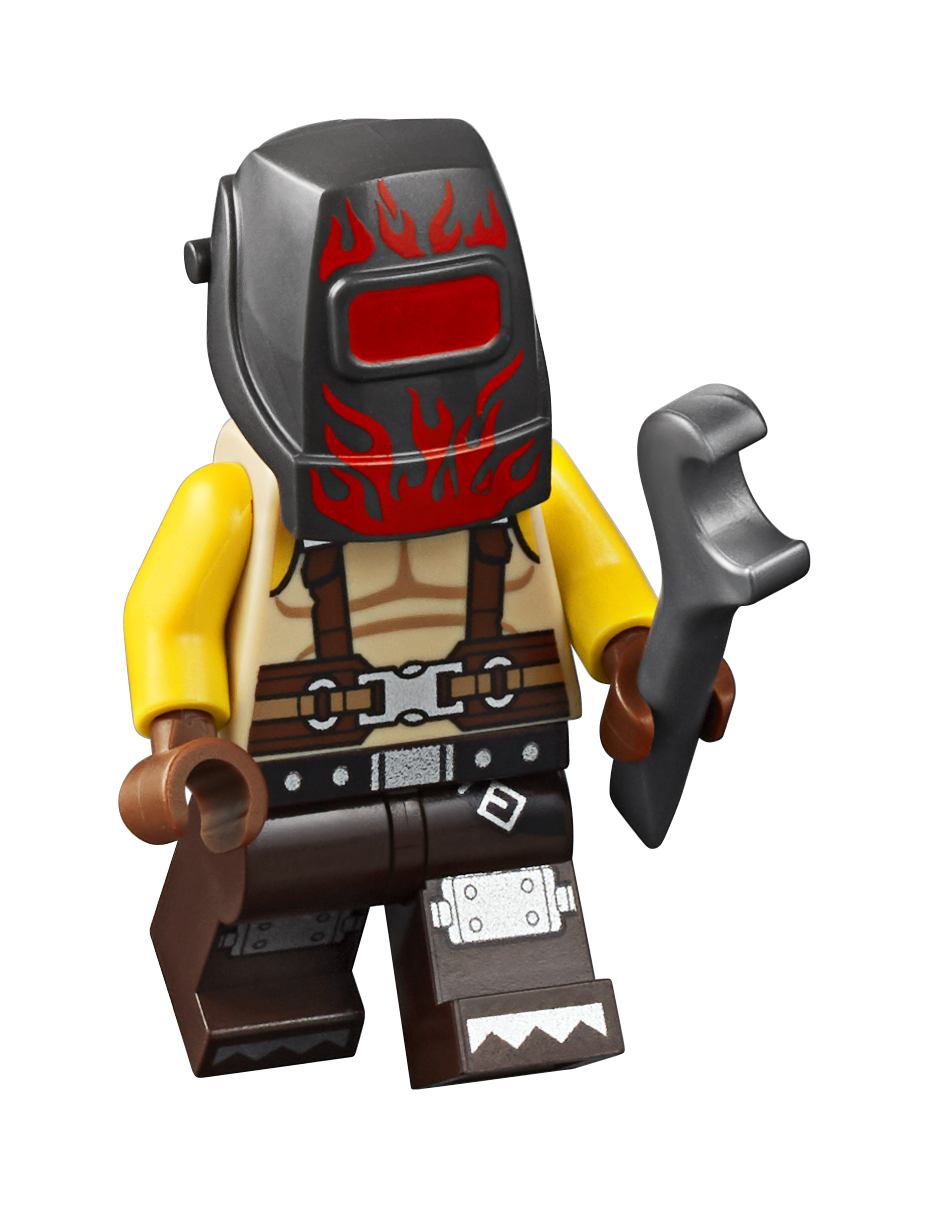
The Minifigures included in this set are:
Scribble Cop
Larry the Barista
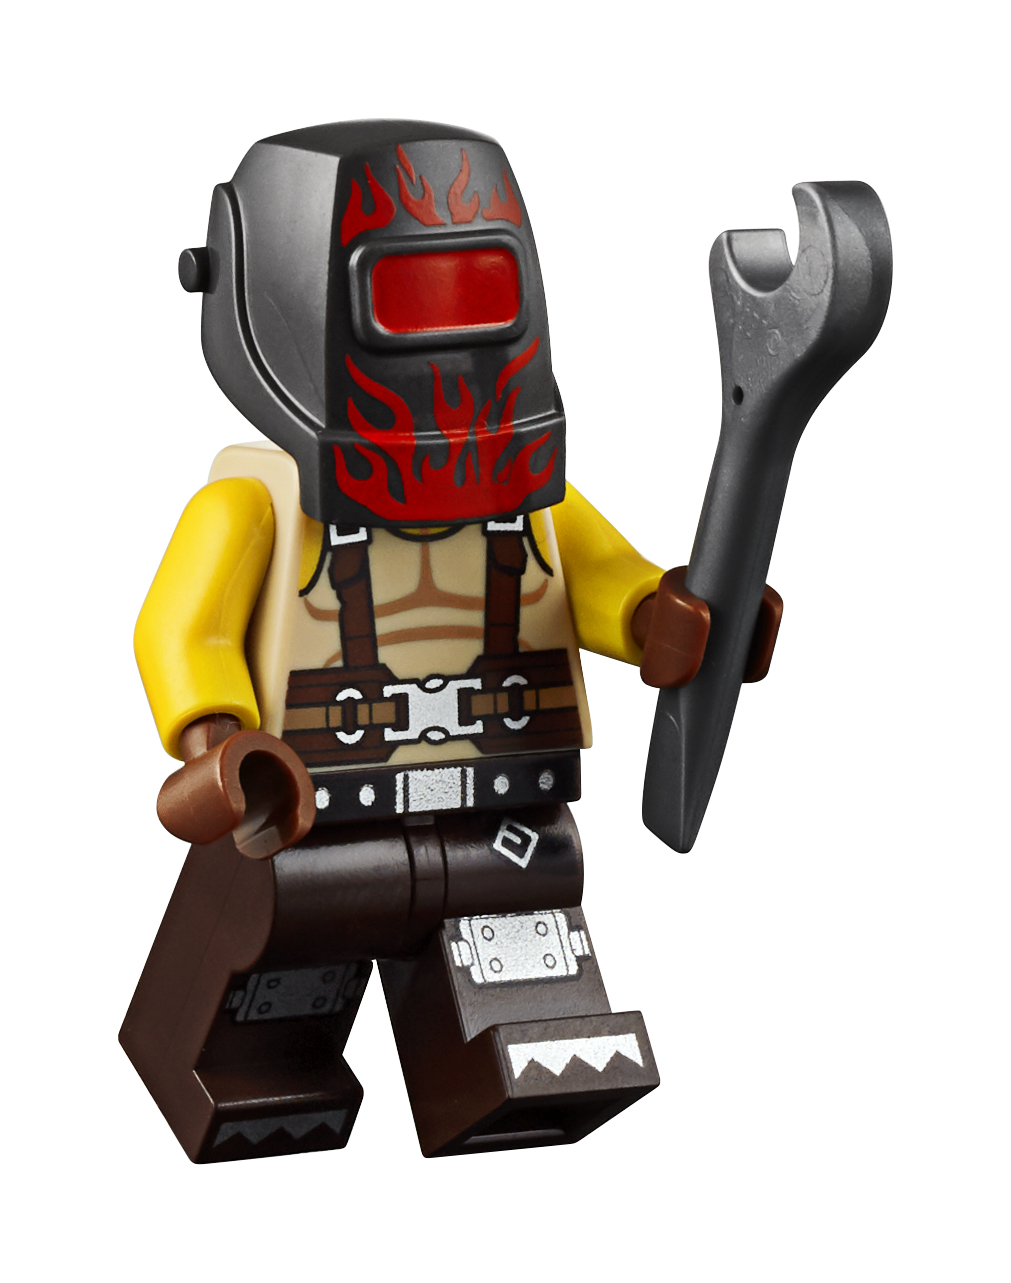
Fuse (The Welder)
`Where are my Pants` Guy
Roxu
Chainsaw Dave
Mo-Hawk
Harley Quinn (Suicide Squad version)
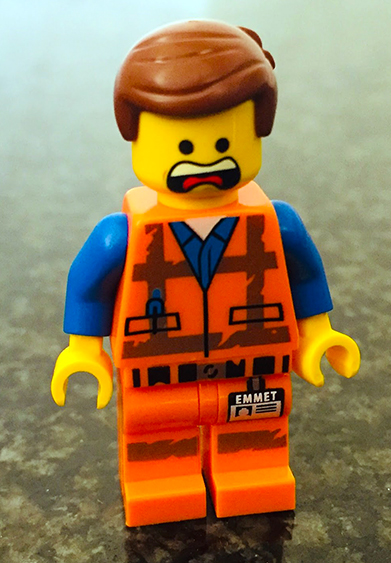
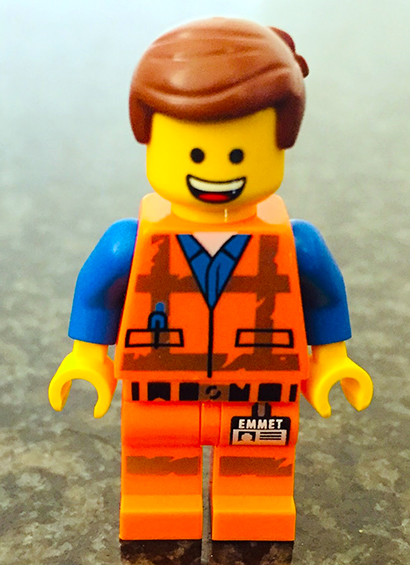
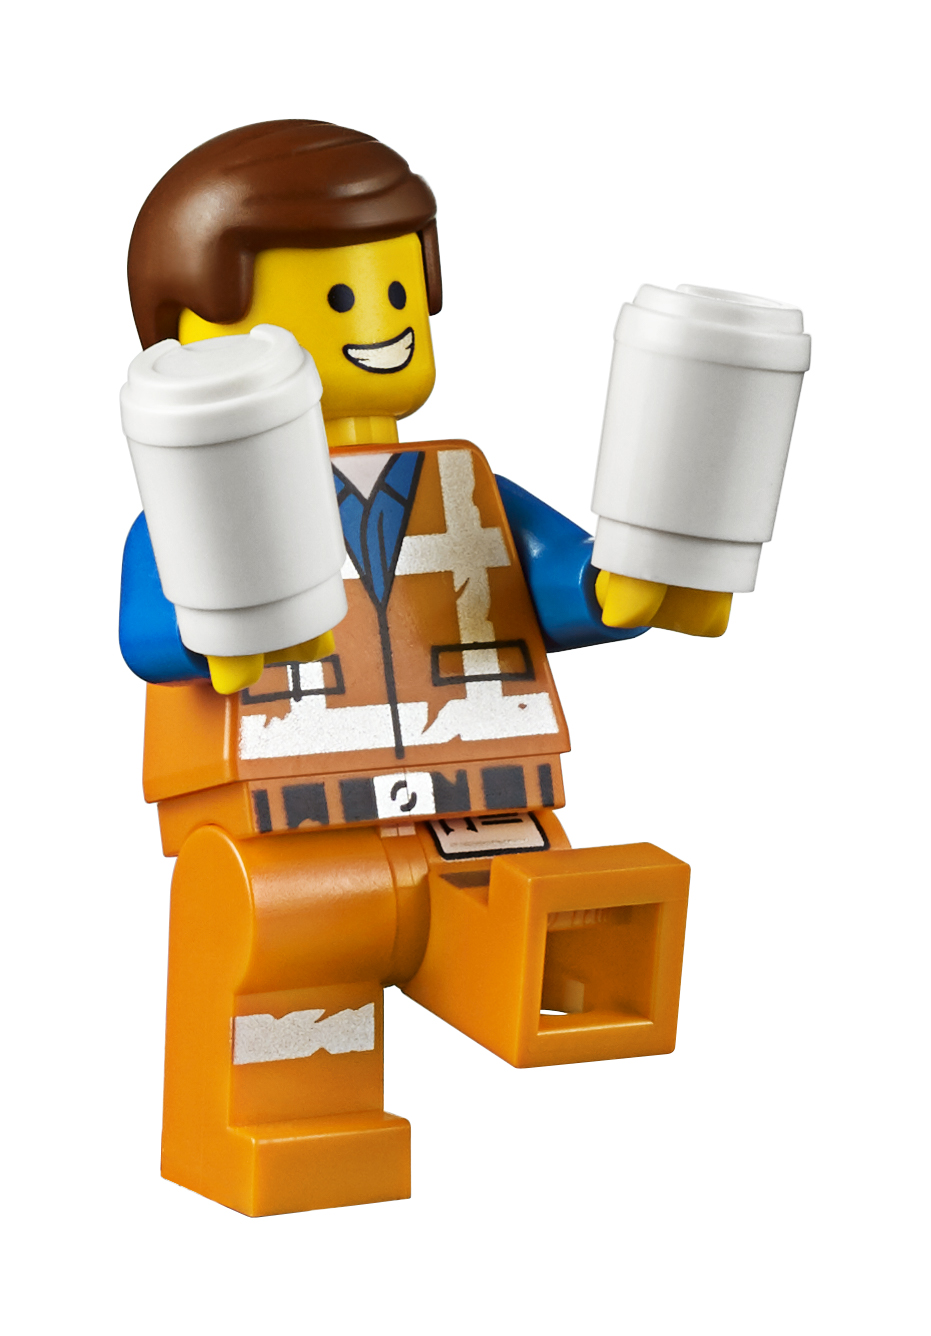
Emmet
Green Lantern
Batman
Lucy
If you are building this set then make sure you count and pick out all the pieces required as per the top left of the page, instead of just following instructions and building as you see the parts inserted. You might miss something minor and then run into a problem where there is a connection needed and that is the part you missed, and you might face major deconstruction to get back to it.
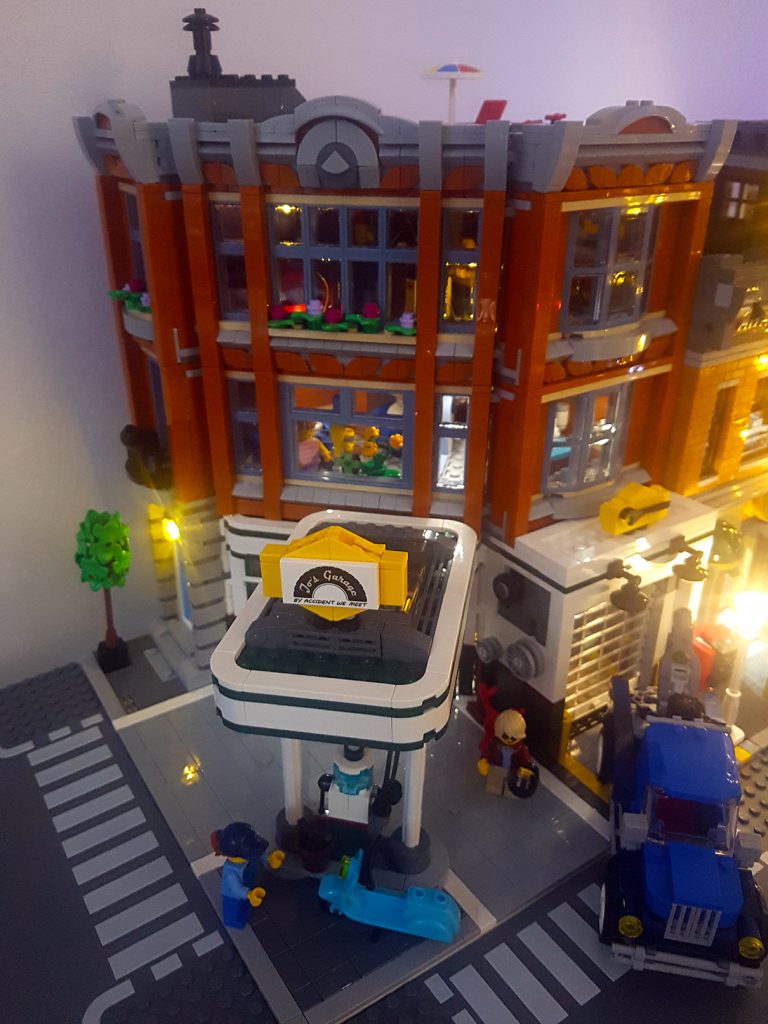
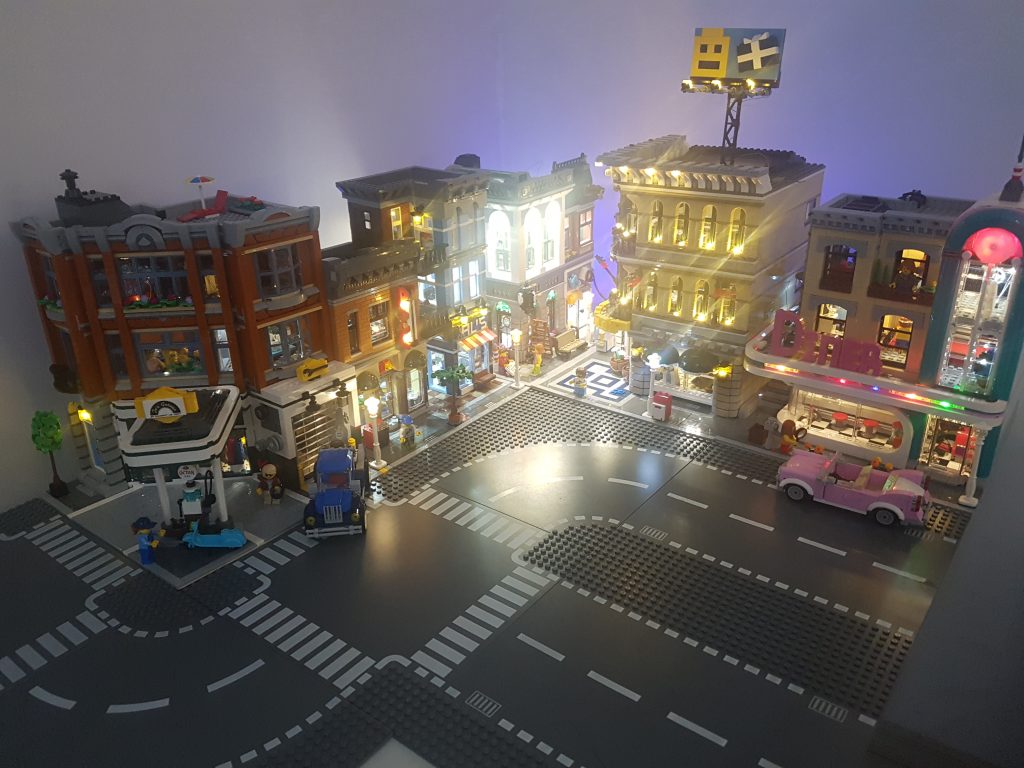
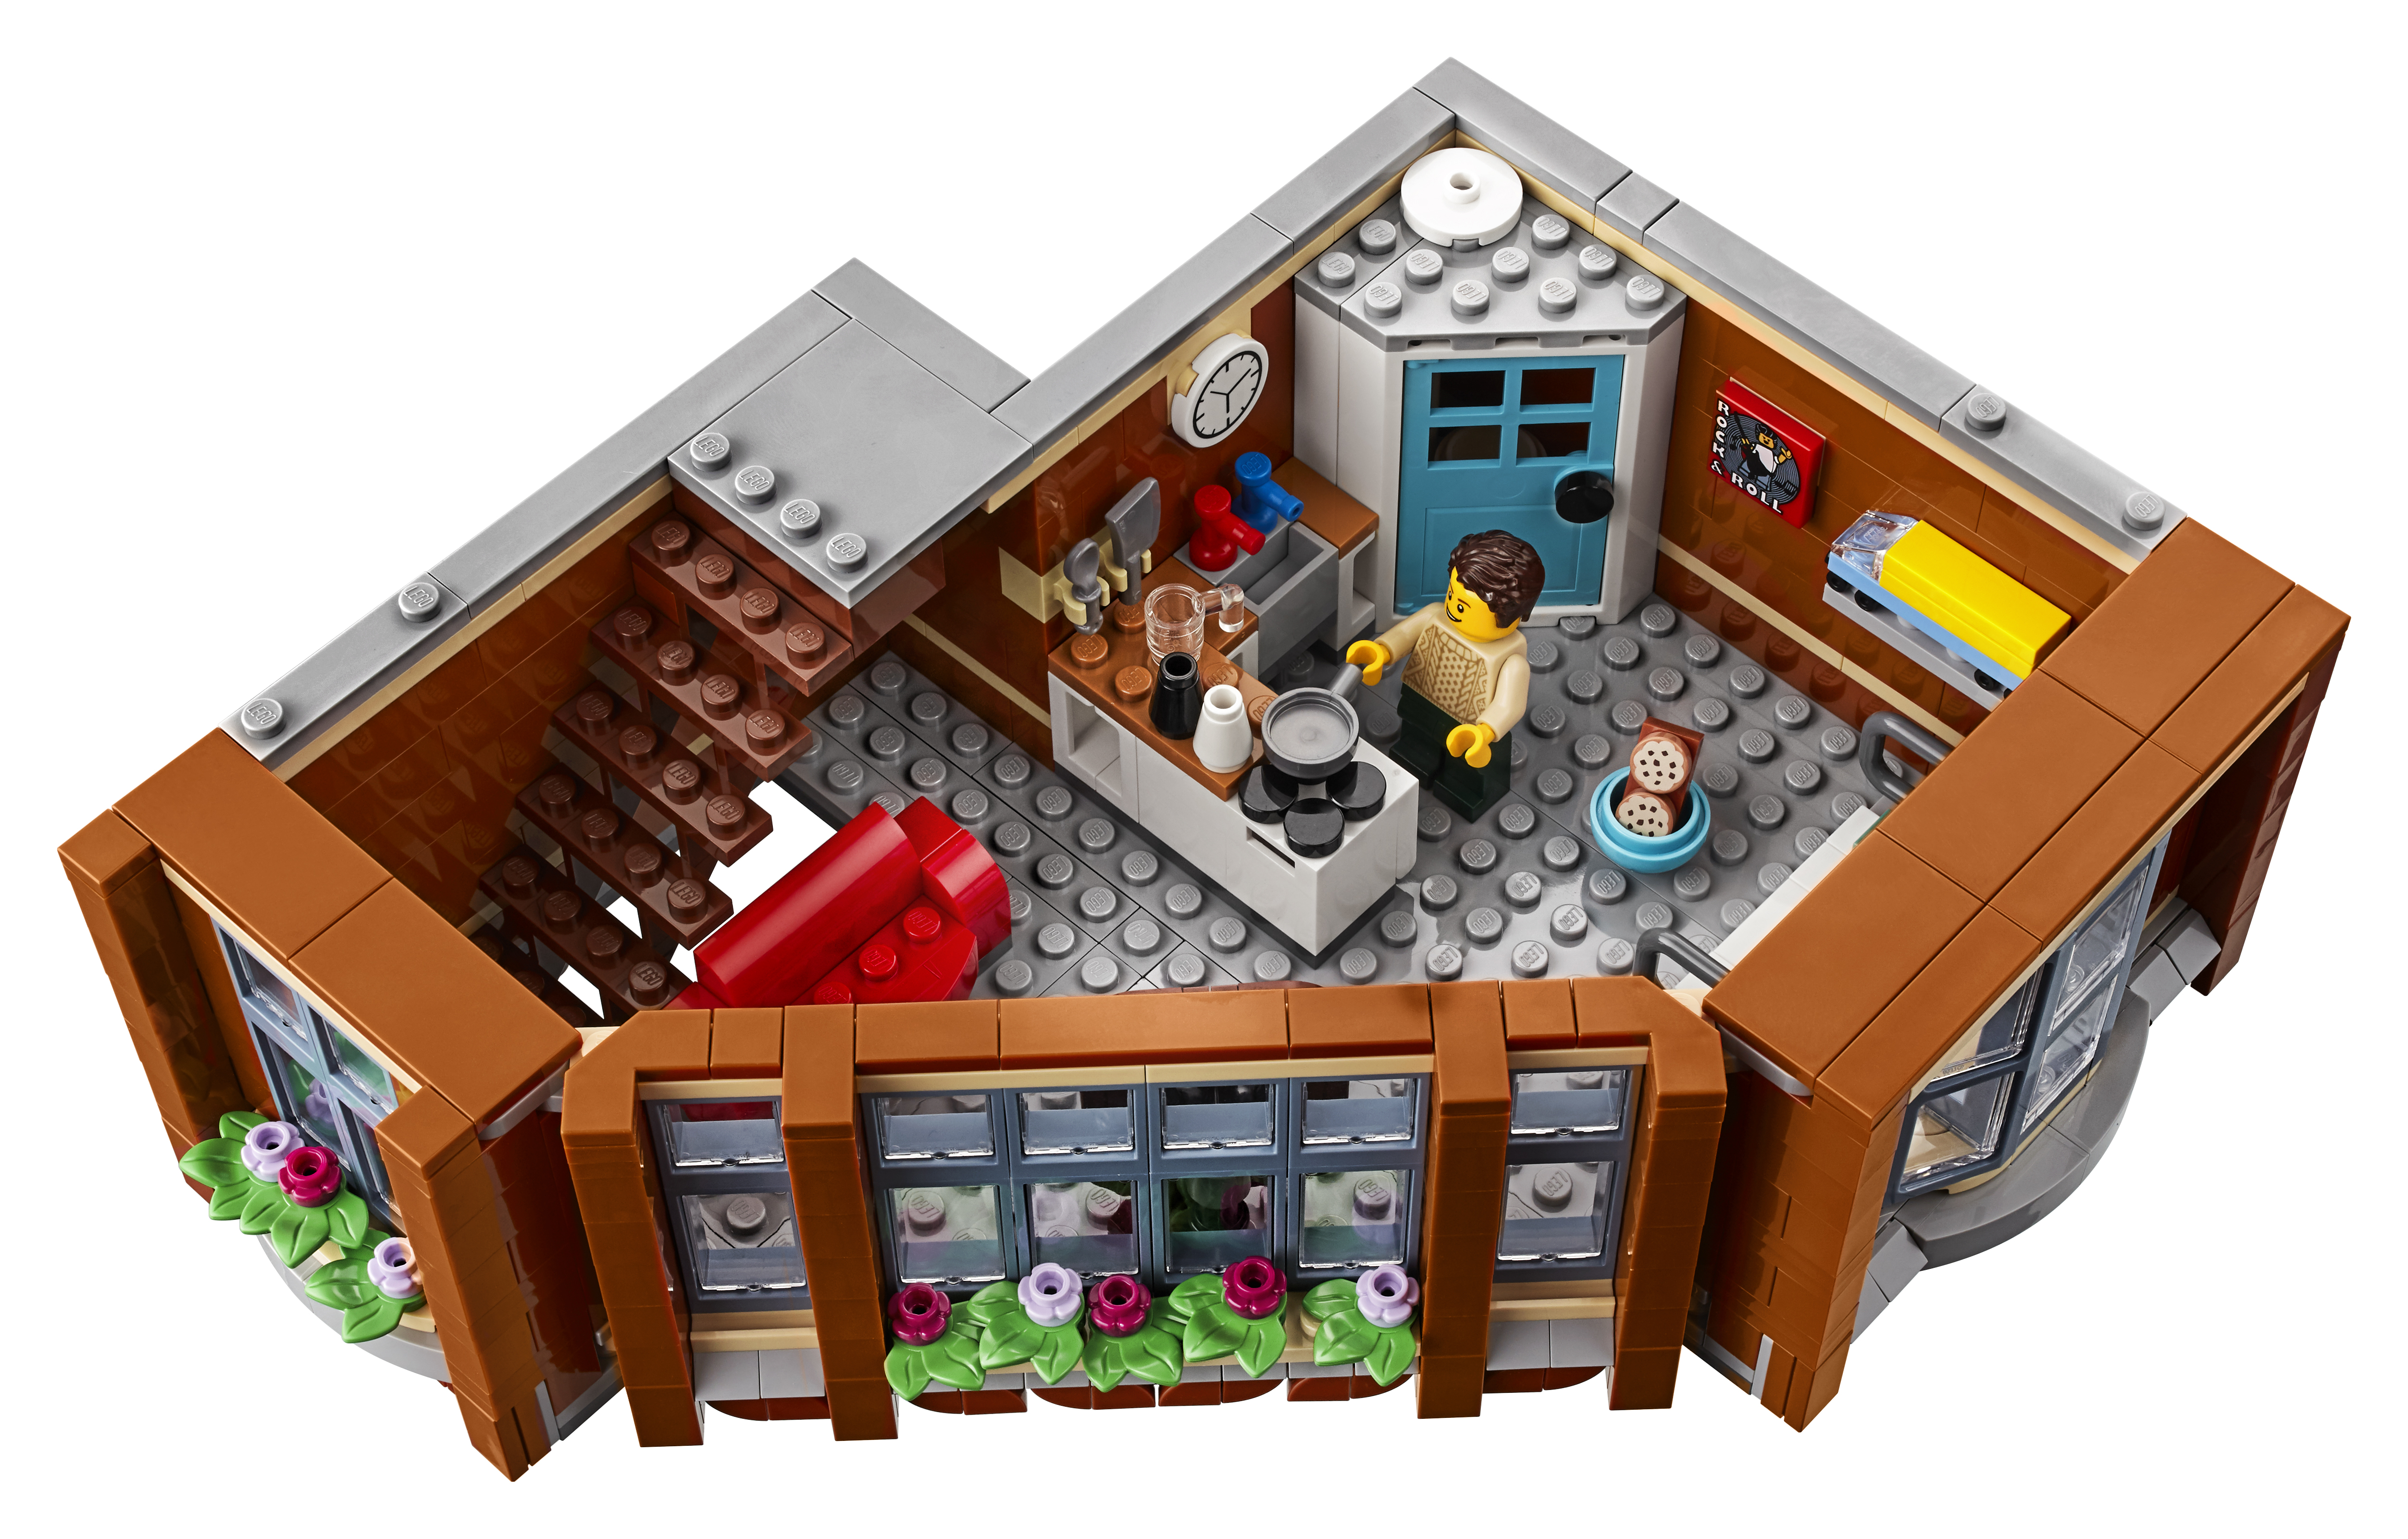
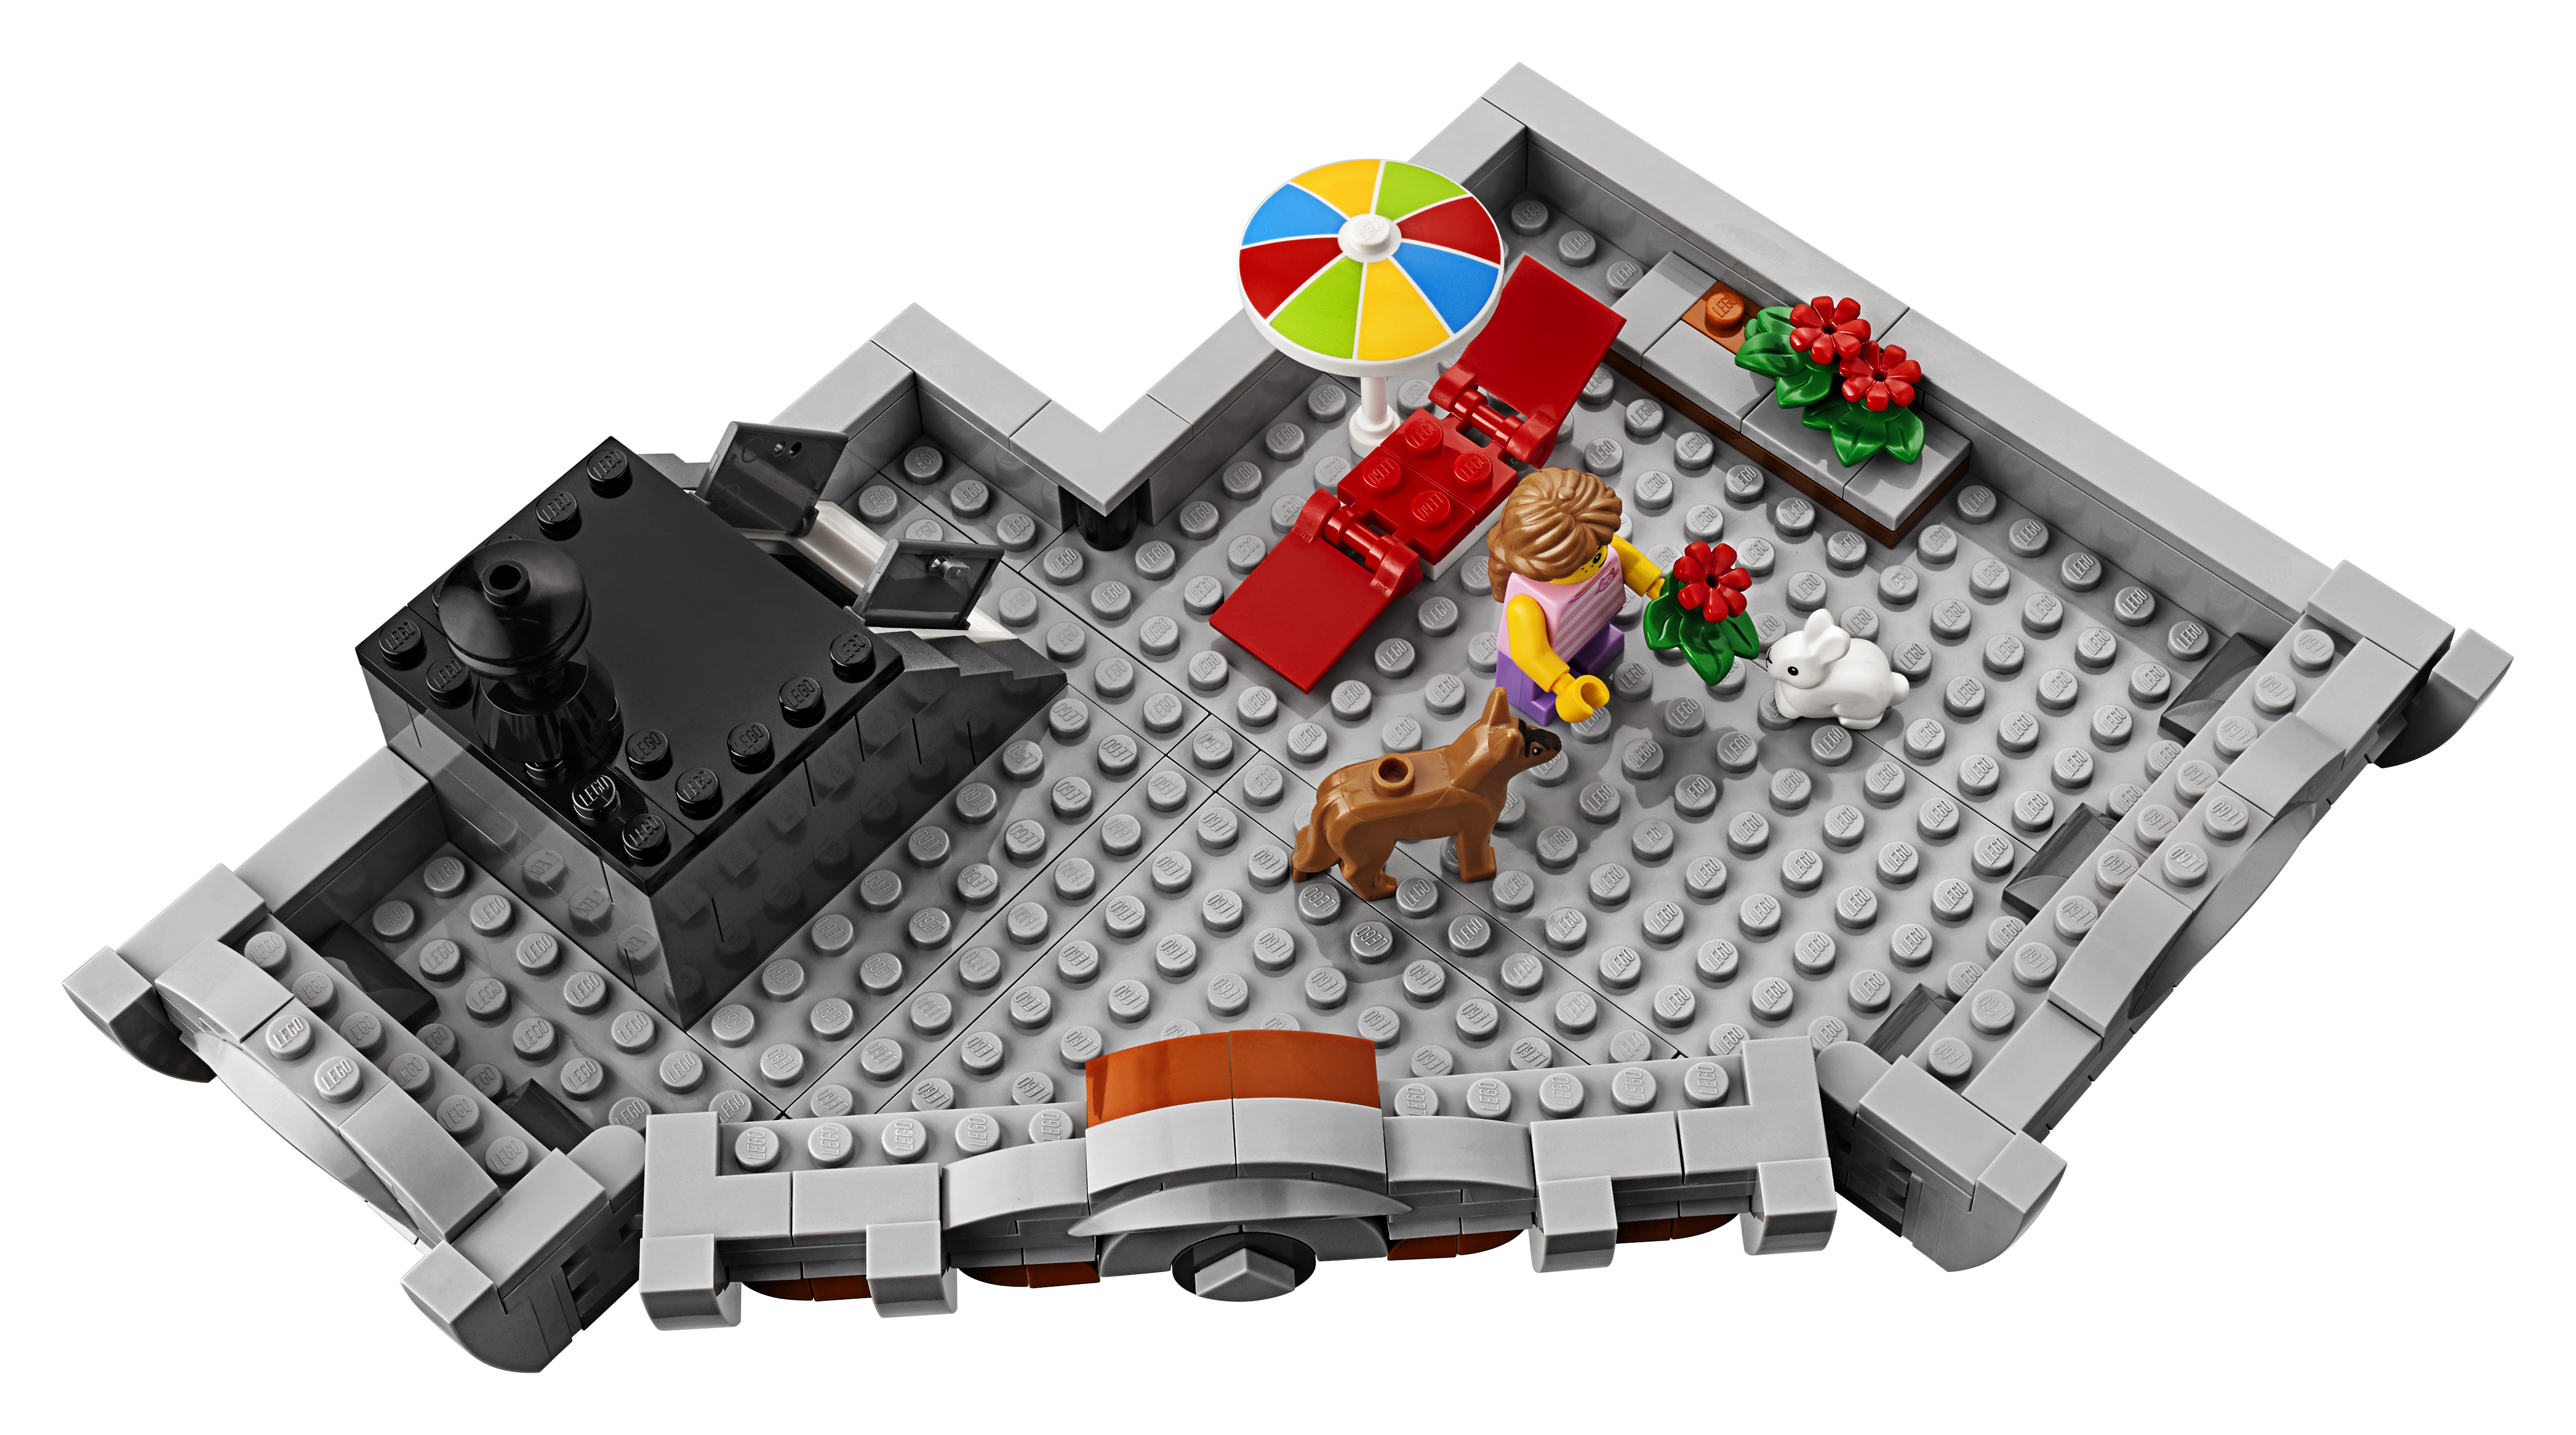
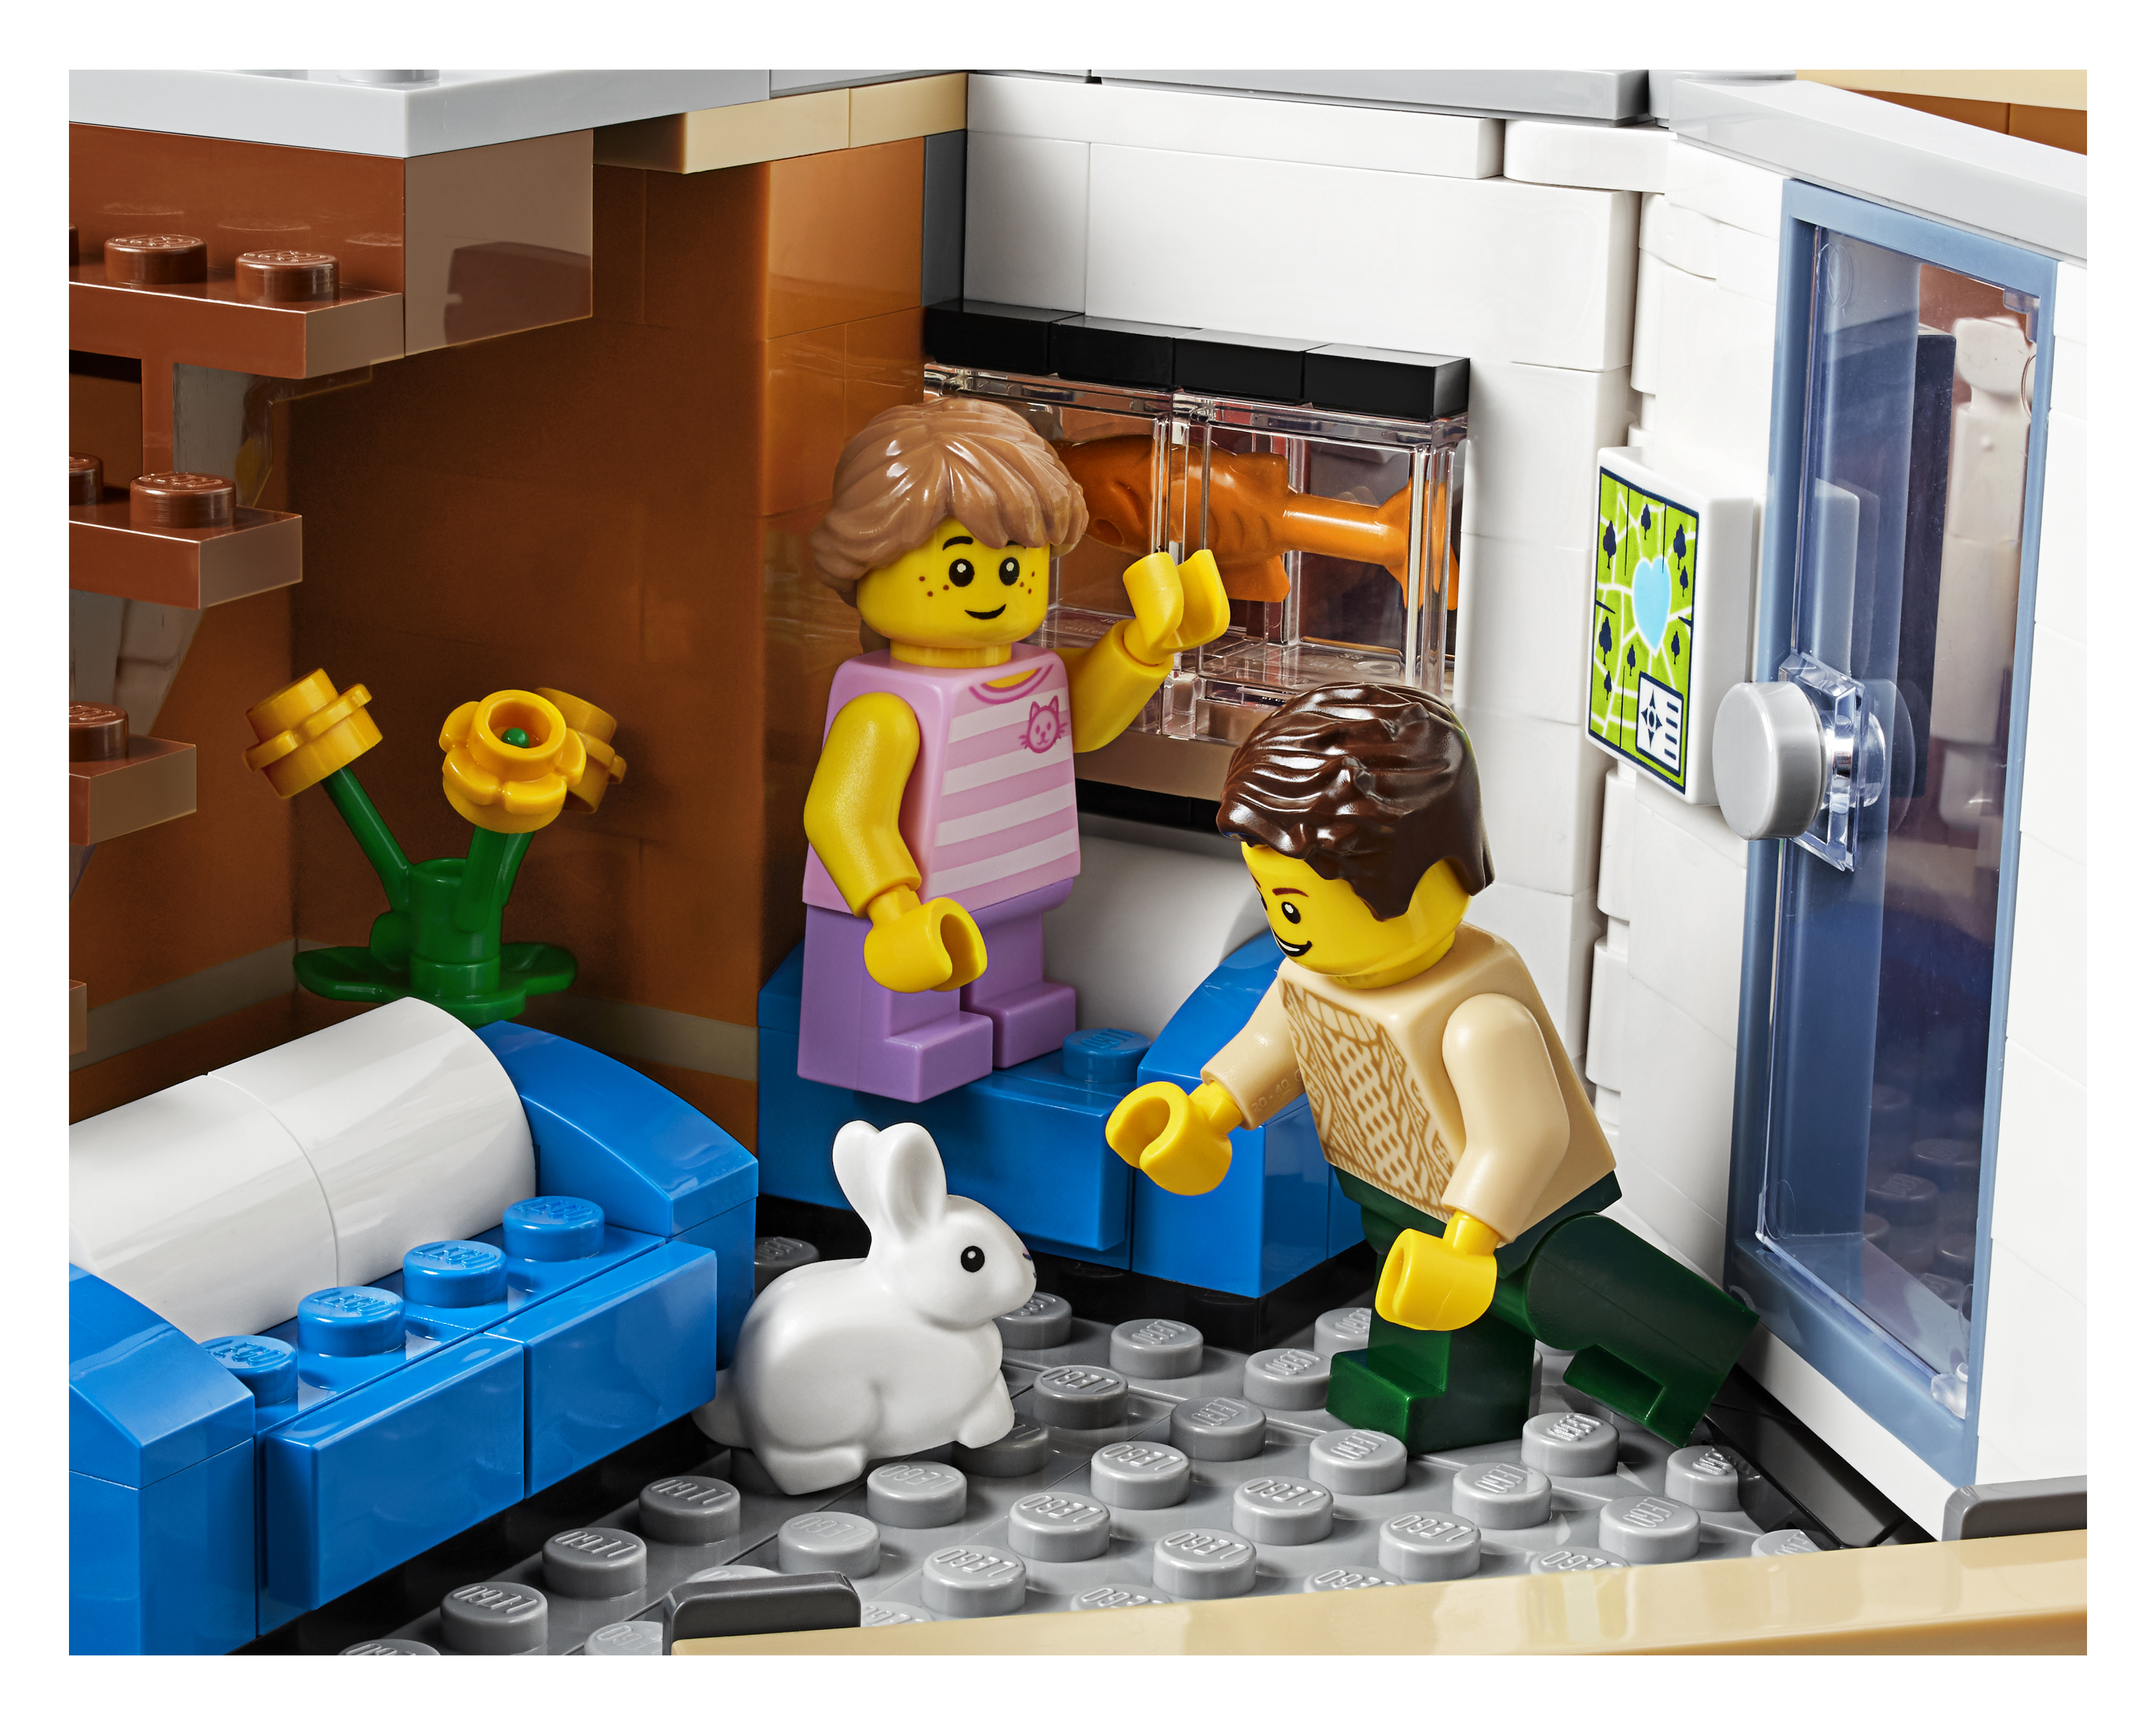
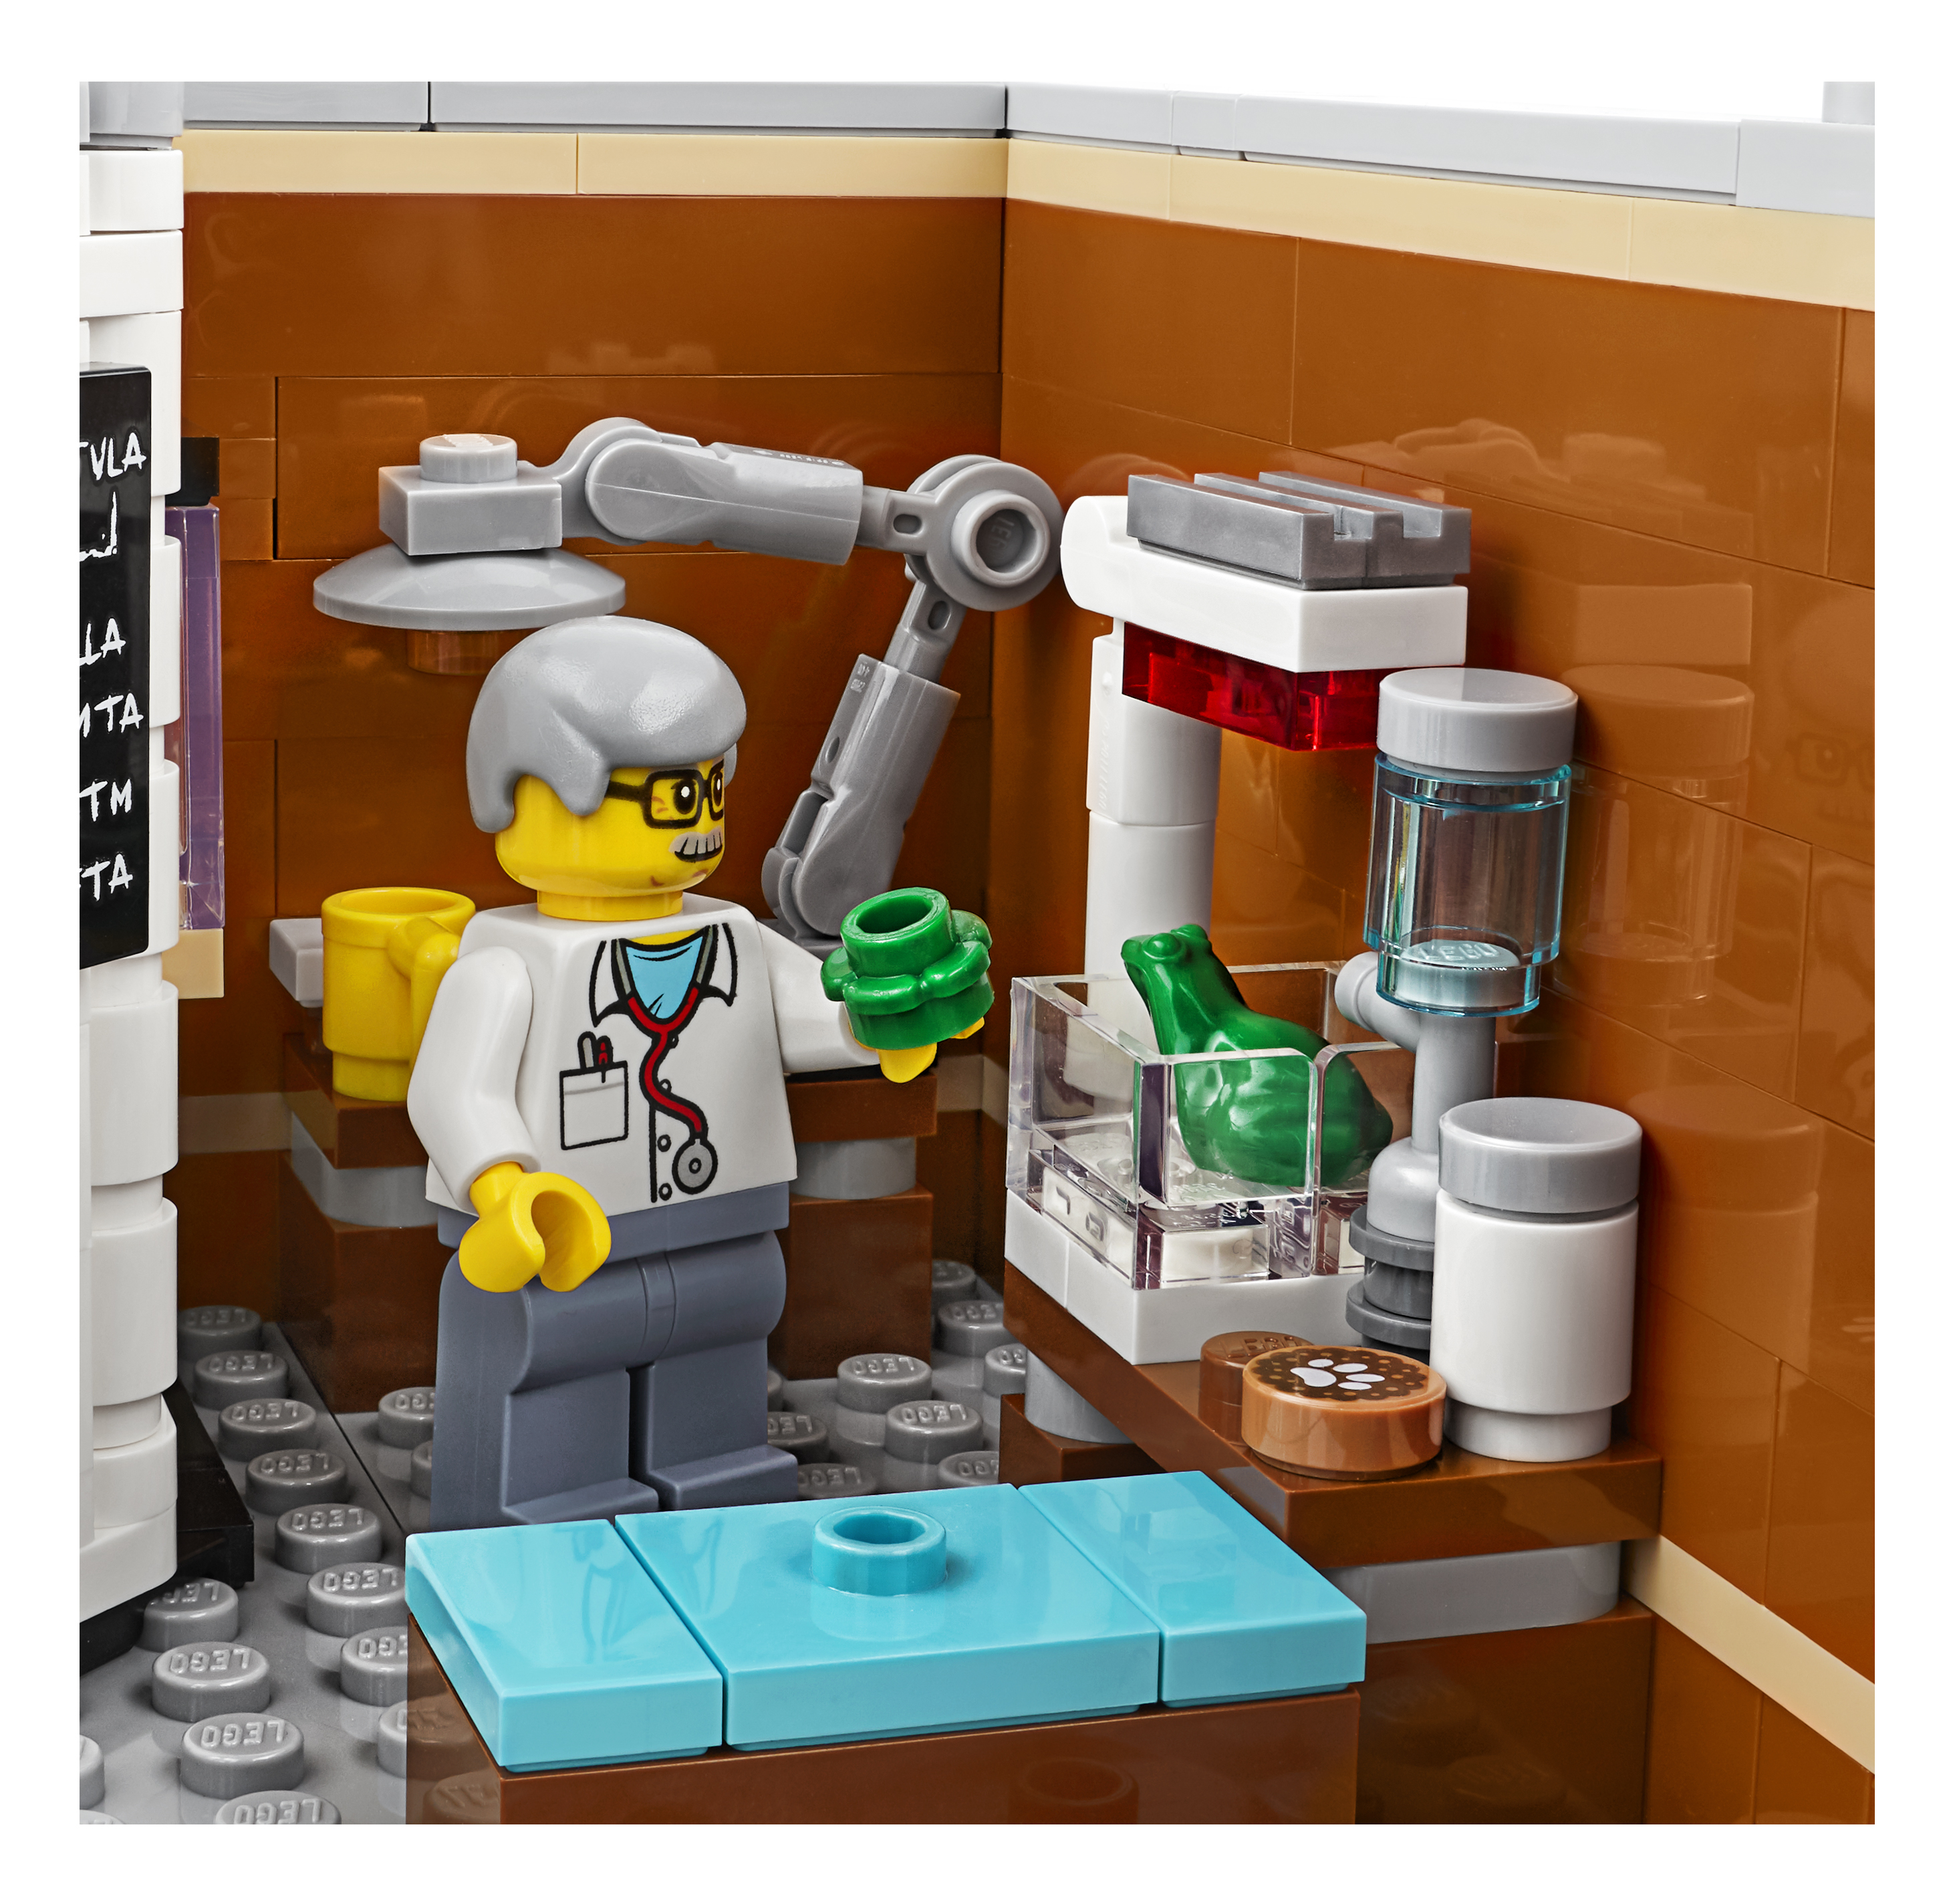
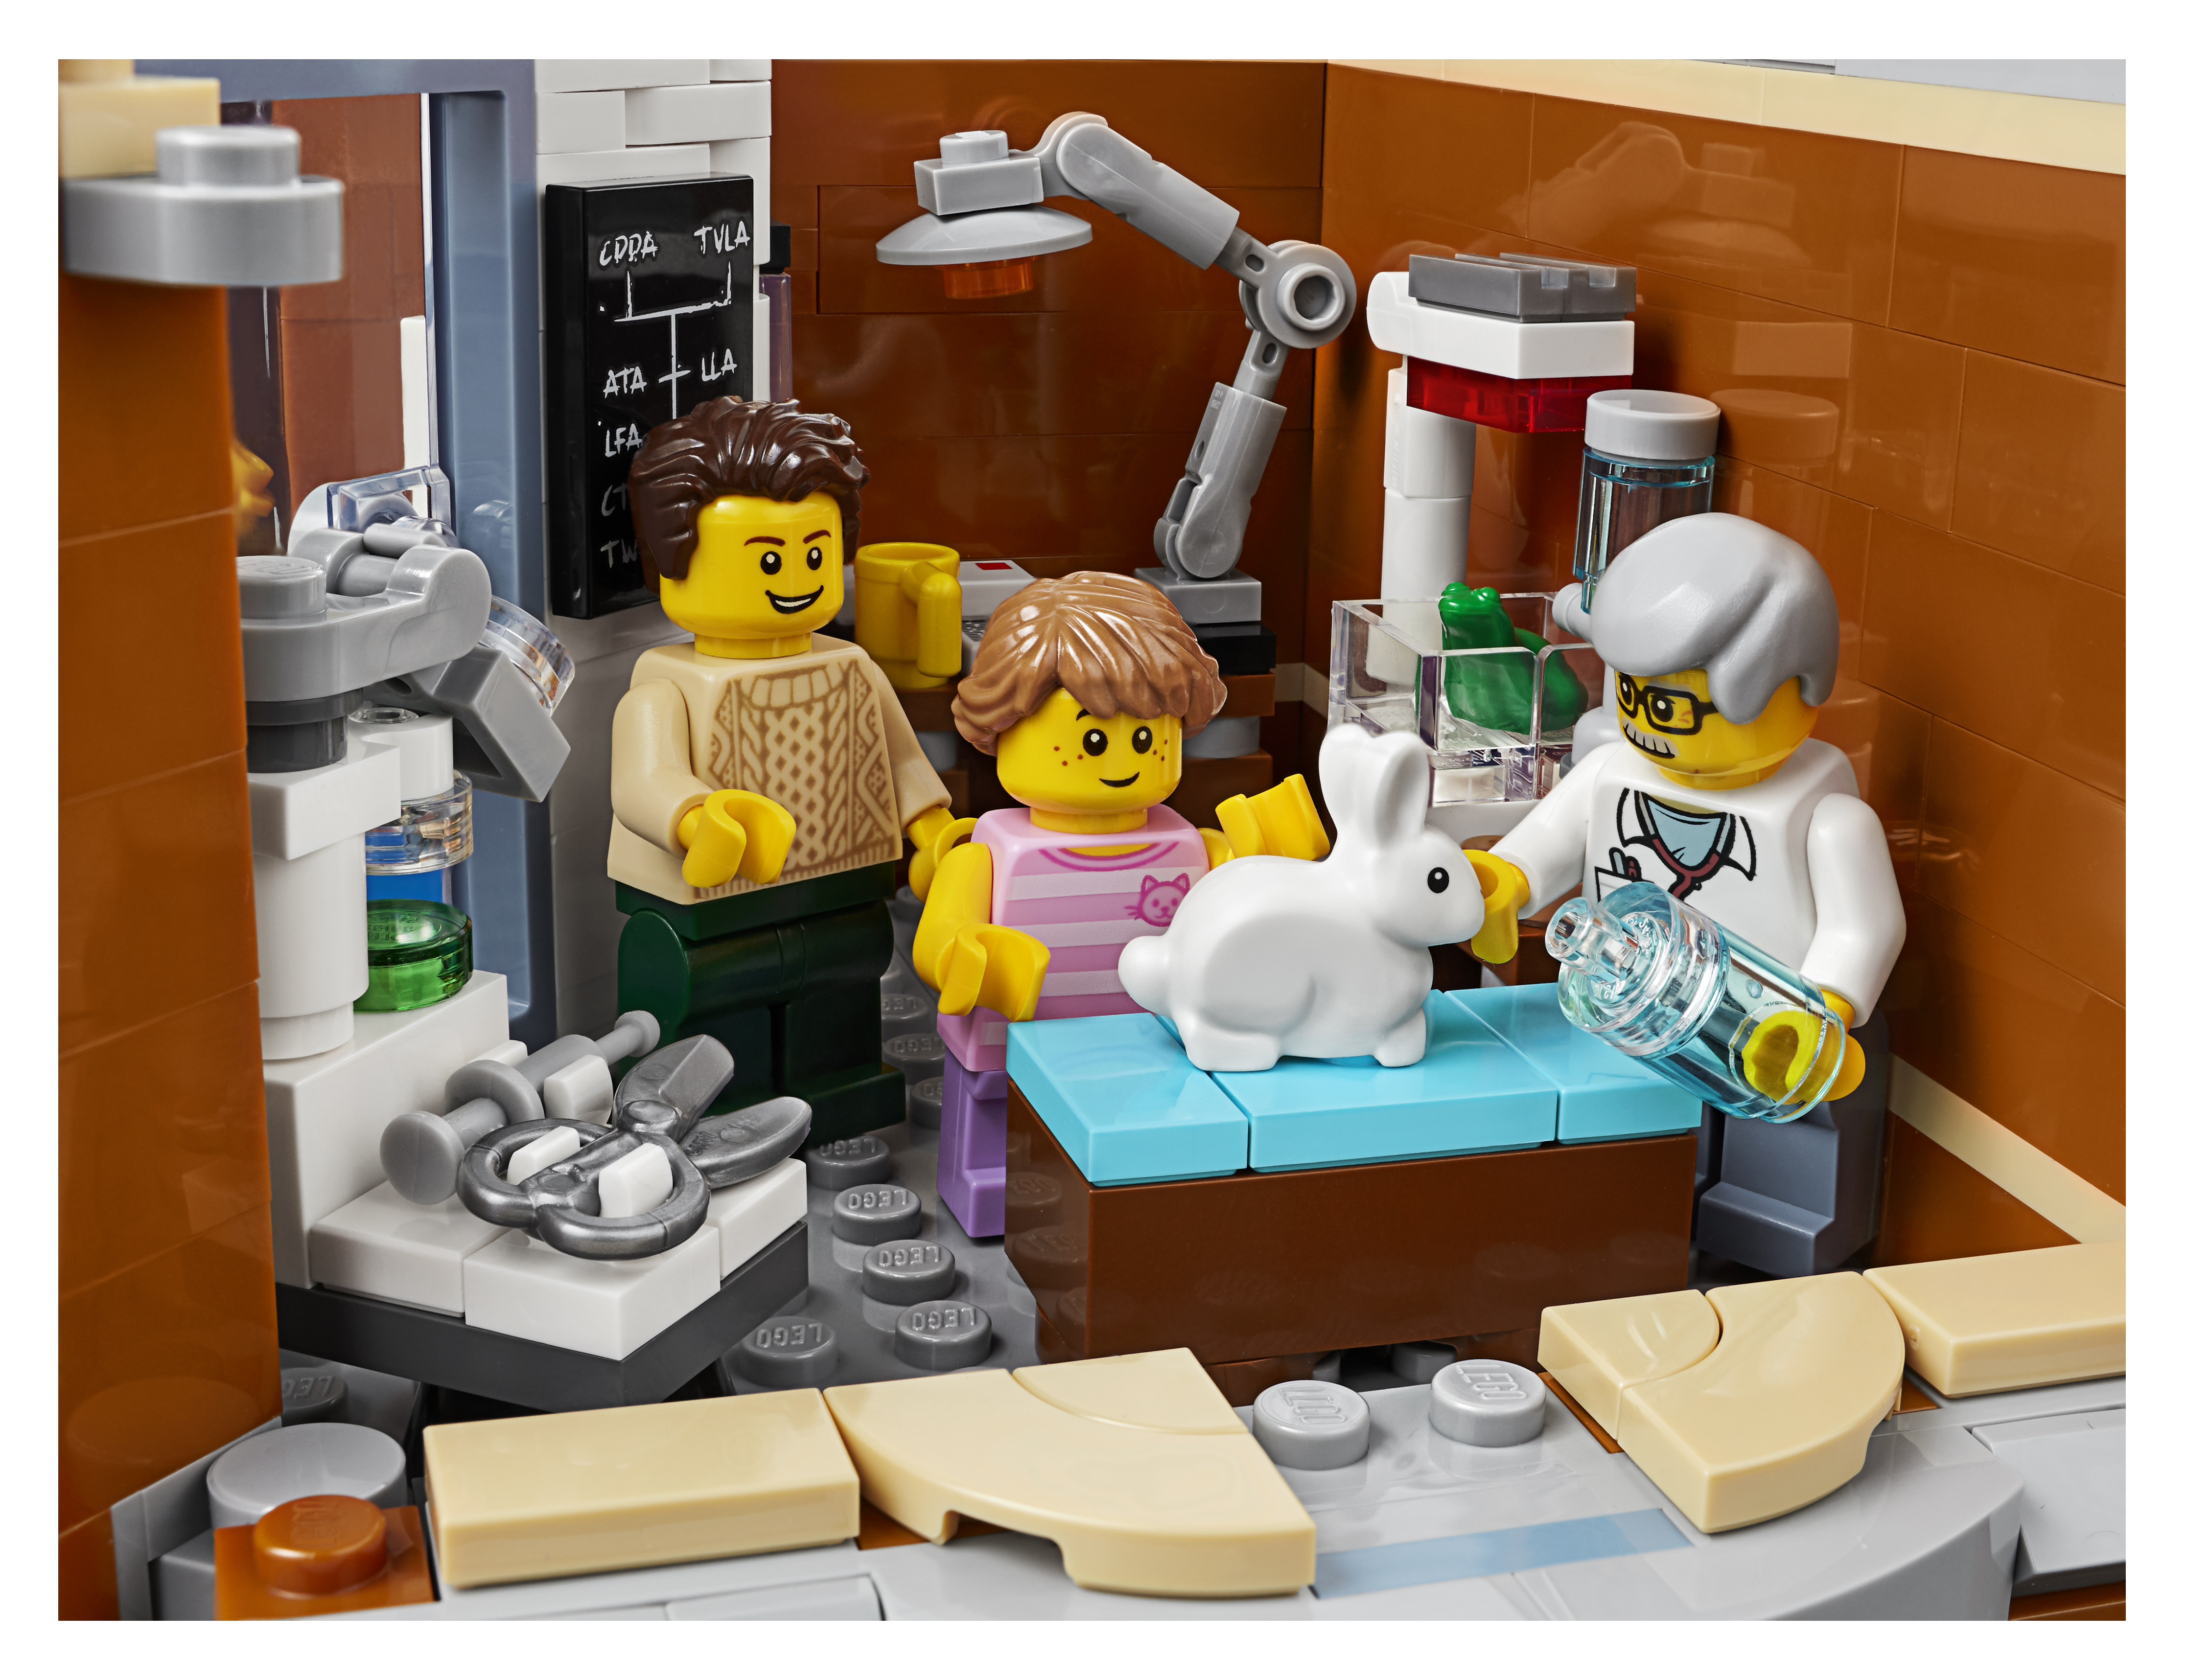
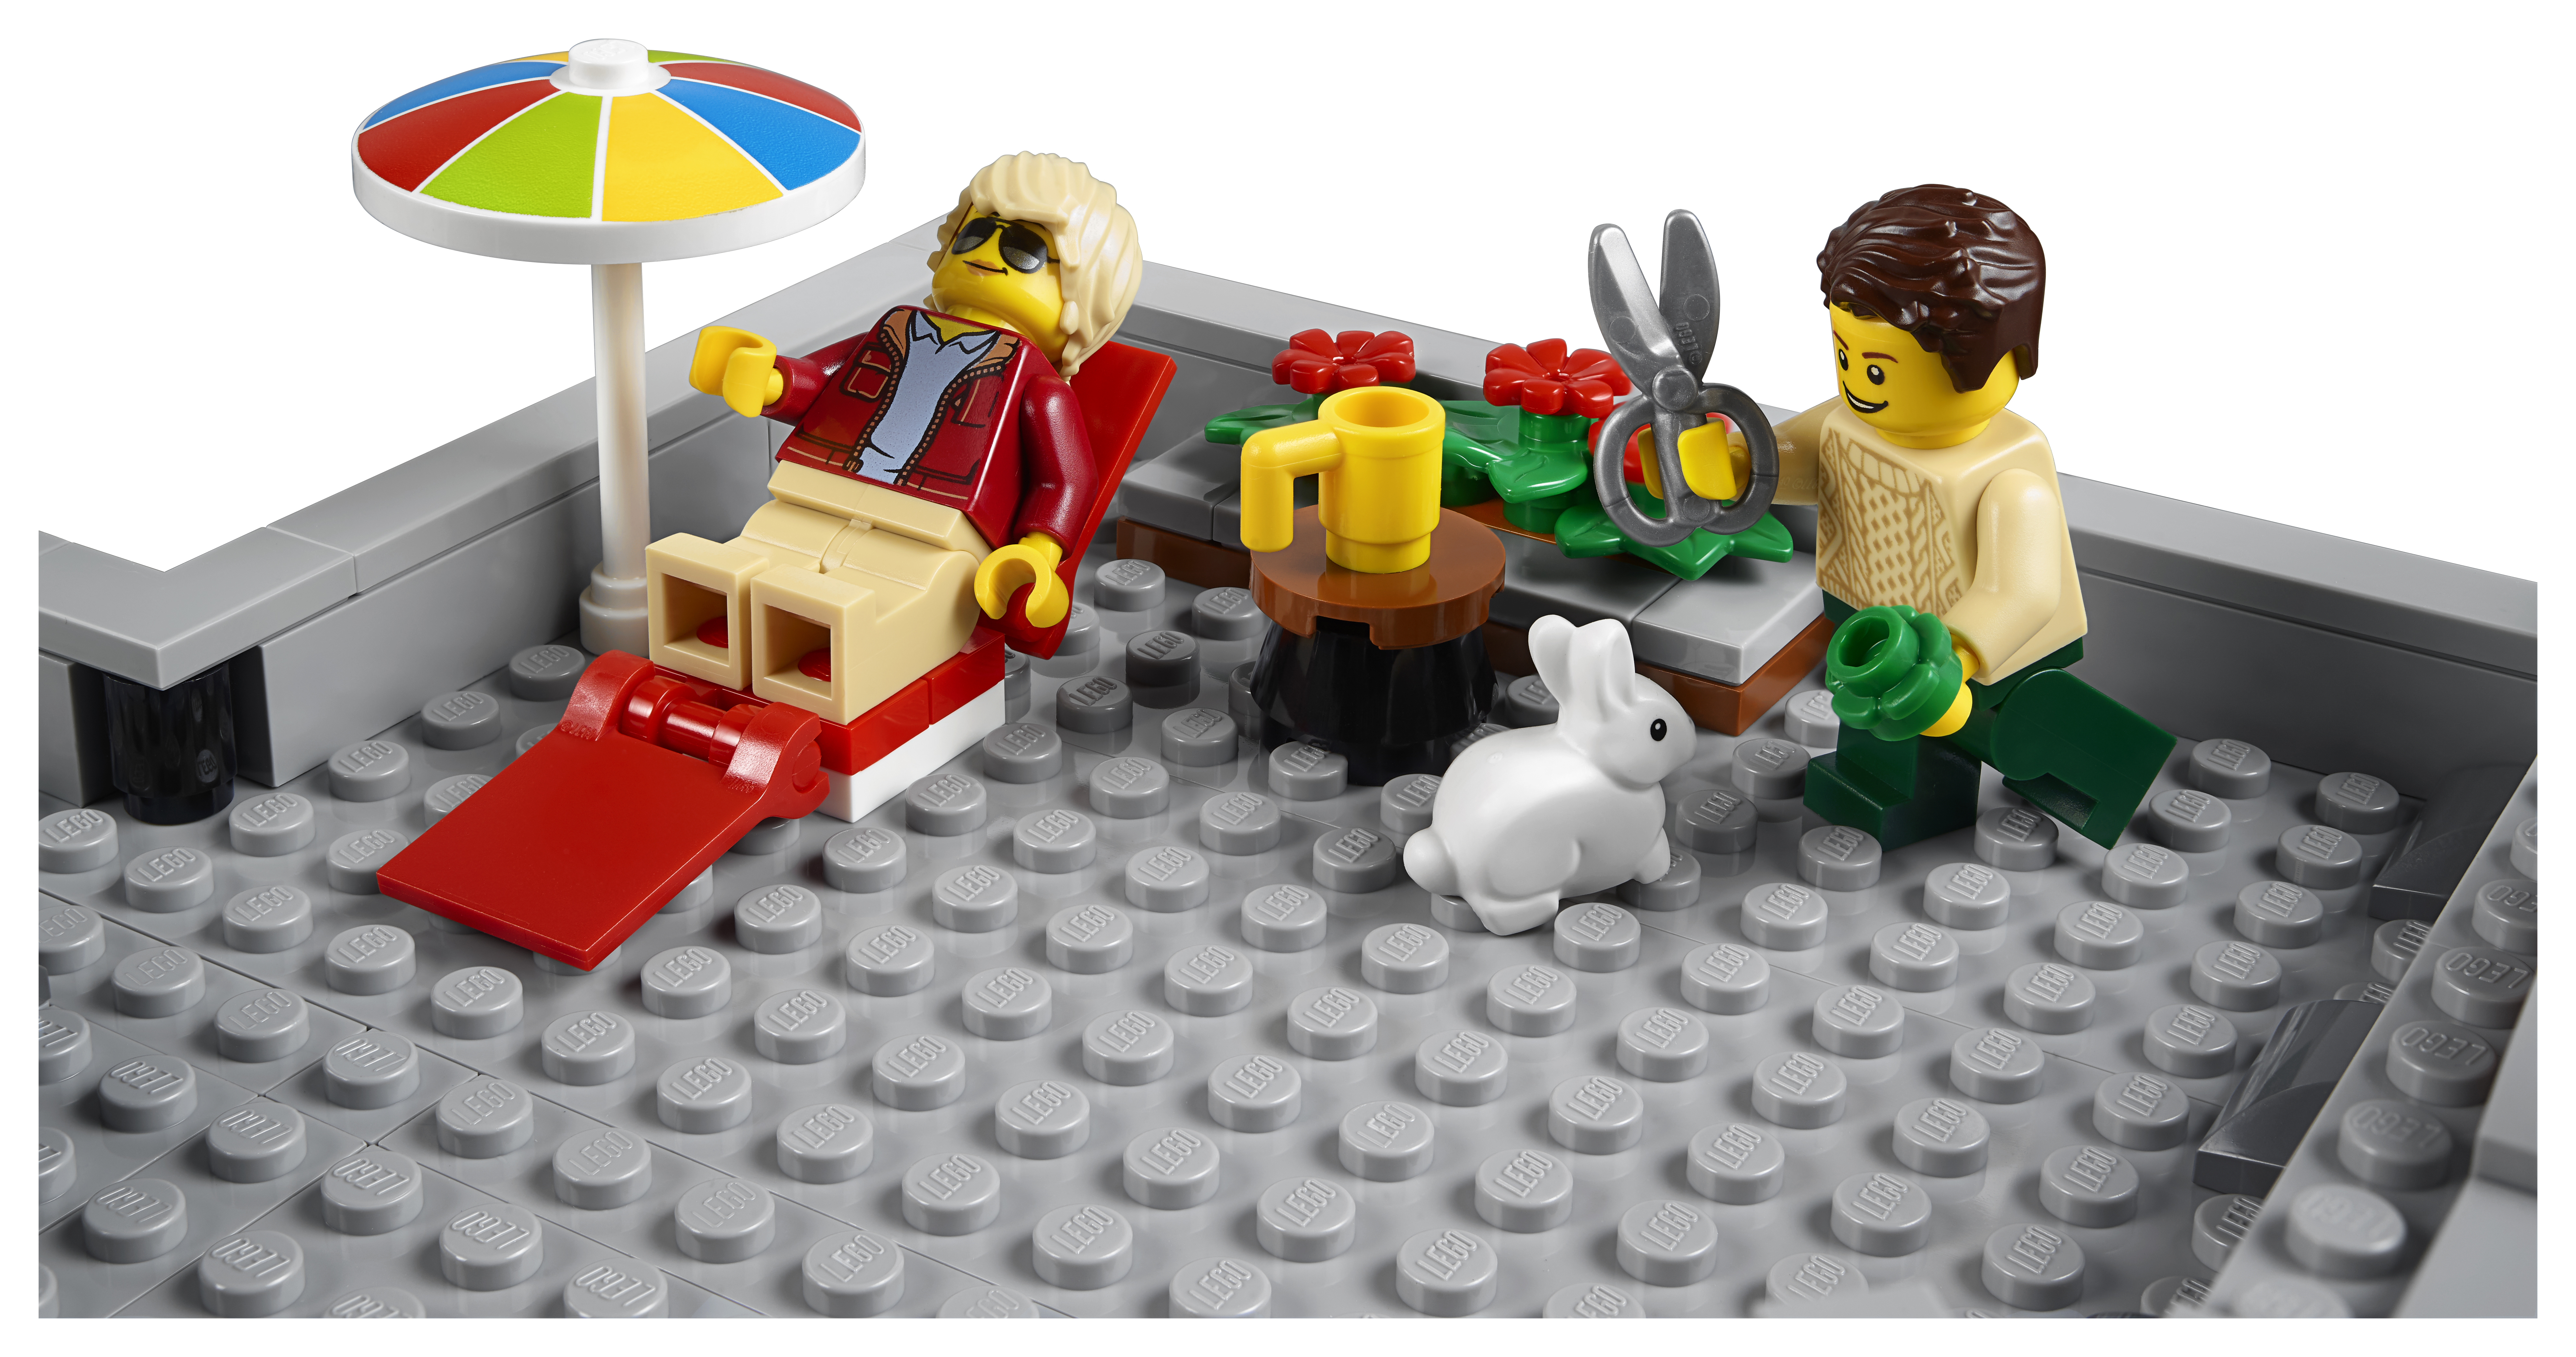
Ultimately, this is a 360-degree playset and where the margins of the base will not fit in greatly with your existing City layout or integration thereof. There are as always ways and means to make it work, it is LEGO® after all. Being a play set it does provide fantastic play scenes and options to bring the LEGO® Movie Part 2 to life.


Pictures